
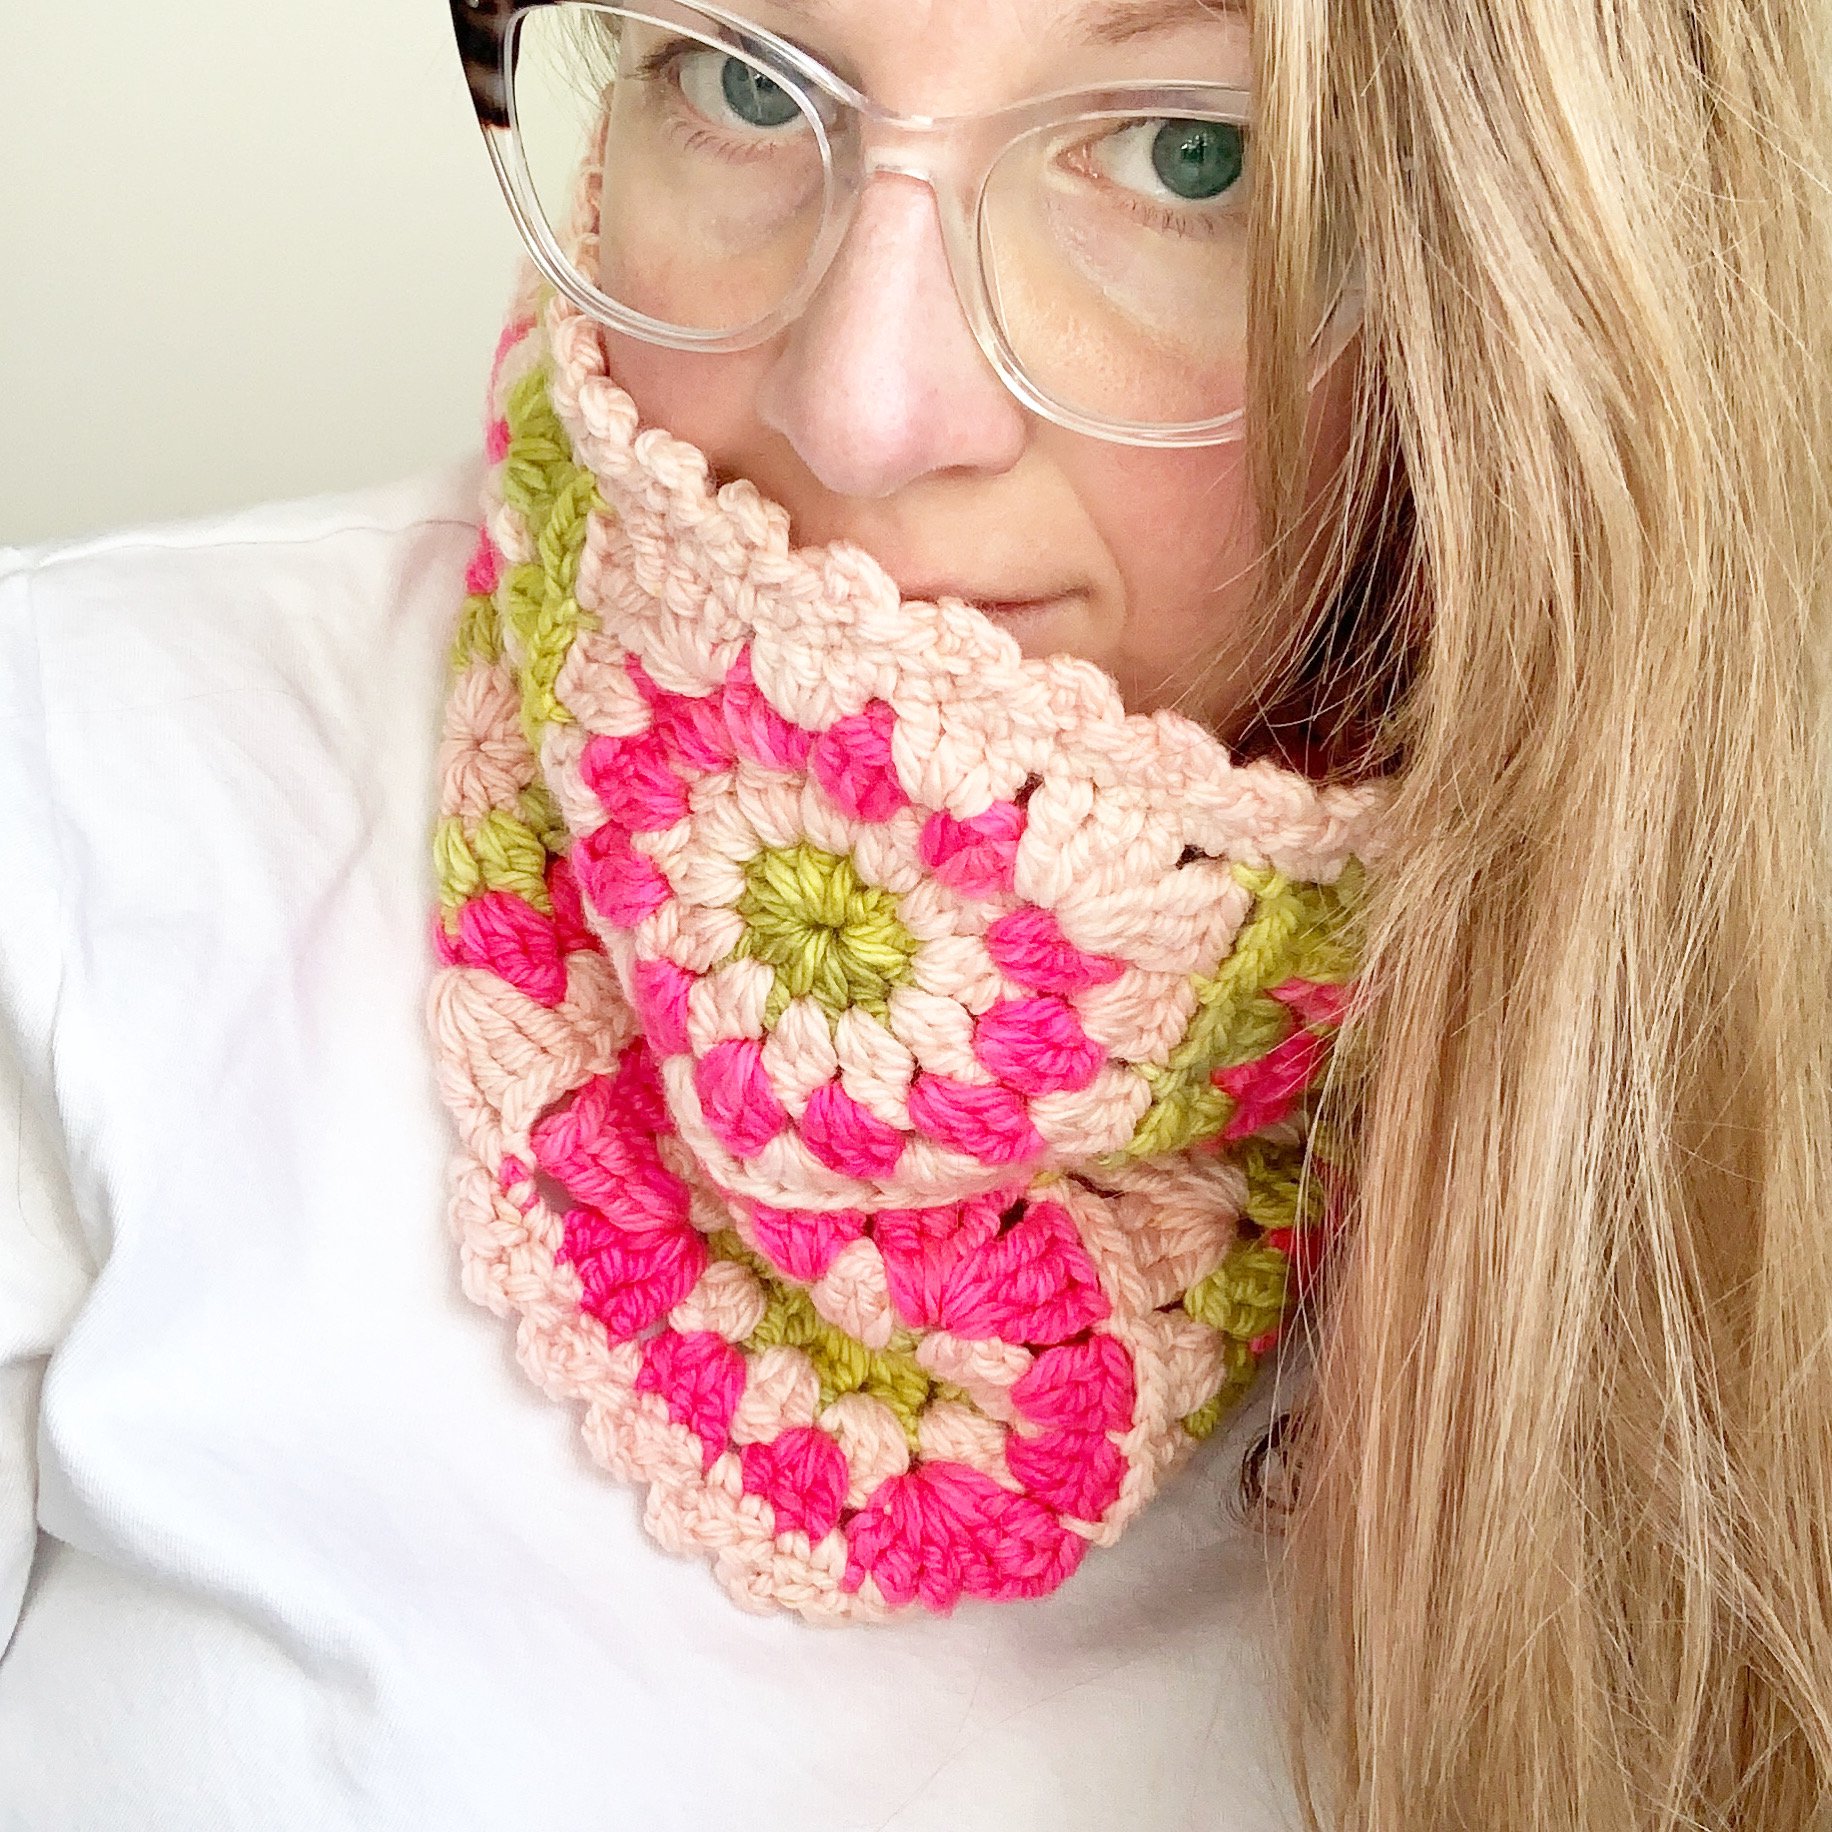
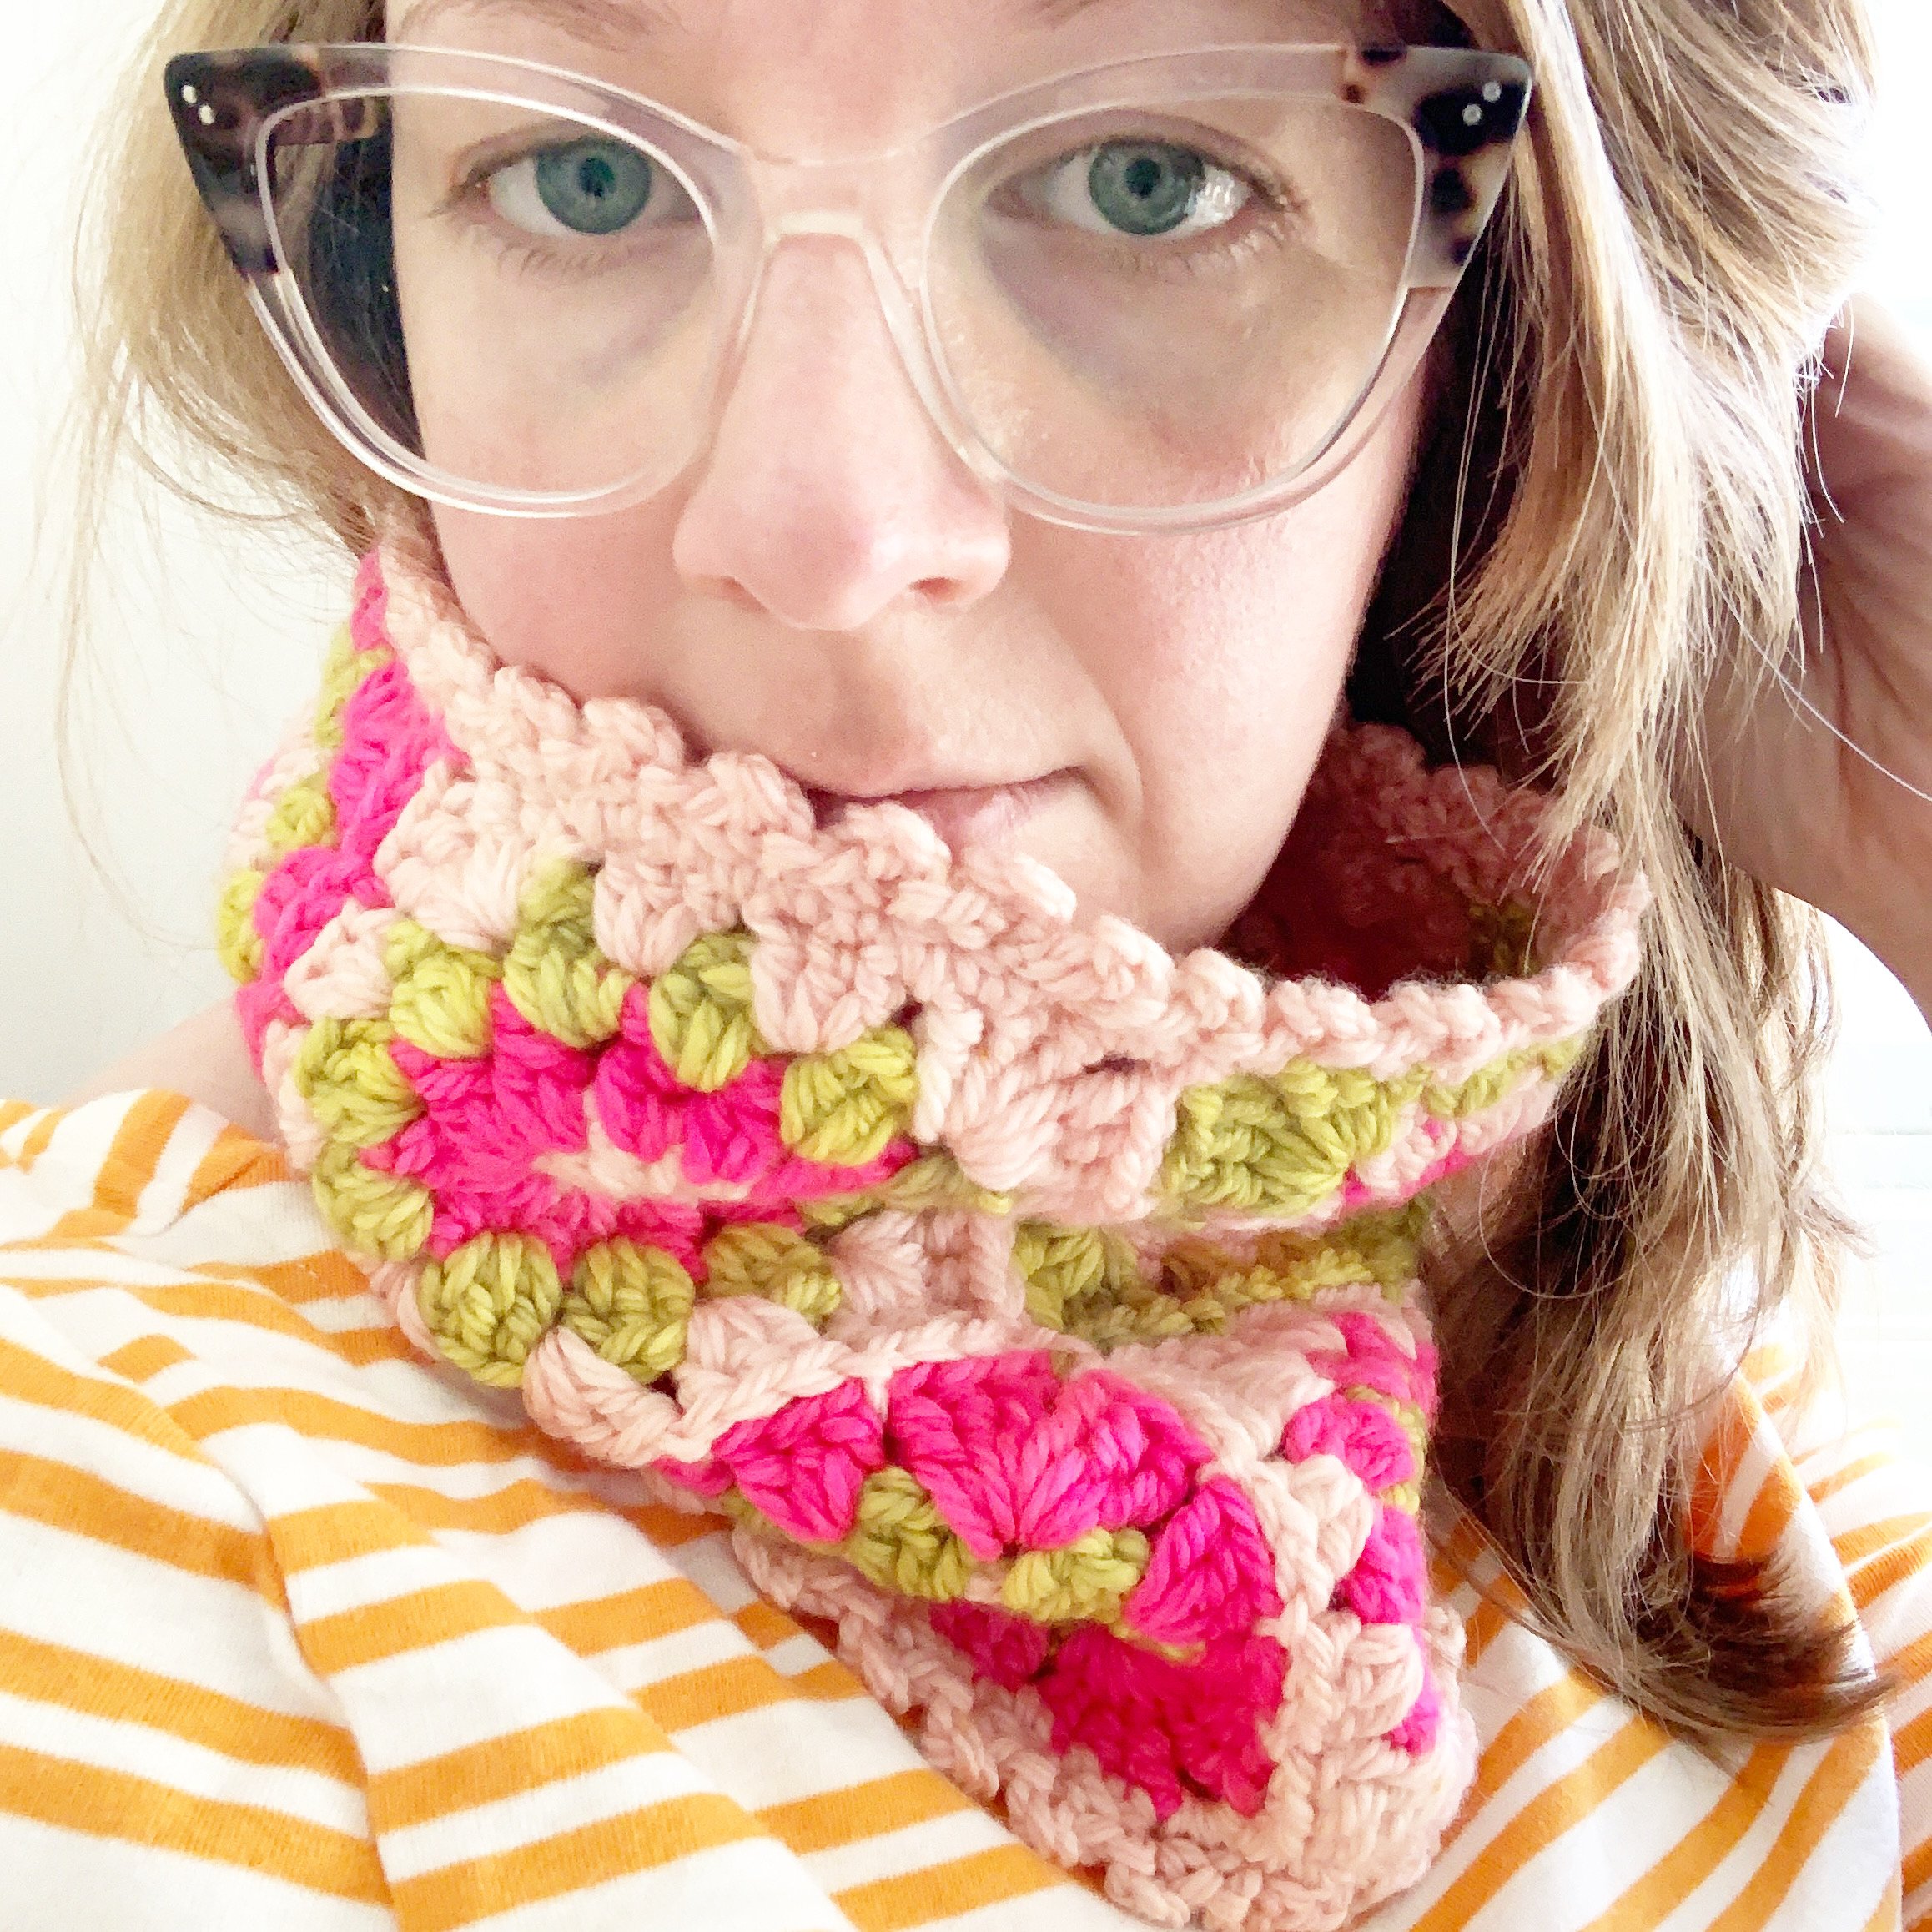
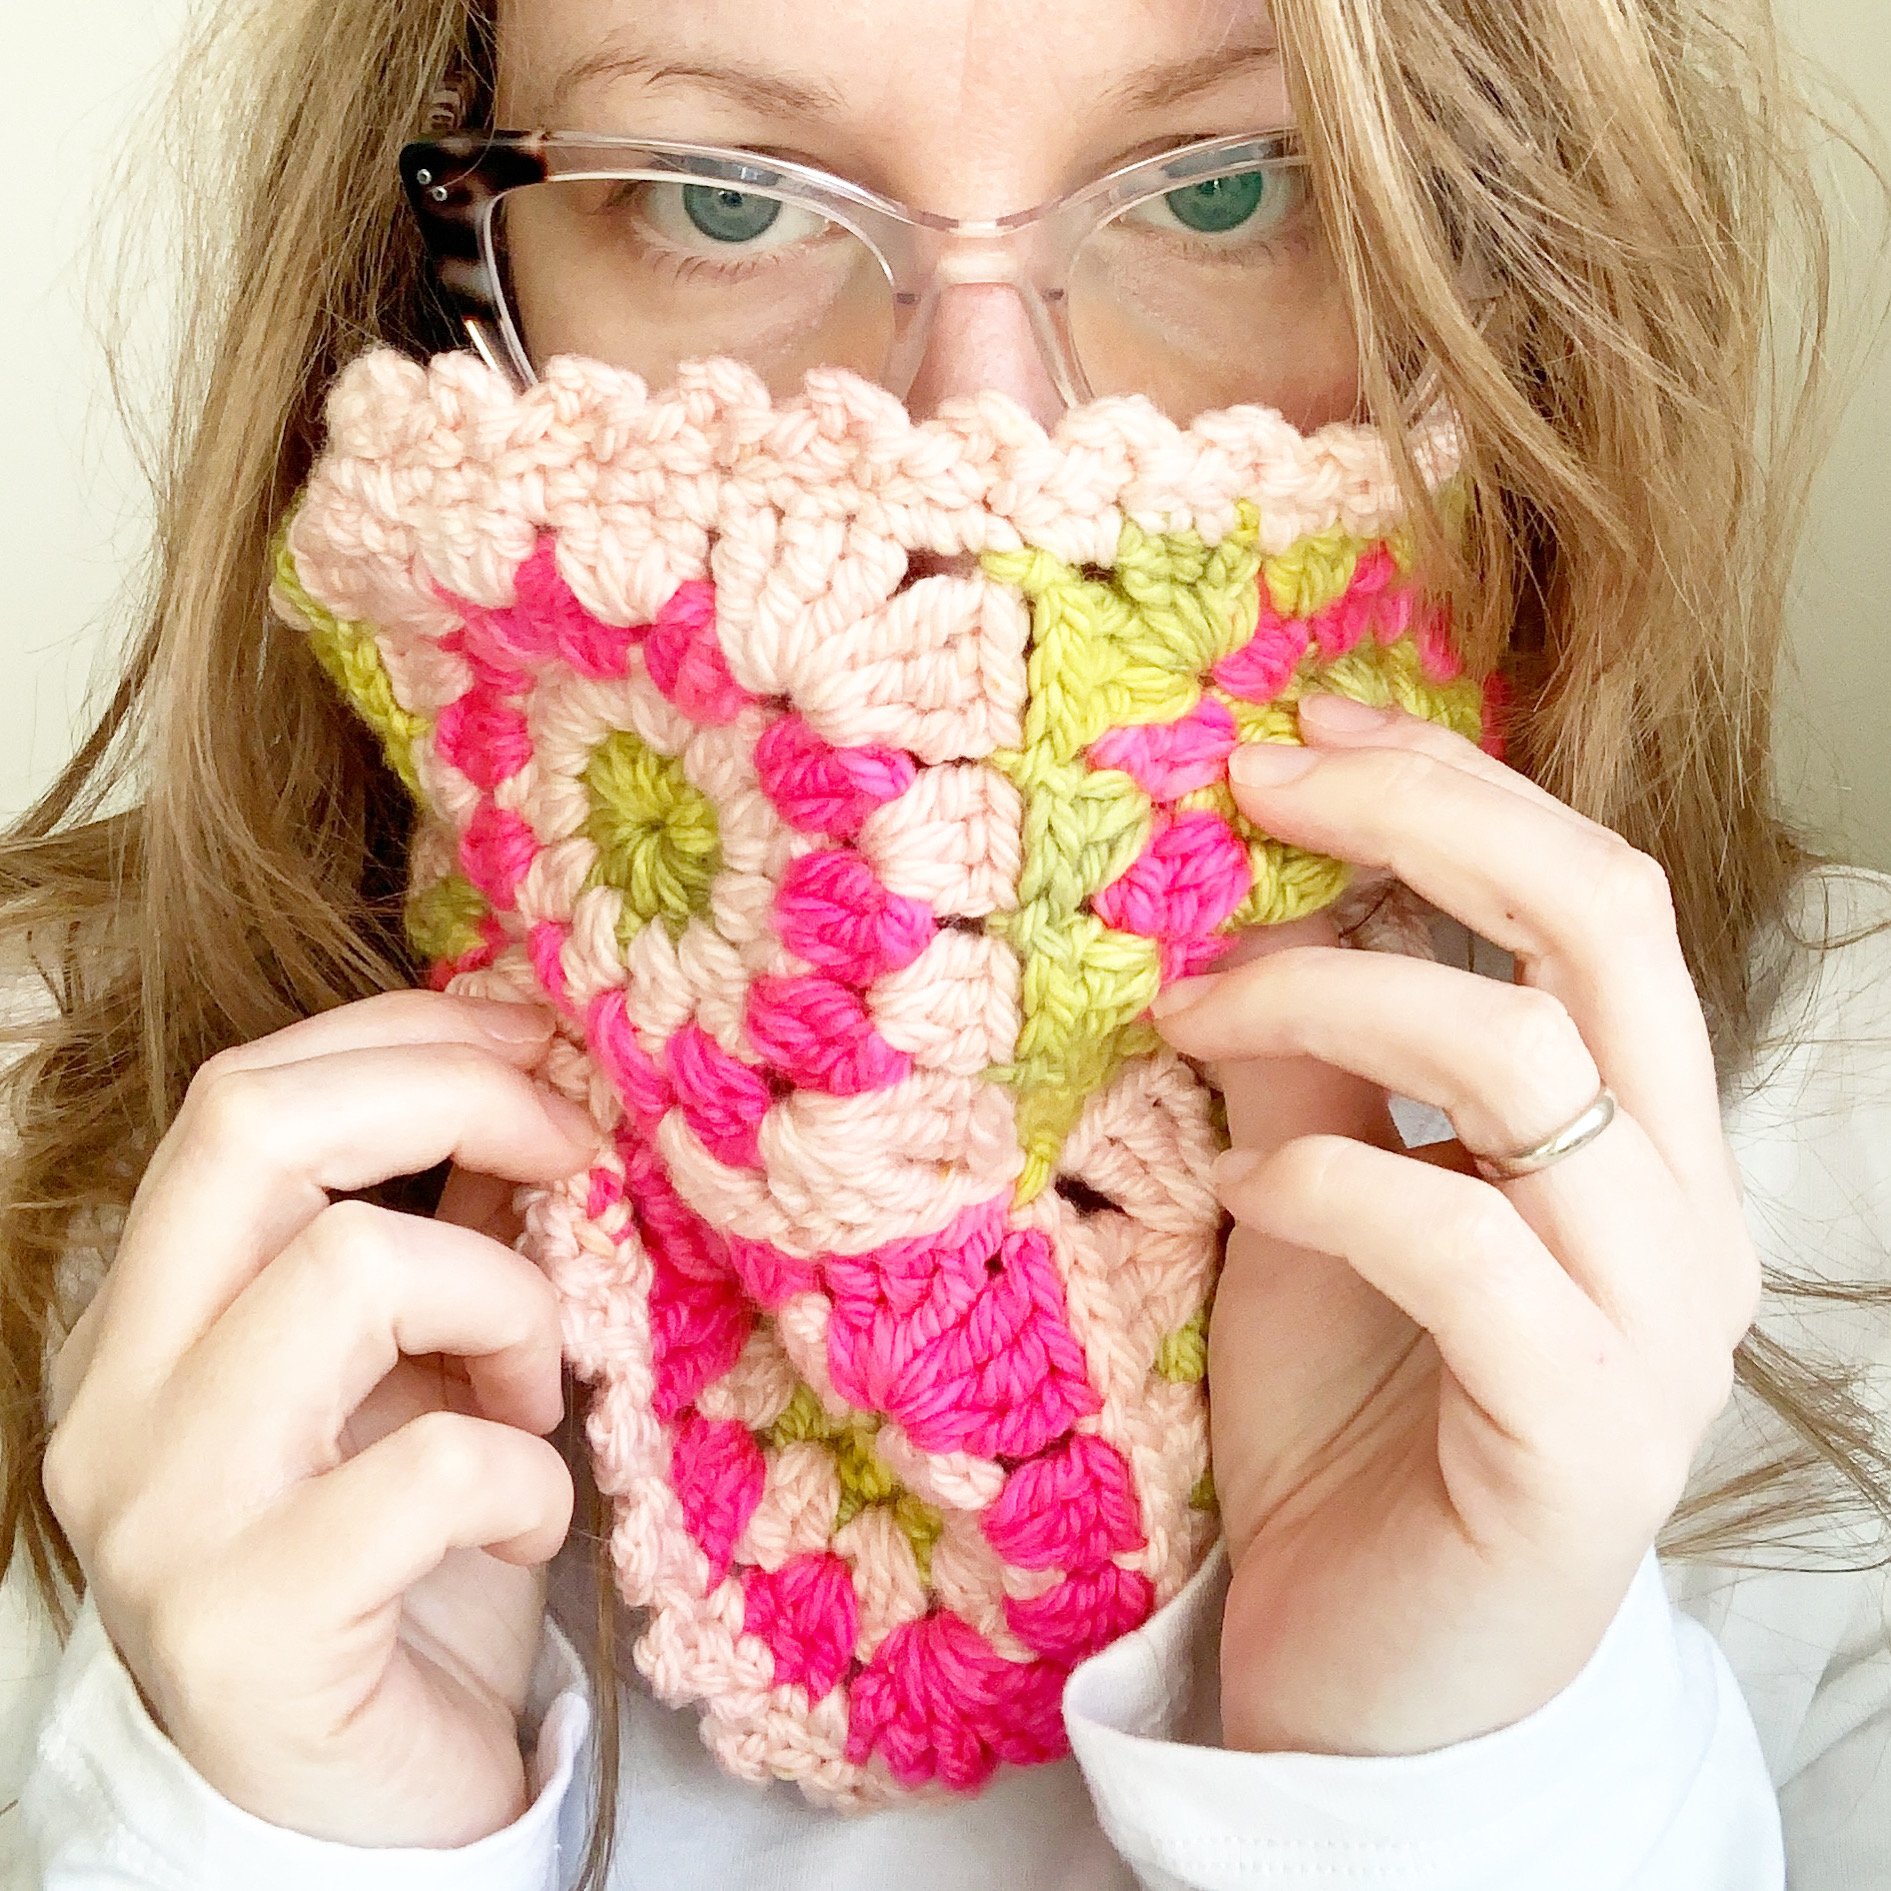
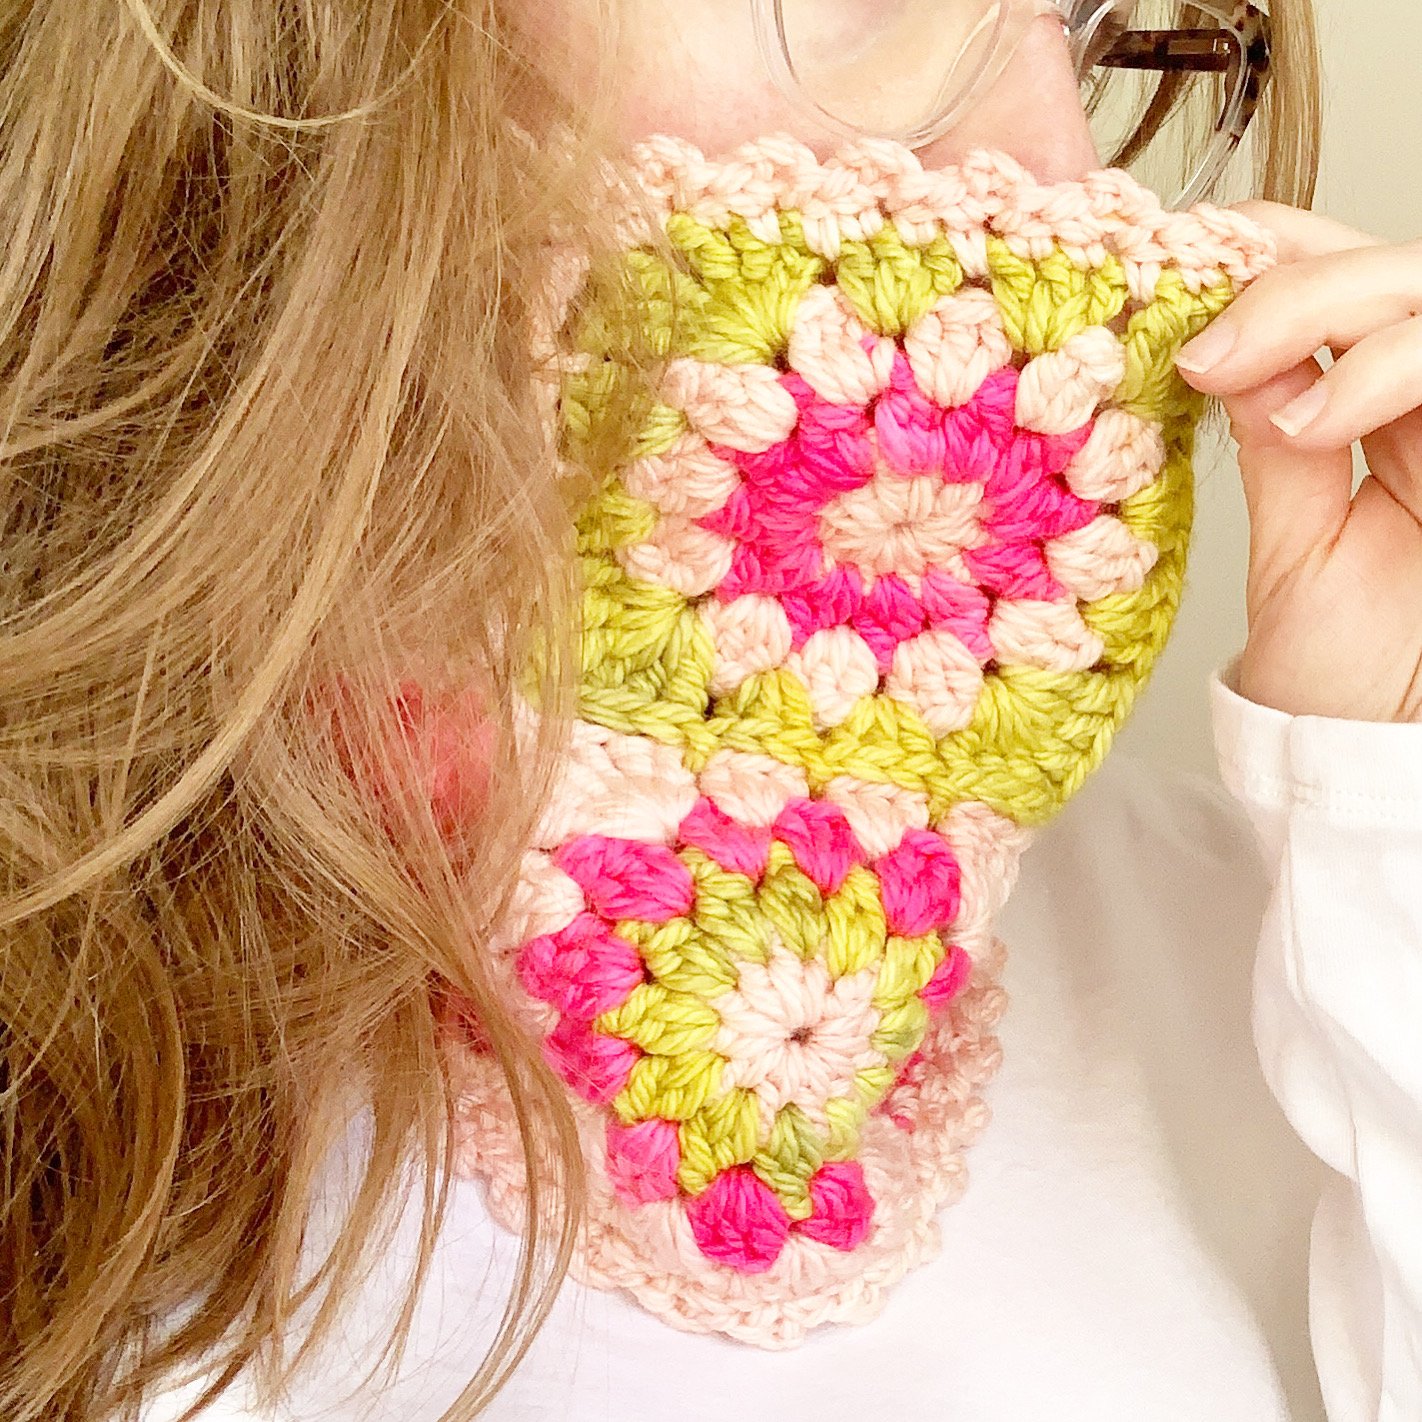
WinterBurst Crochet Cowl

This post contains affiliate links. Affiliate links cost you nothing, but when purchasing through these links you help me earn a small commission. This supports me and my family and my continued efforts to bring you free patterns.
Intro
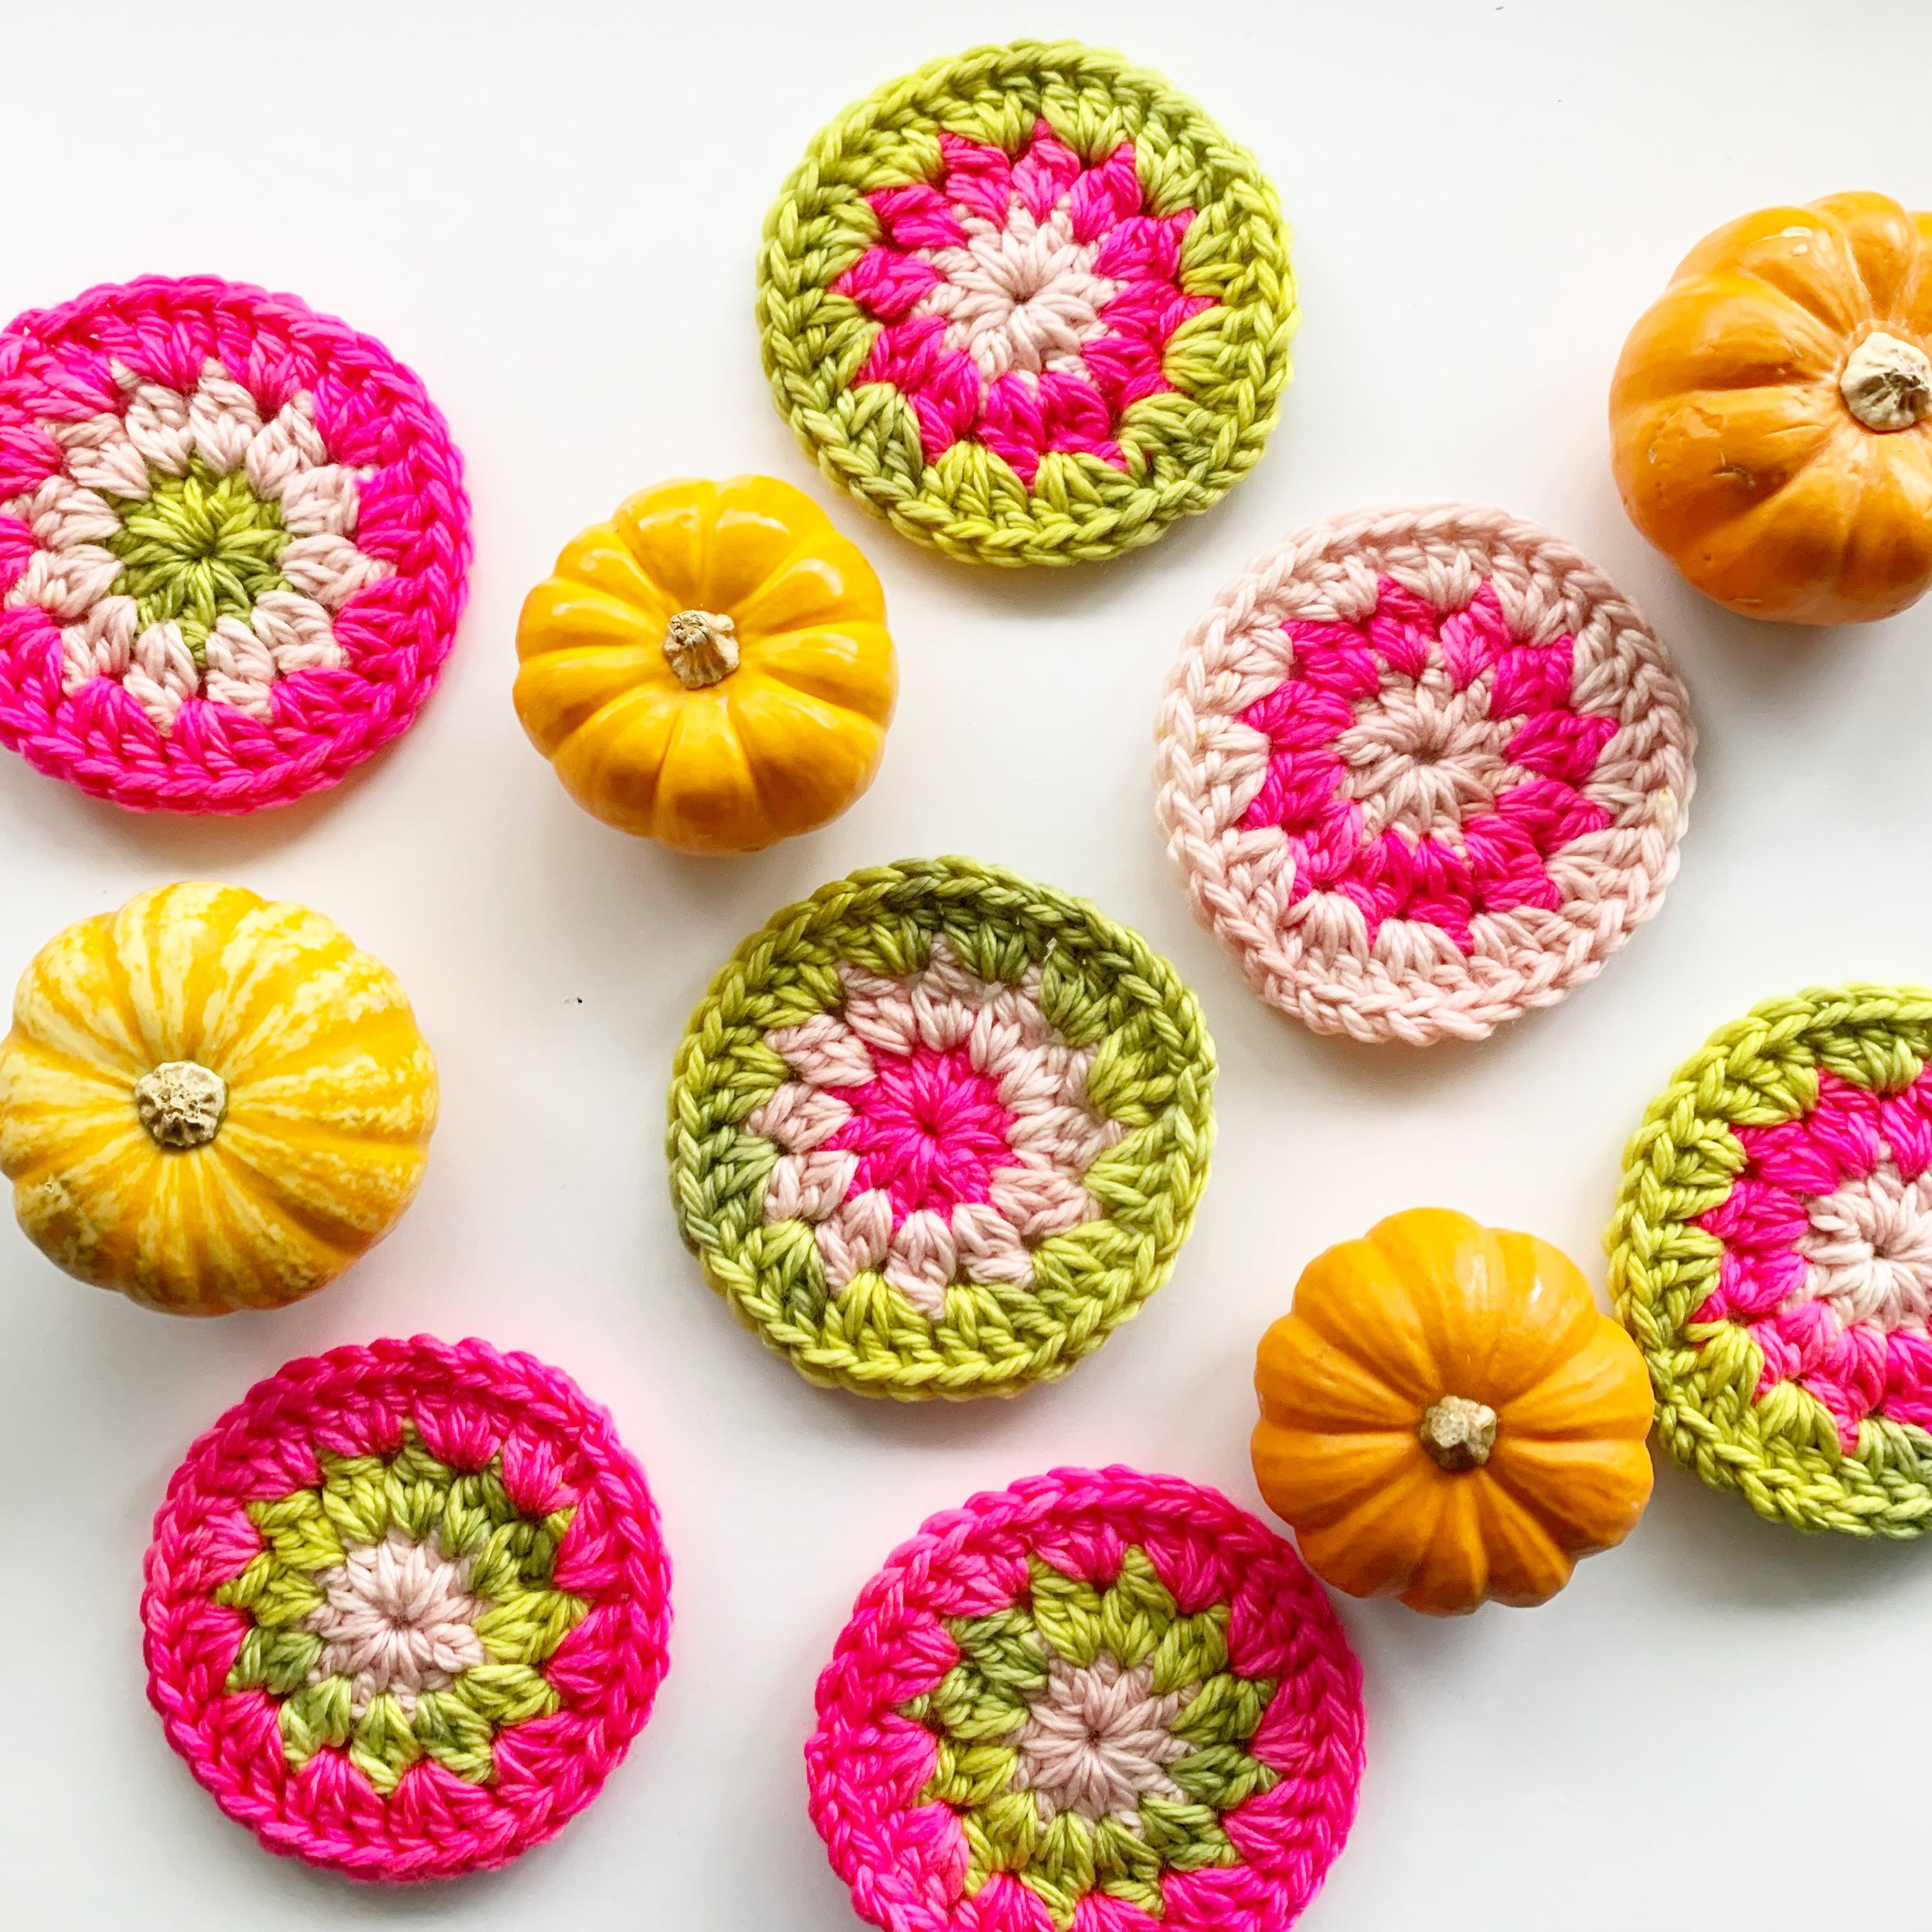
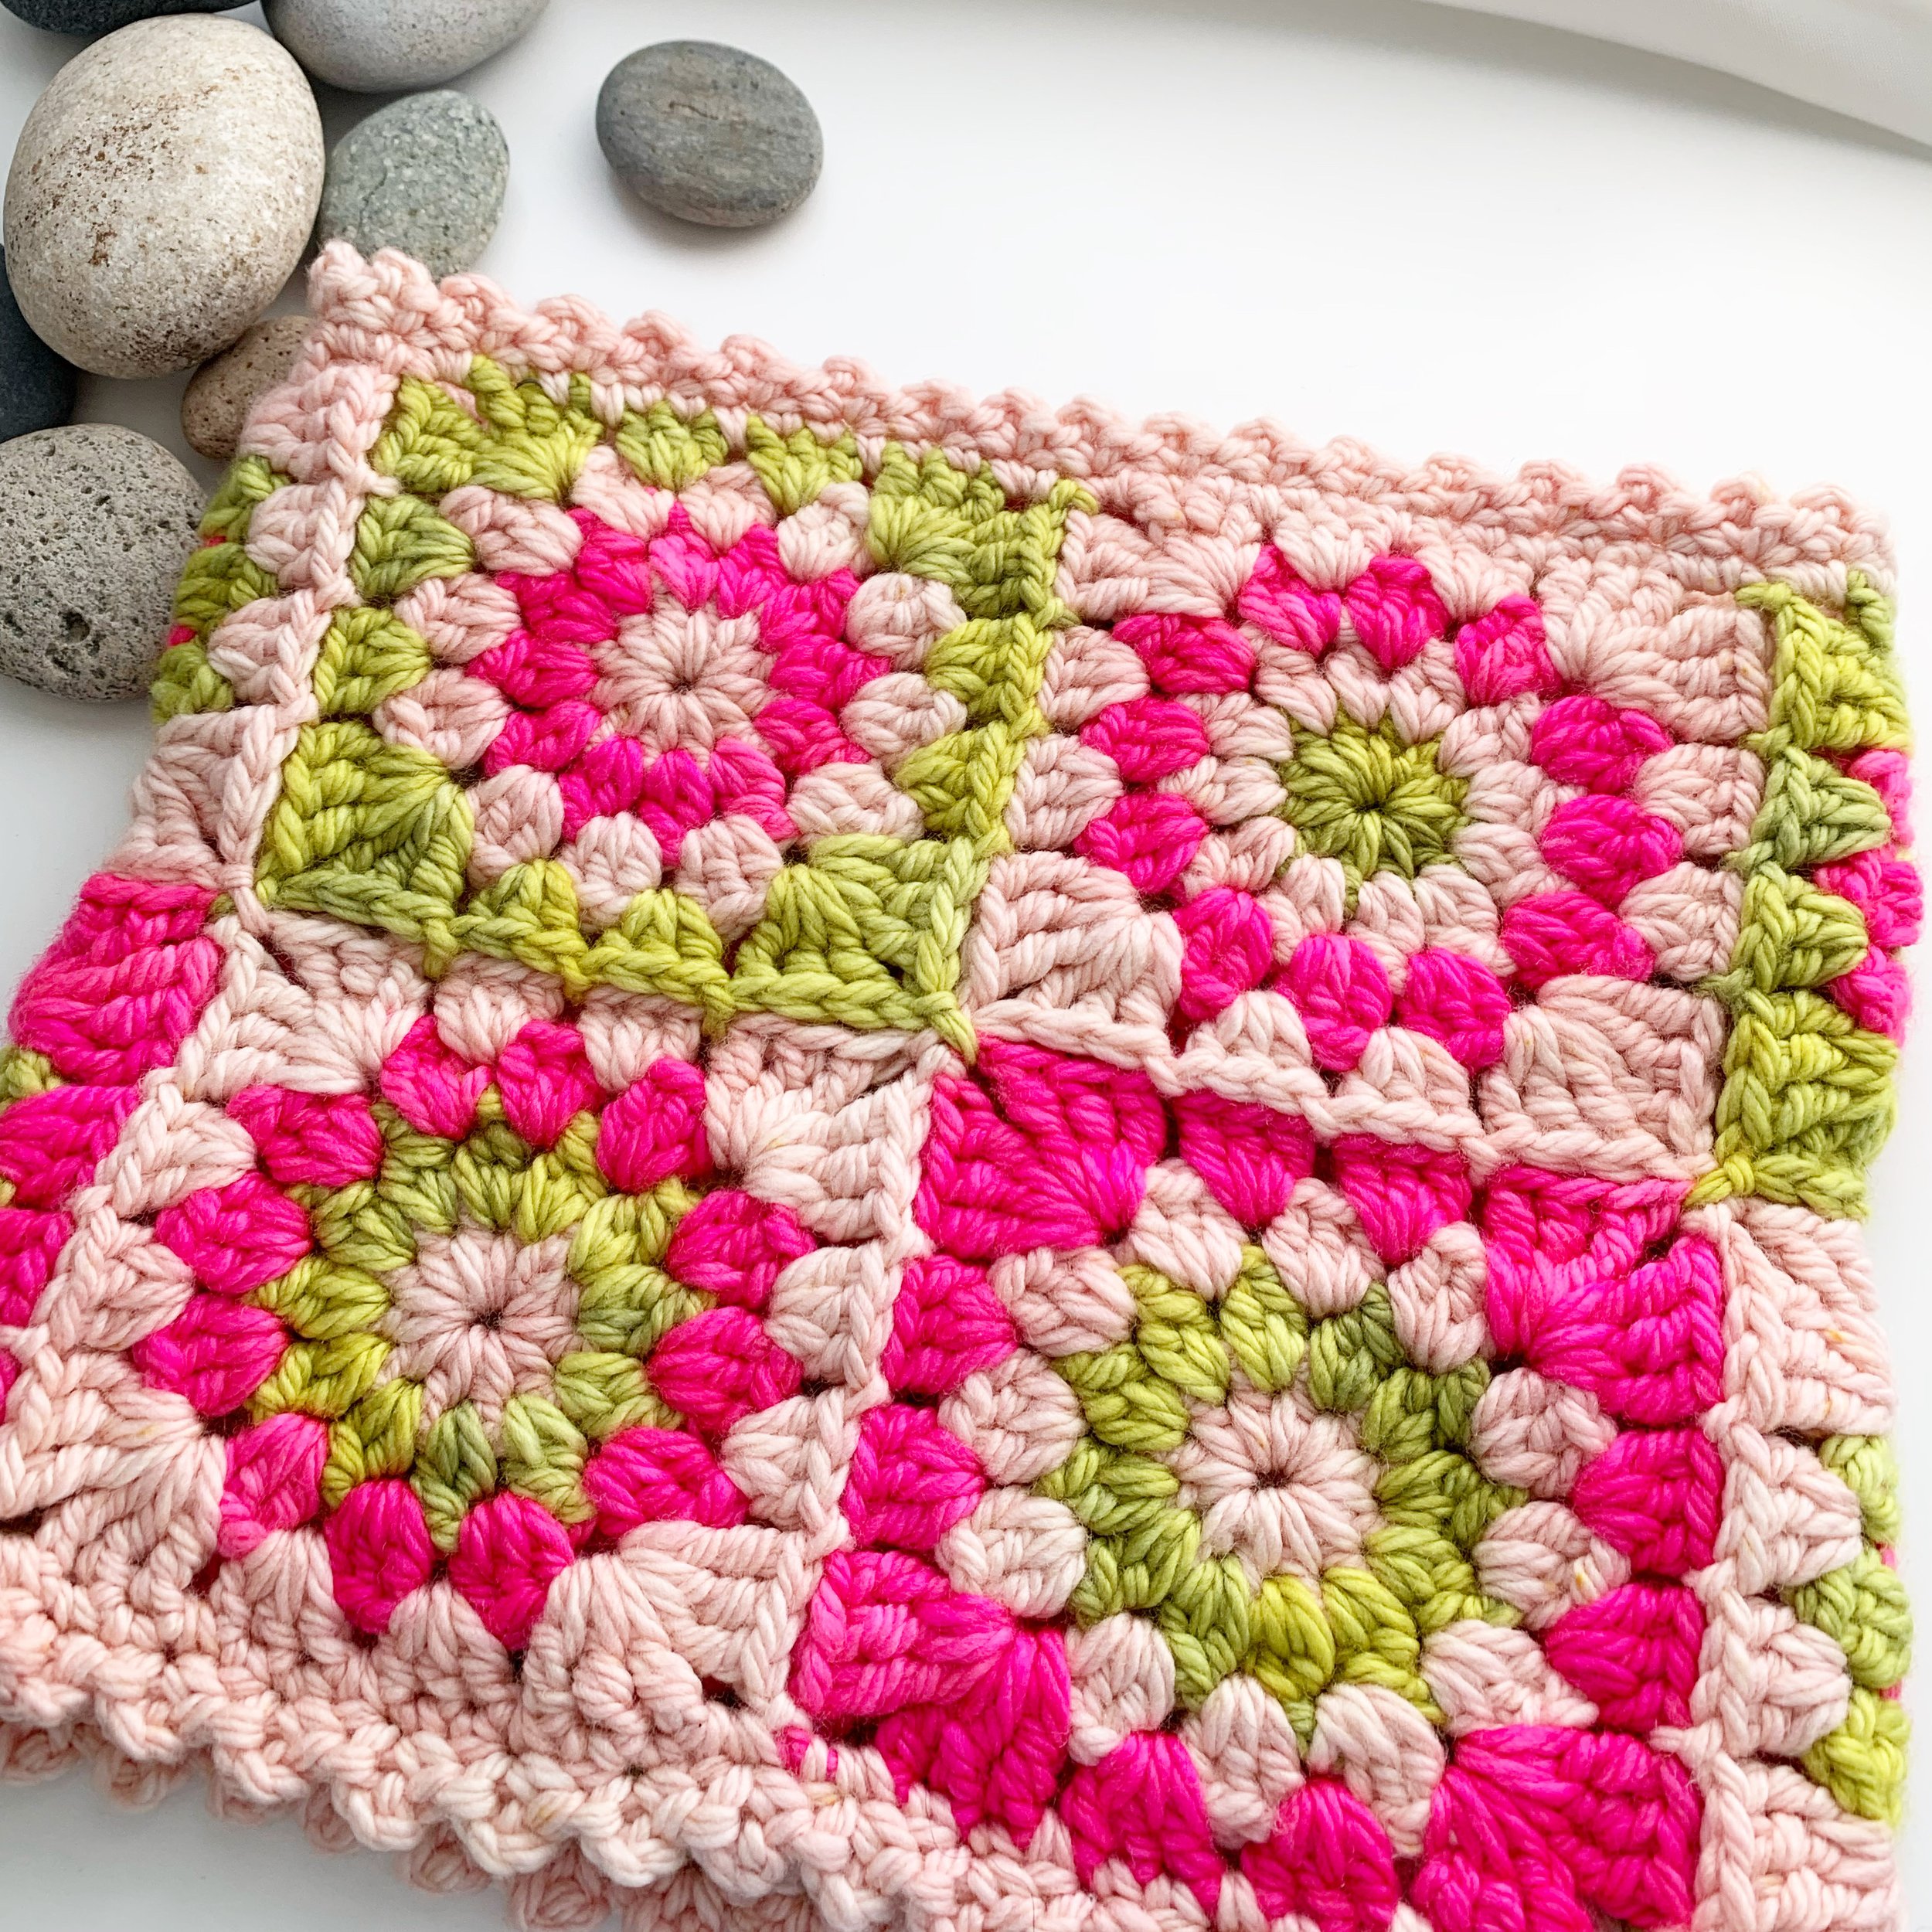
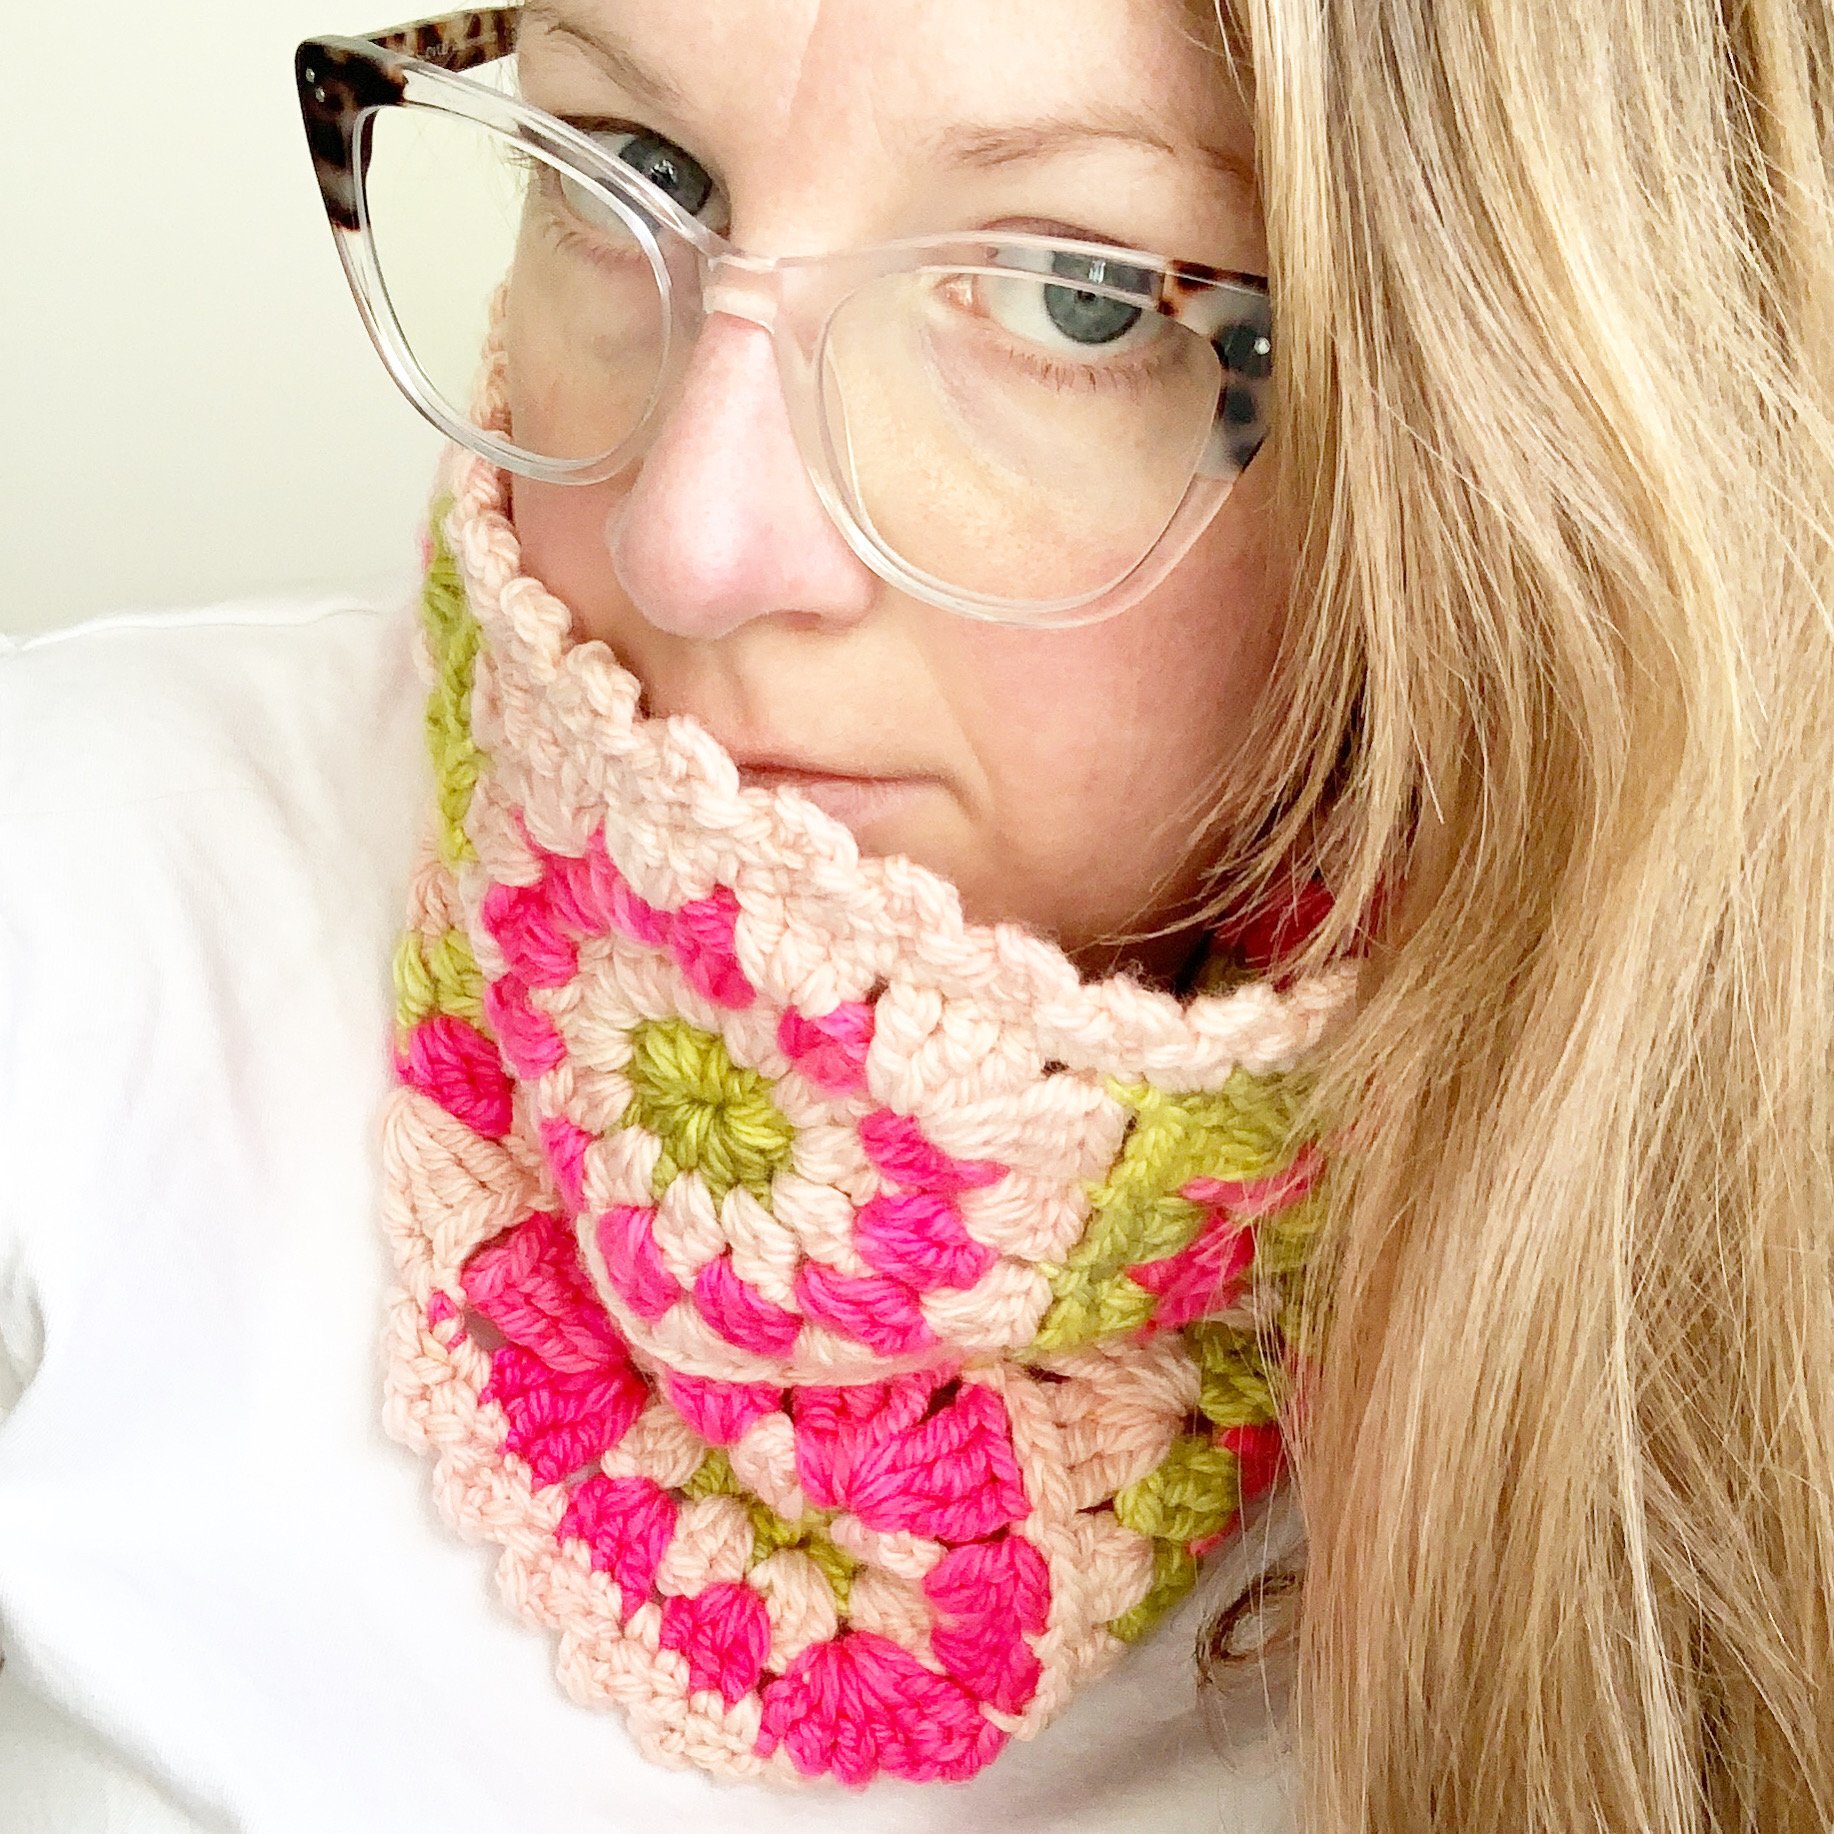
Warm, snuggly, a bright pop of colour…what more could you want? This easy and quick- to -work -up cowl is your next project.
I used a wonderful hand-dyed yarn from Hello Stella Fibres in a 100% superwash merino bulky weight. If you’ve got some lying around or want to treat yourself-this project is perfect for you.
If you can’t quite afford a hand-dyed yarn at this time-no worries! I’ve got your back… a more affordable substitute would be: Swish Bulky (100% superwash merino) from WeCrochet (affiliate link). I’ve used Swish Bulky for a number of projects (including hats for my littles) and it may just be the softest, squishiest yarn I’ve ever used…it’s completely wonderful. -Not to mention their colour selection is warm, wintery and perfect :)
L, M
ps. If you would like a printable PDF of this pattern, you can purchase it here on ETSY or RAVELRY.
Materials
US 6.00 mm crochet hook
Needle for weaving in ends
Yarn
Hello Stella Simply Stella Bulky 100% Superwash Merino (90 yds/ 100g)
Colour A: Plie (light pink) 75yds/ 83g
Colour B: First Class (bright pink) 44yds/ 48g
Colour C: Lichen (lime green) 45yds/ 50g
Finished Size
Approximately inches after blocking 11 x 9 inches.
Glossary (using US Crochet Terminology)
st- stitch
sts- stitches
ch- chain
ch sp- chain space
sl st- slip stitch
sc- single crochet
yo- yarn over
hdc- half double crochet
dc- double crochet
shell- a group of stitches all worked in the same space
jaygo- continuous join as you go
cl st(s)- cluster stitch(es)
2 dc cl st- 2 double crochet cluster stitch

How to Crochet the 2 dc cl st:
YO, insert hook into center of circle.
YO and pull up a loop.
YO and pull through 2 loops on hook.
YO and insert hook into center of circle.
YO and pull up a loop.
YO and pull through 2 loops on hook, YO and pull through 3 loops on hook.
Ch 1.

Pattern Notes
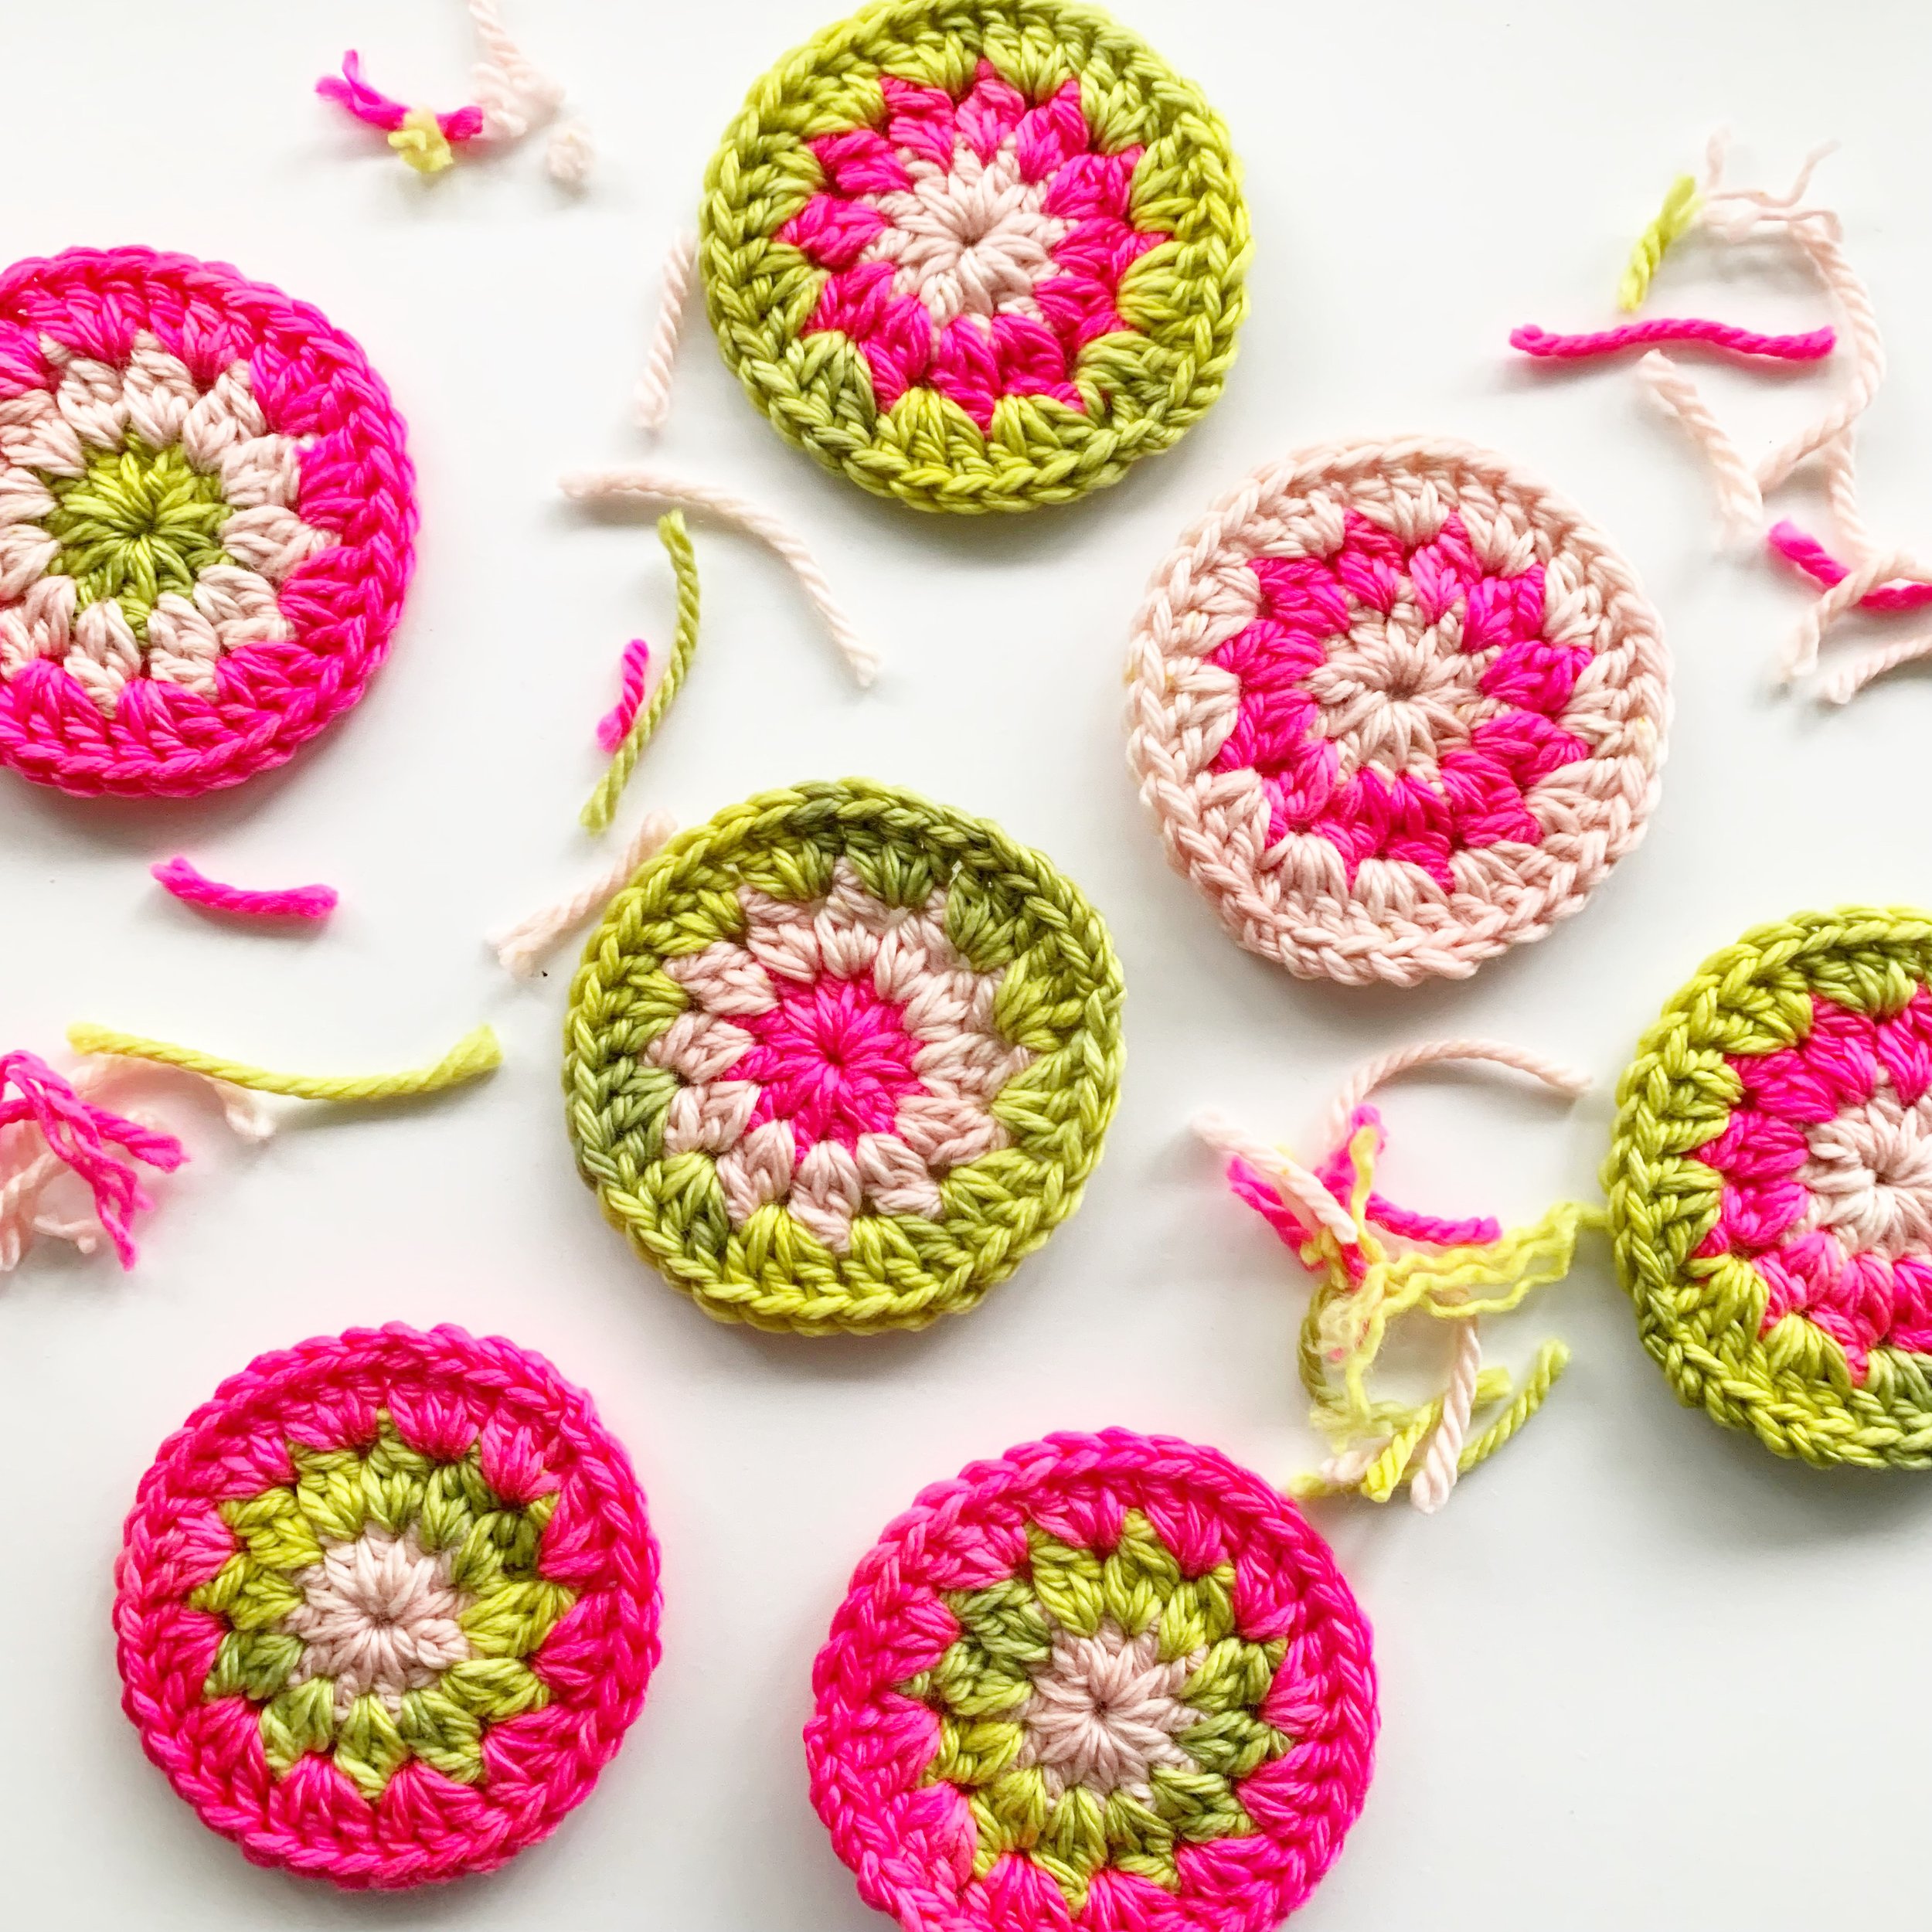
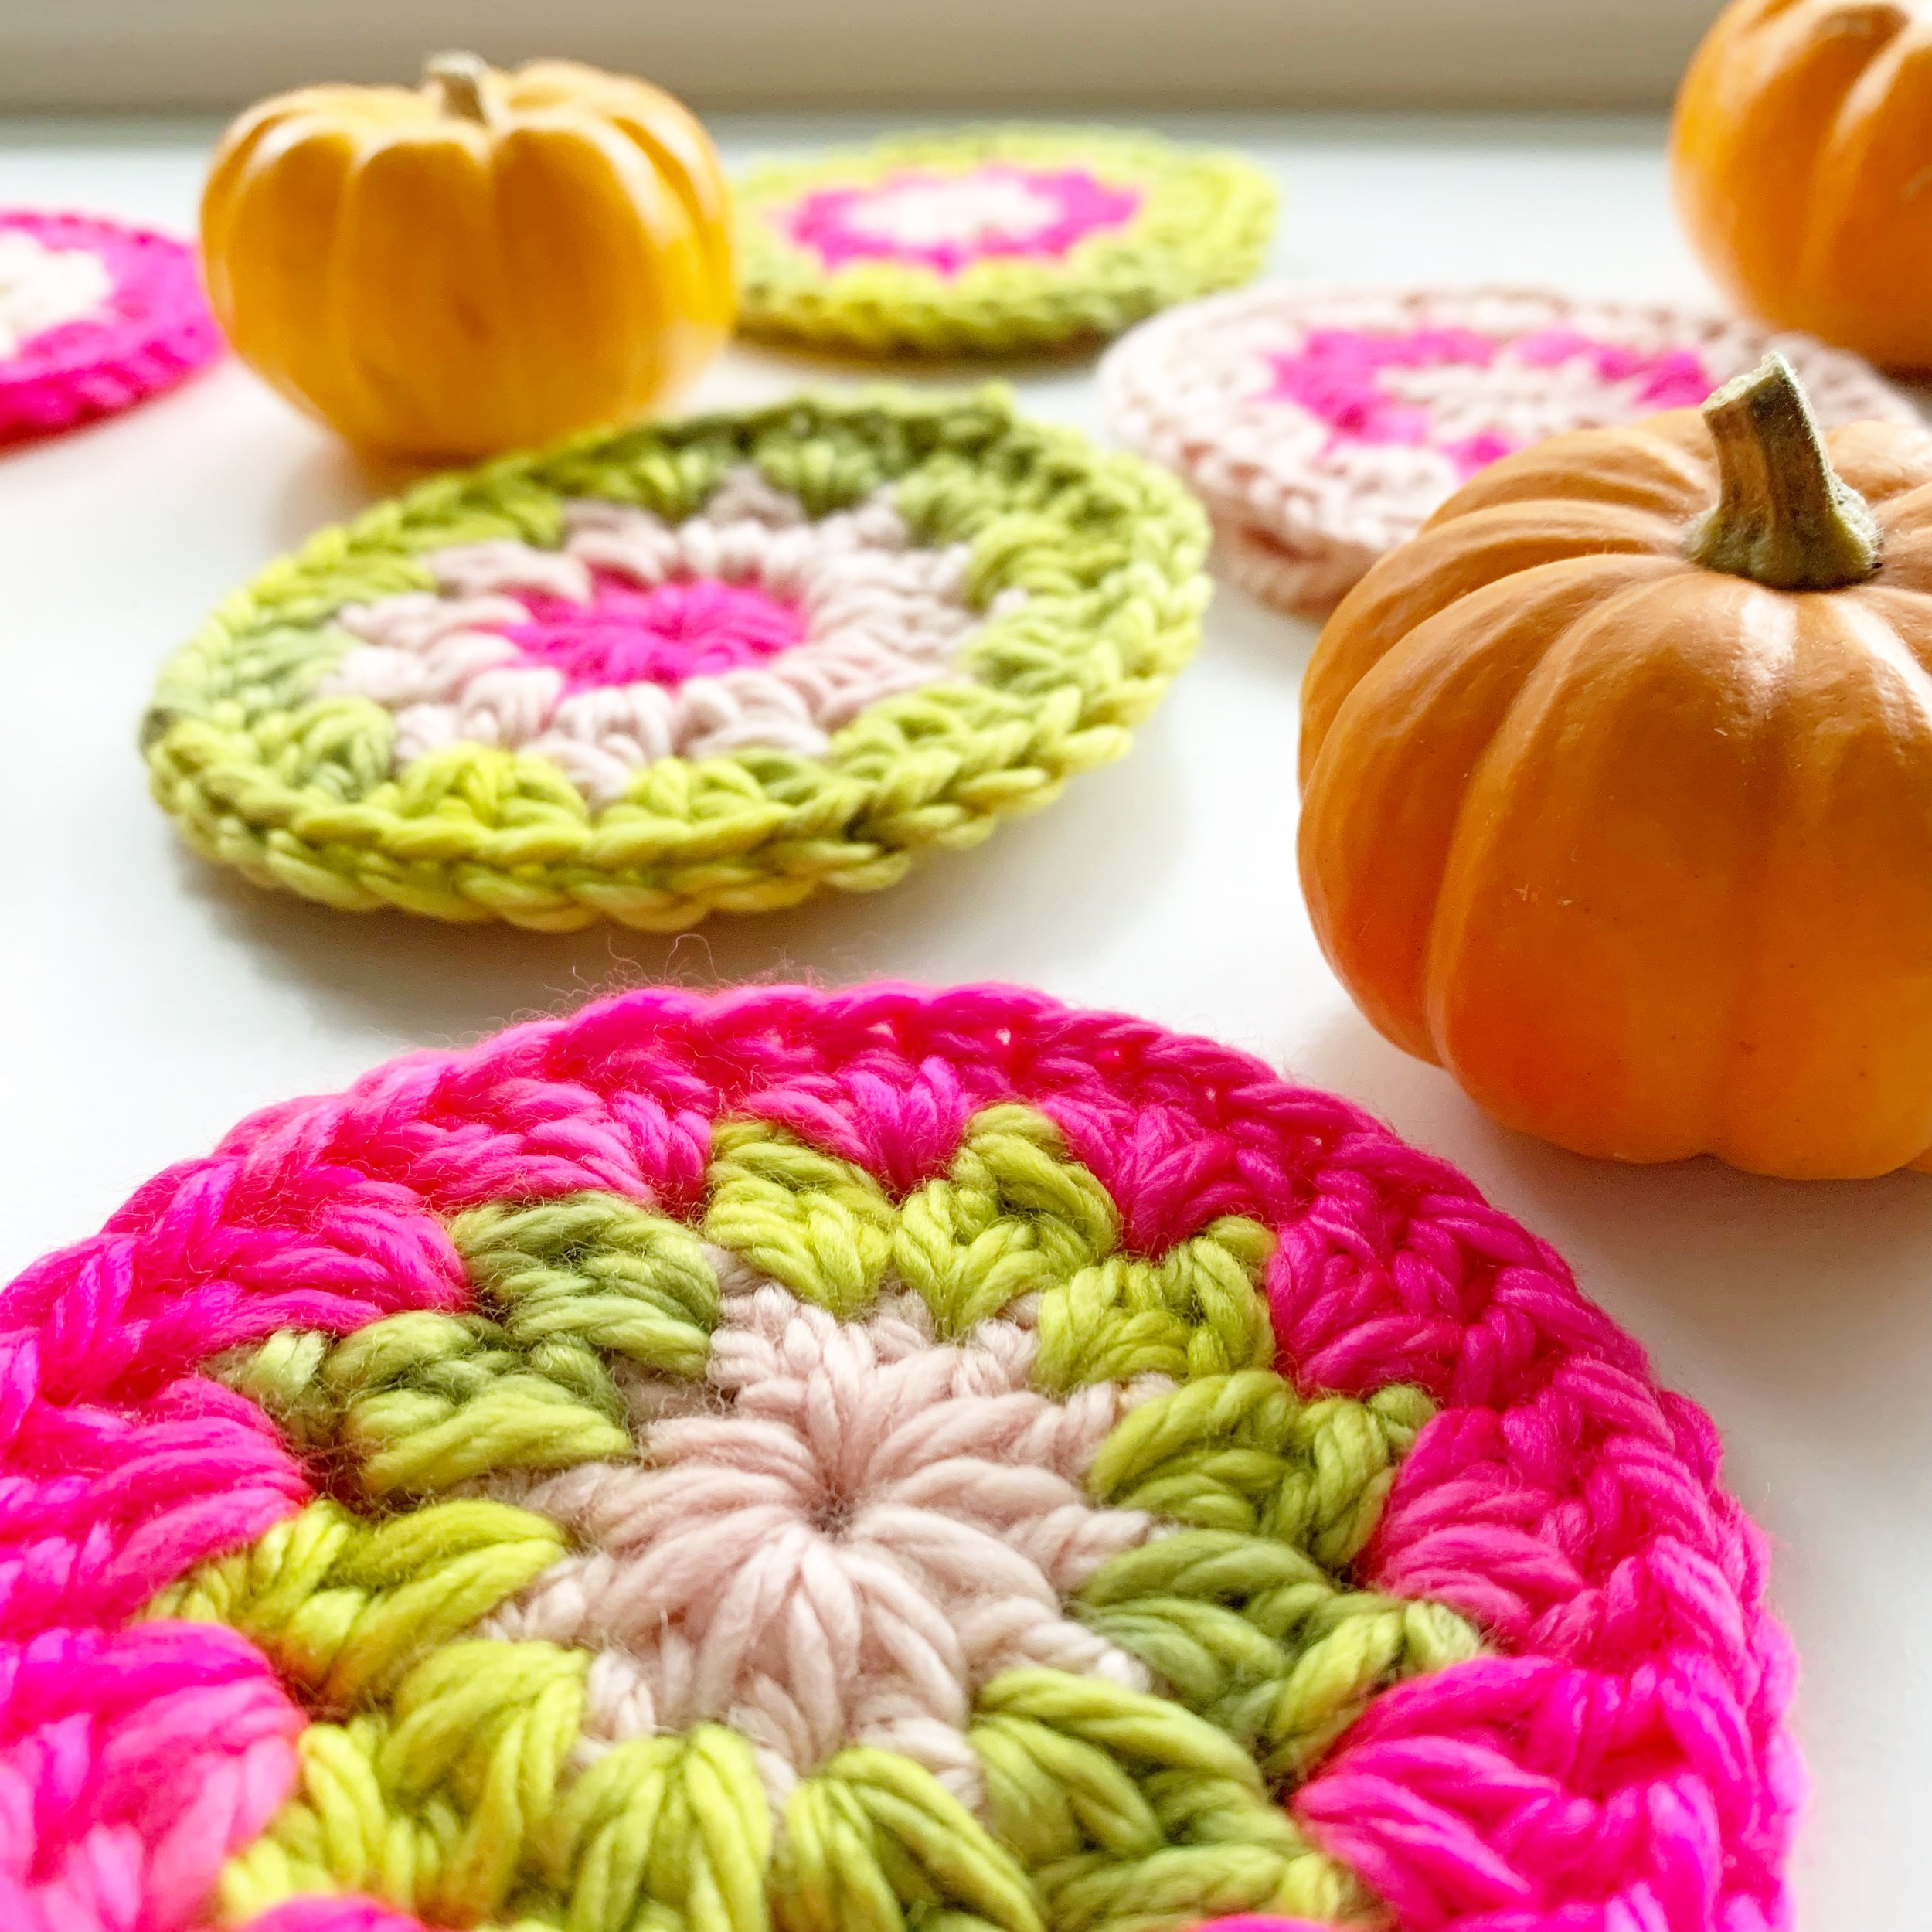
Each granny square consists of 4 rounds and measures approximately 4.5” inches.
Gauge will affect yarn quantities. If your squares are large than 4.5” inches square, you will require more yarn.
If you want to use a larger or smaller hook; please note that your yarn quantities will differ from the pattern.
For this cowl I chose to work them together using a join as you go method.
Don’t forget to share your makes on Instagram and Facebook! I always love seeing what you have all worked up. Tag me on Instagram @nautikrallcrochet or Facebook @nautikrall_crochet
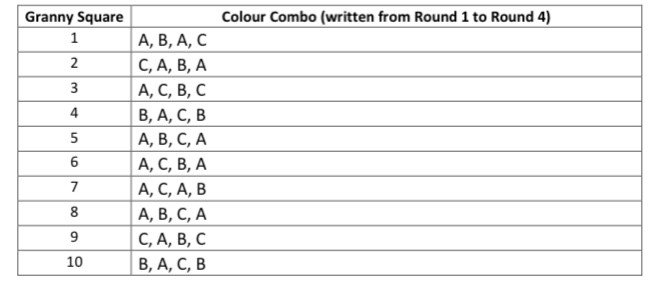
Pattern Graph


Pattern Chart
Pattern Starburst Granny Square
**Note: If joining cowl using the JAYGO method then only complete rounds 1-4 for the very first Granny Square. Each motif afterwards will use the 4th round as the joining round.
**Make 10 starbursts
Round 1
With first colour, Ch 4.
Sl st into 4th ch from hook to create centre ring.
Ch 2, work 11 dc into centre ring (12 dc total).
Join with sl st to the first dc of round (not the ch 2).
Fasten off.
Round 2
Join next colour in between any 2 dc sts.
Ch 2 and work a dc into same sp, ch 1 (counts as first cluster st).
Work a 2 dc cl st into each sp between dc sts from the previous round (12 cluster sts).
Sl st into the first ch 1 space of the round (not into the top of the cluster st).
Fasten off.

Round 3
Join next colour into any ch 1 sp from previous round.
Ch 2, work 2 dc into same space.
In the next ch 1 sp and each ch 1 sp around; work 3 dc sts (12 shells).
Join round with sl st into the top of the first dc (not the ch 2).
Fasten off.
Round 4
Join next colour into any sp between dc shells and ch 3.
Work 2 tr, ch 2, 3 tr into same space (first corner).
Work 3 dc into the next 2 spaces between dc shells.
Work 3 tr, ch 2, 3 tr into next space between dc shells (second corner).
Work 3 dc into the next 2 spaces between dc shells.
Work 3 tr, ch 2, 3 tr into next space between dc shells (third corner).
Work 3 dc into the next 2 spaces between dc shells.
Work 3 tr, ch 2, 3 tr into next space between dc shells (fourth corner).
Work 3 dc into the next 2 spaces between dc shells.
Sl st into top of first tr to join round (not the ch 3).
Fasten off.
**Please see the video tutorial below on how to make these squares:
Assembling Cowl
With 9 starbursts (Rounds 1-3) complete and 1 Granny Square (Round 1-4) complete, arrange squares using the above Pattern Chart/Graph.
The 4th round of each starburst will be used to join to each subsequent square.
**Please see the video tutorial below on how to join these squares using JAYGO:
Border
Round 1
Join colour A into the top of any st and ch 1.
Work a sc into every stitch around the cowl.
Join with a sl st to the first sc (not the ch 1.)
Do not fasten off.
Round 2 (Picot Border)
*Ch 3.
Sc into 3rd ch from hook (the bottom of same st).
Skip next st and sl st into the next st (2nd st from hook).*
Repeat from * to * all the way around cowl.
Finish with a sl st into base of first picot st.
Fasten off.
*Repeat both rounds of border on the bottom edge of cowl.
~ The End ~
The pattern, the photographs and video tutorials in this document are the property of Nautikrall Crochet. You may sell items you make from this pattern; but may not sell, reproduce, or distribute this pattern, in whole or in part, as your own.
Copyright © 2022 Nautikrall Crochet – All right reserved.