
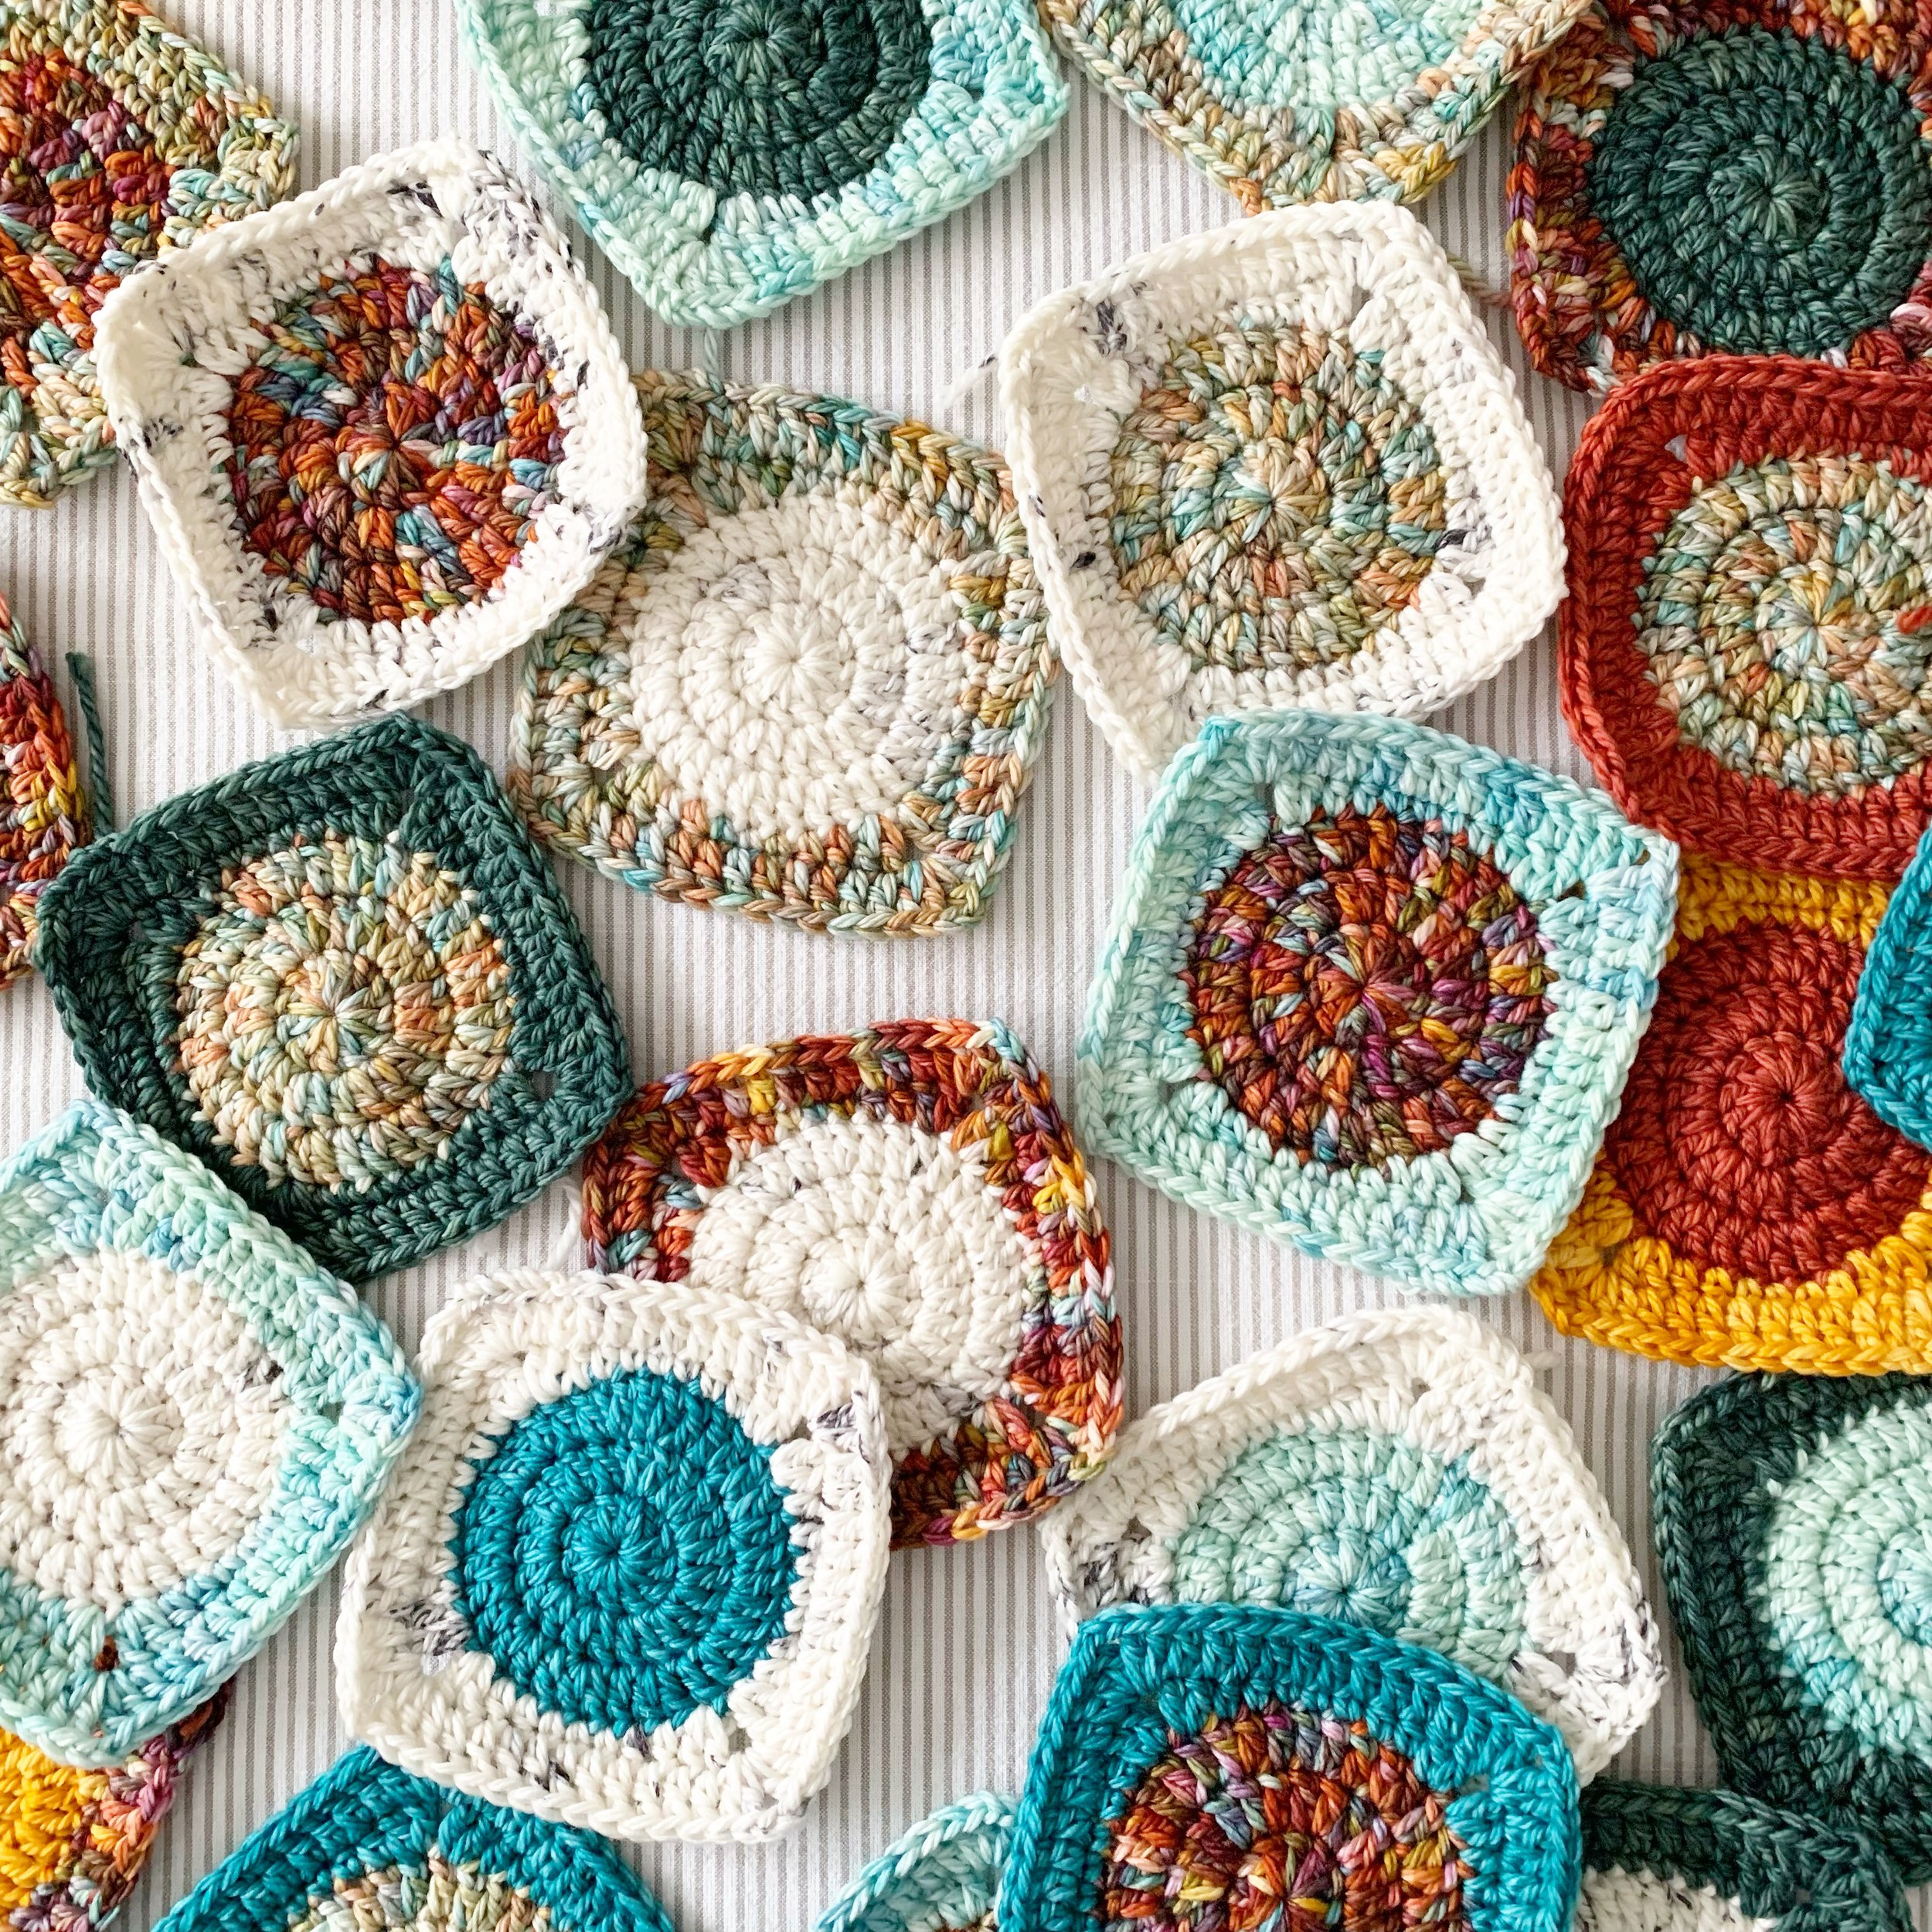
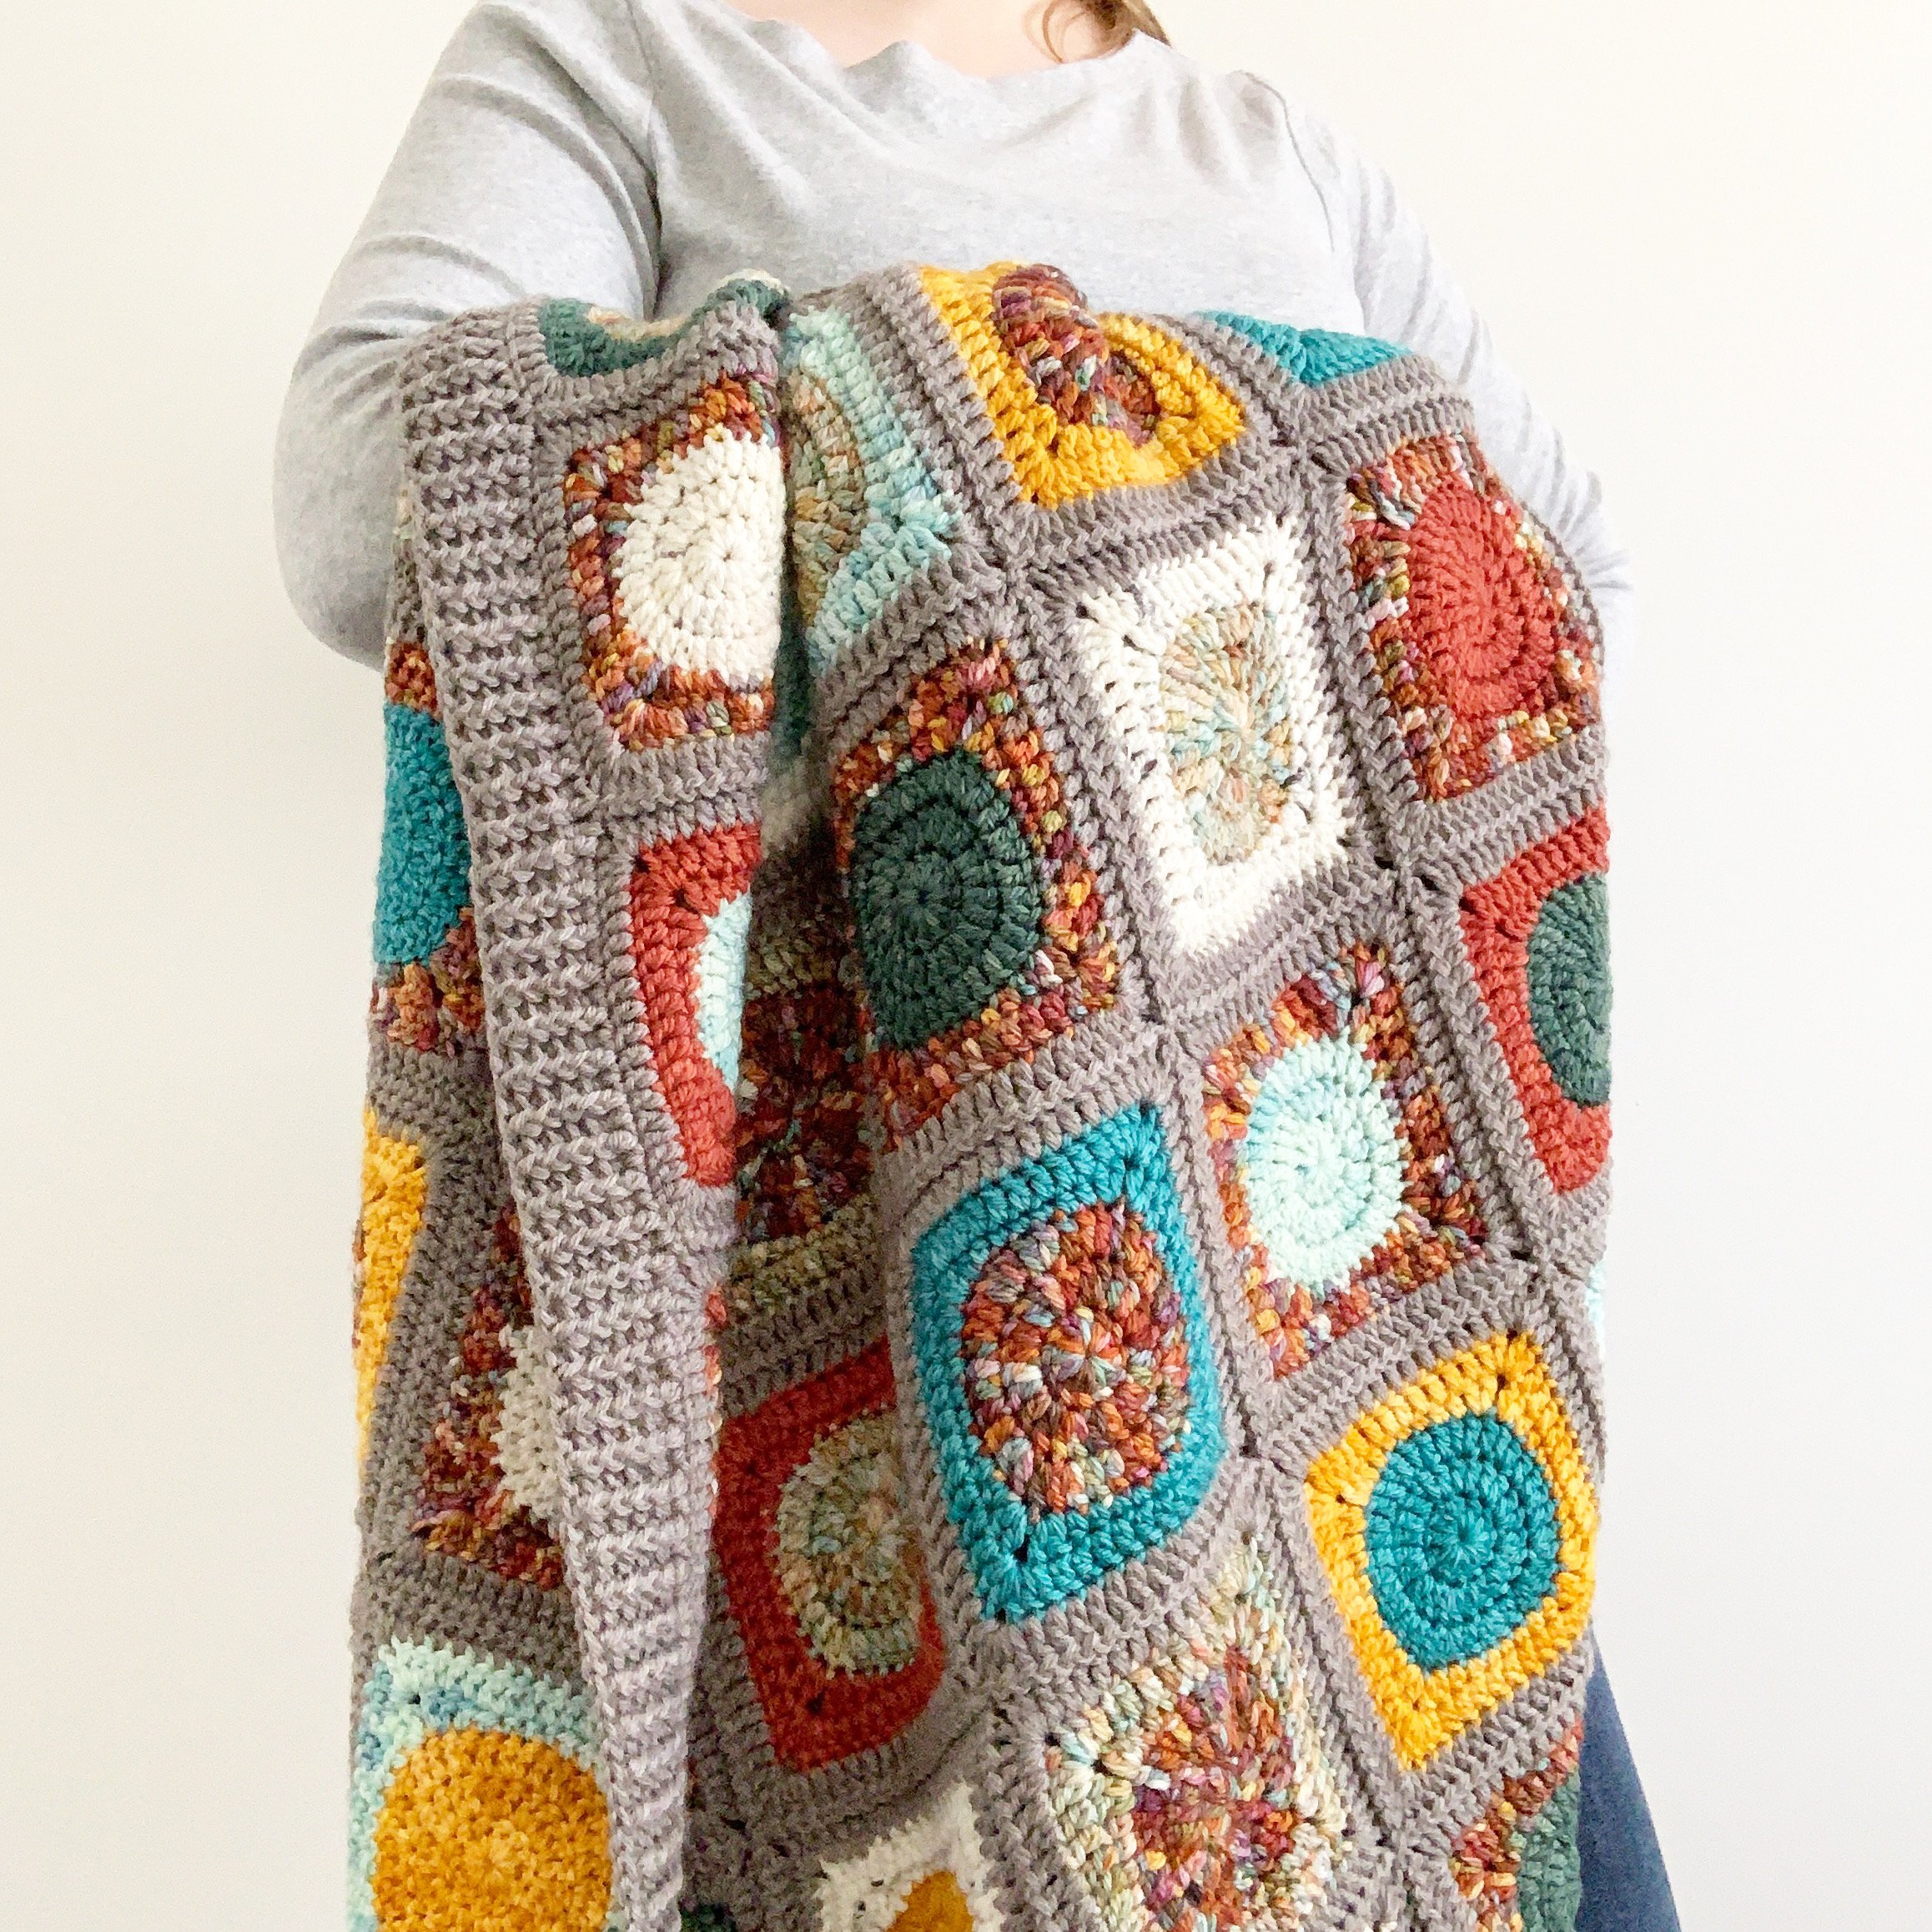
How to Crochet a Seamless Looking Circle in a Square Granny Square
This post contains affiliate links. Affiliate links cost you nothing, but when purchasing through these links you help me earn a small commission. This supports me and my family and my continued efforts to bring you free patterns.
Intro
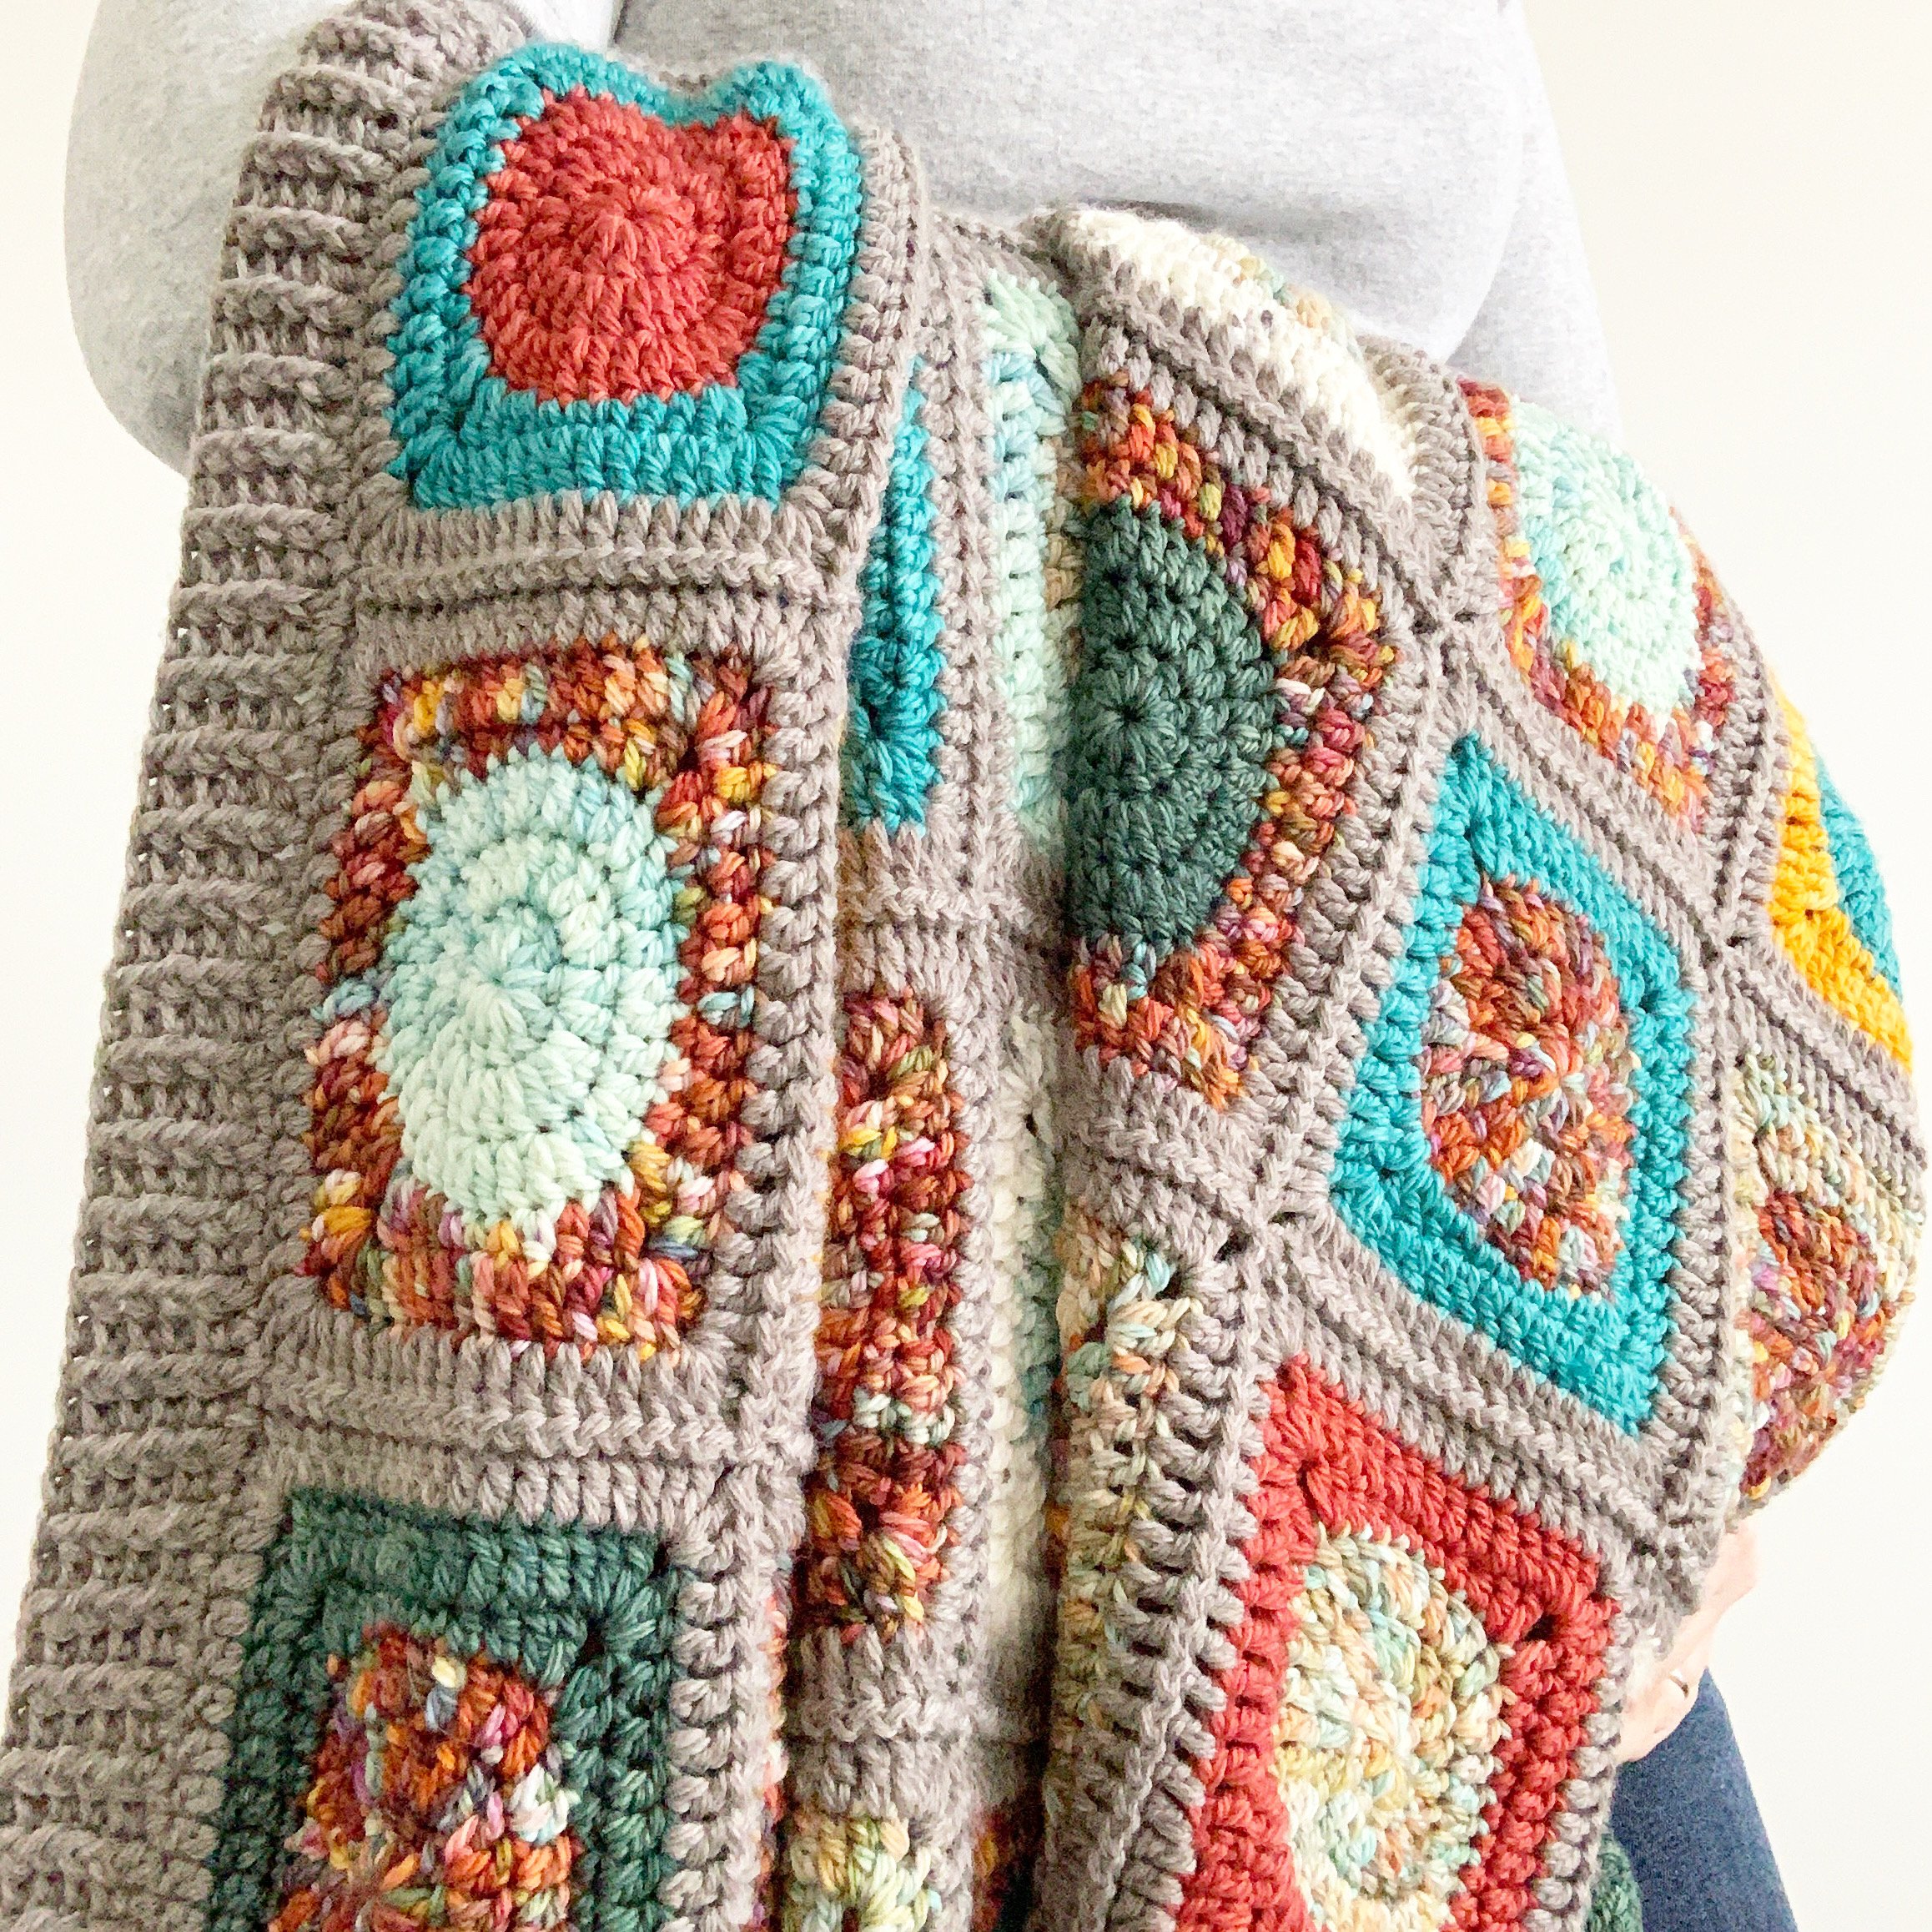
Back in the fall I decided I wanted to make a special blanket for the house *ahem*-myself. “Special” meaning…I wanted to work with “fancy” yarns…you know the ones….they’re hand dyed, look and feel amazing and cost $32/skein. —Yikes!
I know what you’re thinking. Mal—that’s nuts. But I’ll throw this out there—is it really? We are so used to this idea that everything needs to be “cheap” or “inexpensive” that we’ve forgotten what it is to purchase things made by people in our own backyard. These skeins of lovingly dyed yarn are not only some of the best quality yarns (usually merino, alpaca, etc.), but they’re not made in some far away factory with severely underpaid workers in crappy conditions. In addition to that—when you crochet every single day of your life, you definitely come to appreciate a good quality yarn.
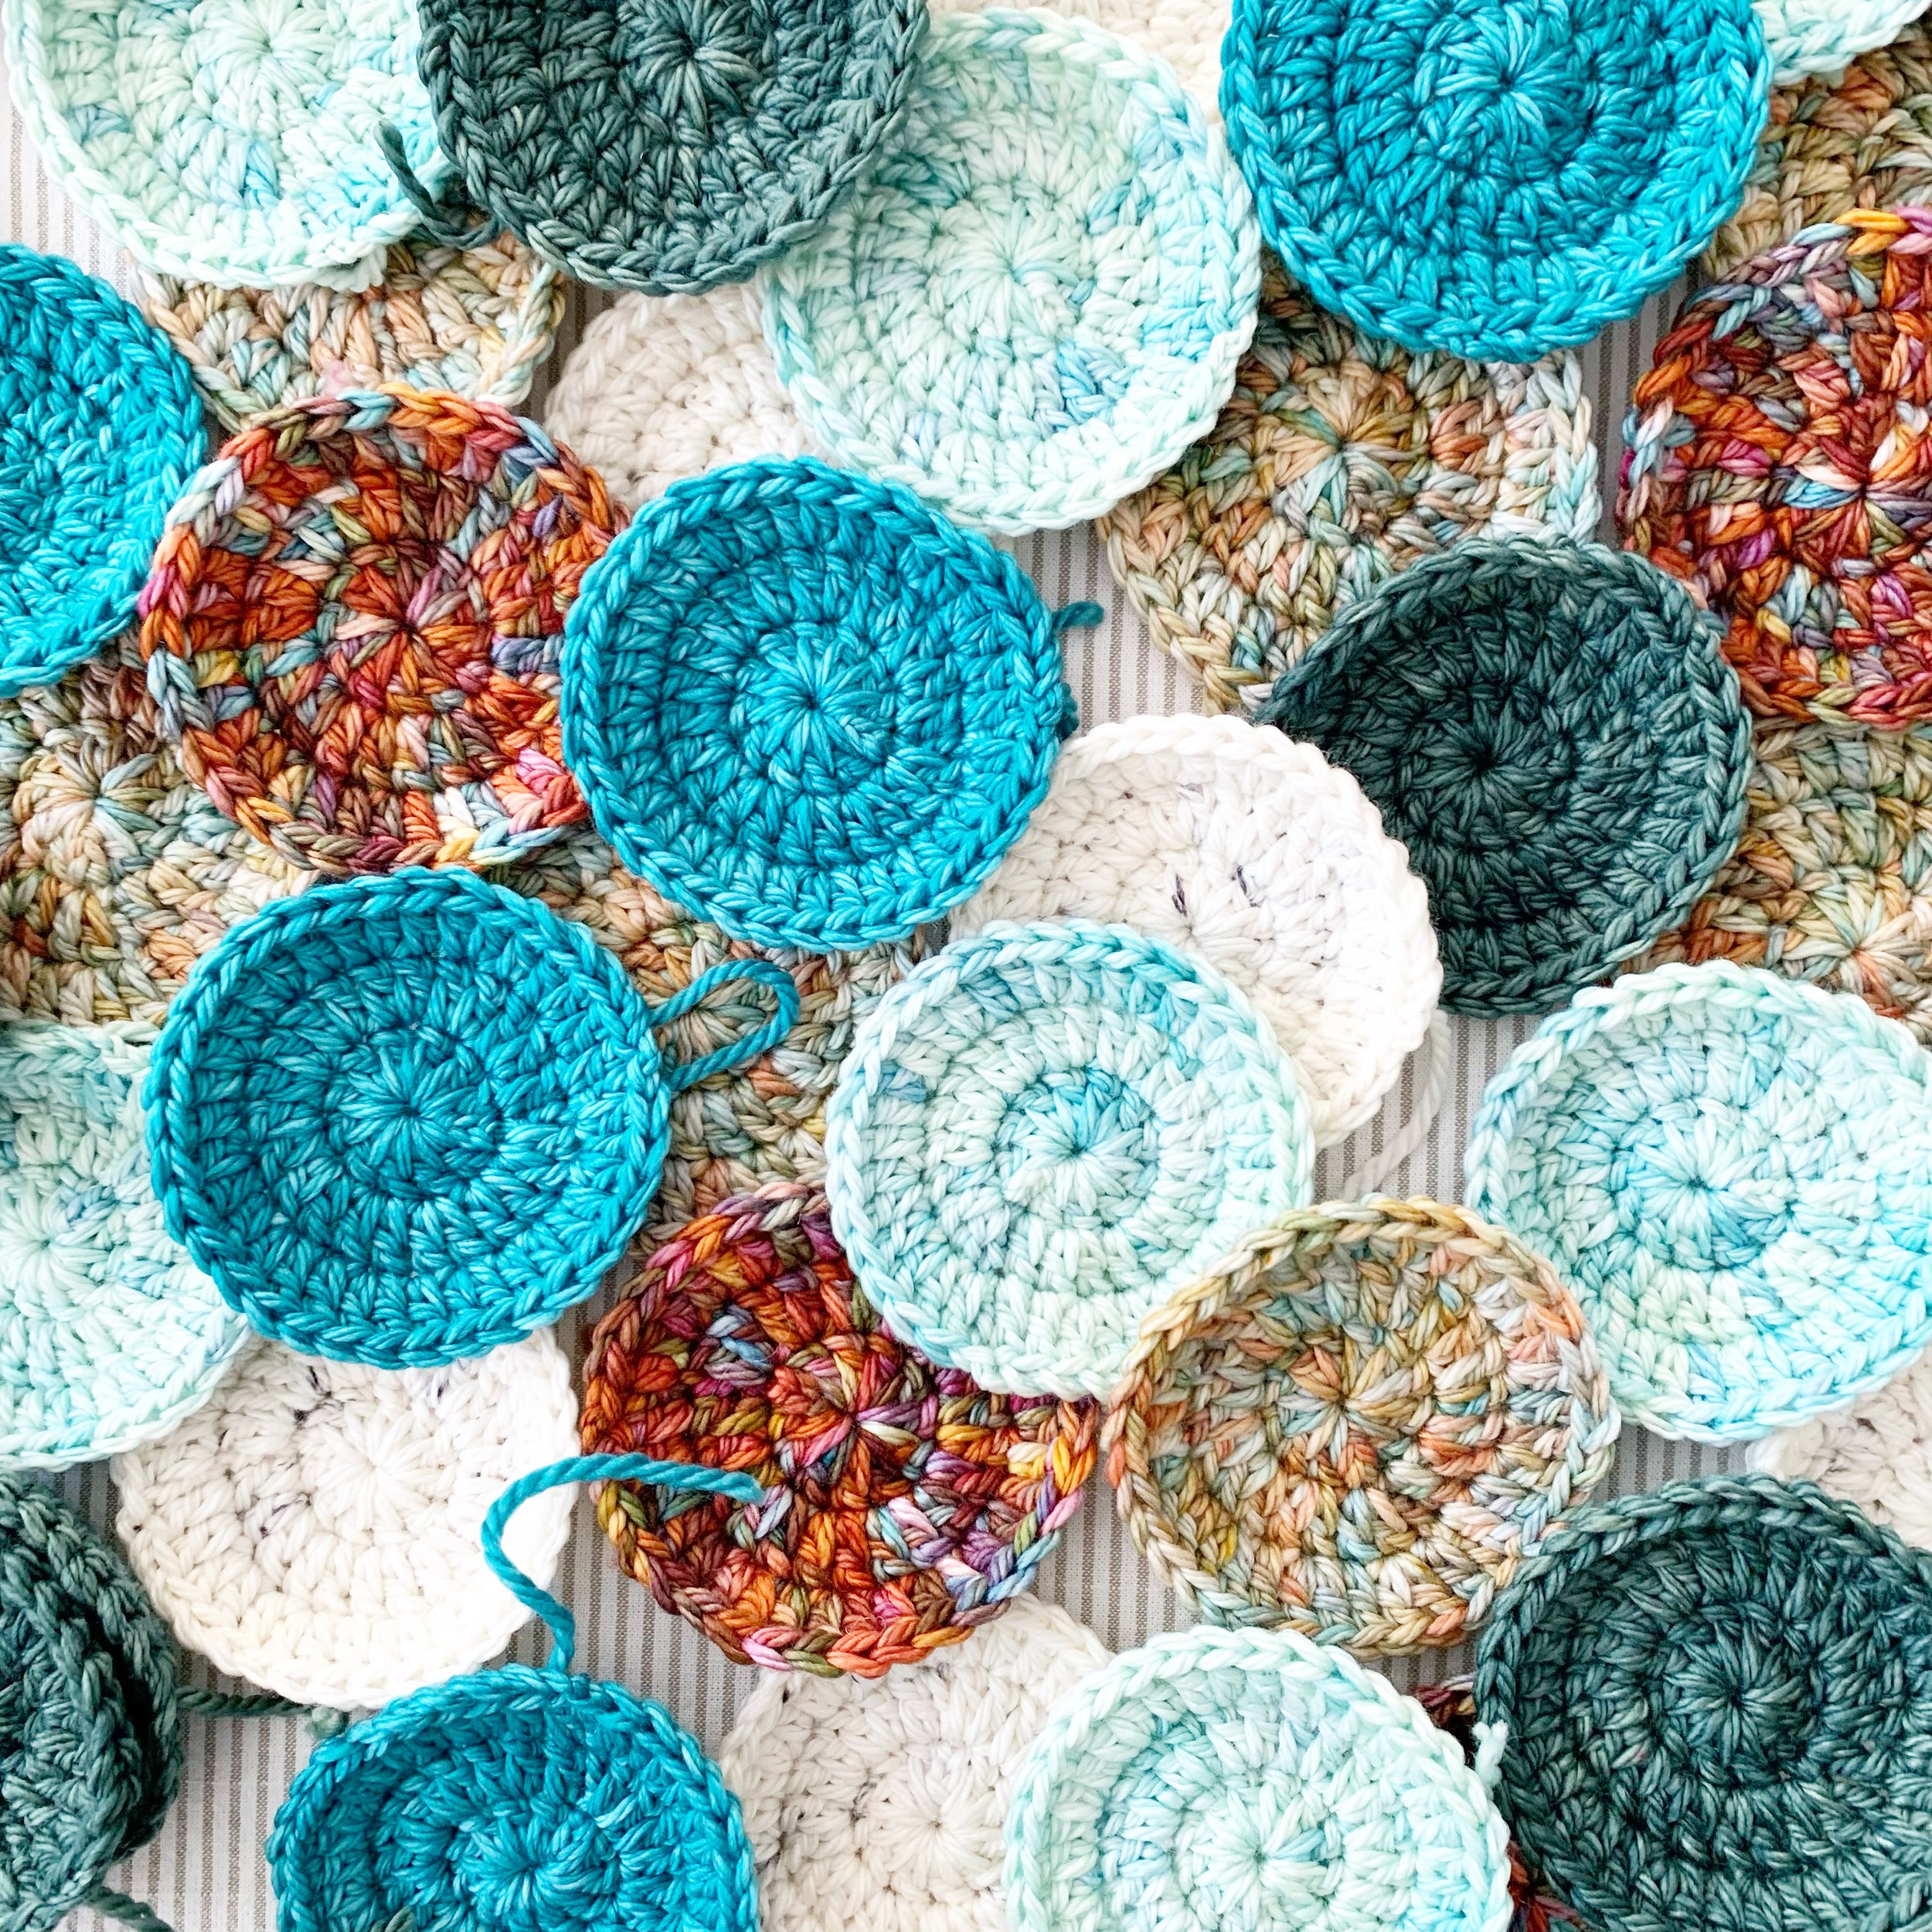
So- where to start? Well a wise bird once said “We collect the pretty things…then figure out what to do with them later….” —I like this, and it’s exactly what I did. I started off with a couple gorgeous skeins of yarn and bit by bit collected more. I couldn’t afford (at the time) to purchase a blanket quantity of hand-dyed yarns so I took my time with it.
Then I got stuck—it’s all fine and dandy to make a bunch of gorgeous granny squares with hand-dyed yarn—but then what? What on earth am I going to join them up with? Now I have to purchase 10-12 skeins (maybe more, maybe less) of a background colour to join them all. One night I had an epiphany. My “favouritest” yarn company has a merino wool line—-I wonder….
Enter Swish by (WeCrochet or KnitPicks).*affiliate link. —It’s 100% superwash merino wool and comes in DK, Worsted, Bulky and Bare. All of a sudden I can make my endeavor here a much more affordable one. Not only does this line come in an amazing array of colours—but it comes in all the weights you’ll need too. What’s even better? It comes in a “bare” version as well. This means you can buy a gorgeous “non-dyed” skein in the perfect soft white colour in 100g hanks—and it’s even less money than their regular line. —Sign me up!! ******I should mention that the Bare Swish is now only available through KnitPicks (it used to be both KnitPicks and WeCrochet, but there seems to have been some rearranging).
In the end I did choose a dyed colour to join my squares, but every time they have a sale I stock up on the bare yarns for all those other things I’m planning, hahaha!
Below you will find the written instructions for the seamless circle in a granny square and video tutorial to help you make them. I also include all the yarn quantities I used for my blanket if you’d like a general idea of where to start for making your own! Because this was a personal project and never meant to be a full pattern—I’ve just included the bare essentials to help you plan your own blanket. Hope it helps!
Love,
M

Materials
5mm hook
needle for sewing in ends
Yarn
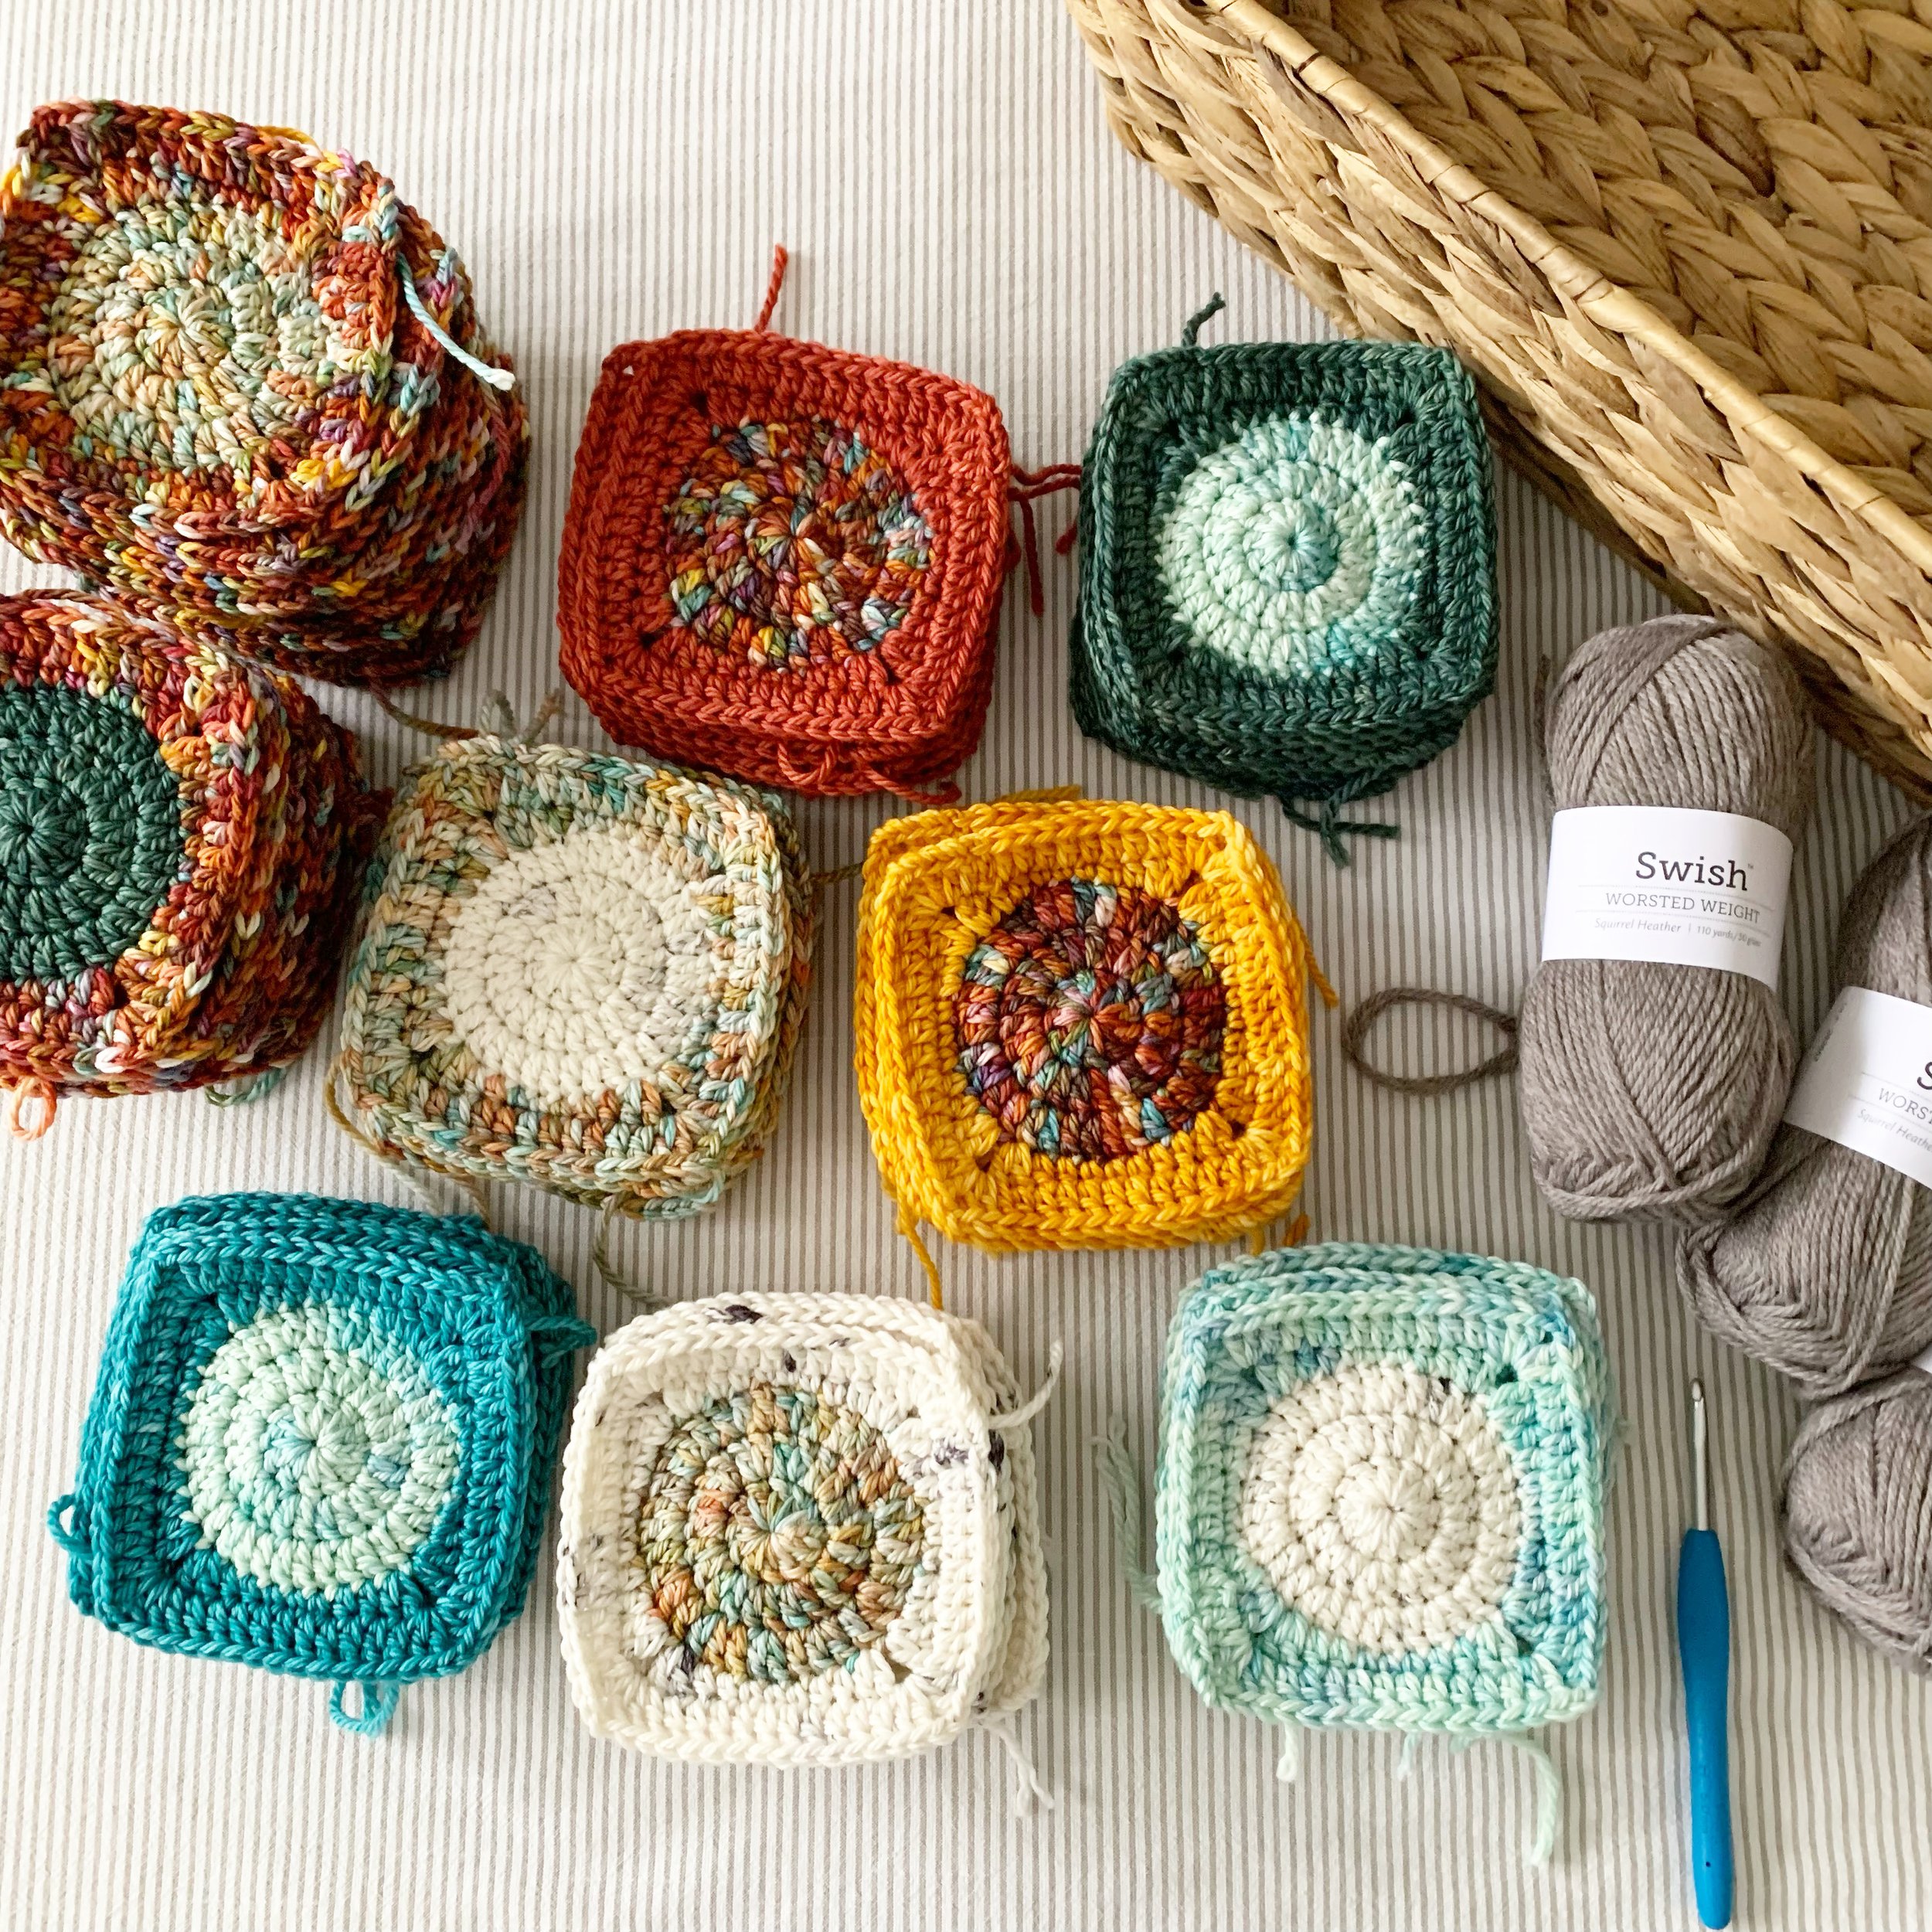
Ravenswood Fiber Co. Aran/Wosted (181 yds/100g) 100% SW Merino Wool
Painted Autumn- 3 skeins
Christmas Fox- 1 skein
Birch- 1 skein
Paprika- 1 skein
Curry- 1 skein
Nautical- 1 skein
Sea Glass- 1 skein
Veridian- 1 skein
*****I used every last scrap of each of these skeins- there was only a few inches left of each colour.
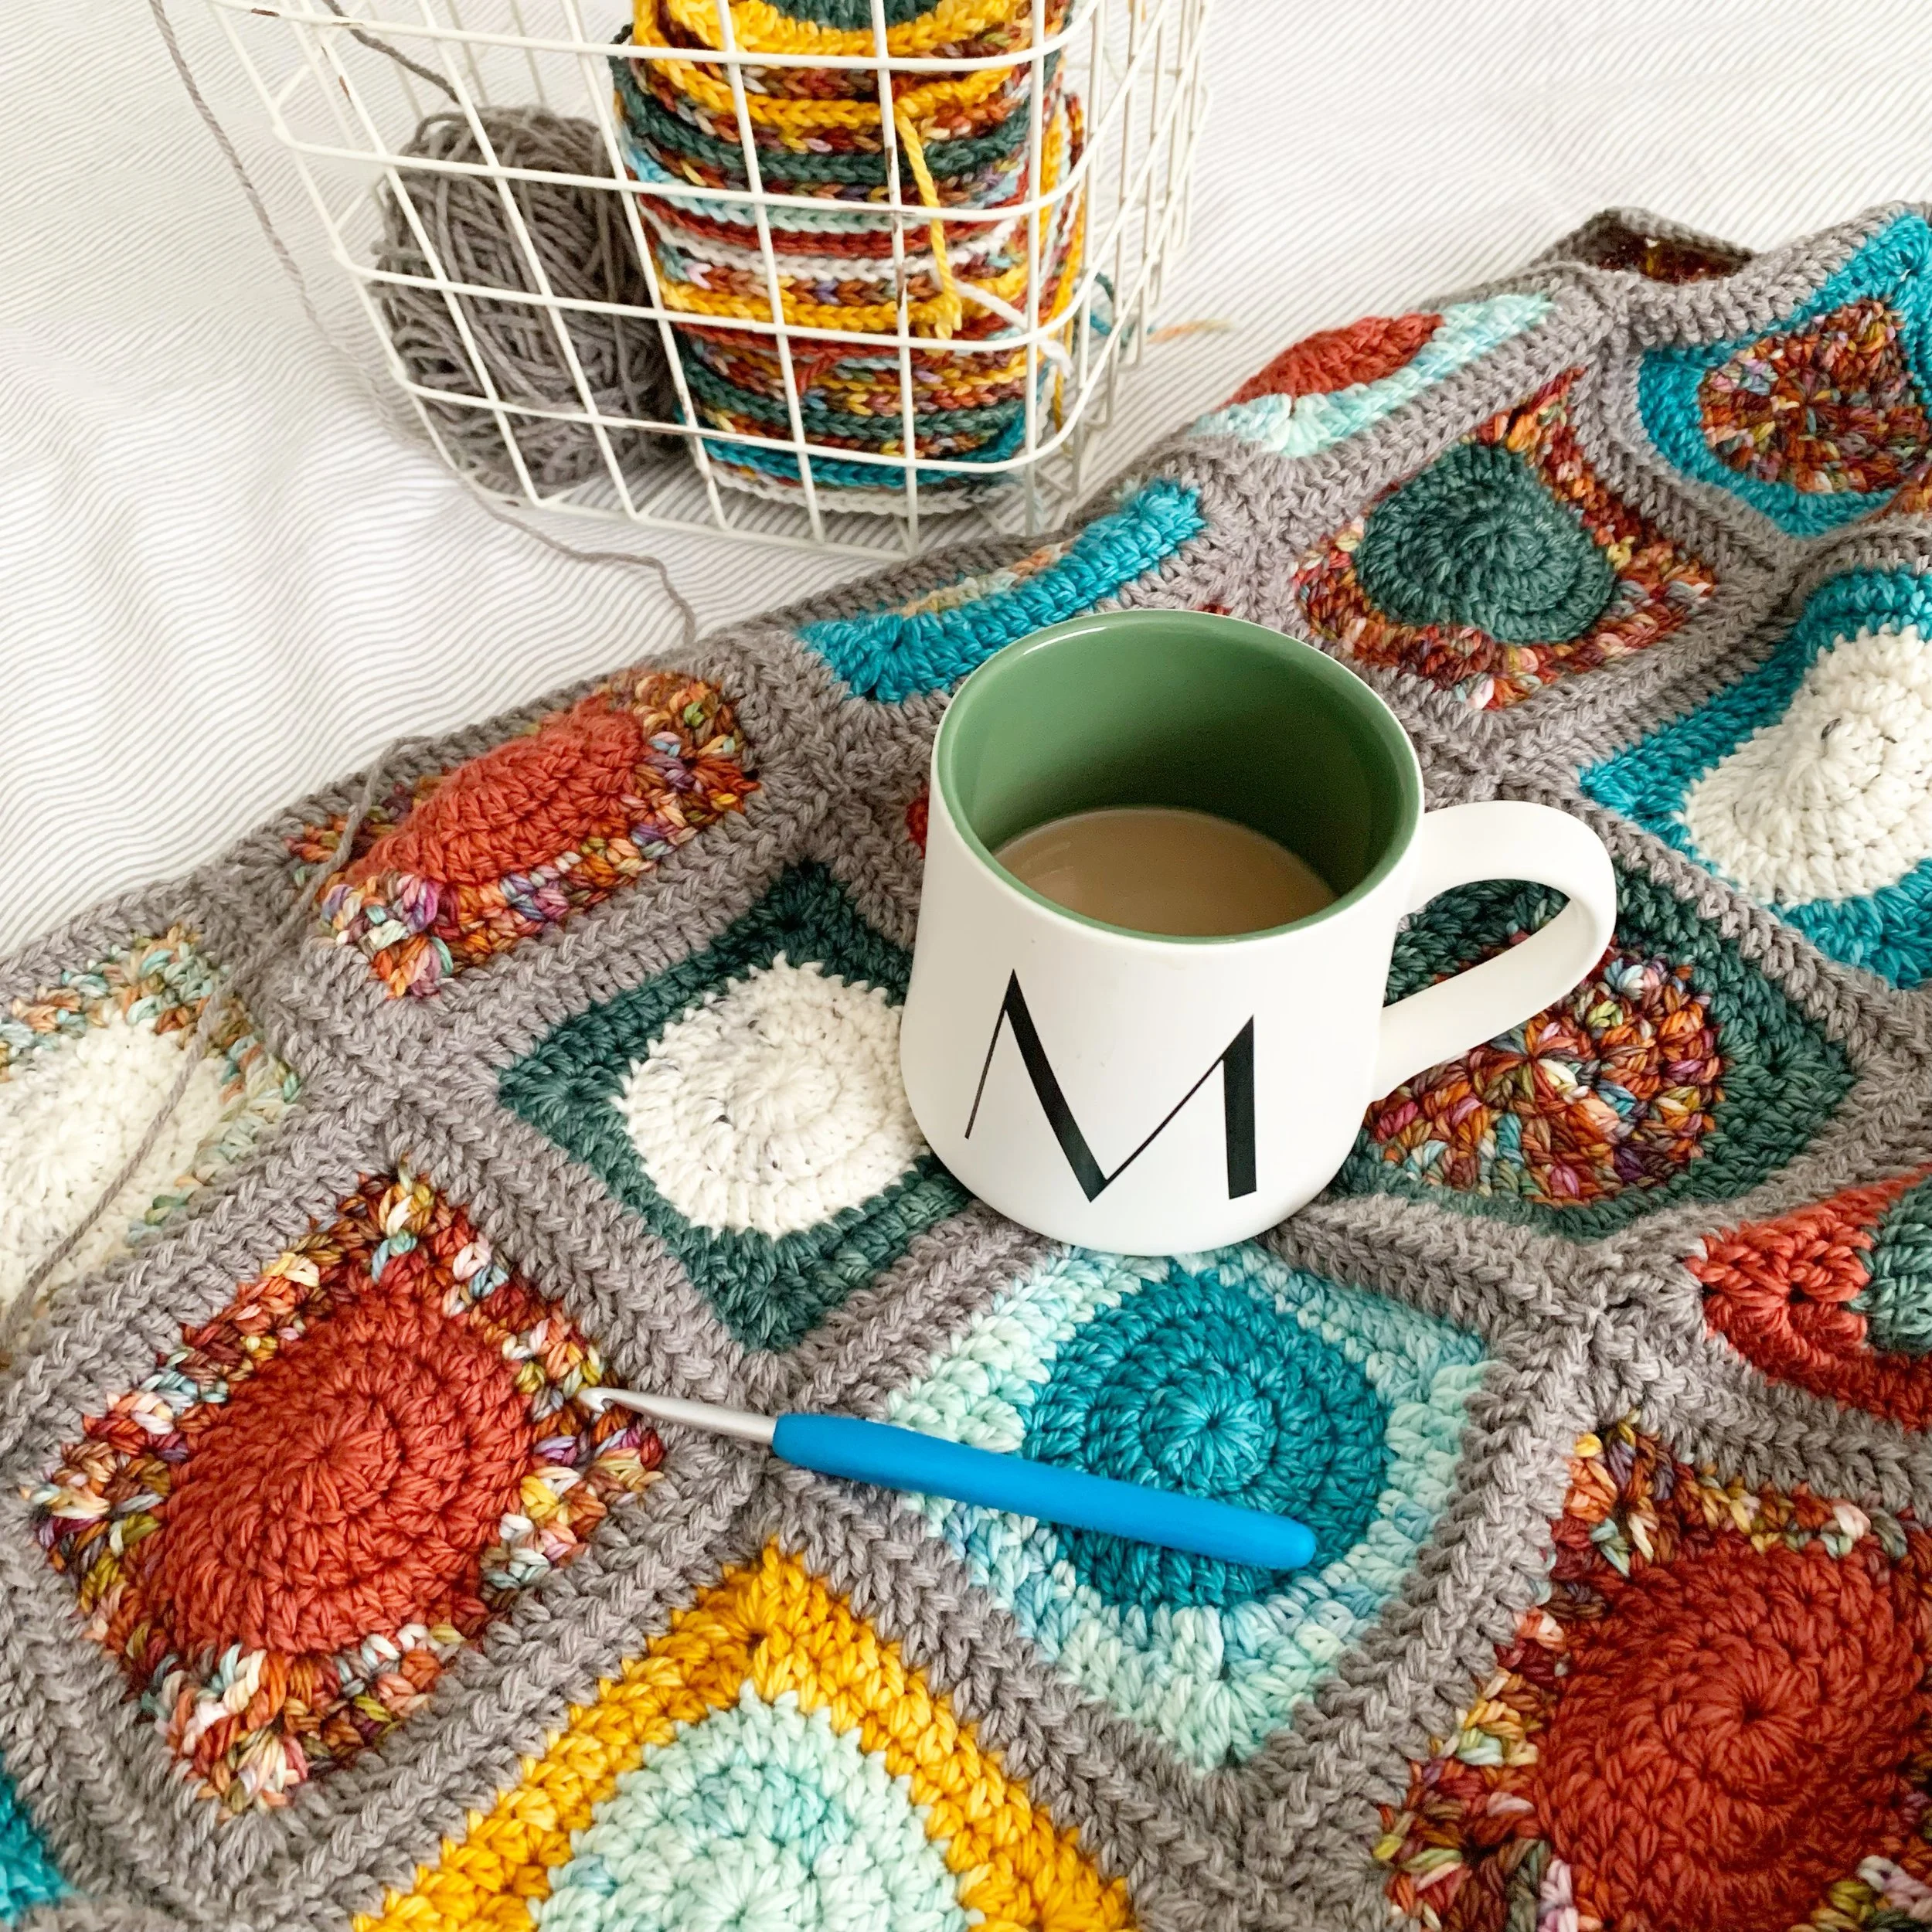
WeCrochet Swish Worsted (110yds/50g) 100% SW Merino Wool *affiliate link
Squirrel Heather (1199yds/ 545g)- 11 skeins

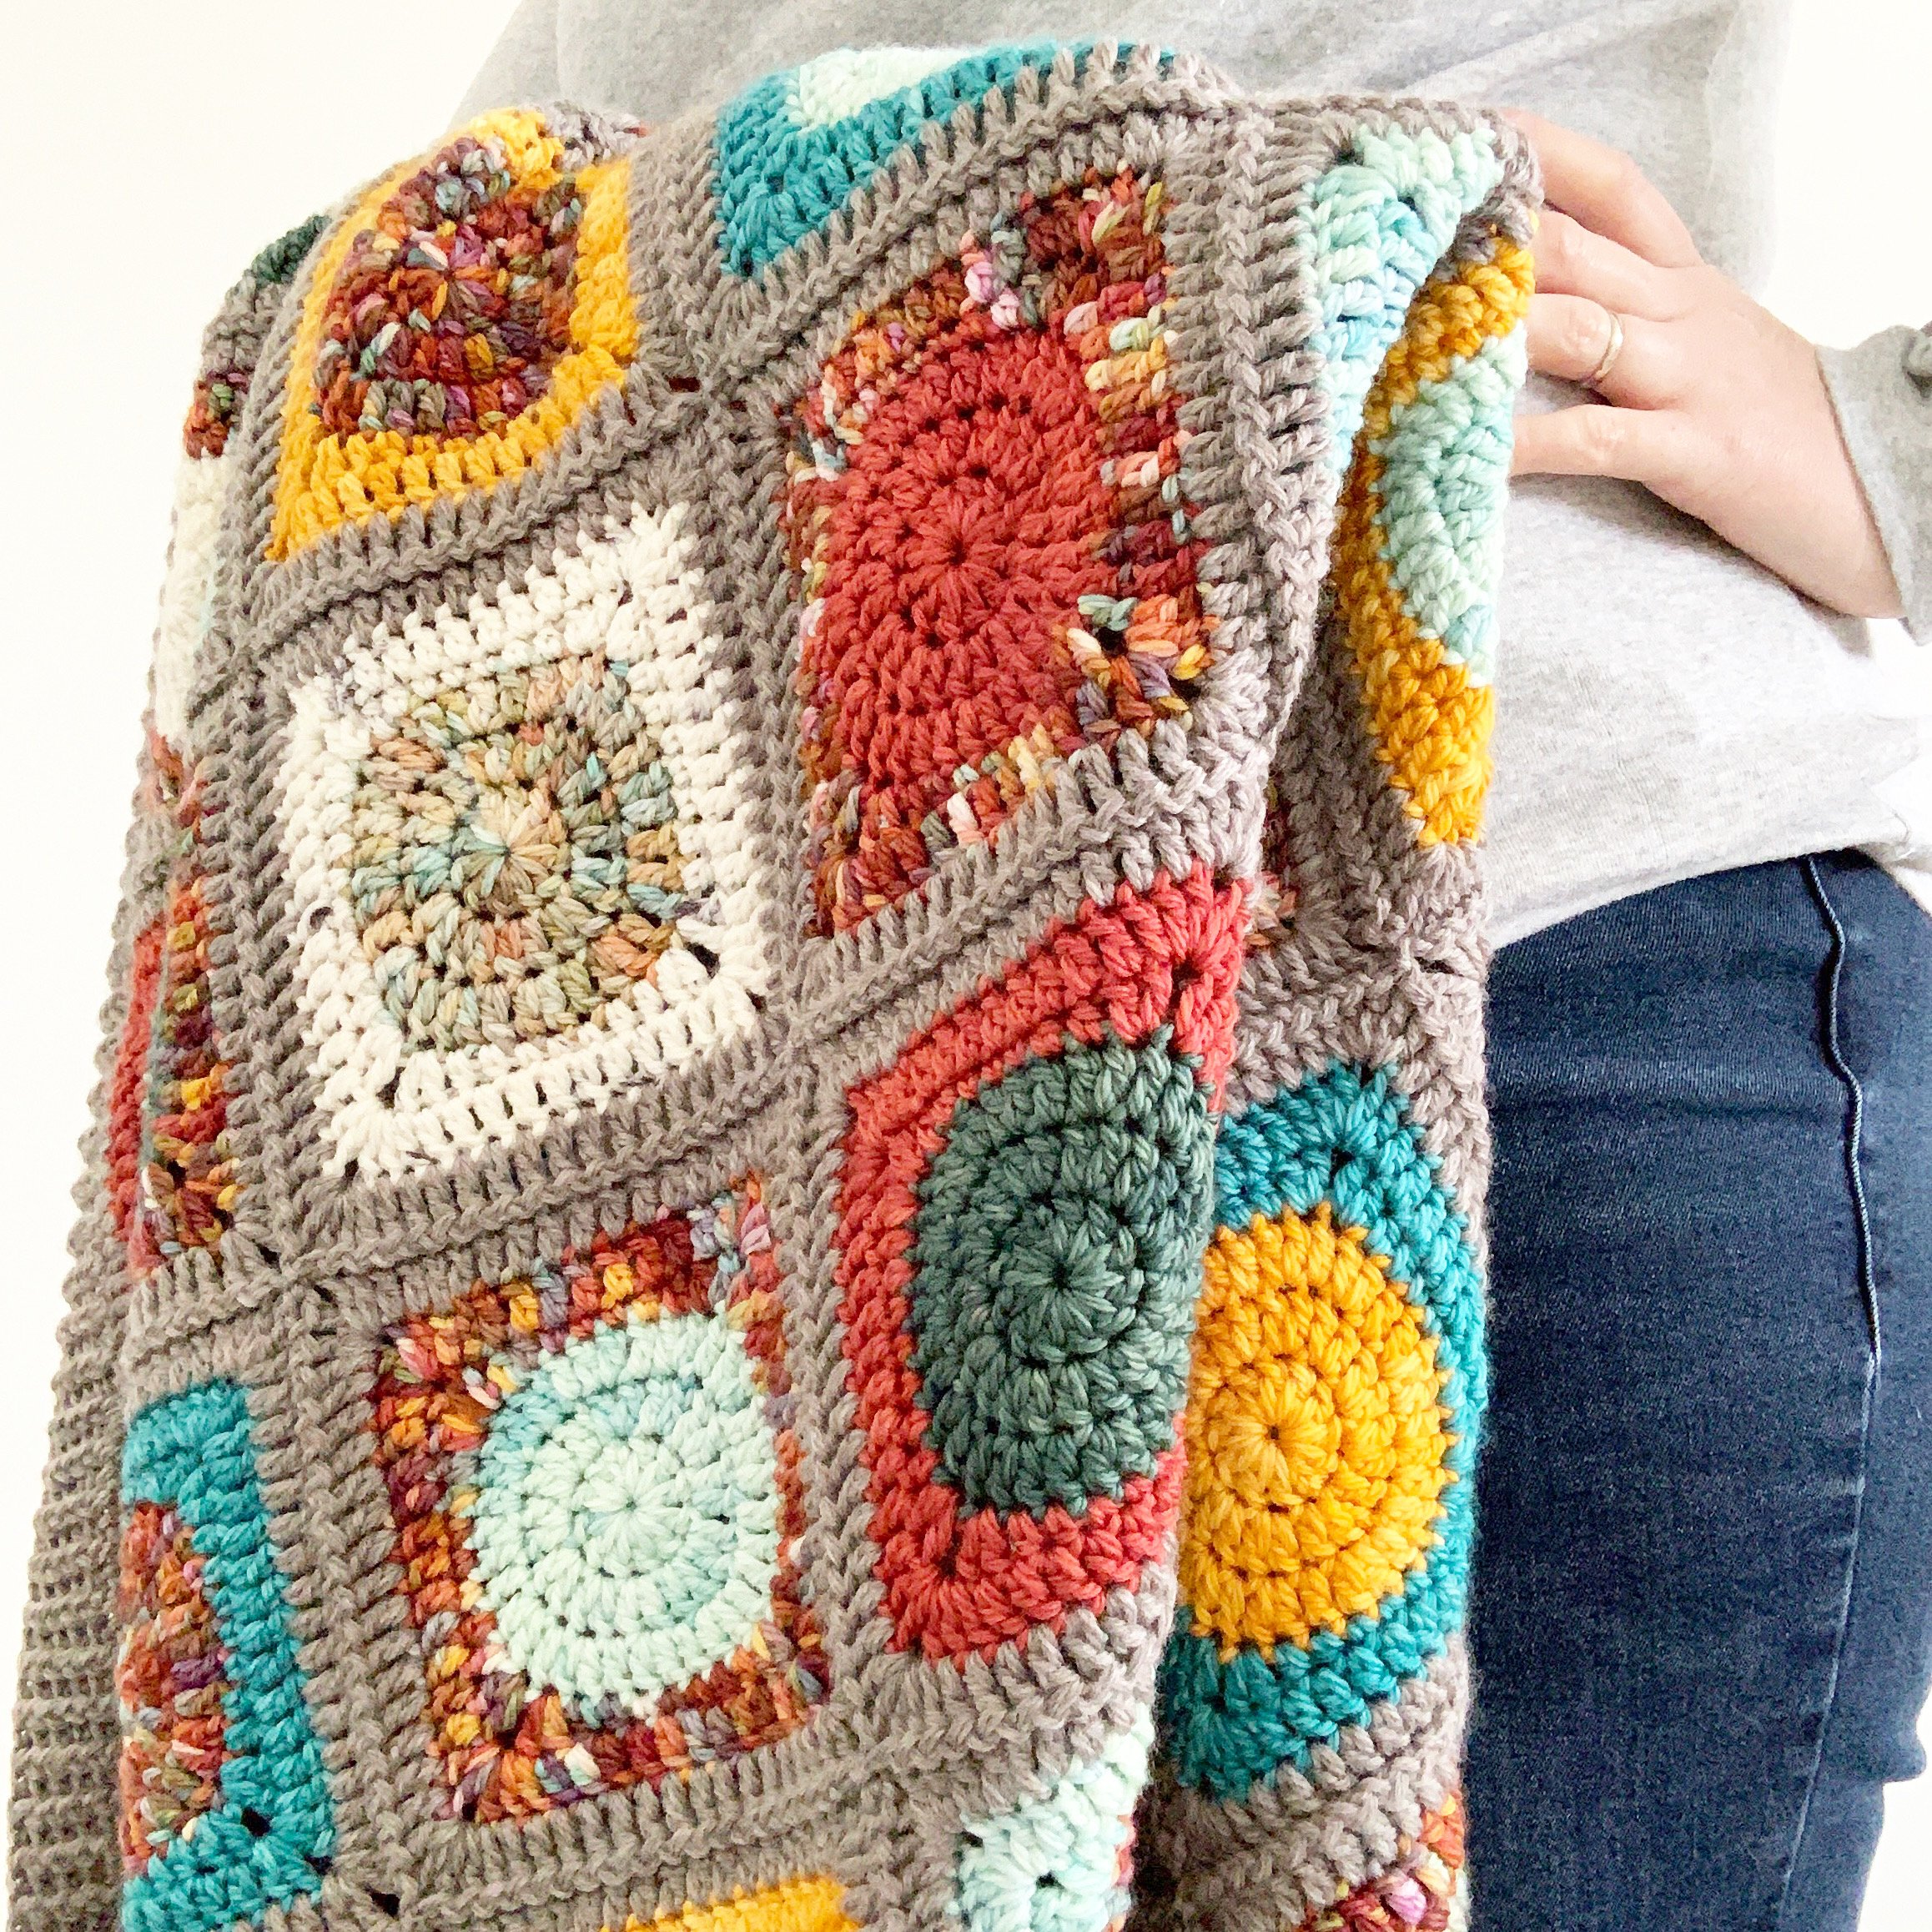
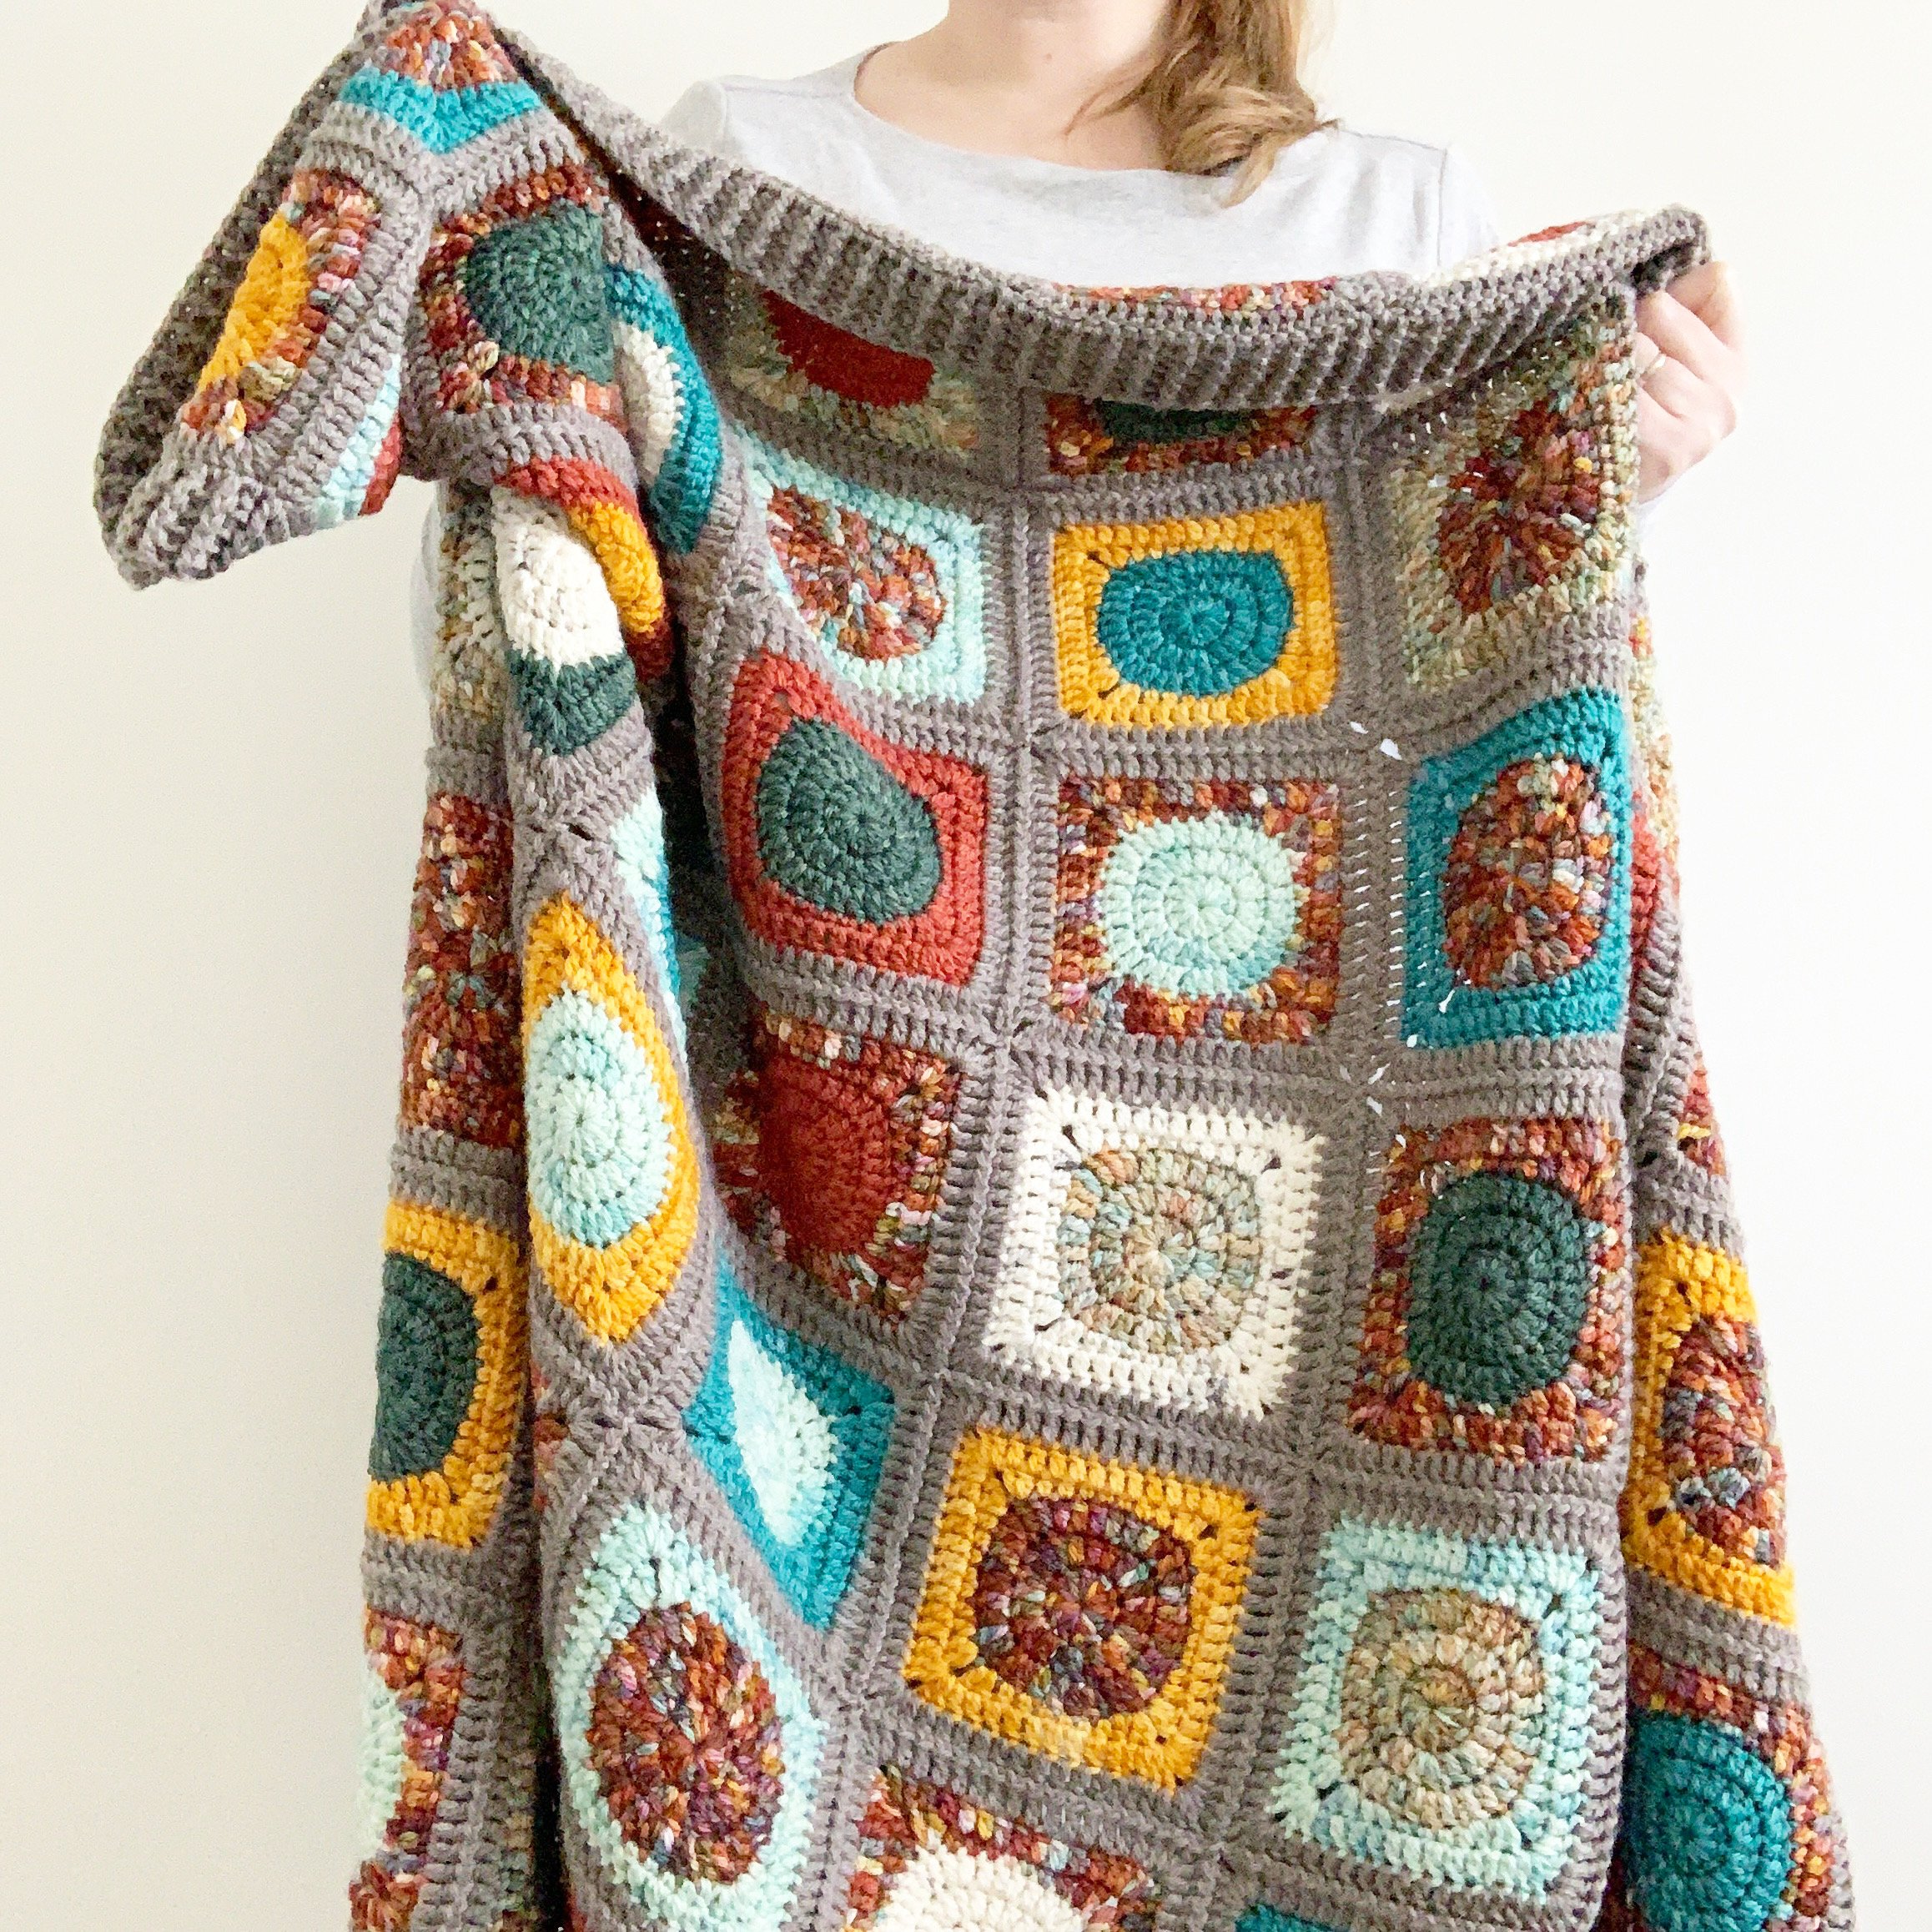
Finished Size
9x10 square blanket measuring approximately 49”x51” inches with border.
Glossary (using US Crochet Terminology)
st- stitch
sts- stitches
ch- chain
ch sp- chain space
sl st- slip stitch
sc- single crochet
hdc- half double crochet
dc- double crochet
fpdc- front post double crochet
bpdc- back post double crochet

Pattern
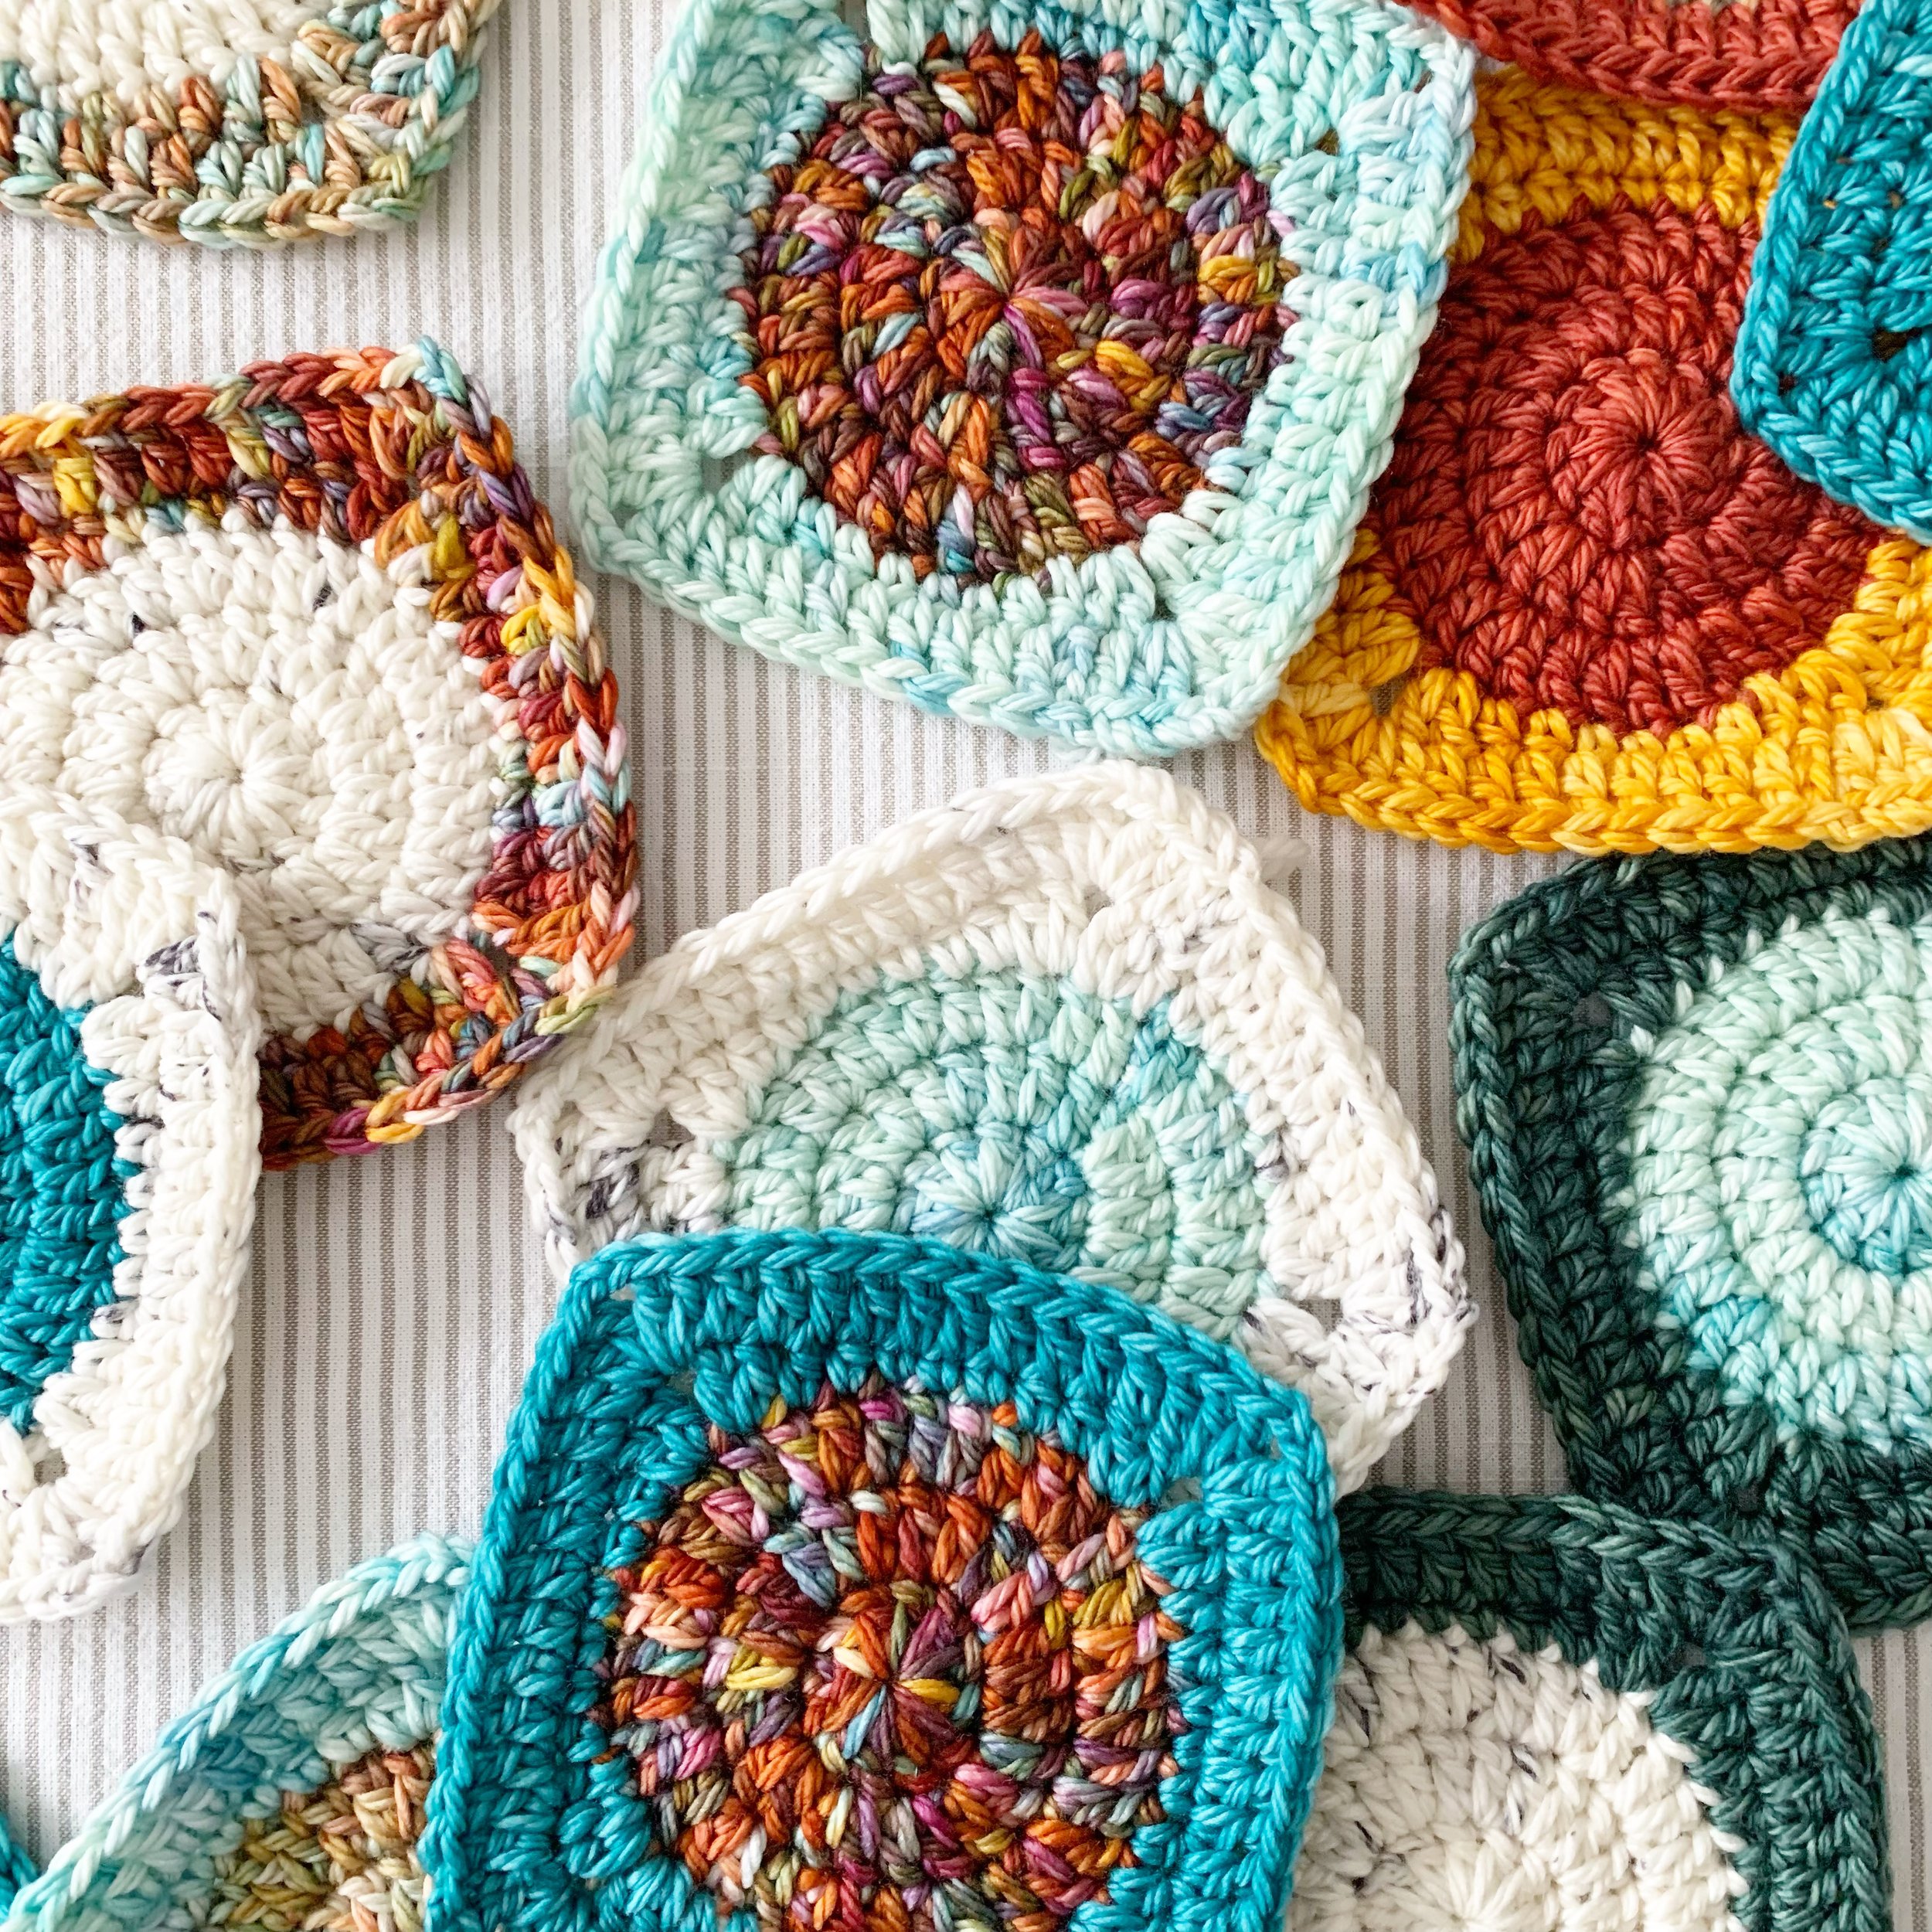
Seamless Circle in a Square Granny
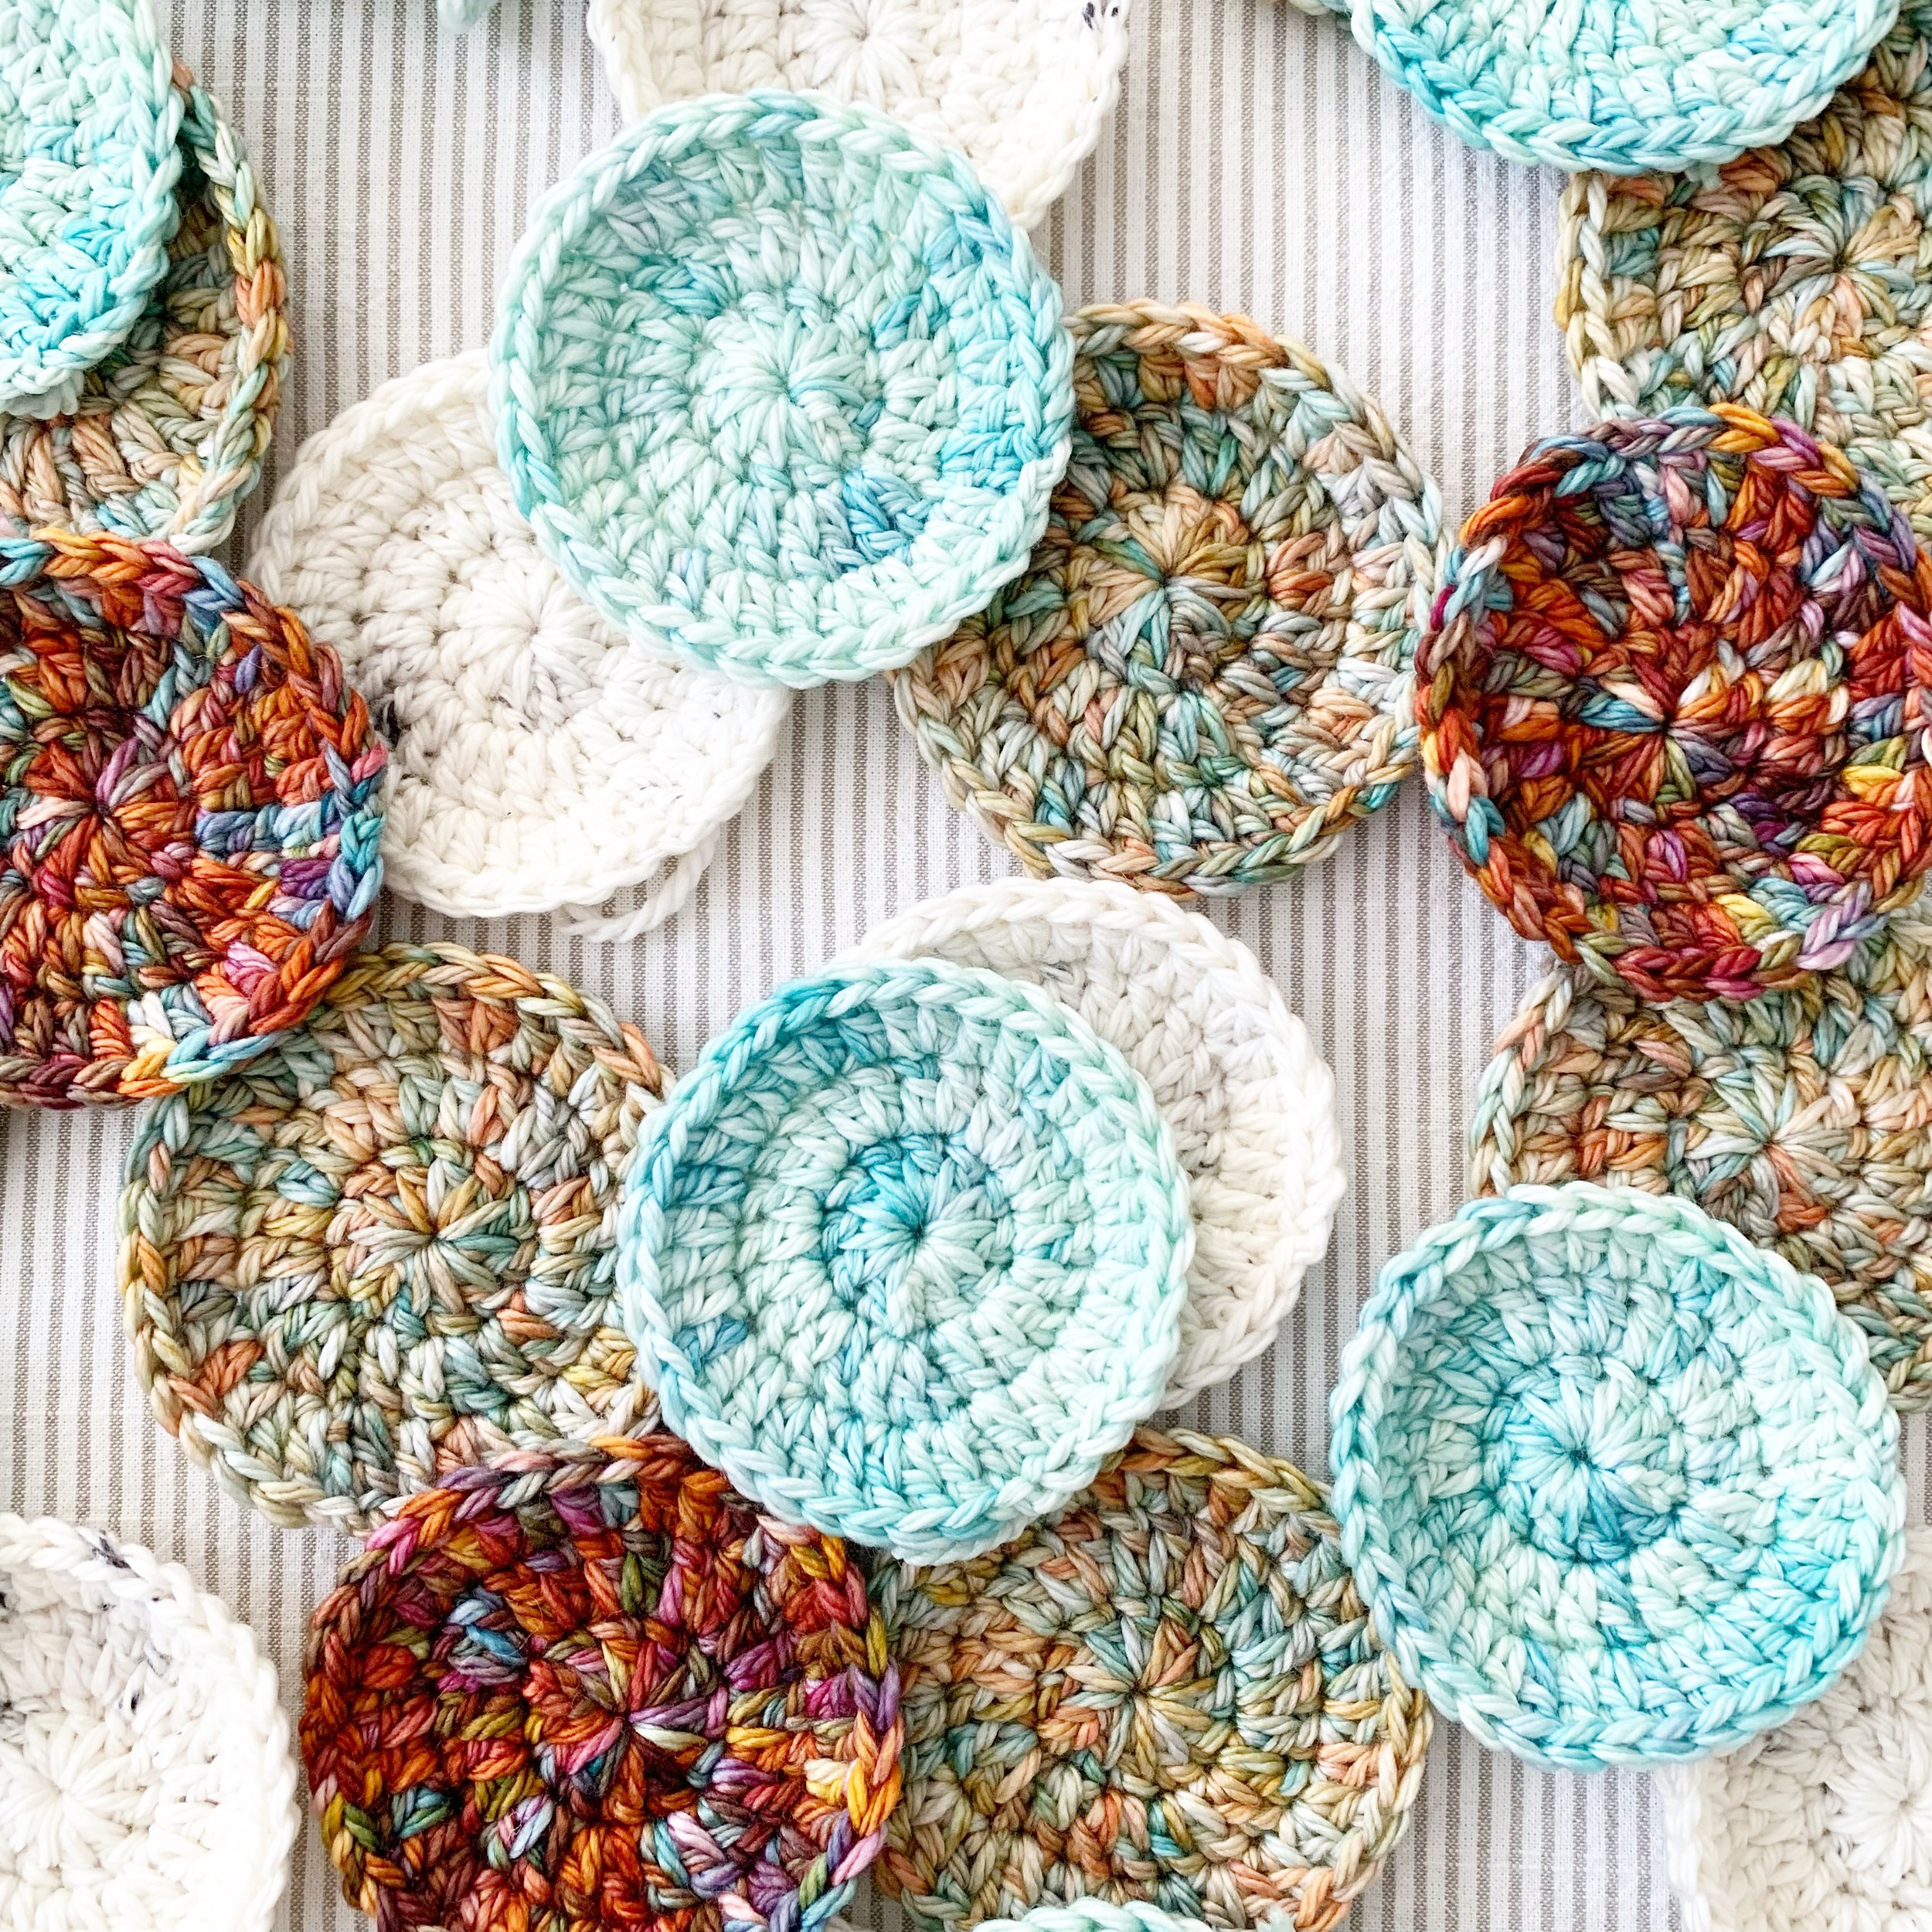
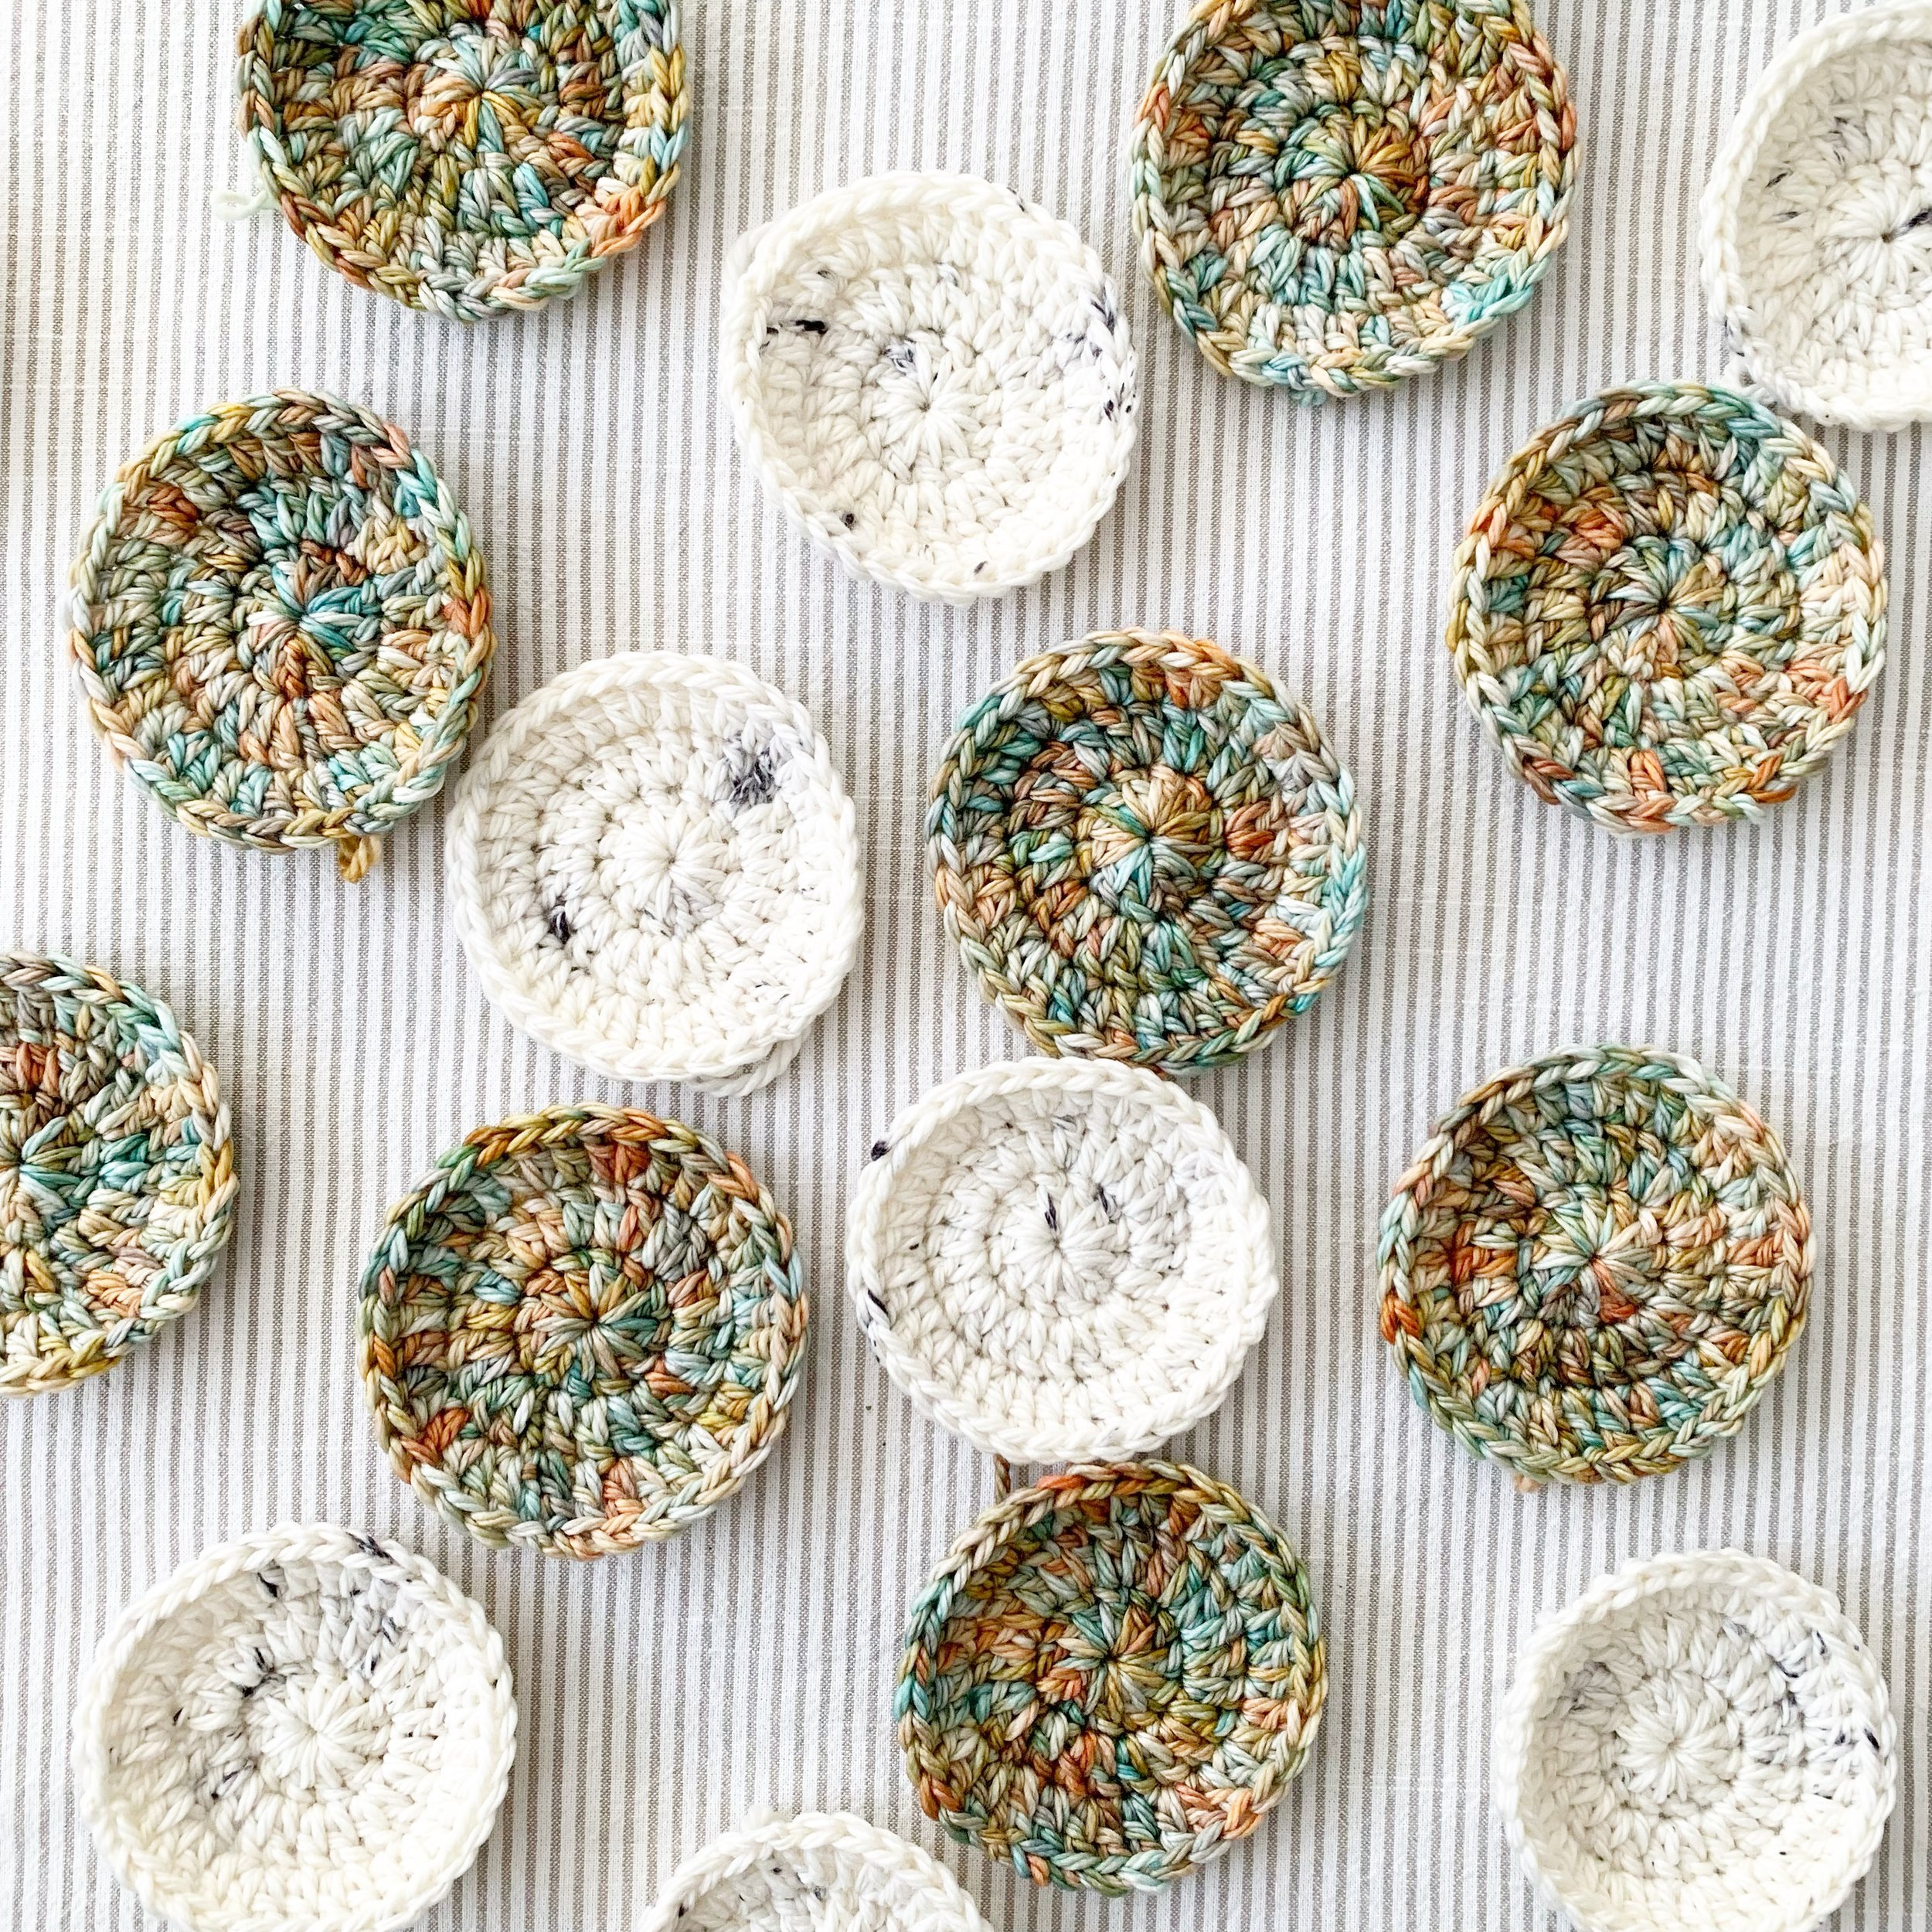
Round 1
Ch 4, sl st into 4th ch from hook to create centre ring.
Ch 2 (counts as first dc).
Work 11 dc into centre ring (12 dc sts).
Join round with sl st into top of first dc (not the ch 2).
Do NOT fasten off.
Round 2
Ch 2 (counts as first dc).
Work a dc into same st.
Work 2 dc into the top of each st around (24 dc sts).
Join round with sl st into top of first dc (not the ch 2).
Do NOT fasten off.
Round 3
Ch 2 (counts as first dc).
Work a dc into same st.
*Work 1 dc into next st, work 2 dc into next st. * Repeat from * to * all the way around (36 dc sts).
Join round with sl st into top of first dc (not the ch 2).
Fasten off.
Round 4
Join new colour, ch 2 (counts as first dc).
Work 1 dc into same st, ch 1.
Work 2 dc into next st.
*Work 1 hdc into next two sts.
Work 1 sc into next 3 sts.
Work 1 hdc into next two sts.
Work 2 dc into next st, ch 1.
Work 2 dc into next st.* -Repeat from * to * 2 more times.
Work 1 hdc into next two sts.
Work 1 sc into next 3 sts.
Work 1 hdc into next two sts.
Join round with sl st into top of first dc (not the ch 2).
Do NOT fasten off.
Round 5
Ch 2 (counts as first dc).
Work 1 dc into same st.
*Into ch 1 sp work 2 dc, ch 2, 2 dc (completes first corner).
Work 1 dc into next 11 sts.*
Repeat from * to * 3 more times.
Join round with sl st into top of first dc (not the ch 2).
Fasten off, weave in ends.
**Please see the video tutorial below on how to make these squares:
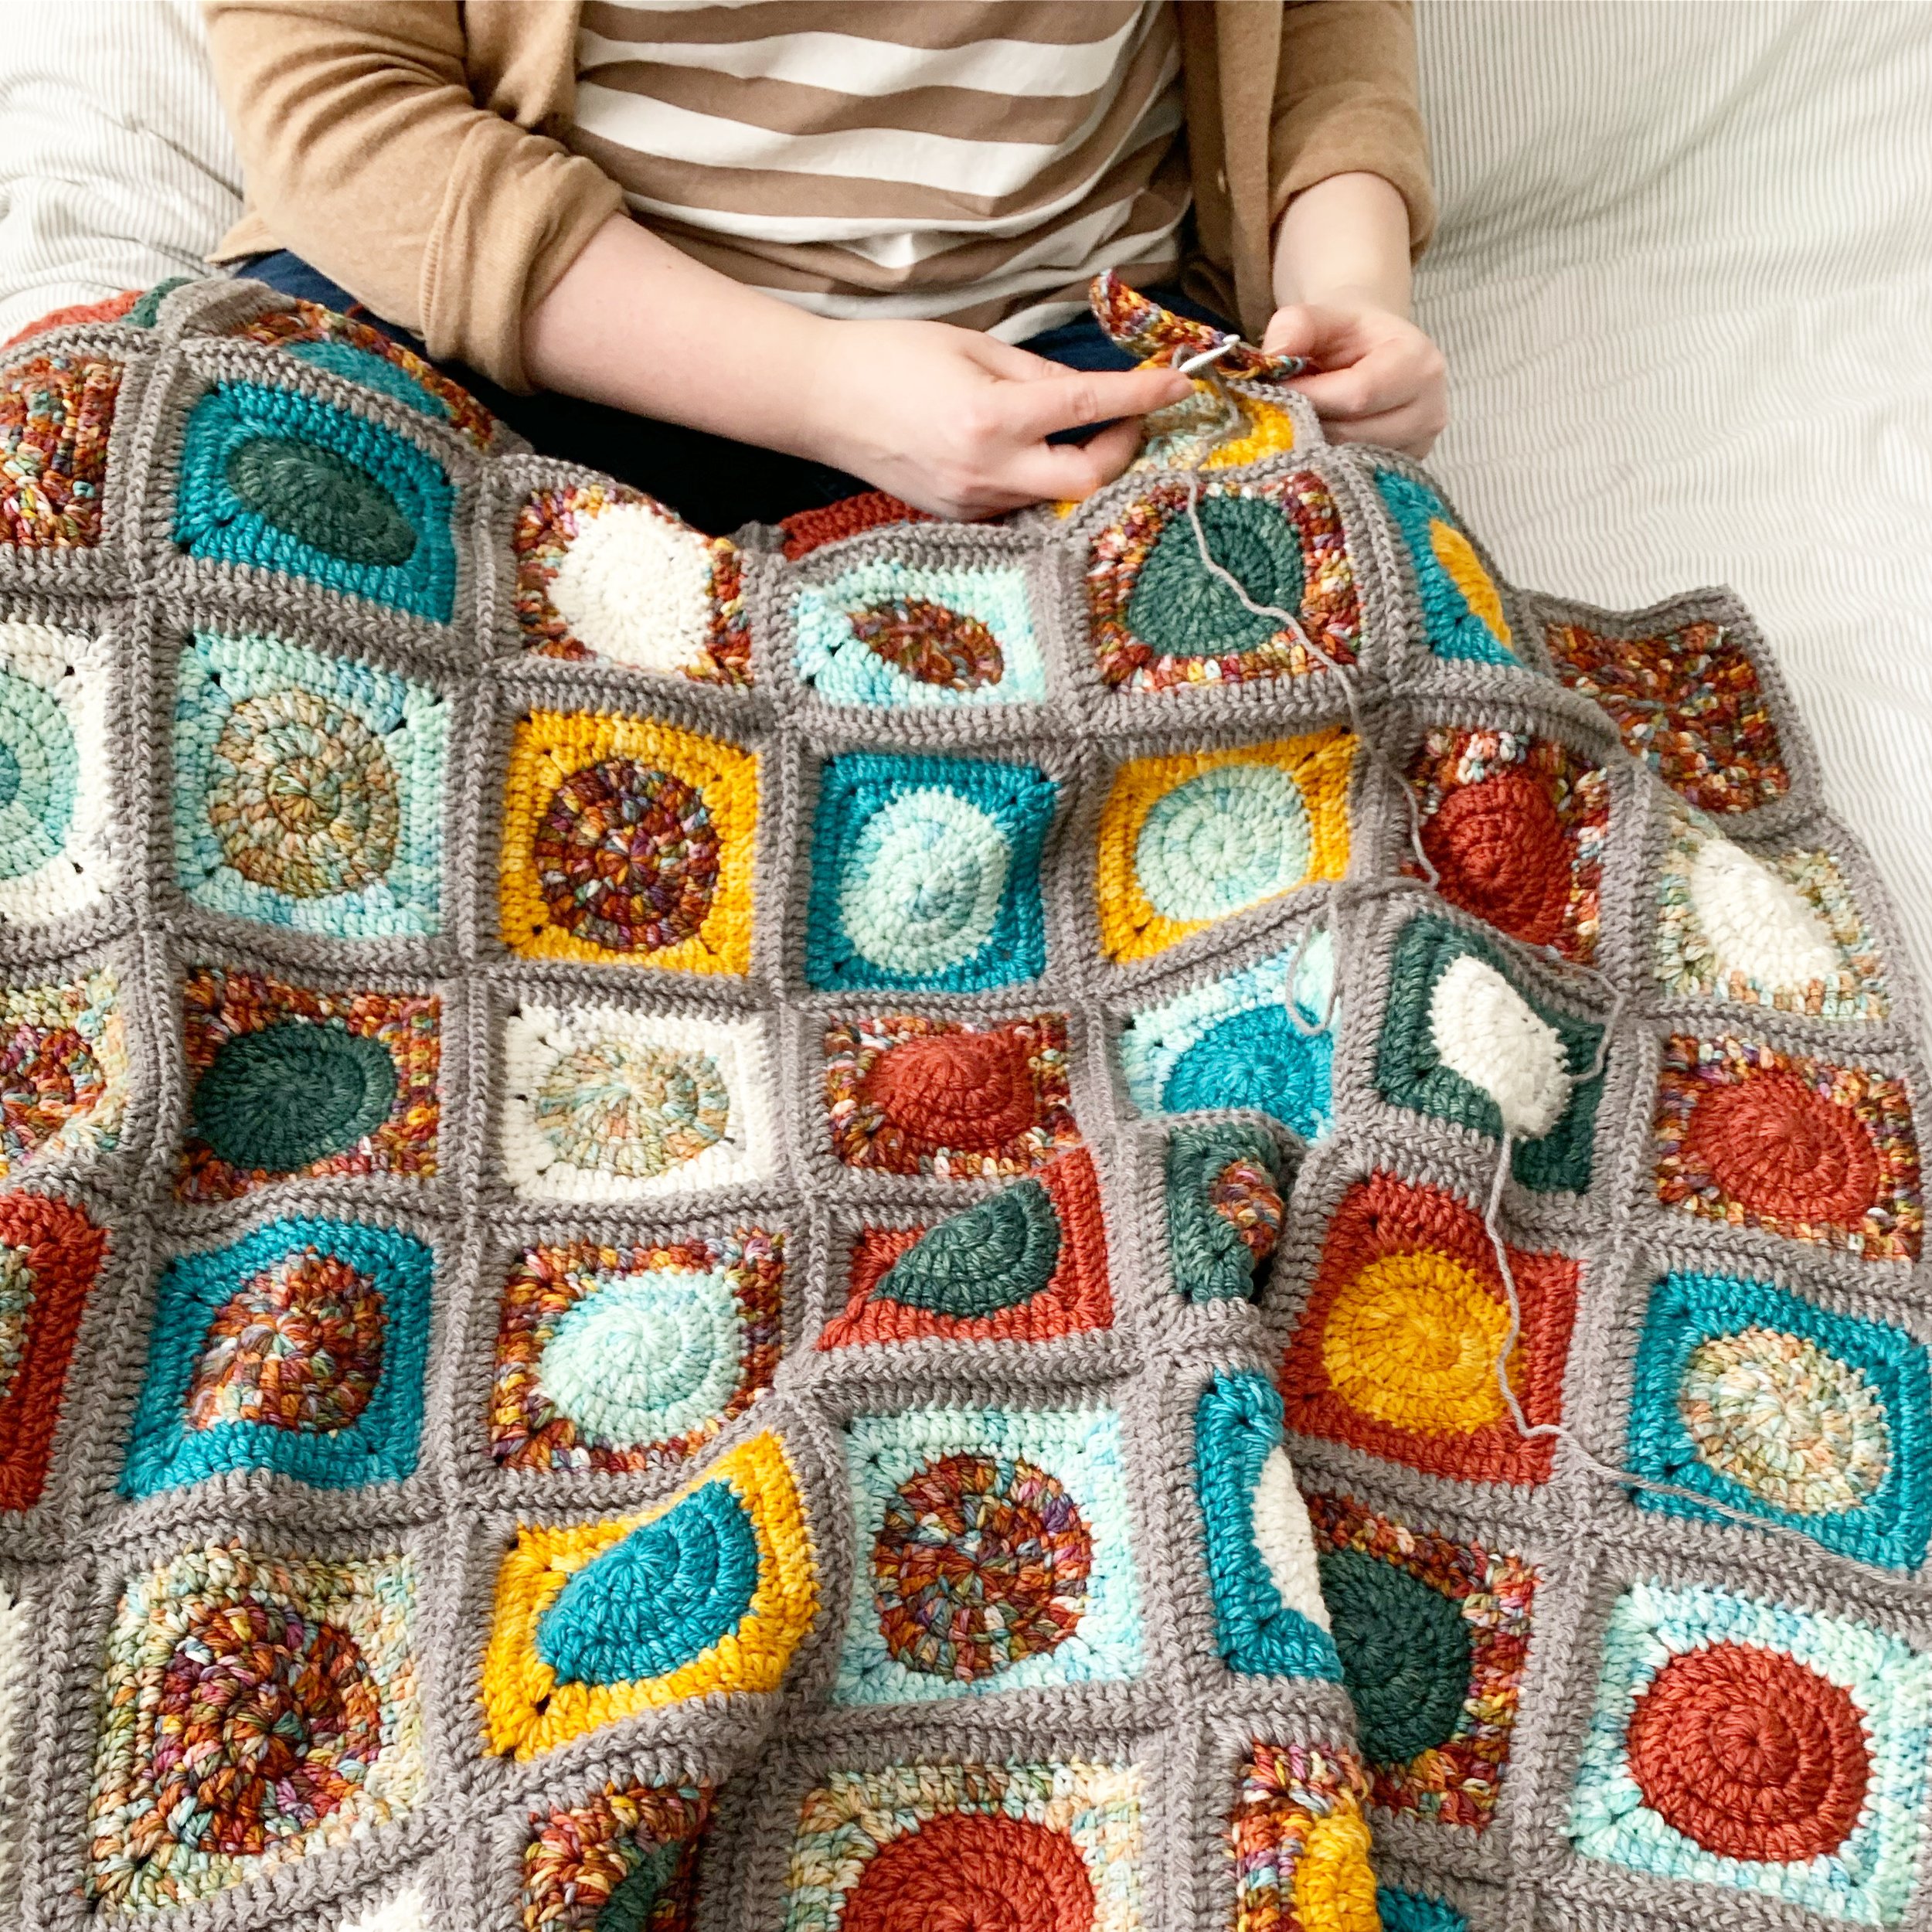
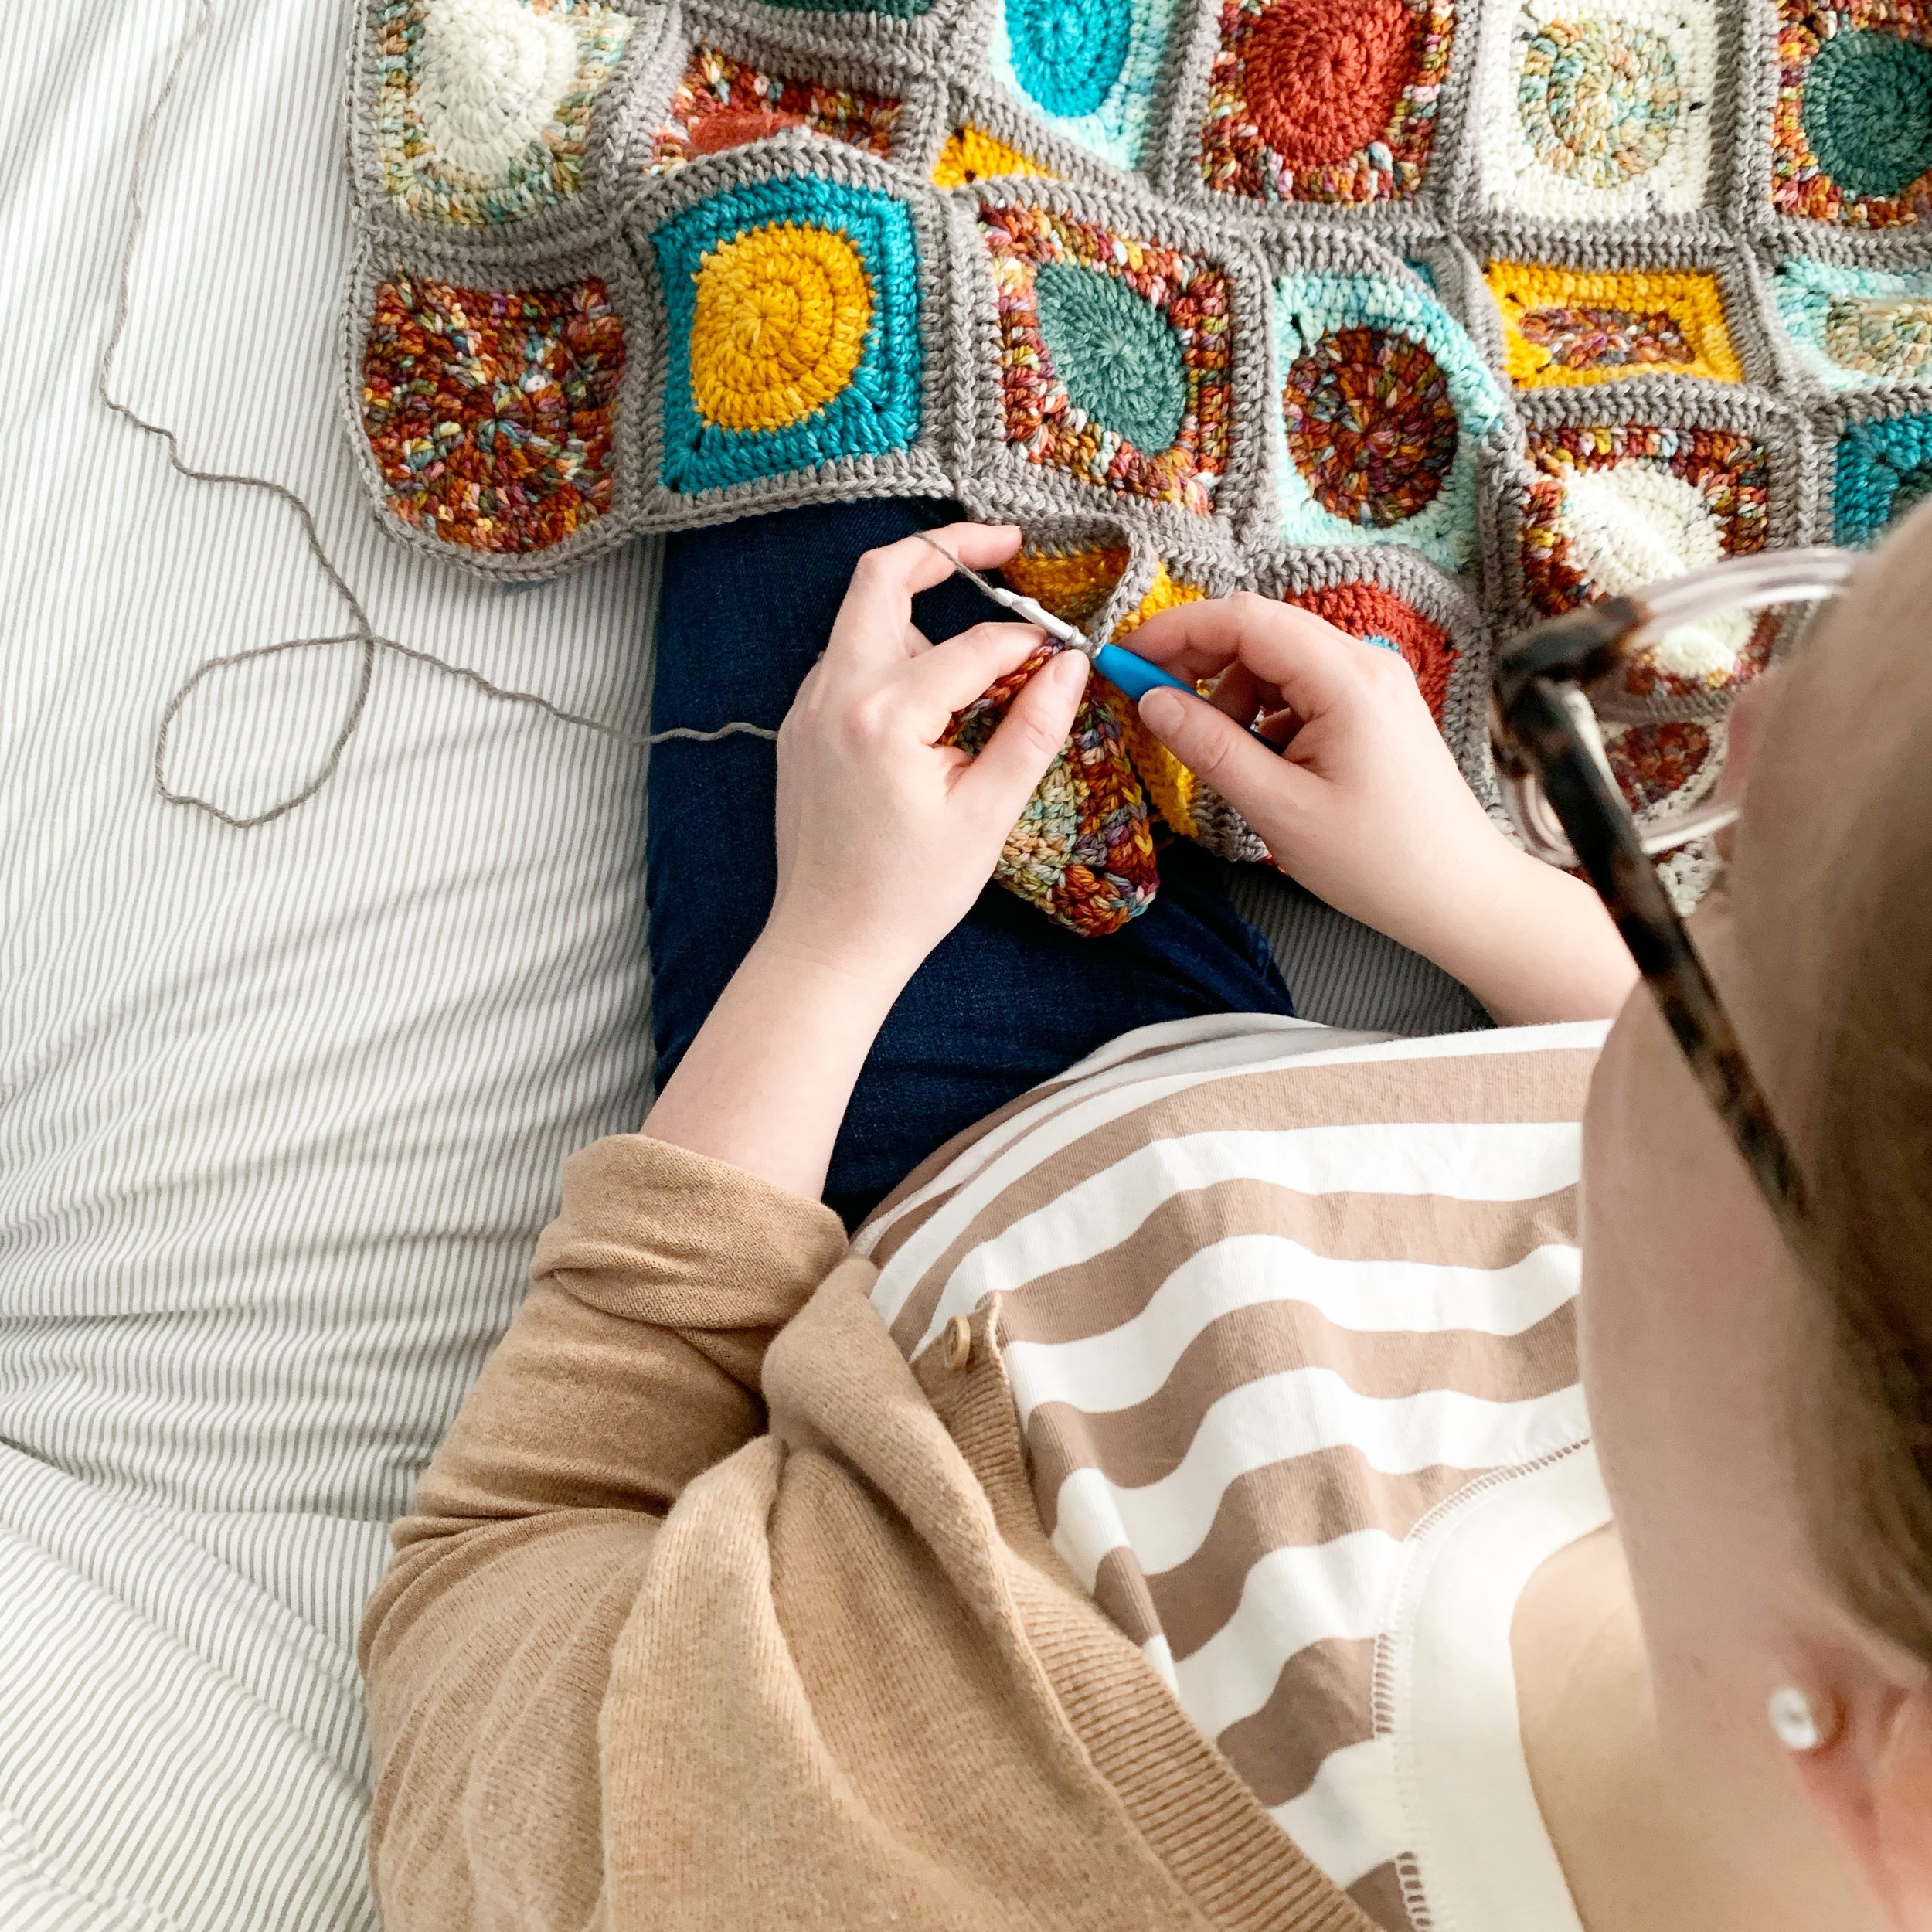
Assembling Blanket
To join this blanket I used a tight continuous join as you go.
Follow along with the video tutorial below using the same method ***REMEMBER to only use 2 dc in your corners just as you did in the last round of the square.
Border
Round 1
Work one dc into each st around the blanket.
In places where two squares are joined; work 2 dc on either side (or in each corner).
In the four corners of the blanket work 3 dc sts.
Round 2
Work fpdc around first dc.
Work bpdc around next dc.
Alternate fpdc and bpdc all around border of blanket.
In the 2nd dc st of the corners; work 3 sts around the post (alternating just as you did throughout blanket).
*I found the YouTube tutorial by Daisy Farm Crafts to be helpful when doing the fpdc/bpdc ribbed border.

Round 3
Alternate fpdc and bpdc all around the blanket border ensuring that the fpdc are on the fpdc sts and the bpdc are on the bpdc sts of the previous round.
Round 4
Repeat Round 3
Round 5
Repeat Round 3
Fasten off and weave in ends.
~ The End ~
The pattern, the photographs and video tutorials in this document are the property of Nautikrall Crochet. You may sell items you make from this pattern; but may not sell, reproduce, or distribute this pattern, in whole or in part, as your own.
Copyright © 2022 Nautikrall Crochet – All rights reserved.
