This post contains affiliate links. Affiliate links cost you nothing, but when purchasing through these links you help me earn a small commission. This supports me and my family and my continued efforts to bring you free patterns.
Intro:
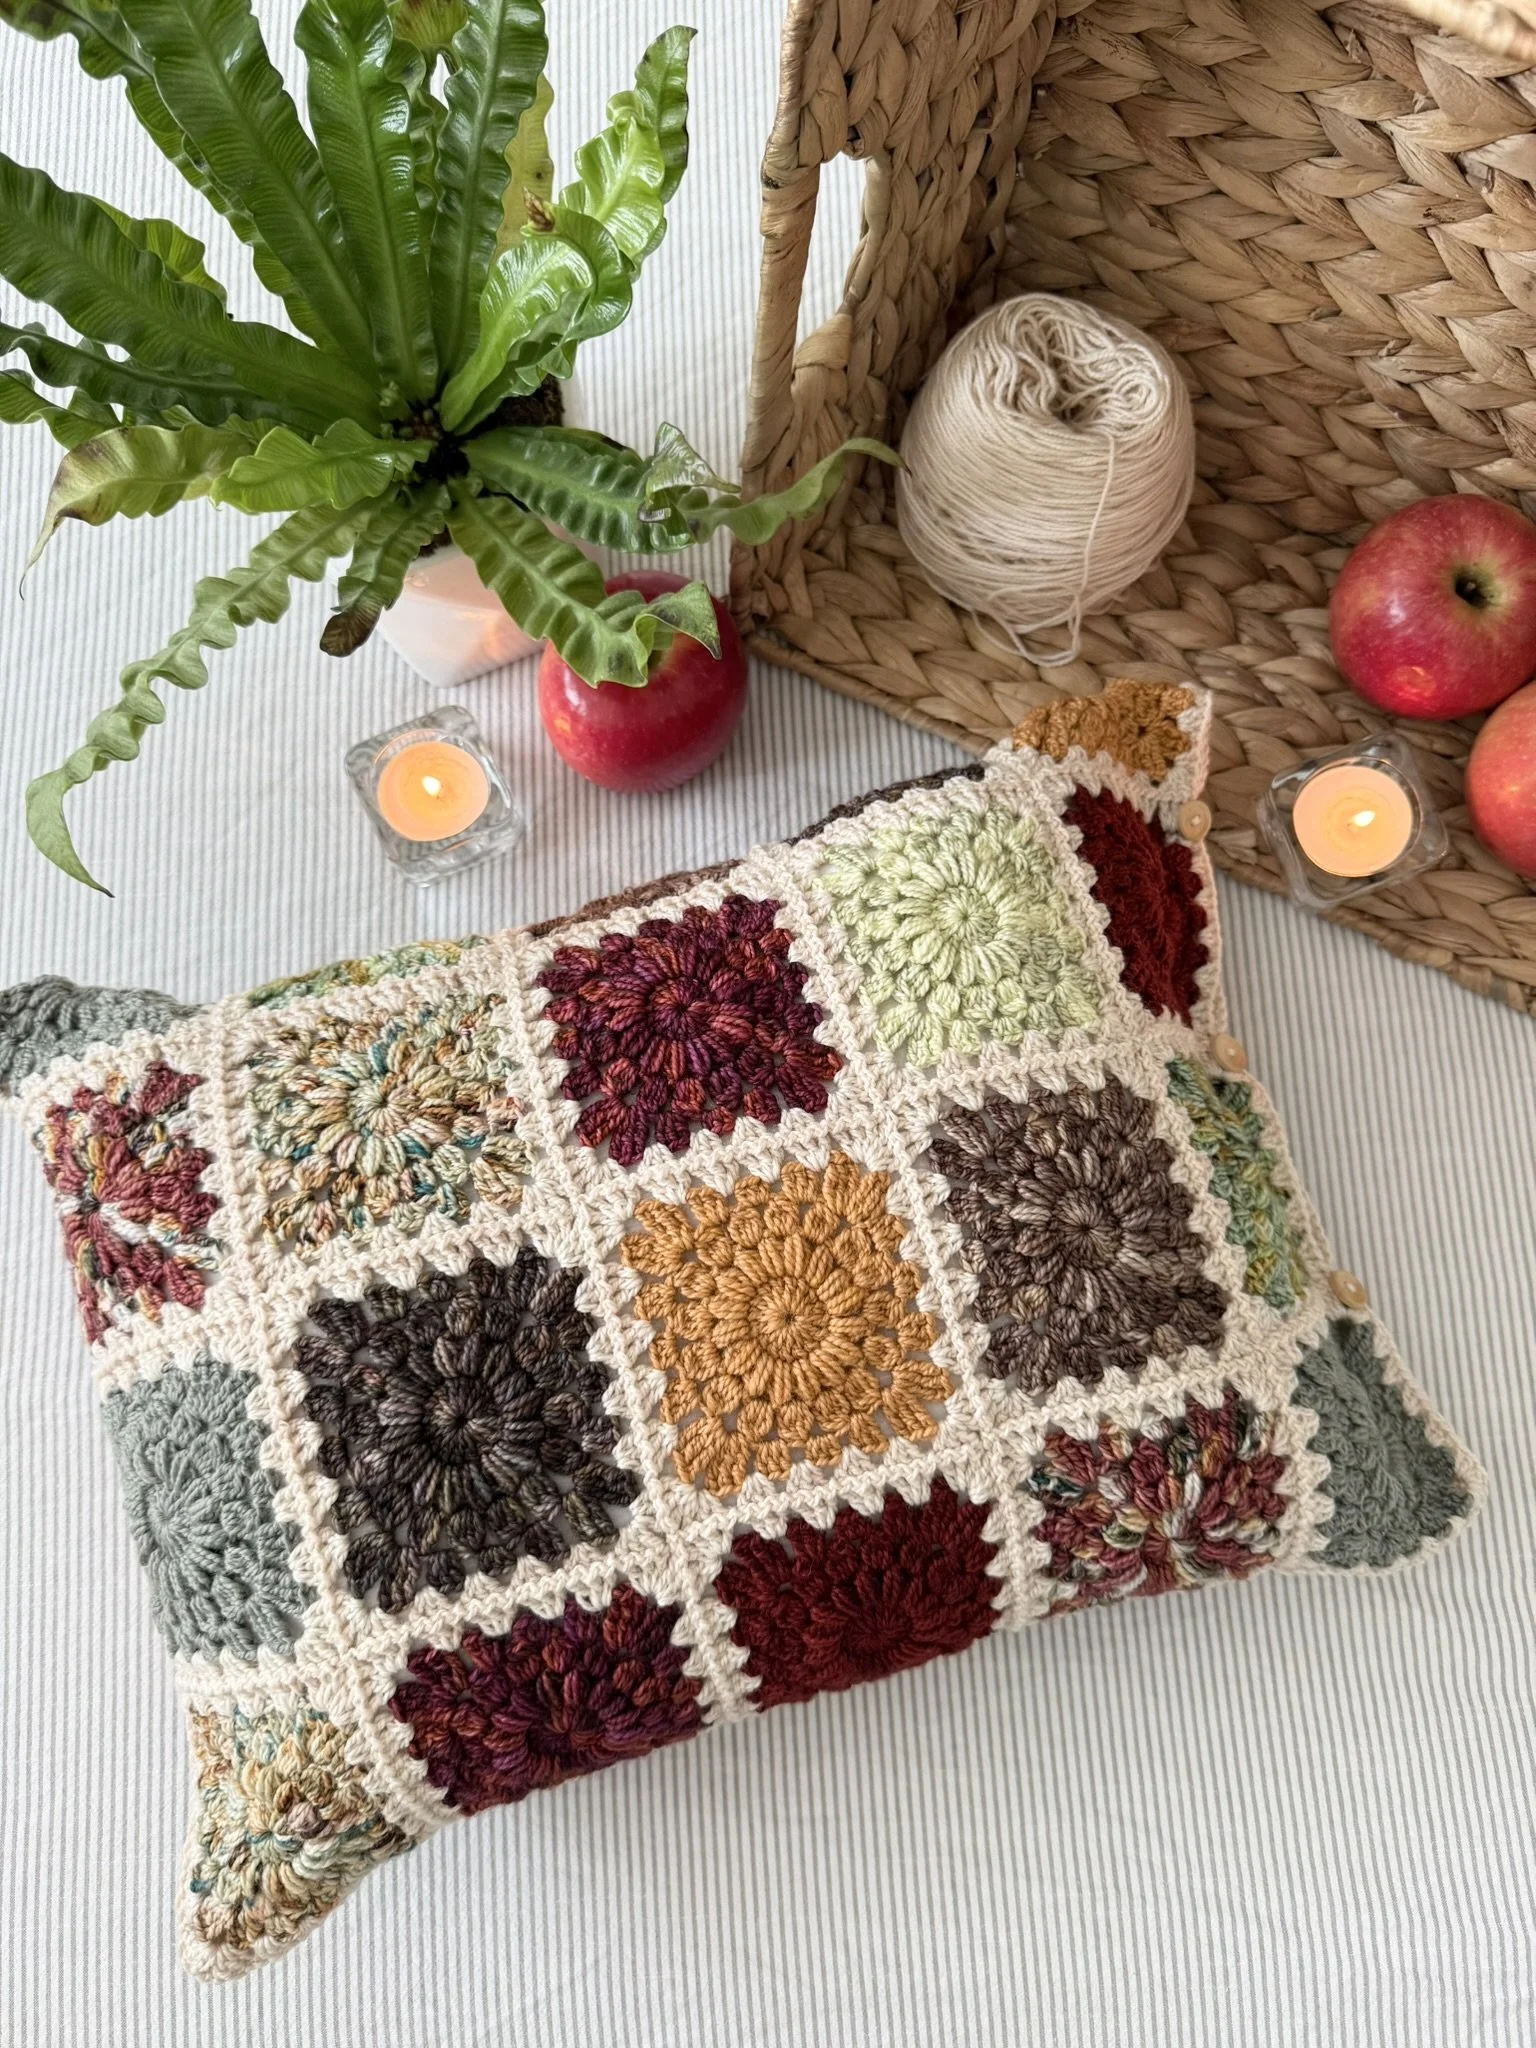
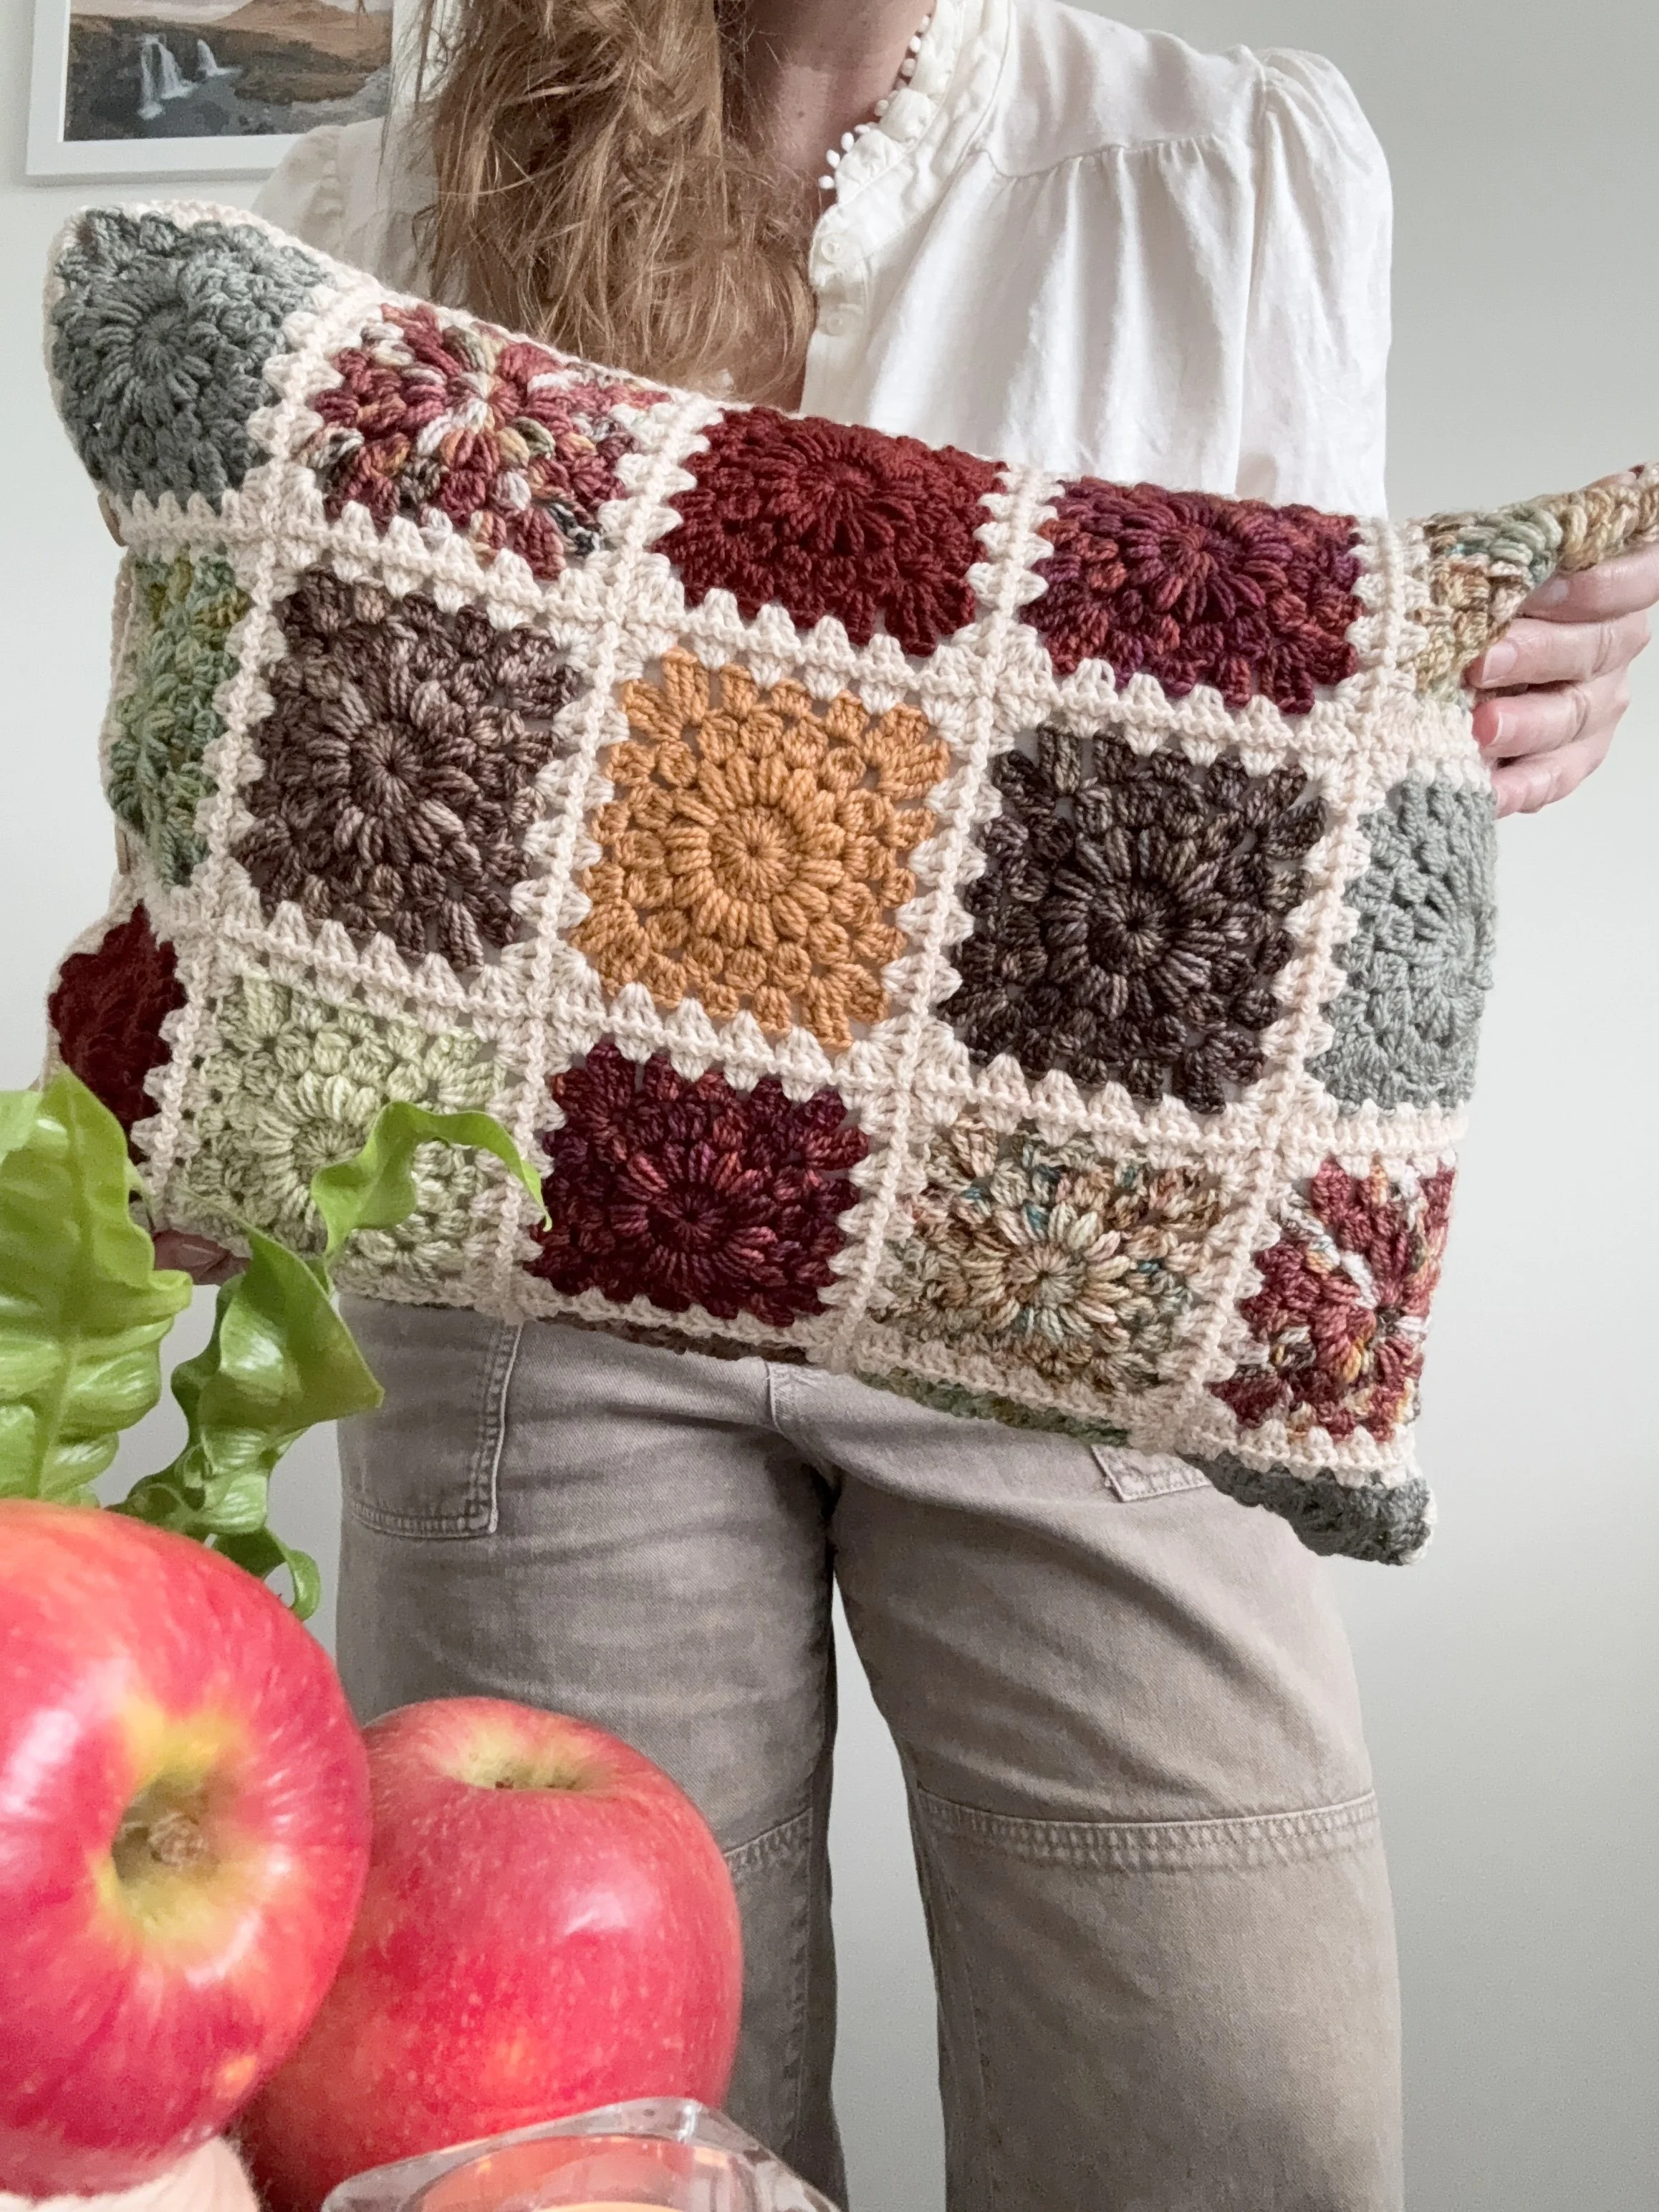
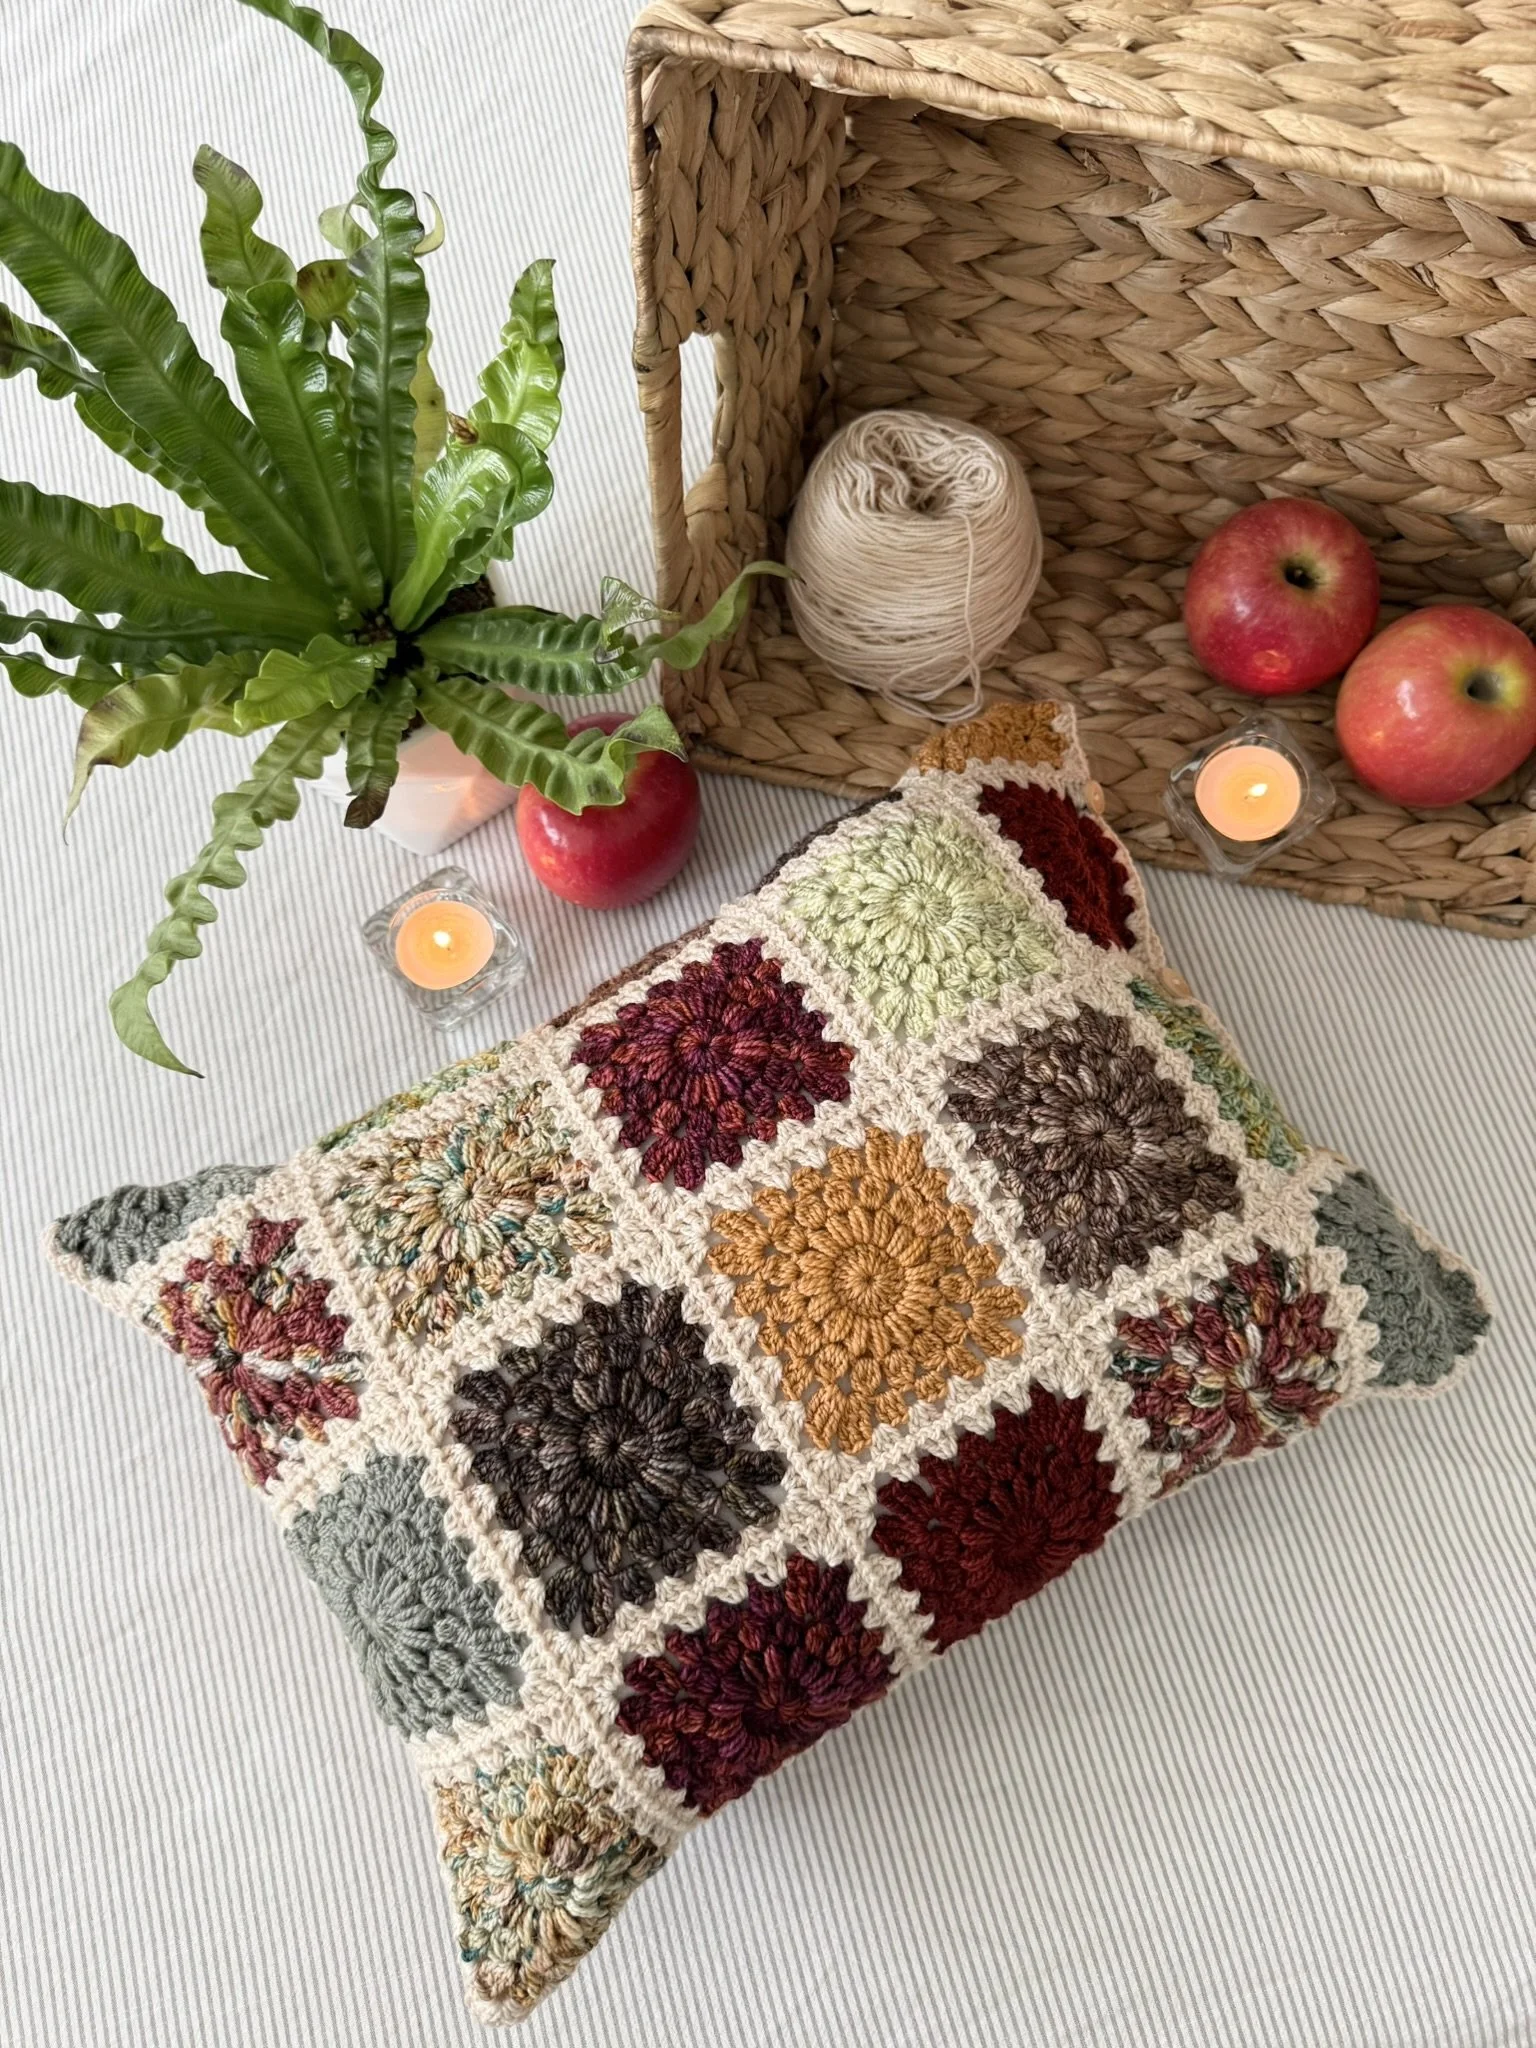
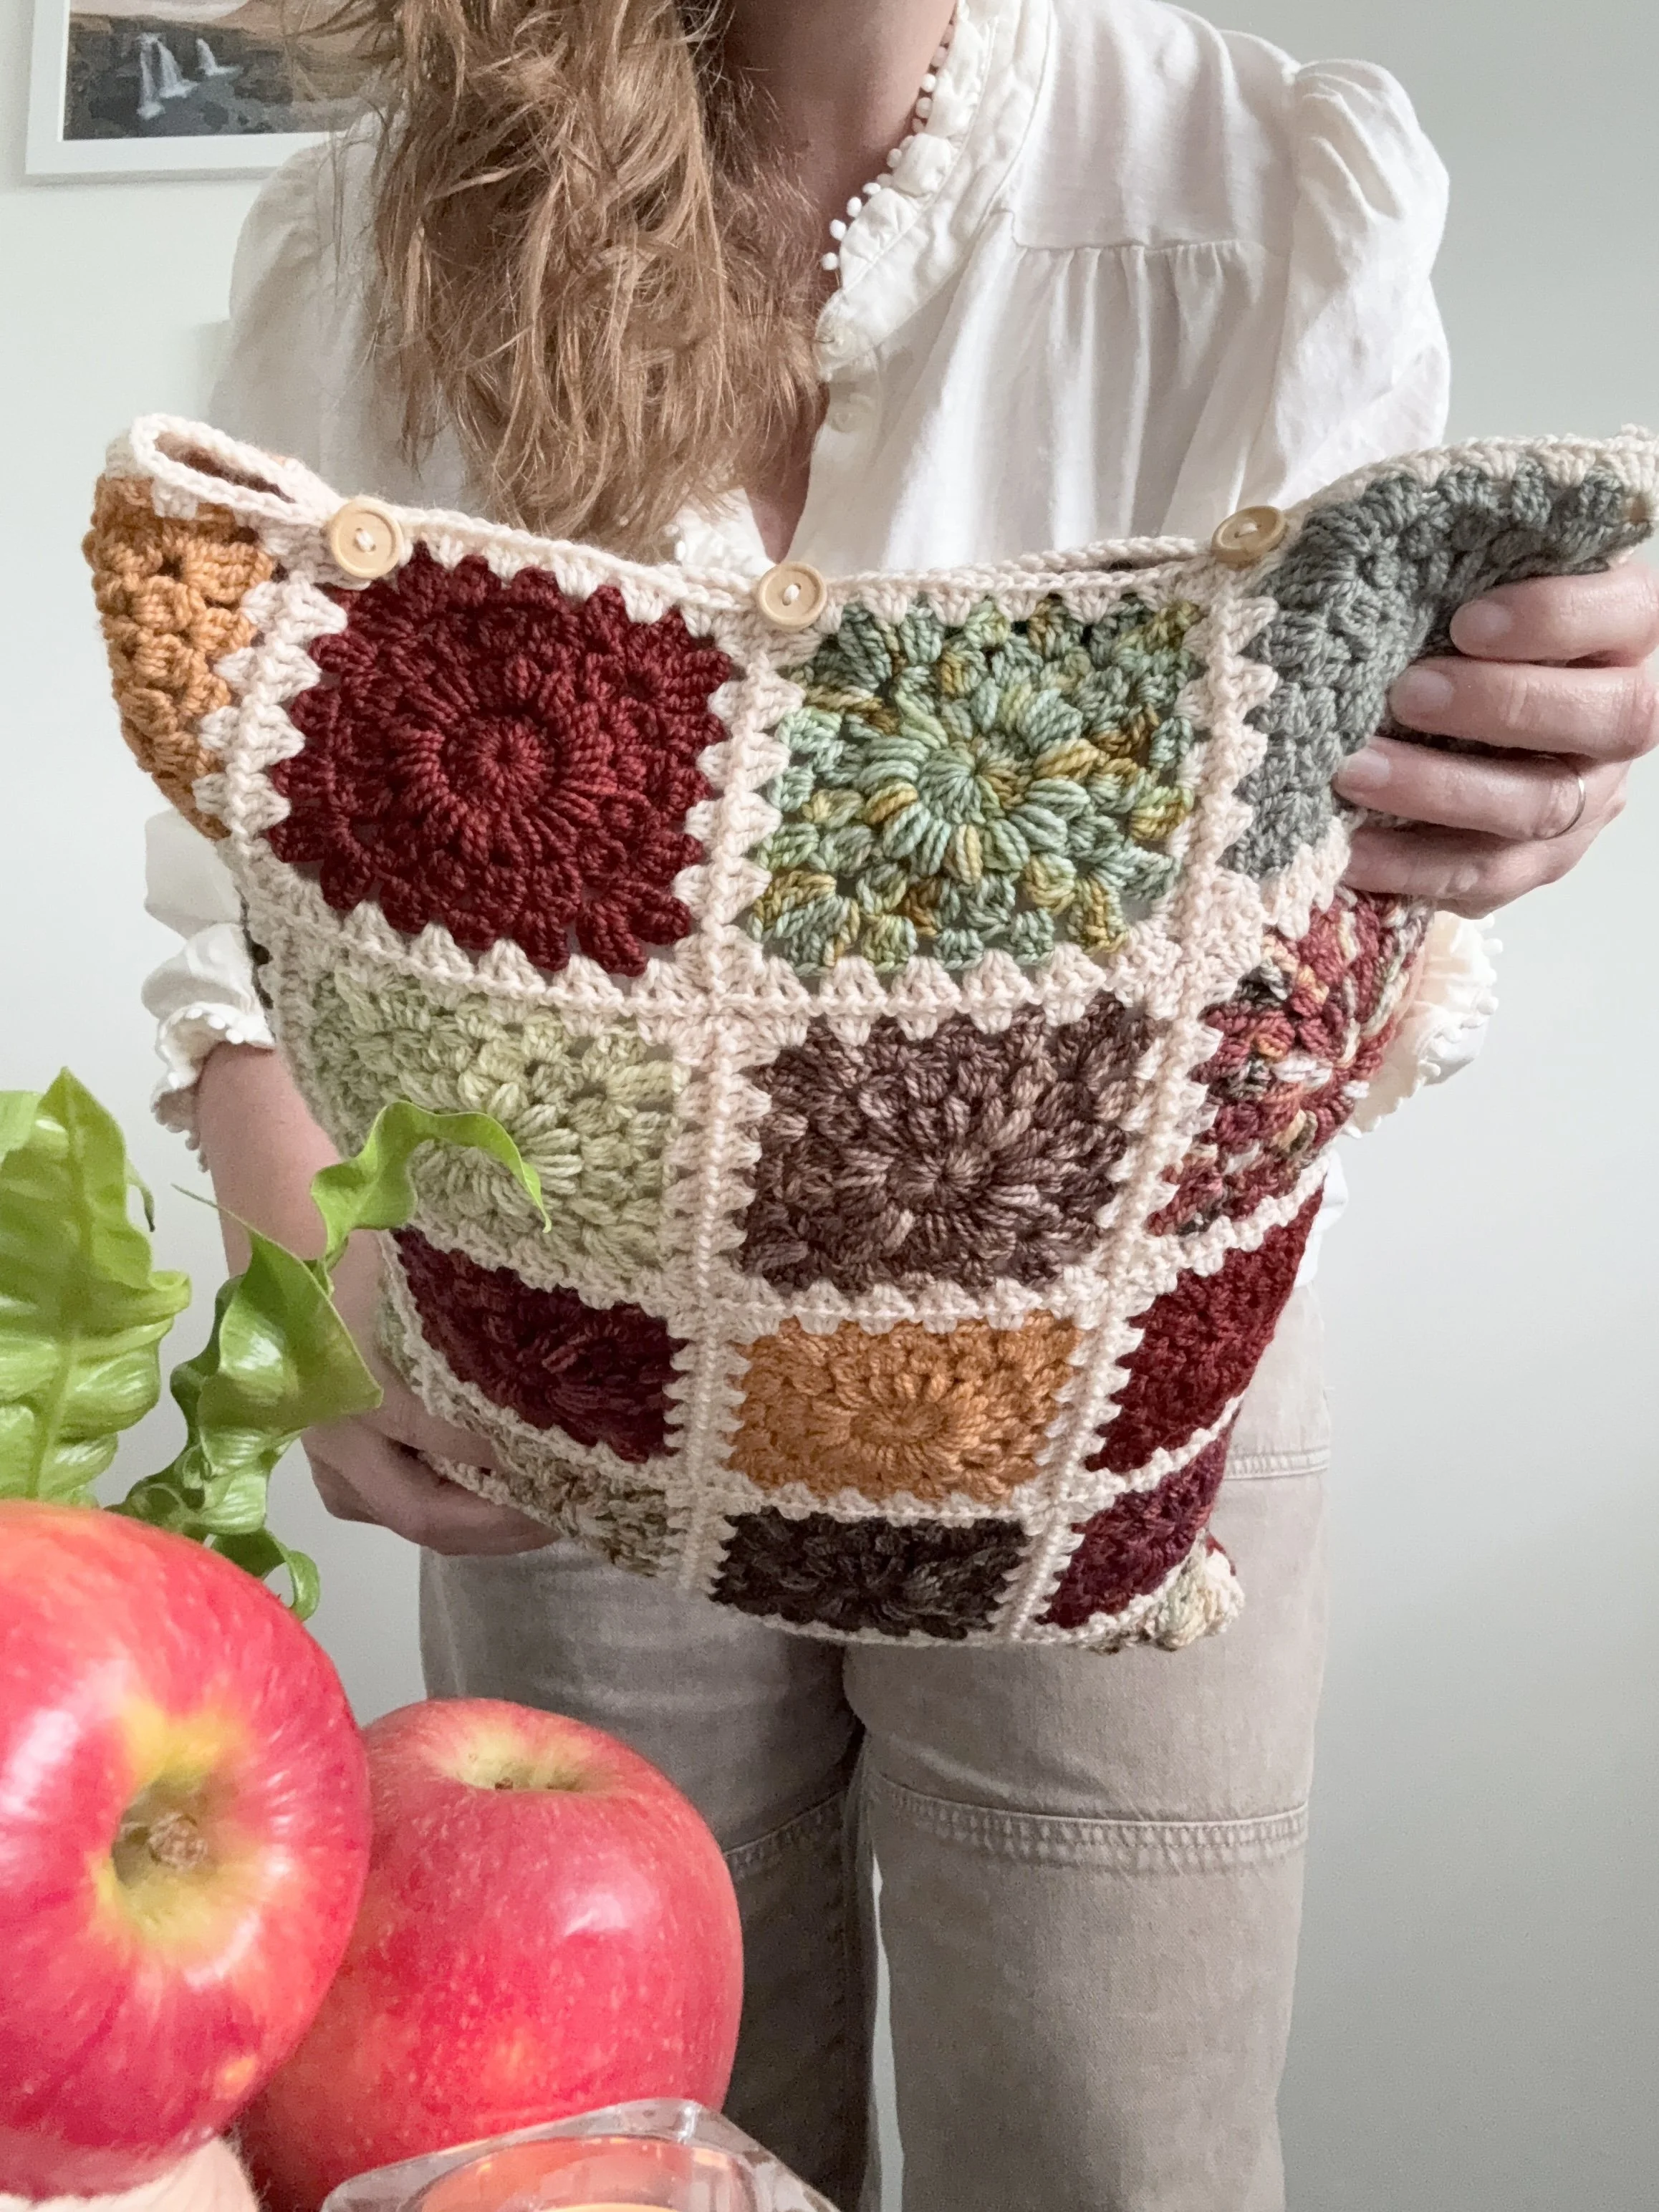
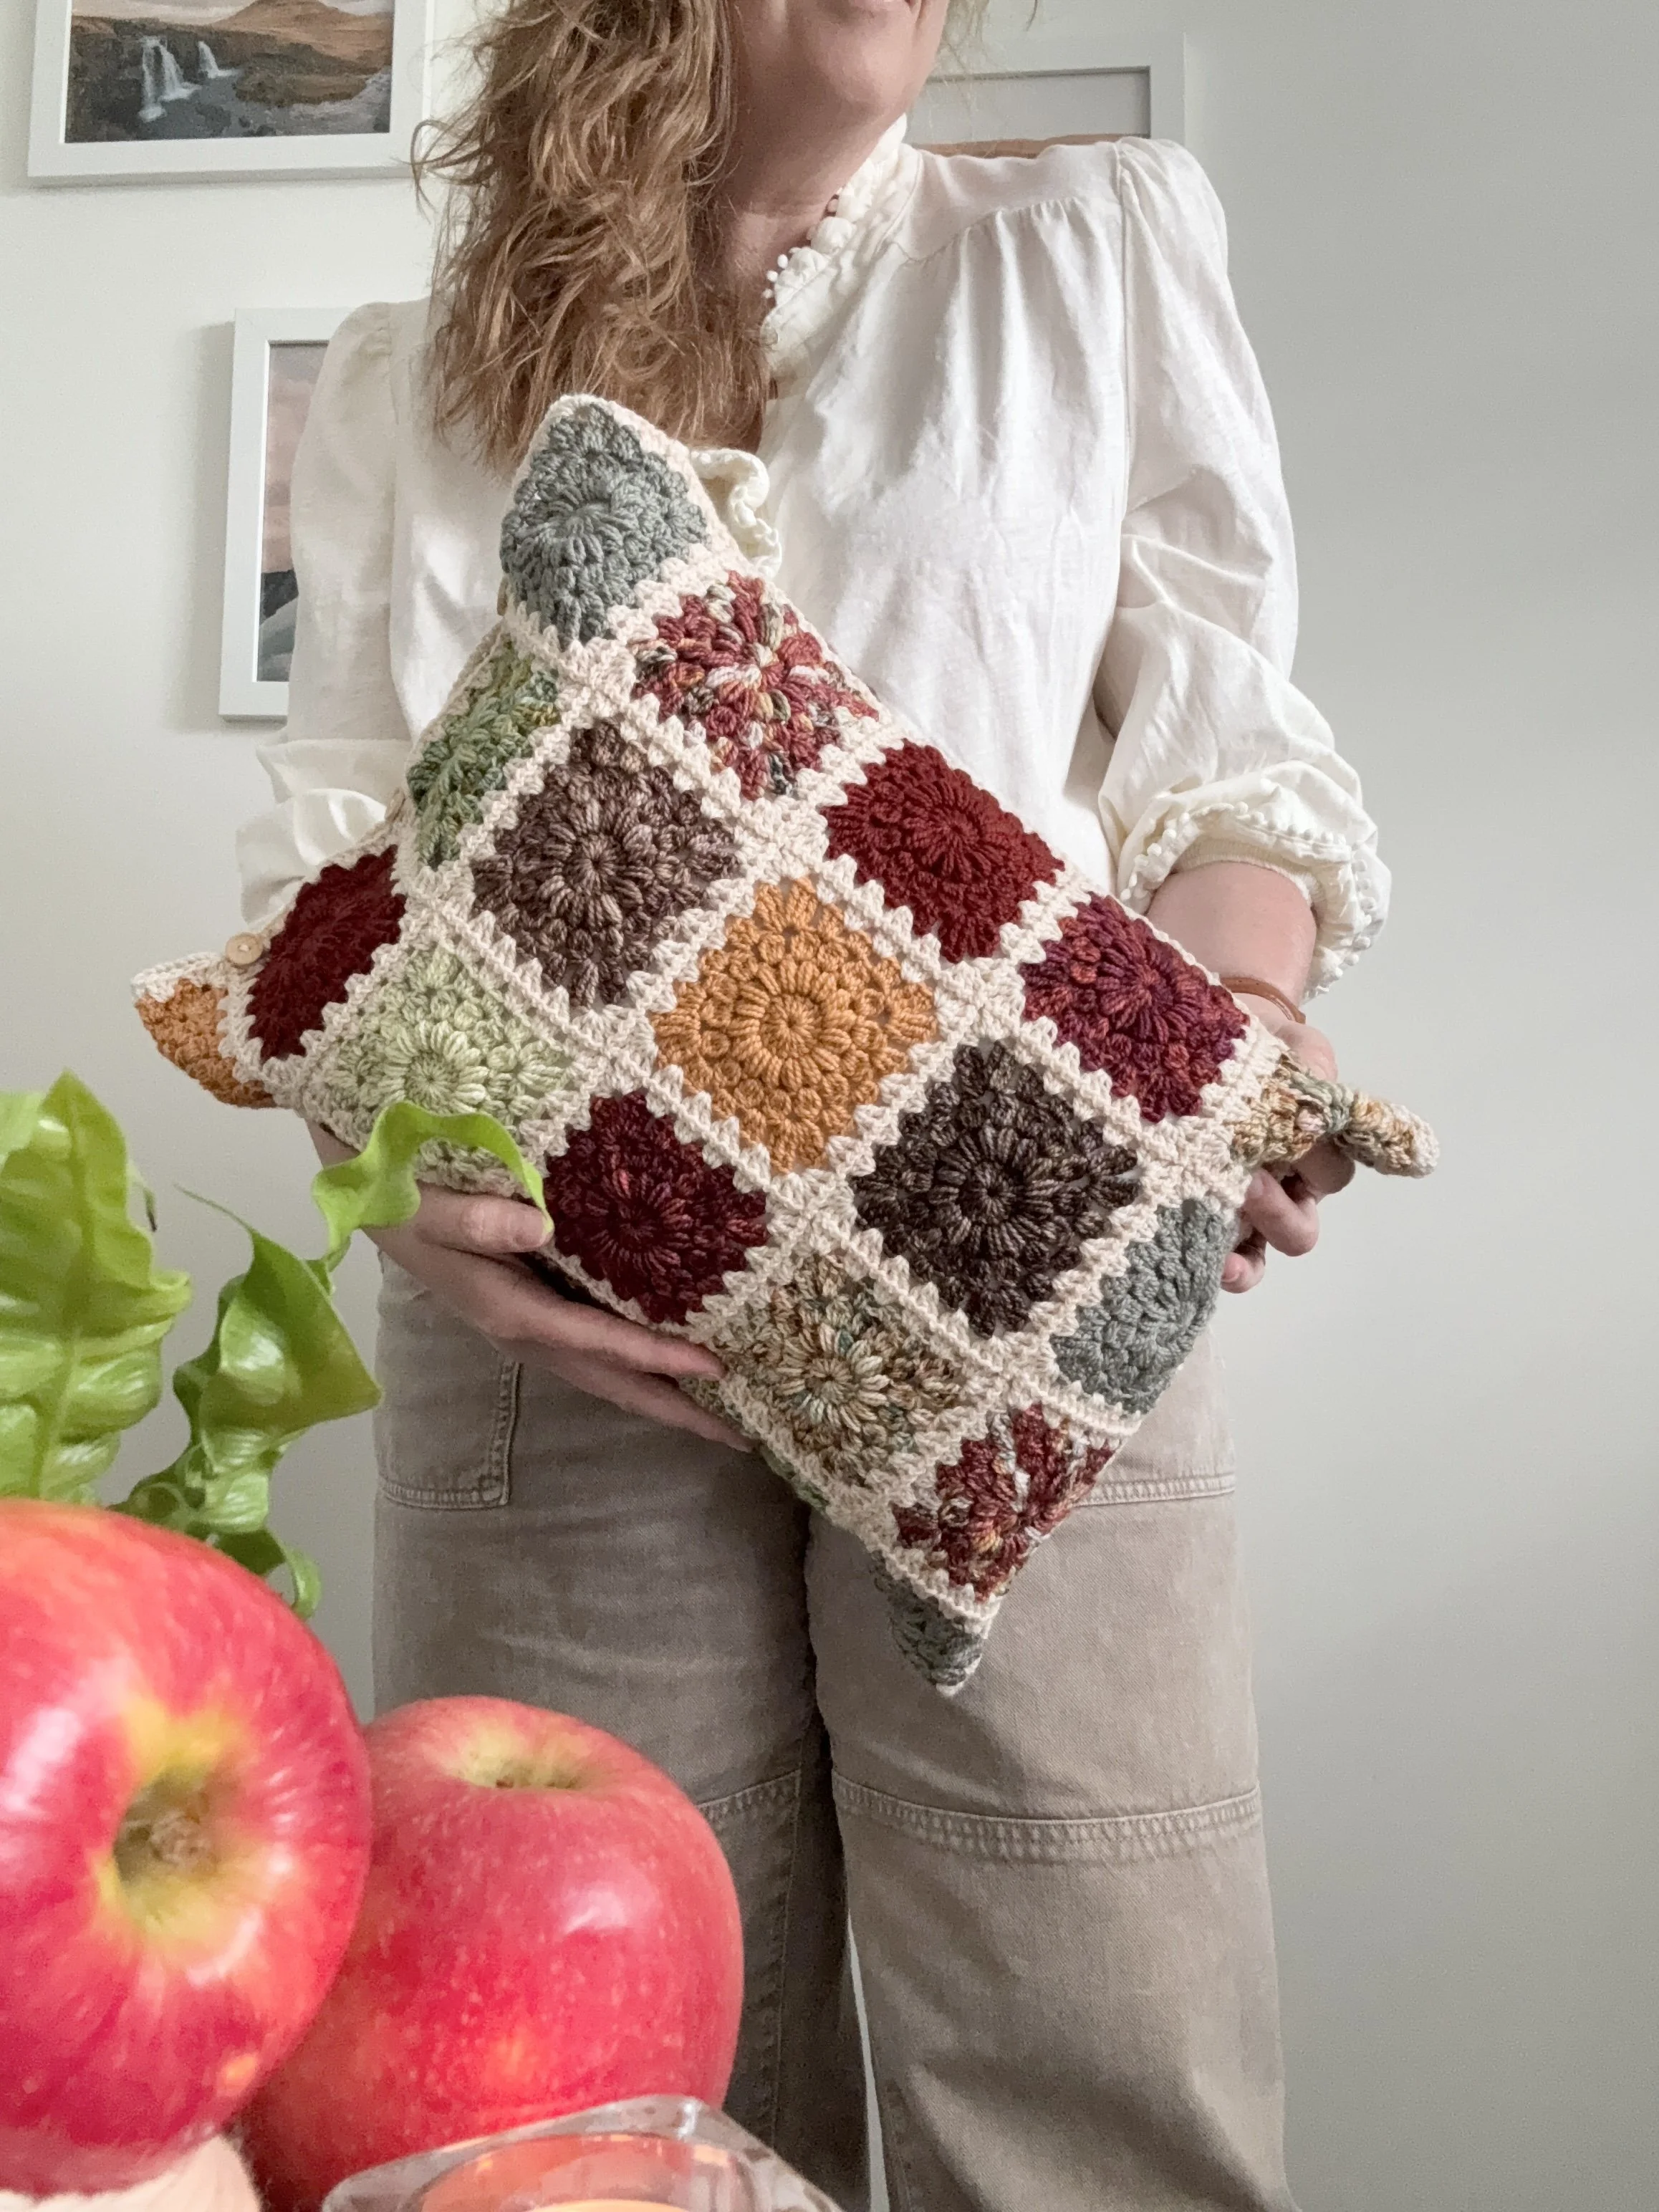
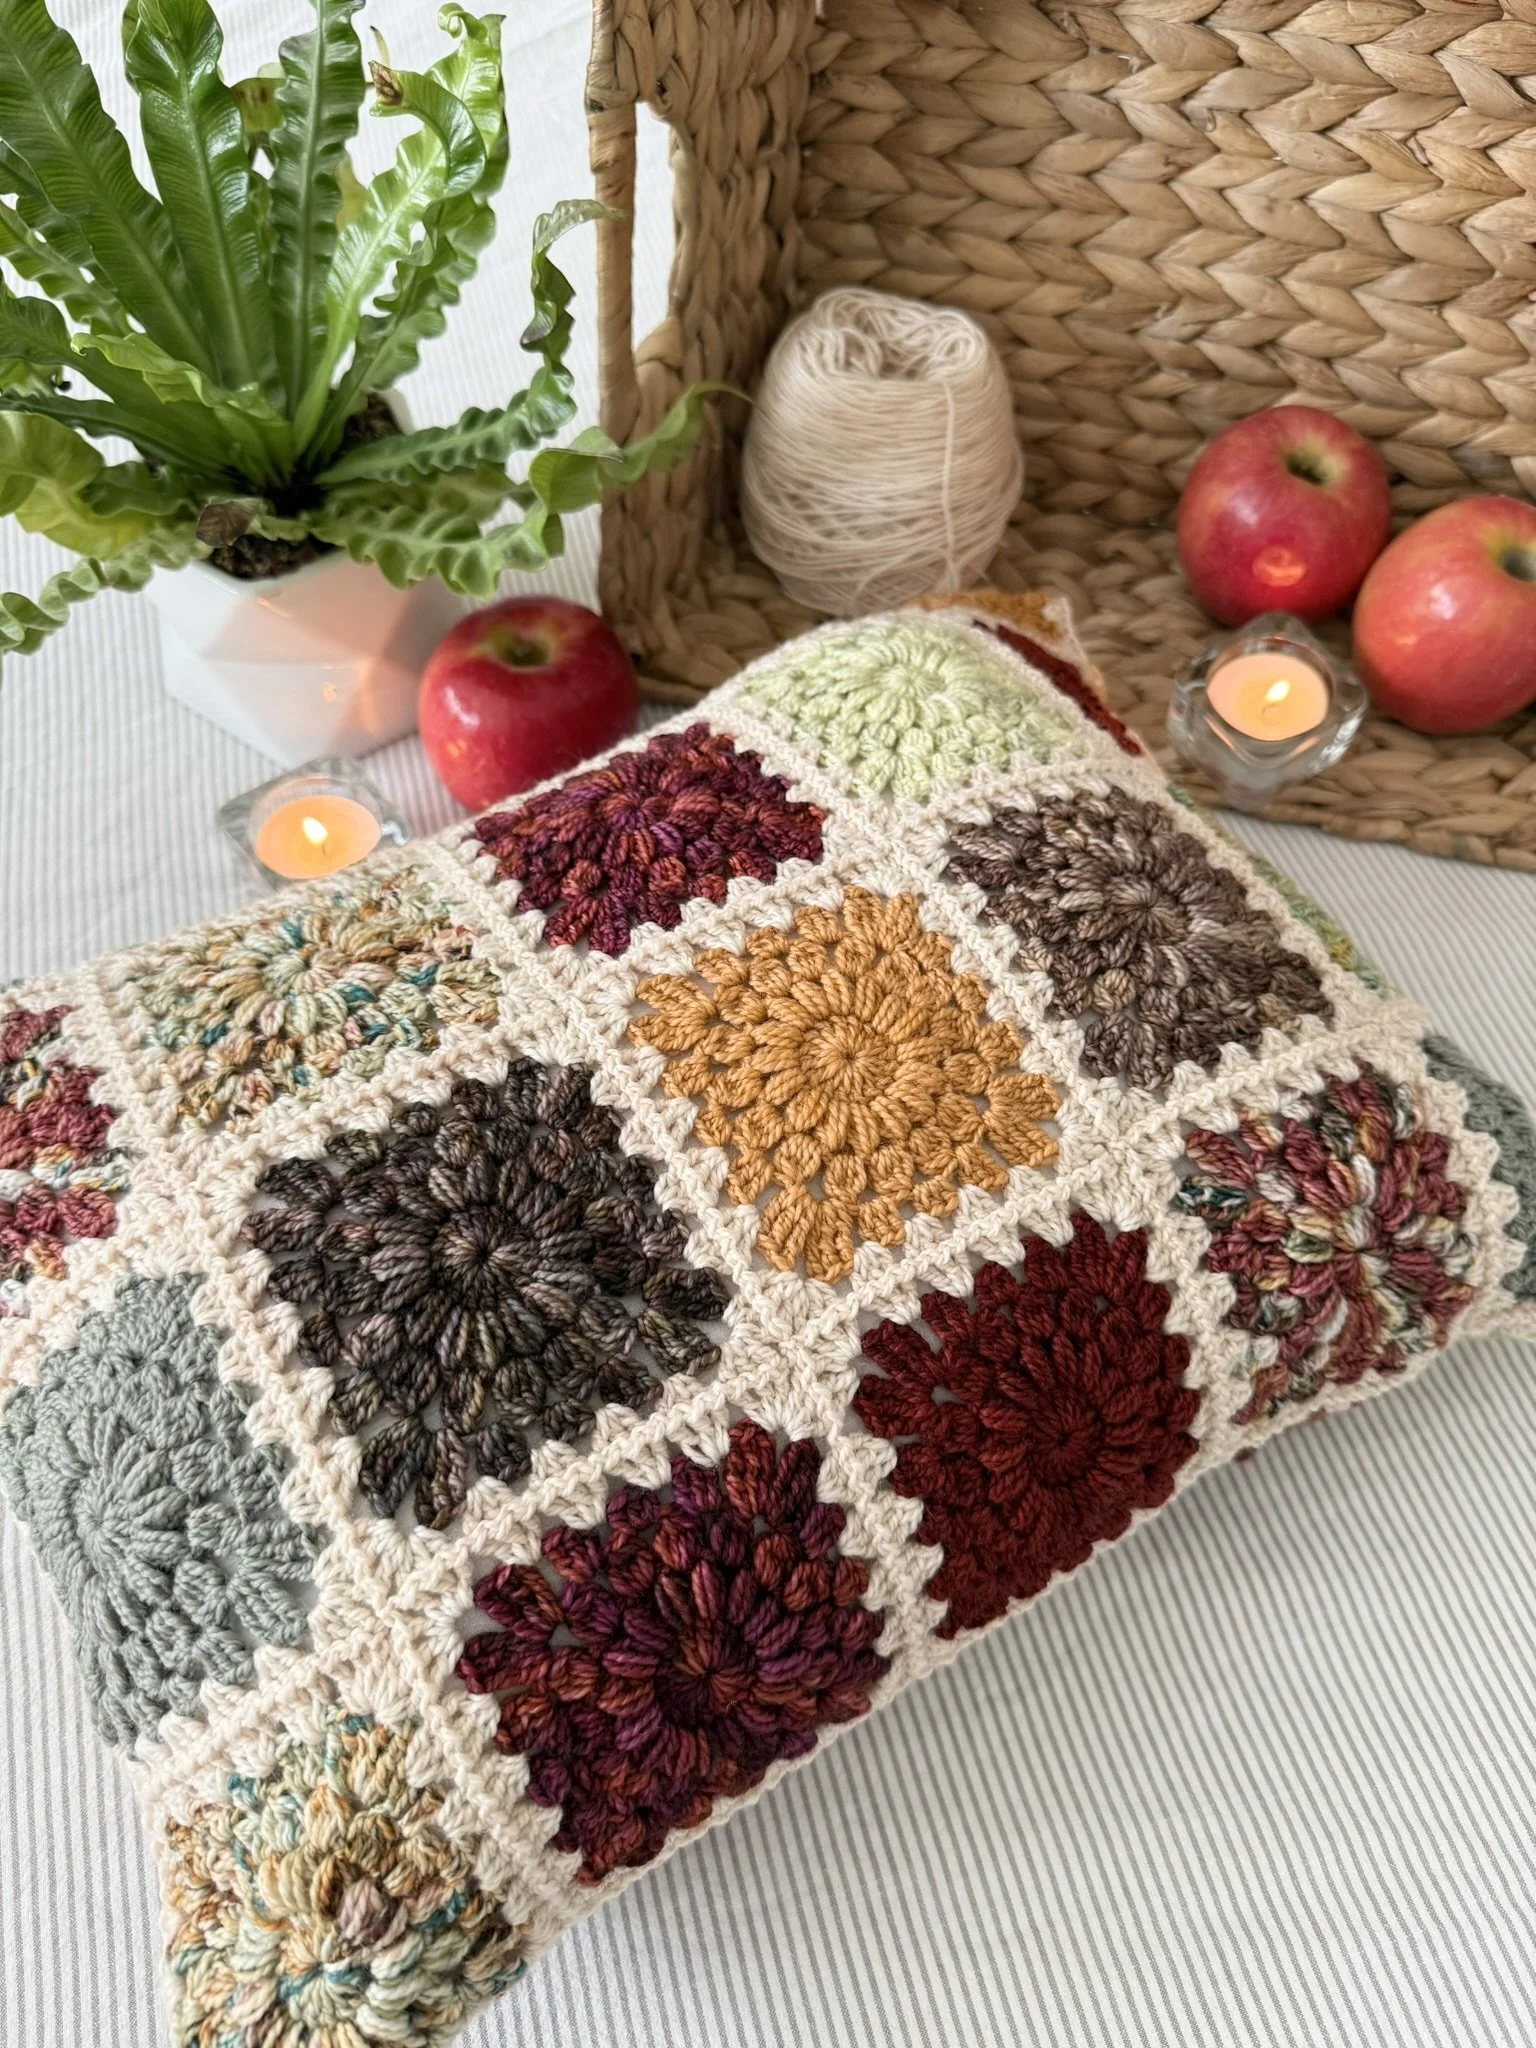
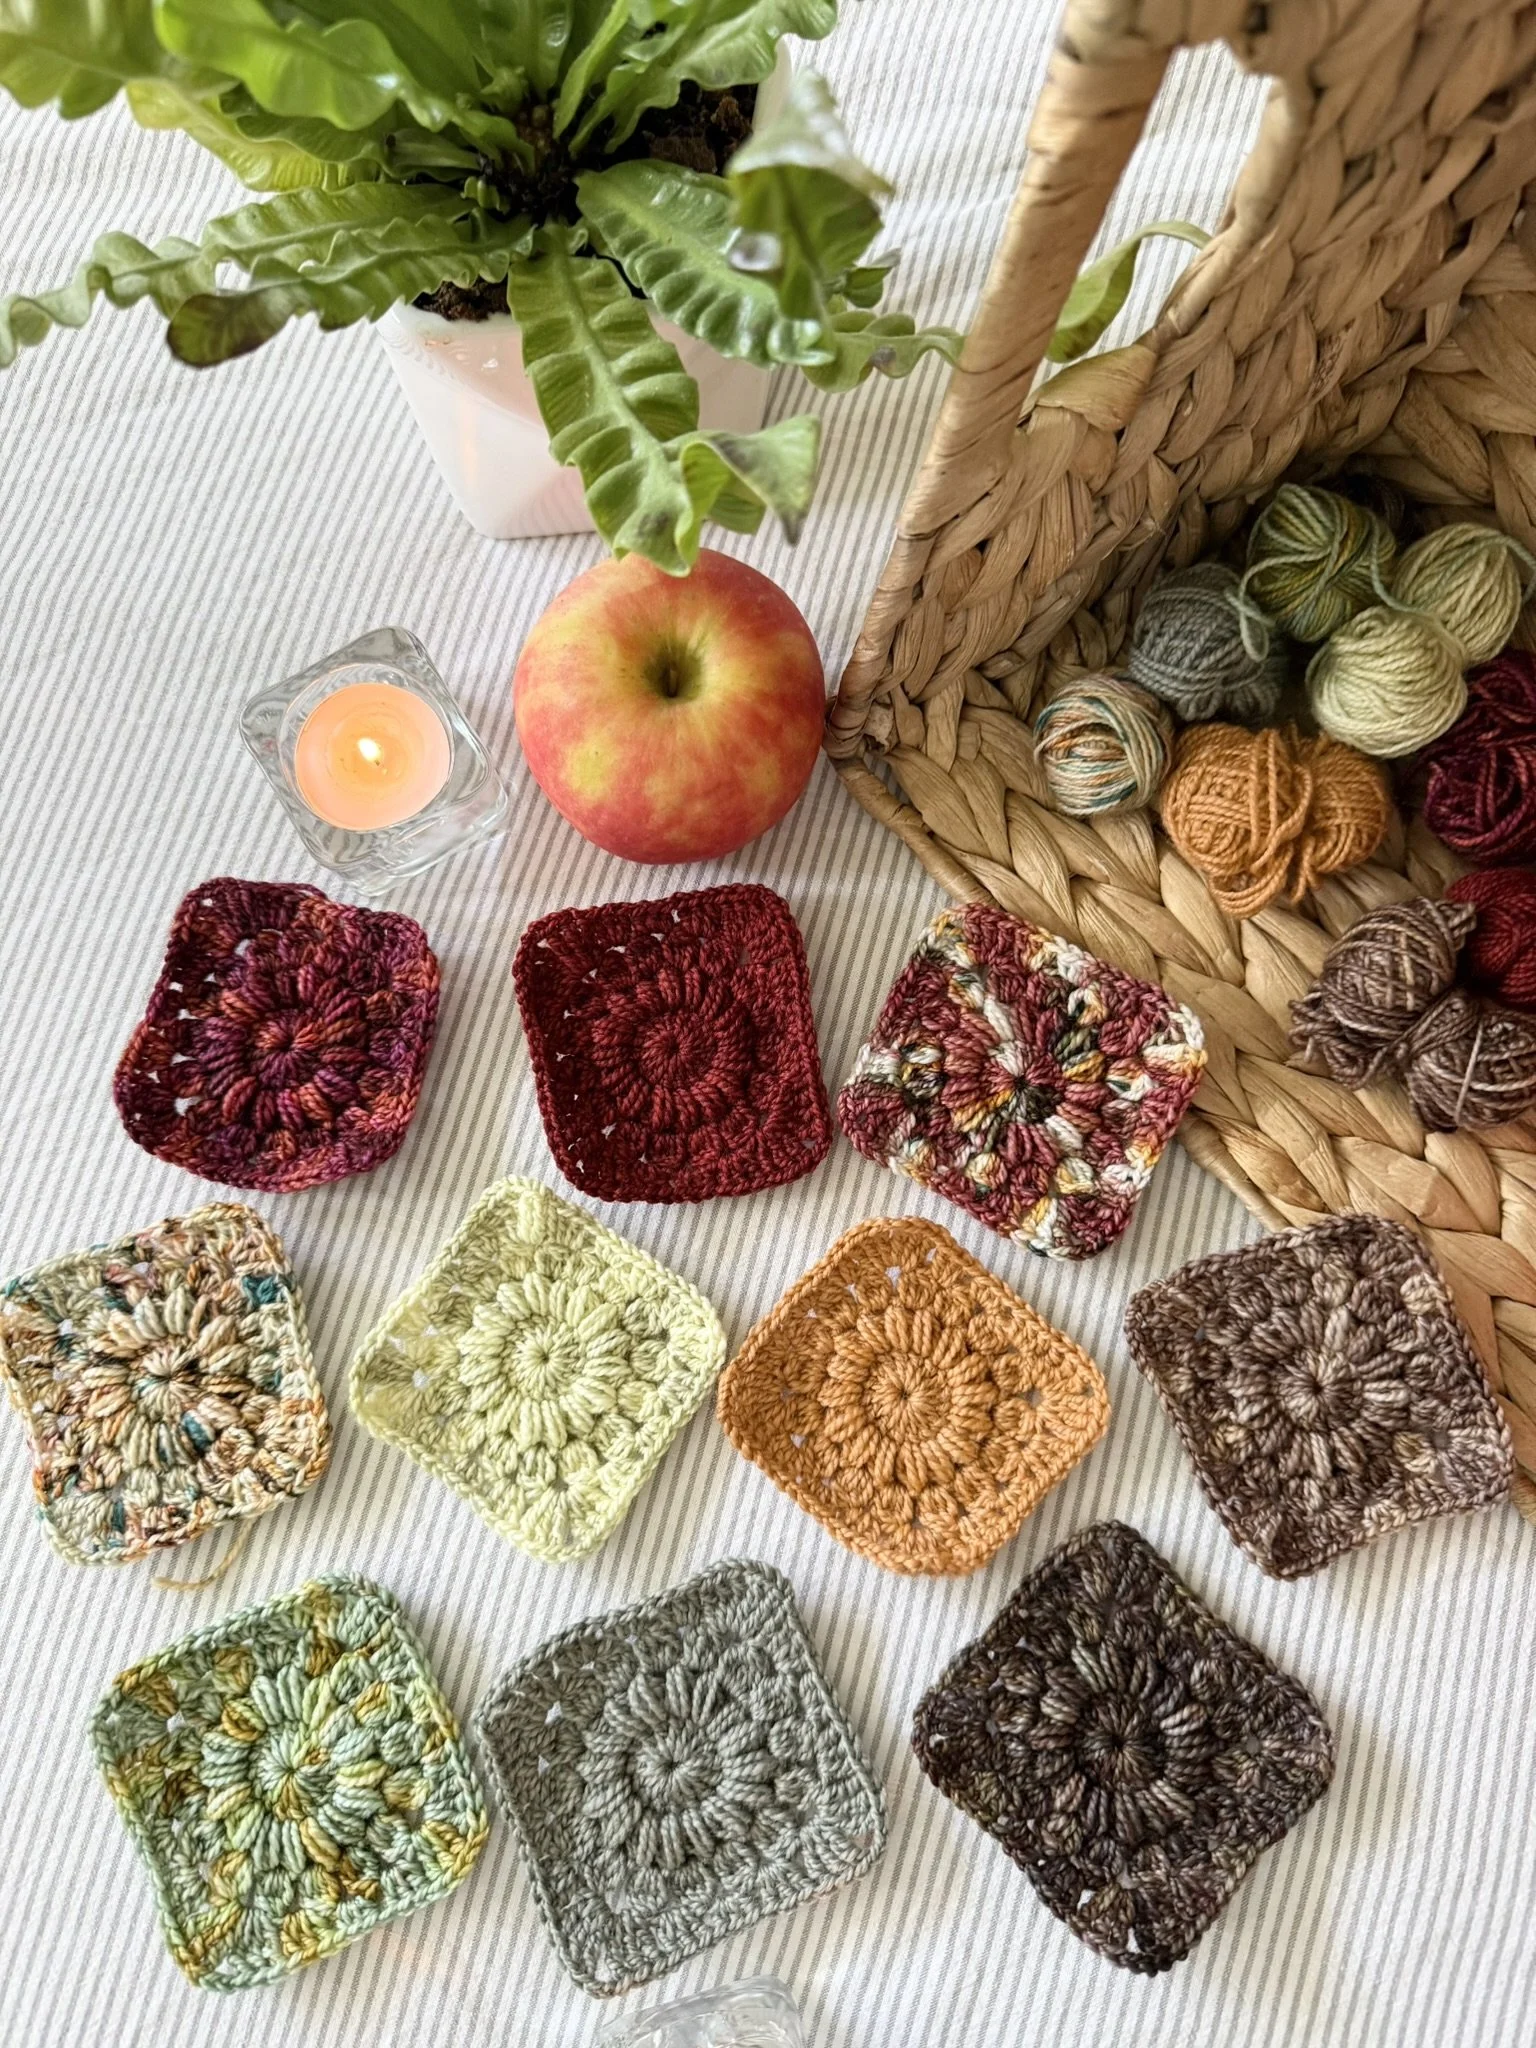
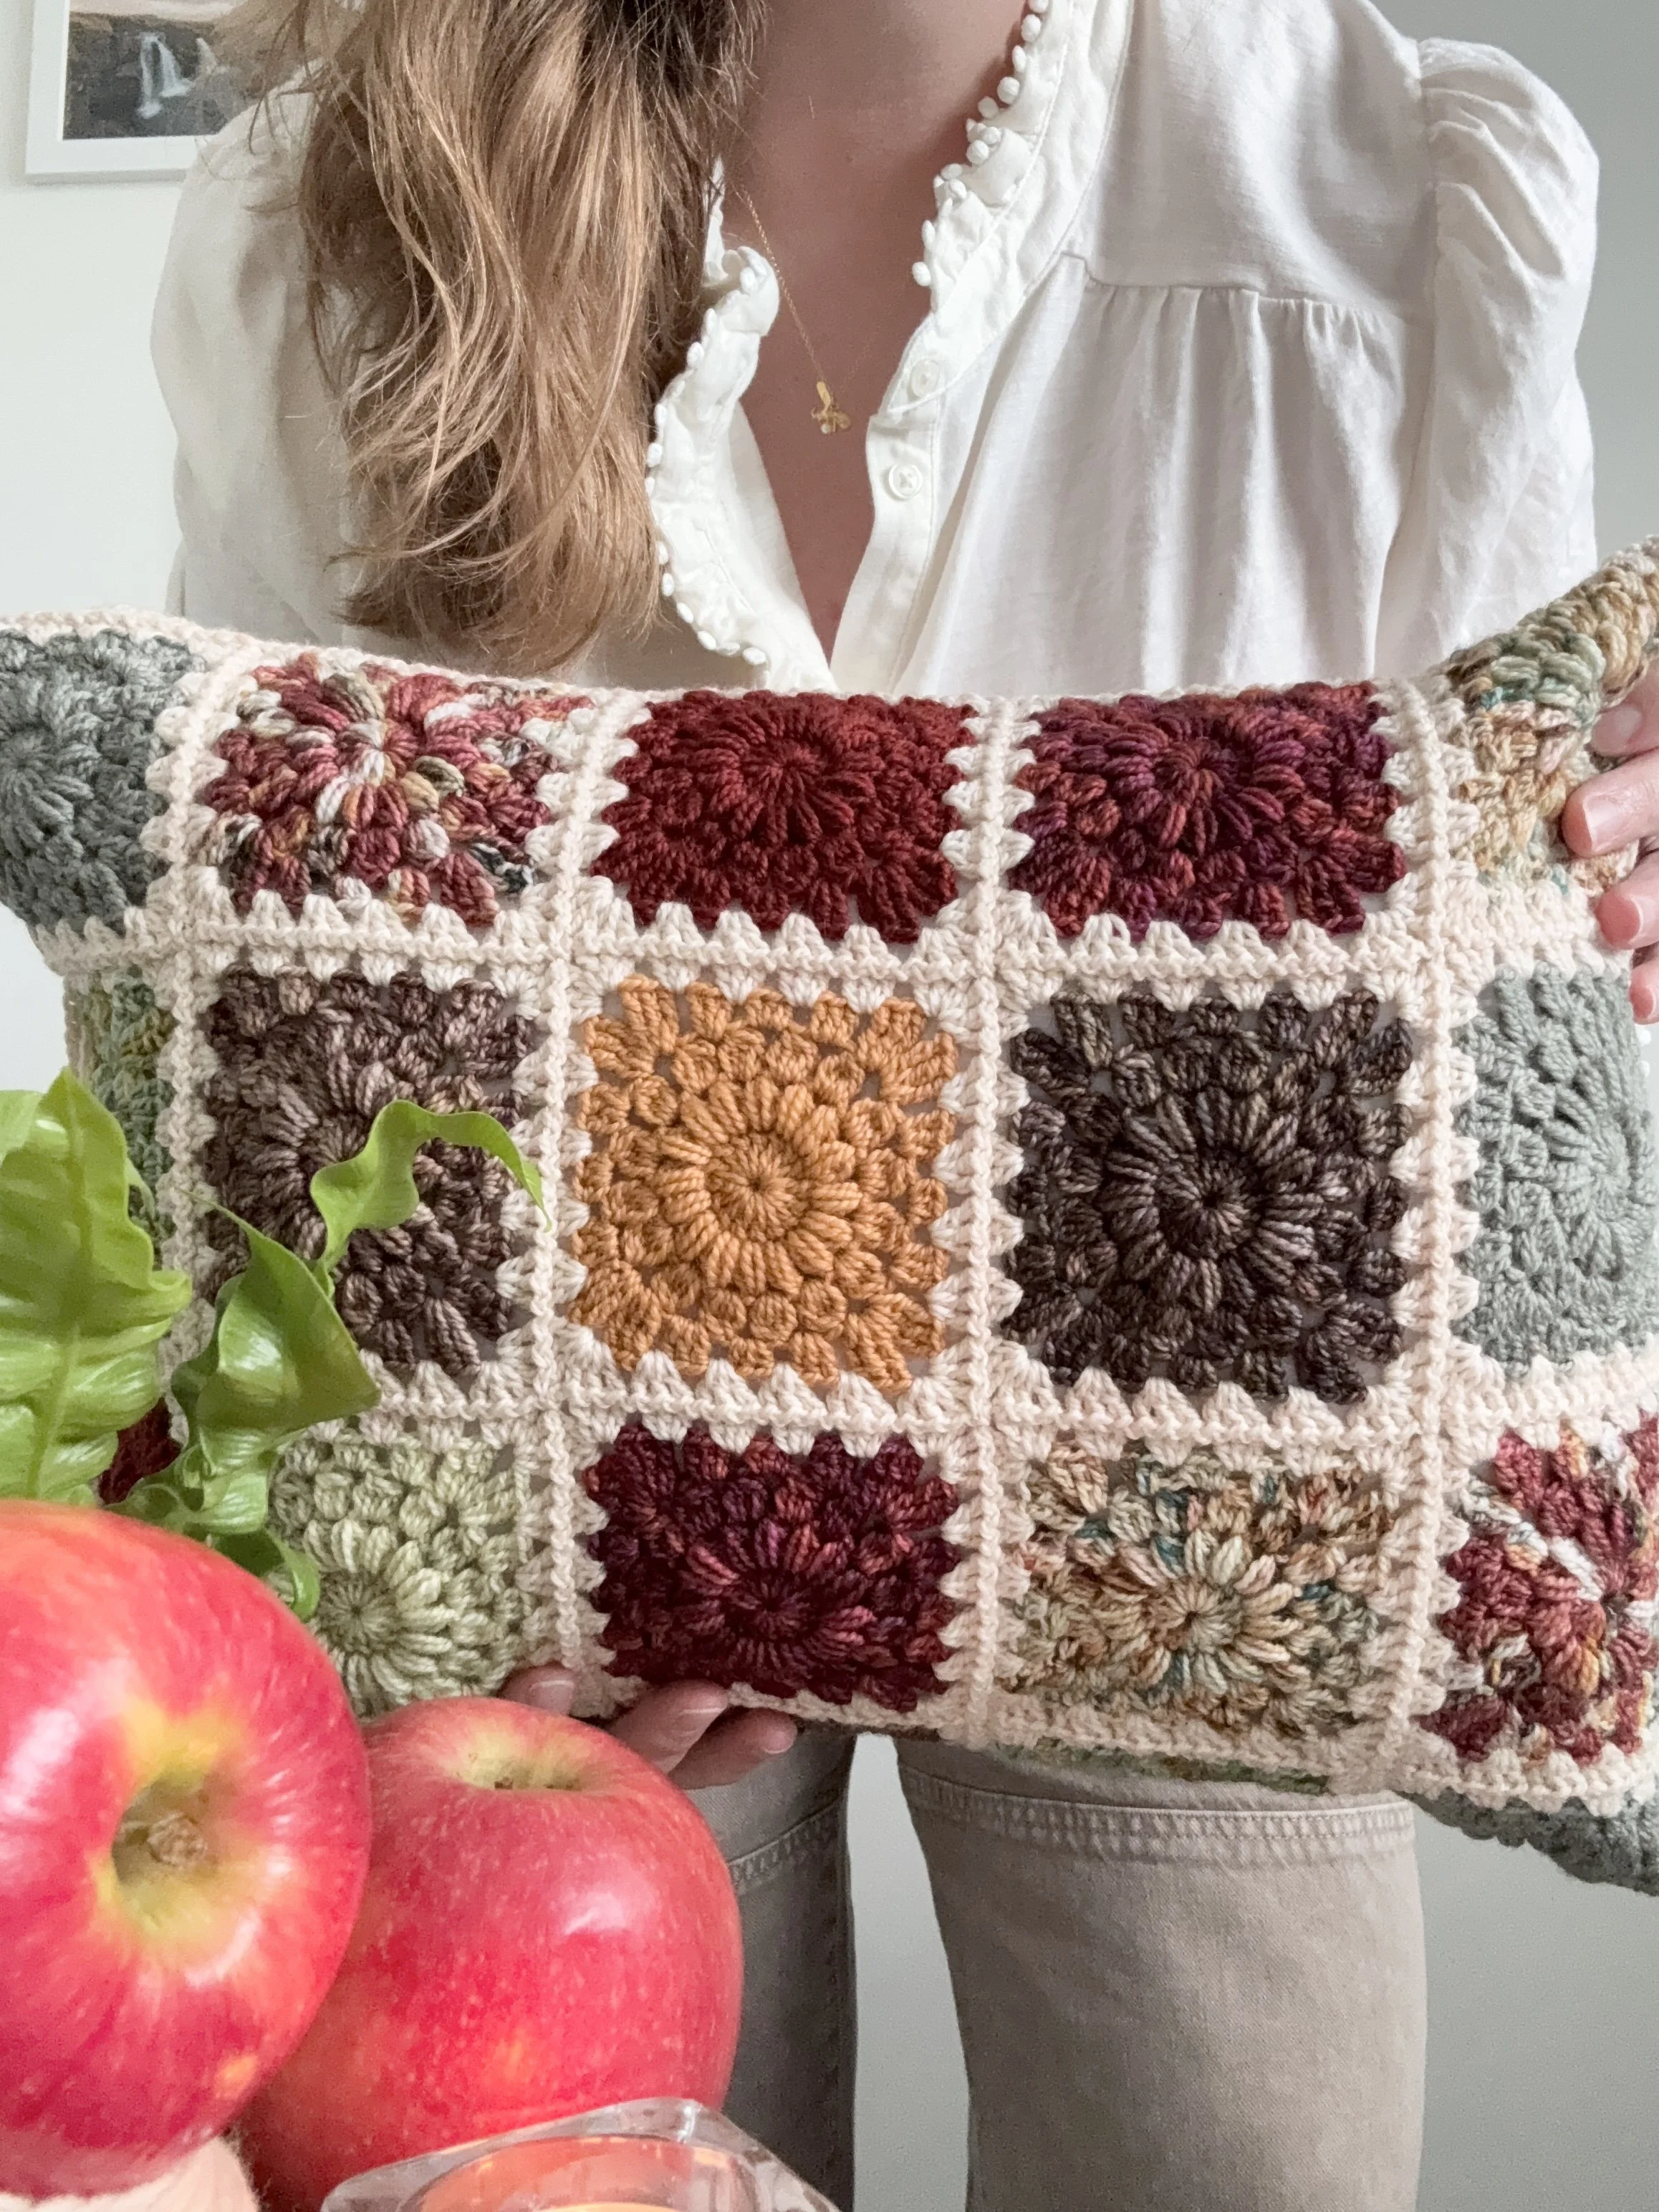
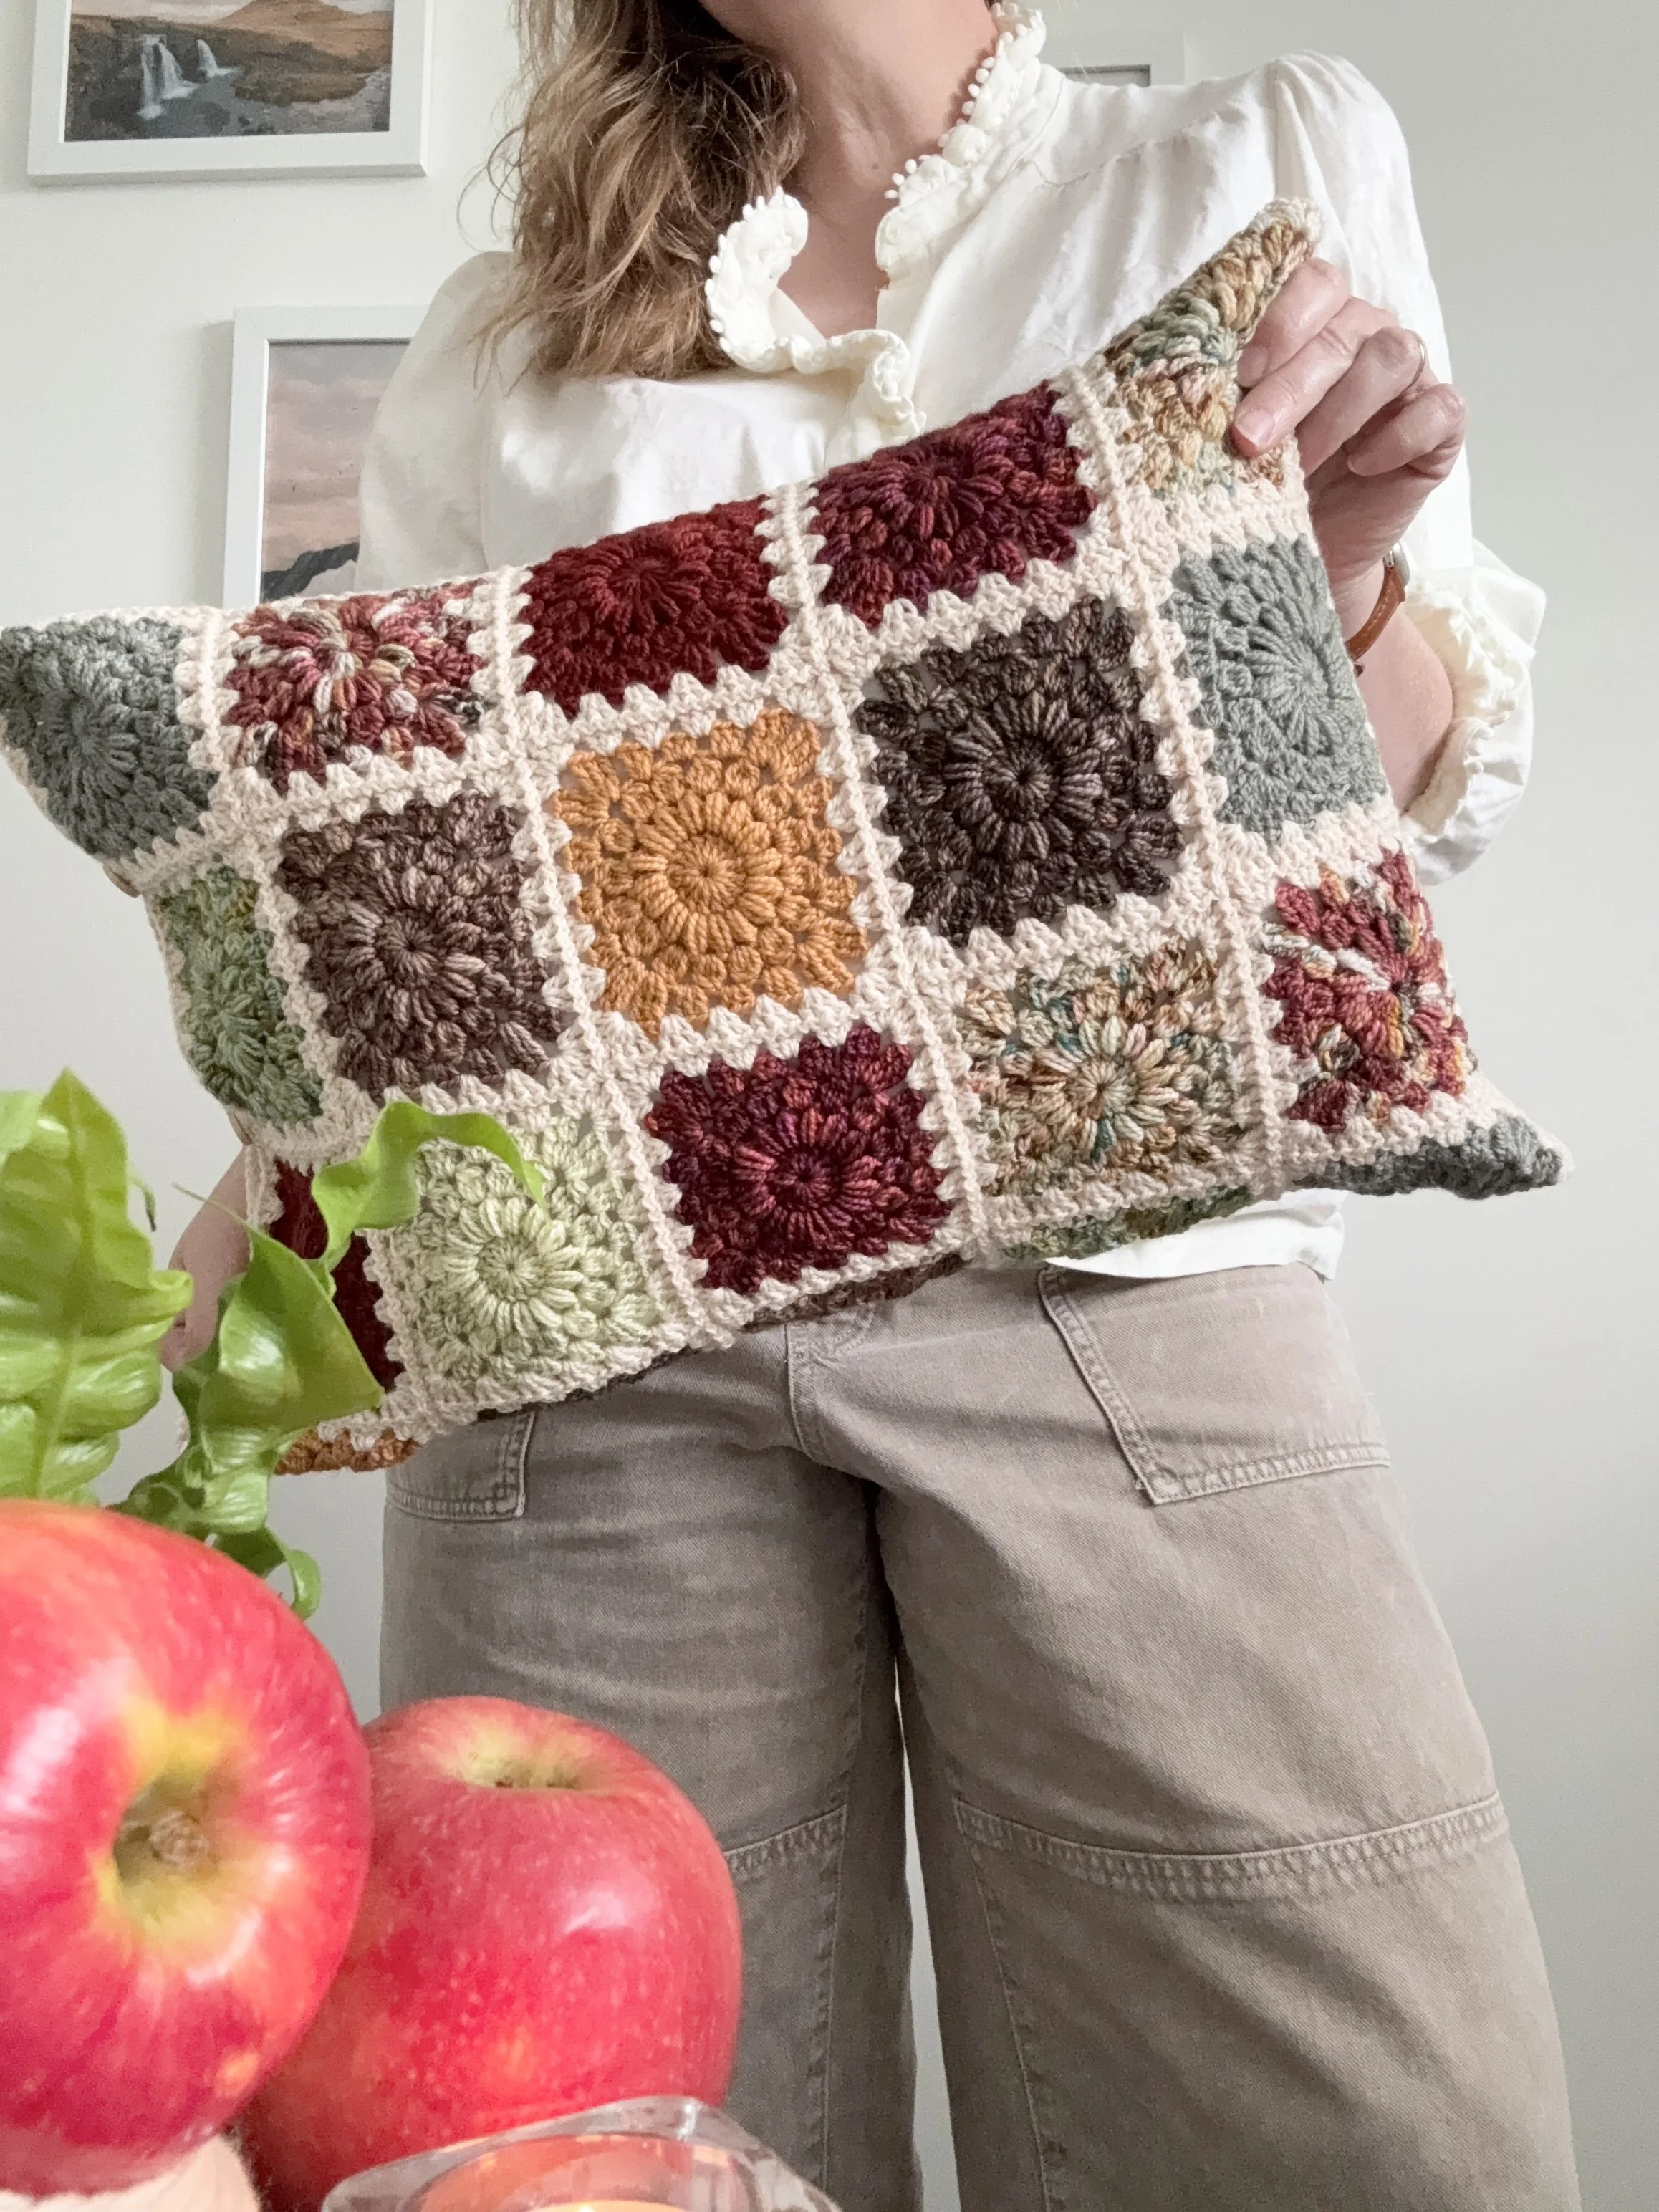
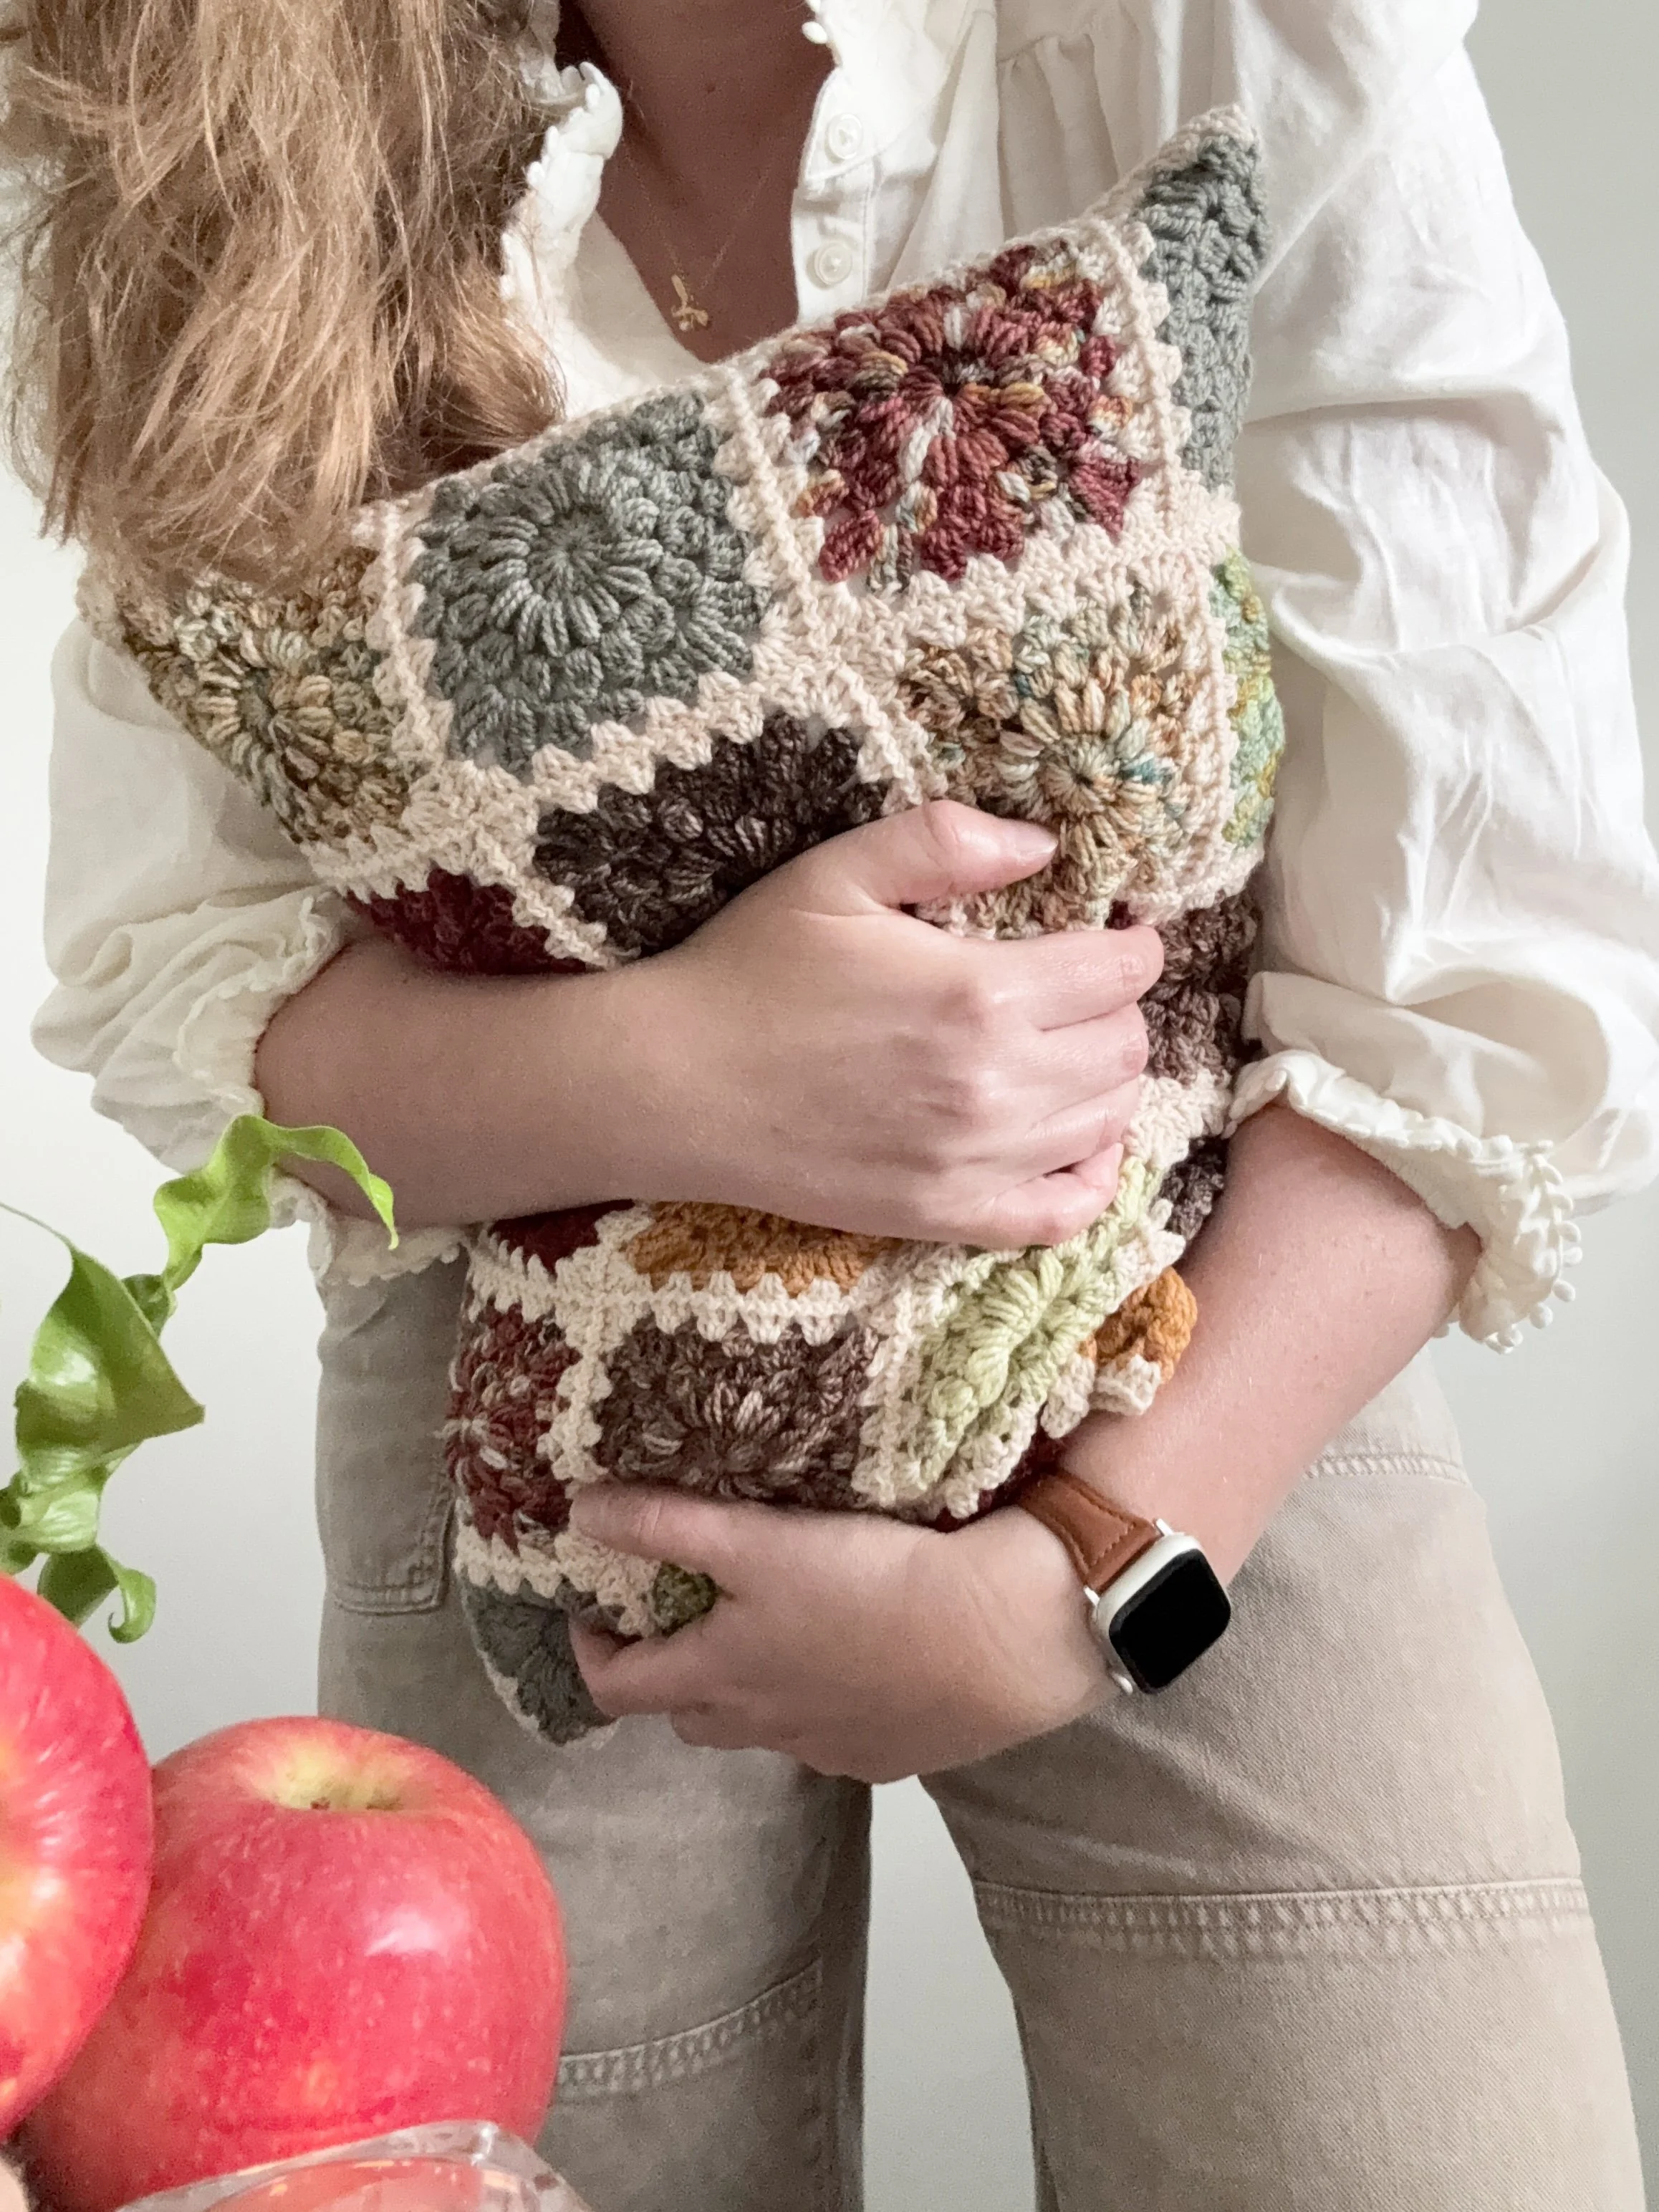
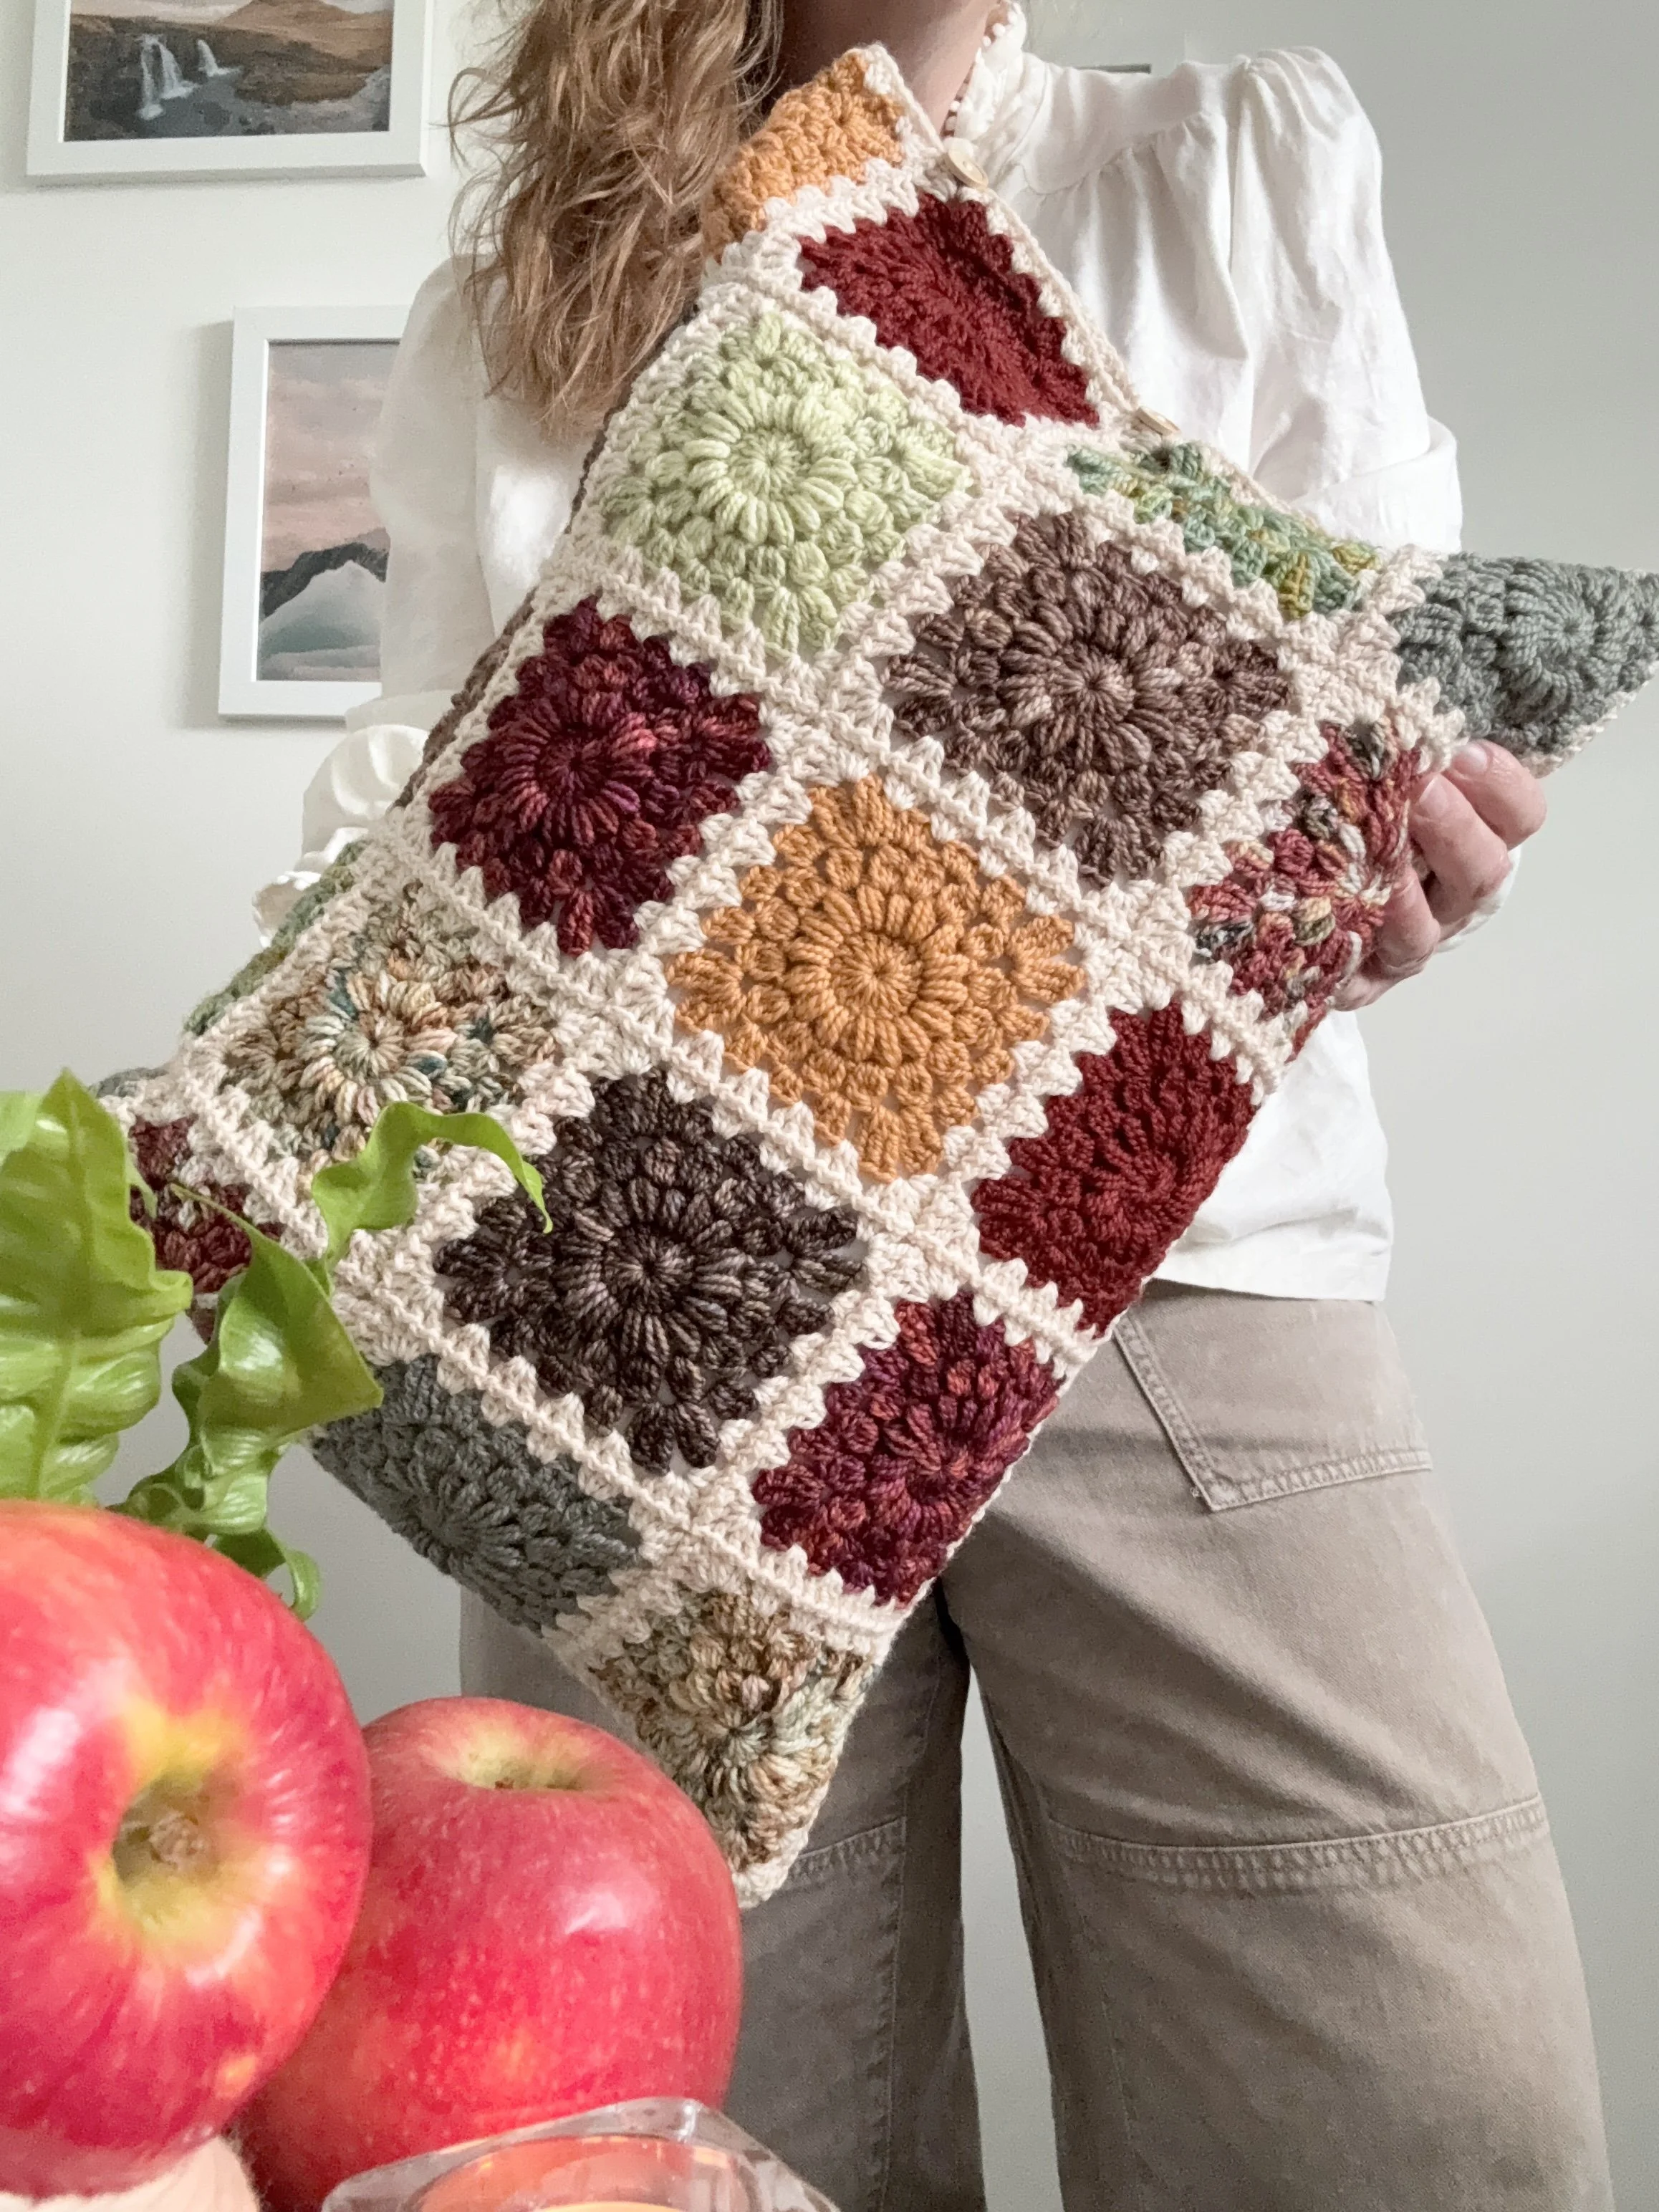
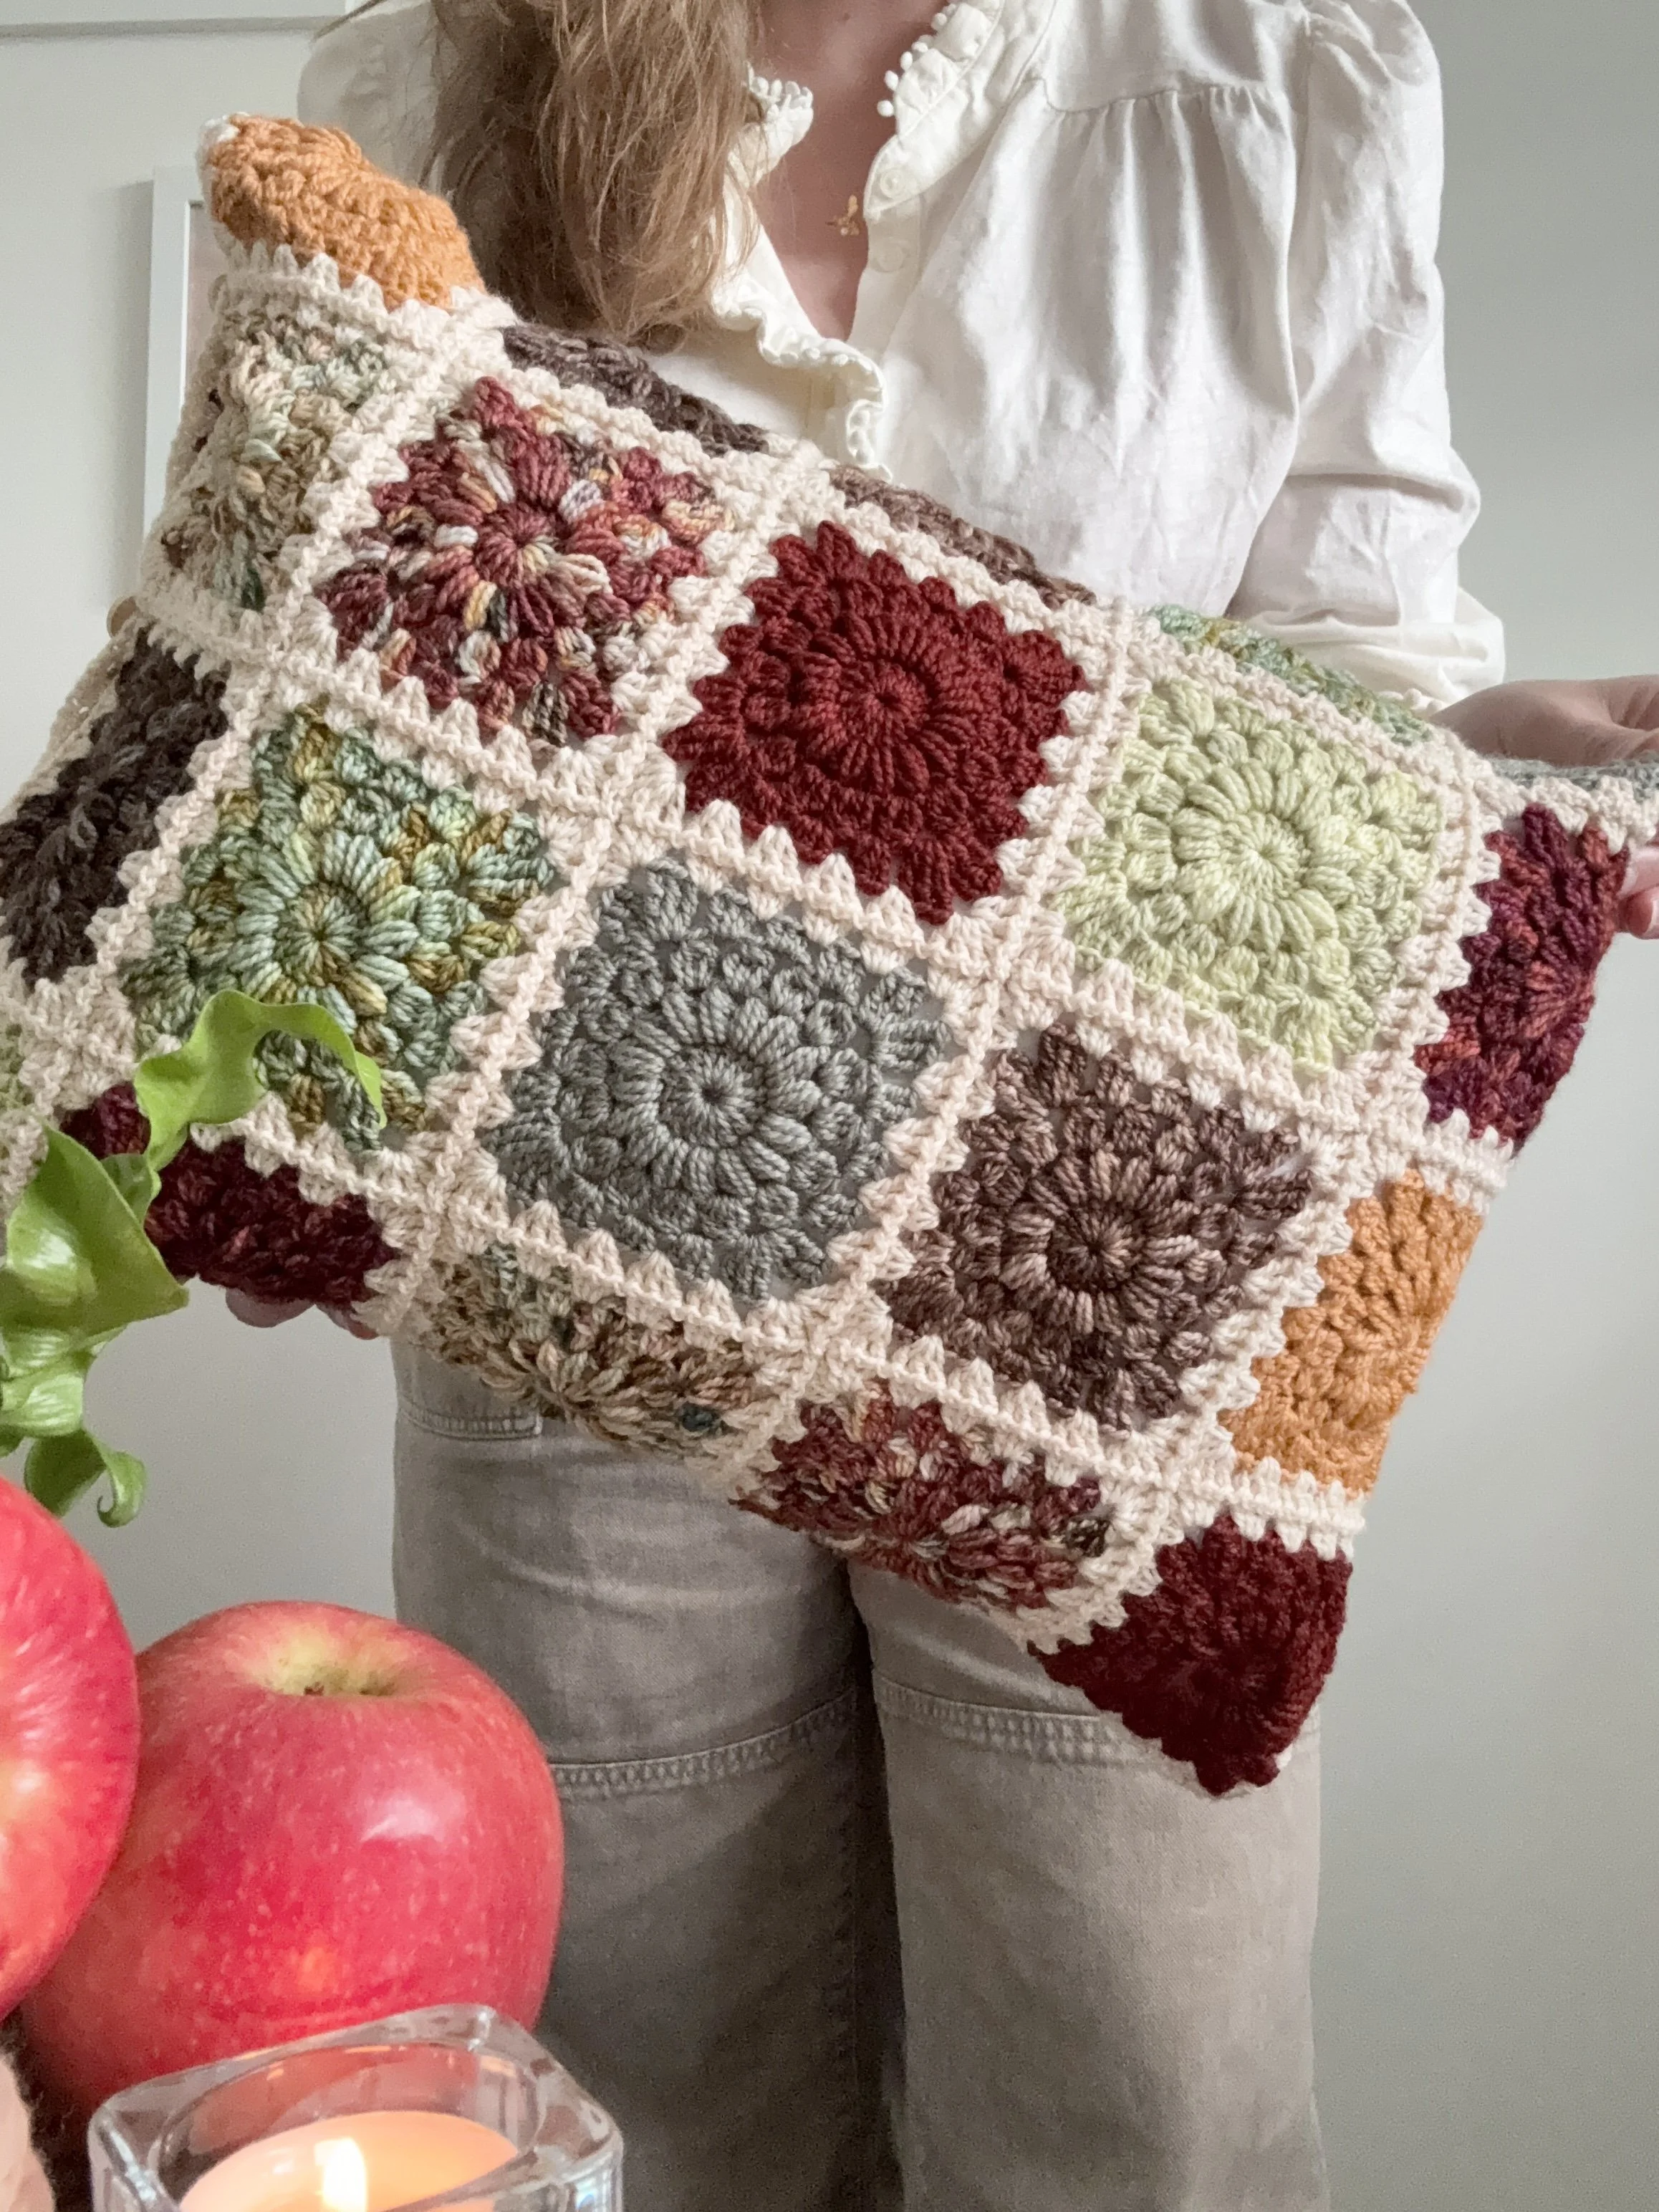
Hue Loco is making it real easy to slip into autumn with this collection. It’s warm, it’s cozy and it’s perfect for home decor. I settled on something I haven’t made yet- a lumbar, rectangular pillow! Using the softest Merino Sock yarn I worked up itty bitty sunbursts and now I have the cutest little accent pillow to decorate for fall.
Happiest crocheting!
M
ps. If you would like a printable PDF of this pattern, you can purchase it on ETSY or RAVELRY here:
ETSY: Hygge Burst Lumbar Pillow Pattern x Apple Pie, Oh My! Collection by Hue Loco Yarn.
RAVELRY: Hygge Burst Lumbar Pillow Pattern x Apple Pie, Oh My! Collection by Hue Loco Yarn.
Notions
US 3.25mm (size D) crochet hook
Lumbar Rectangular Pillow Form (12x16”)
Needle for weaving in ends
Scissors
Yarn
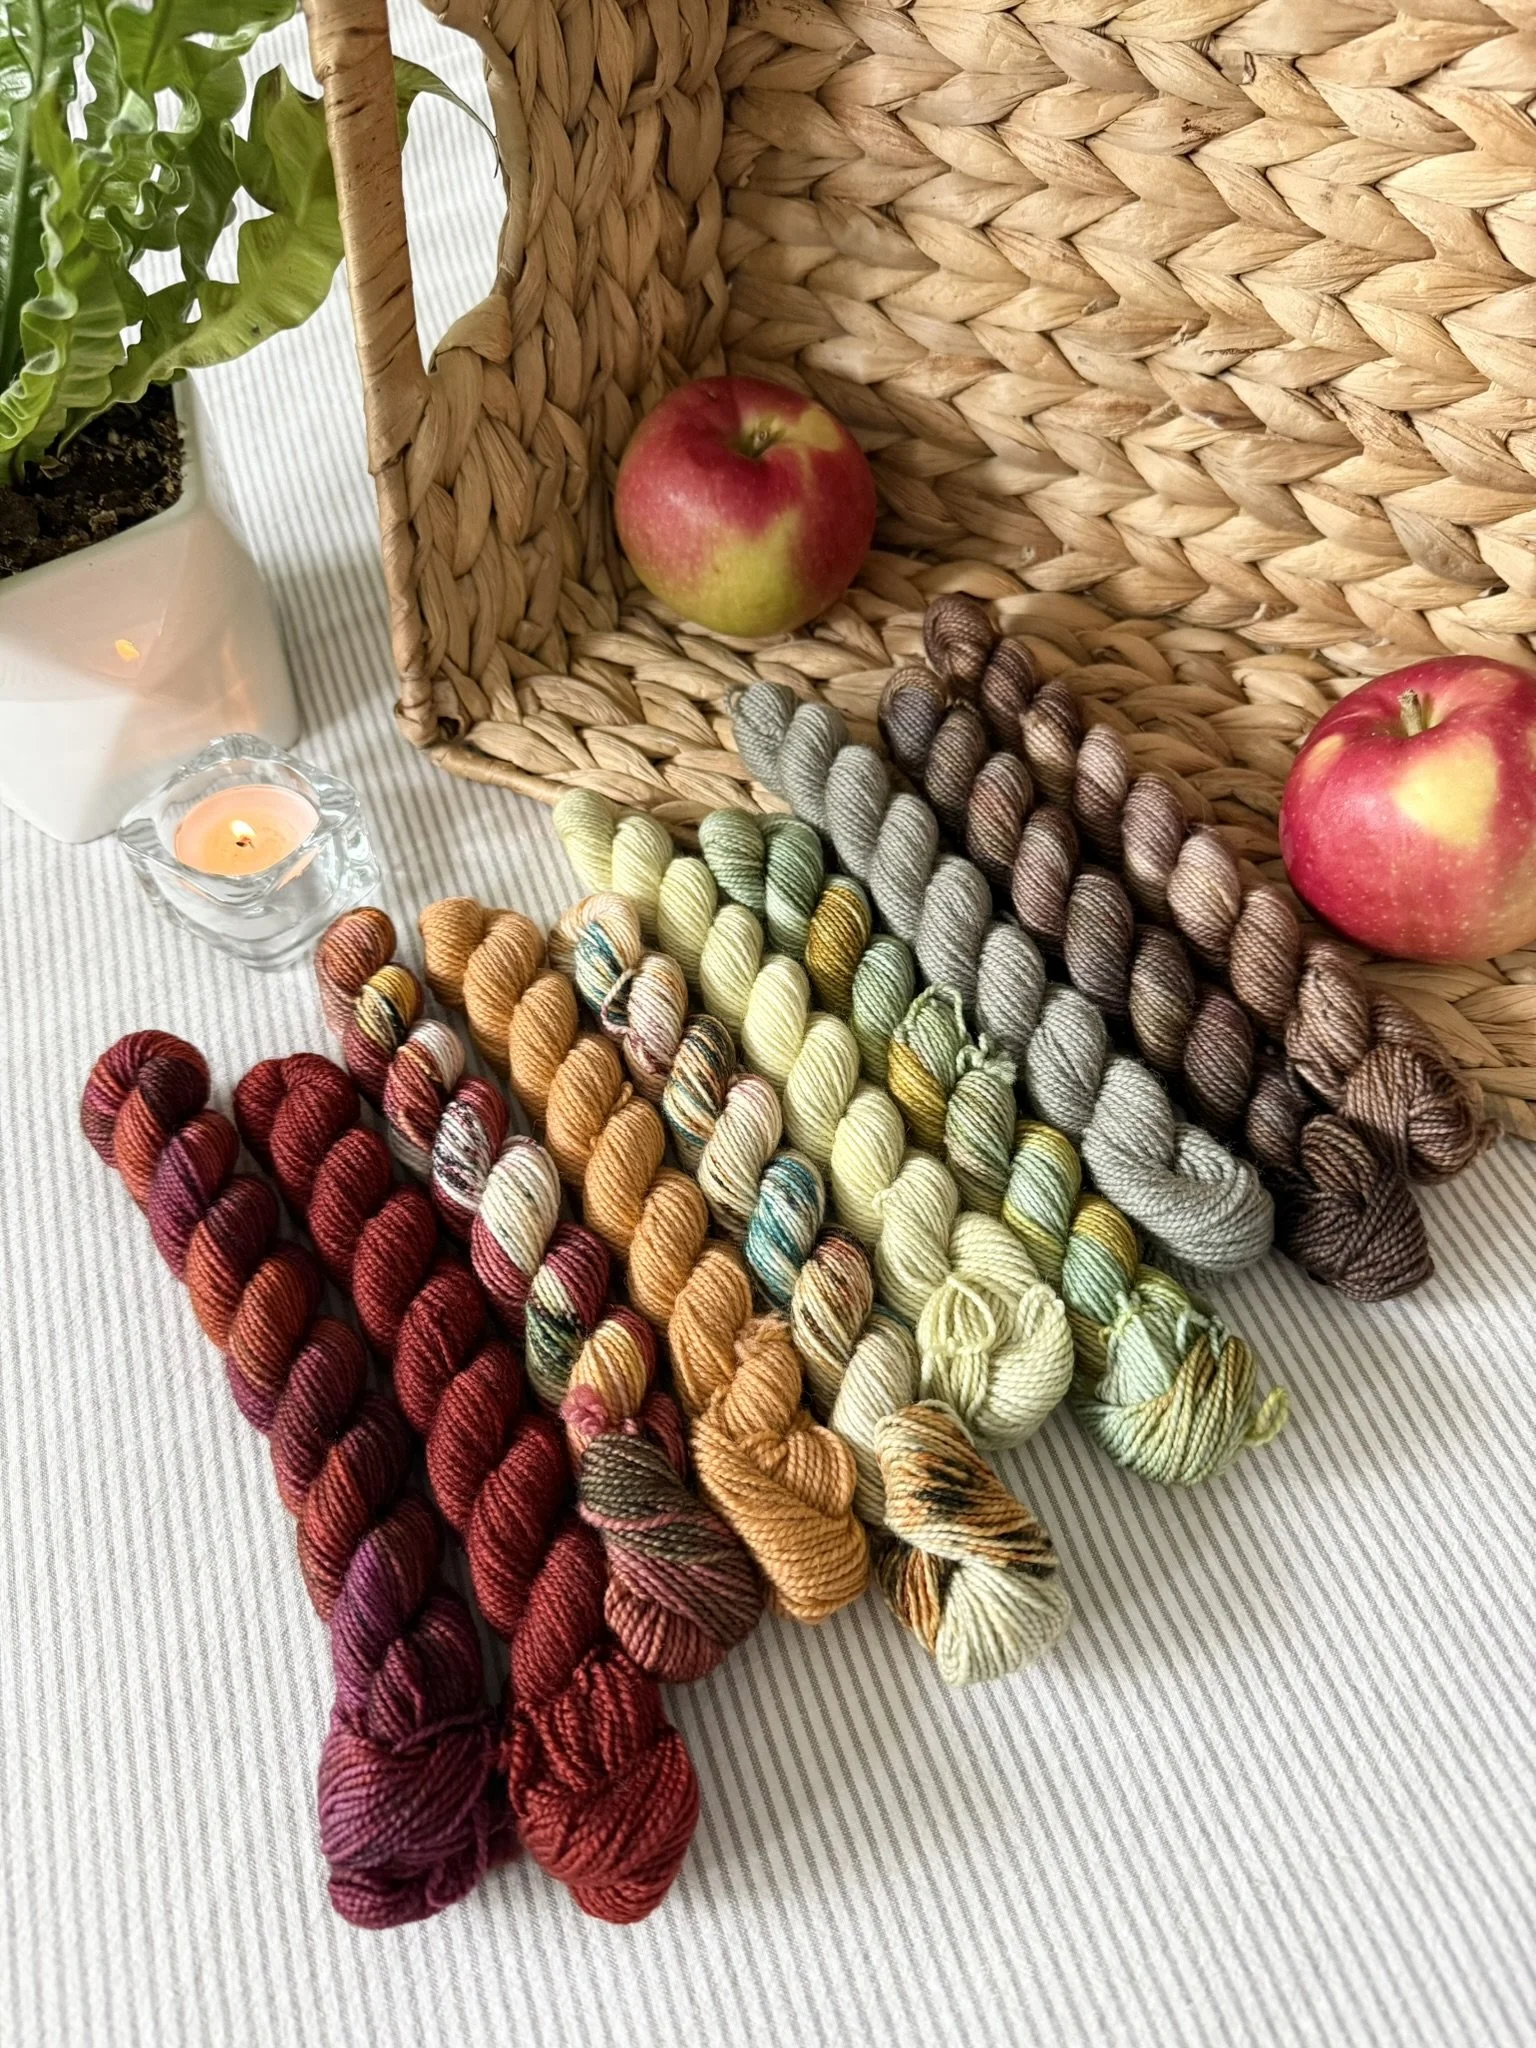
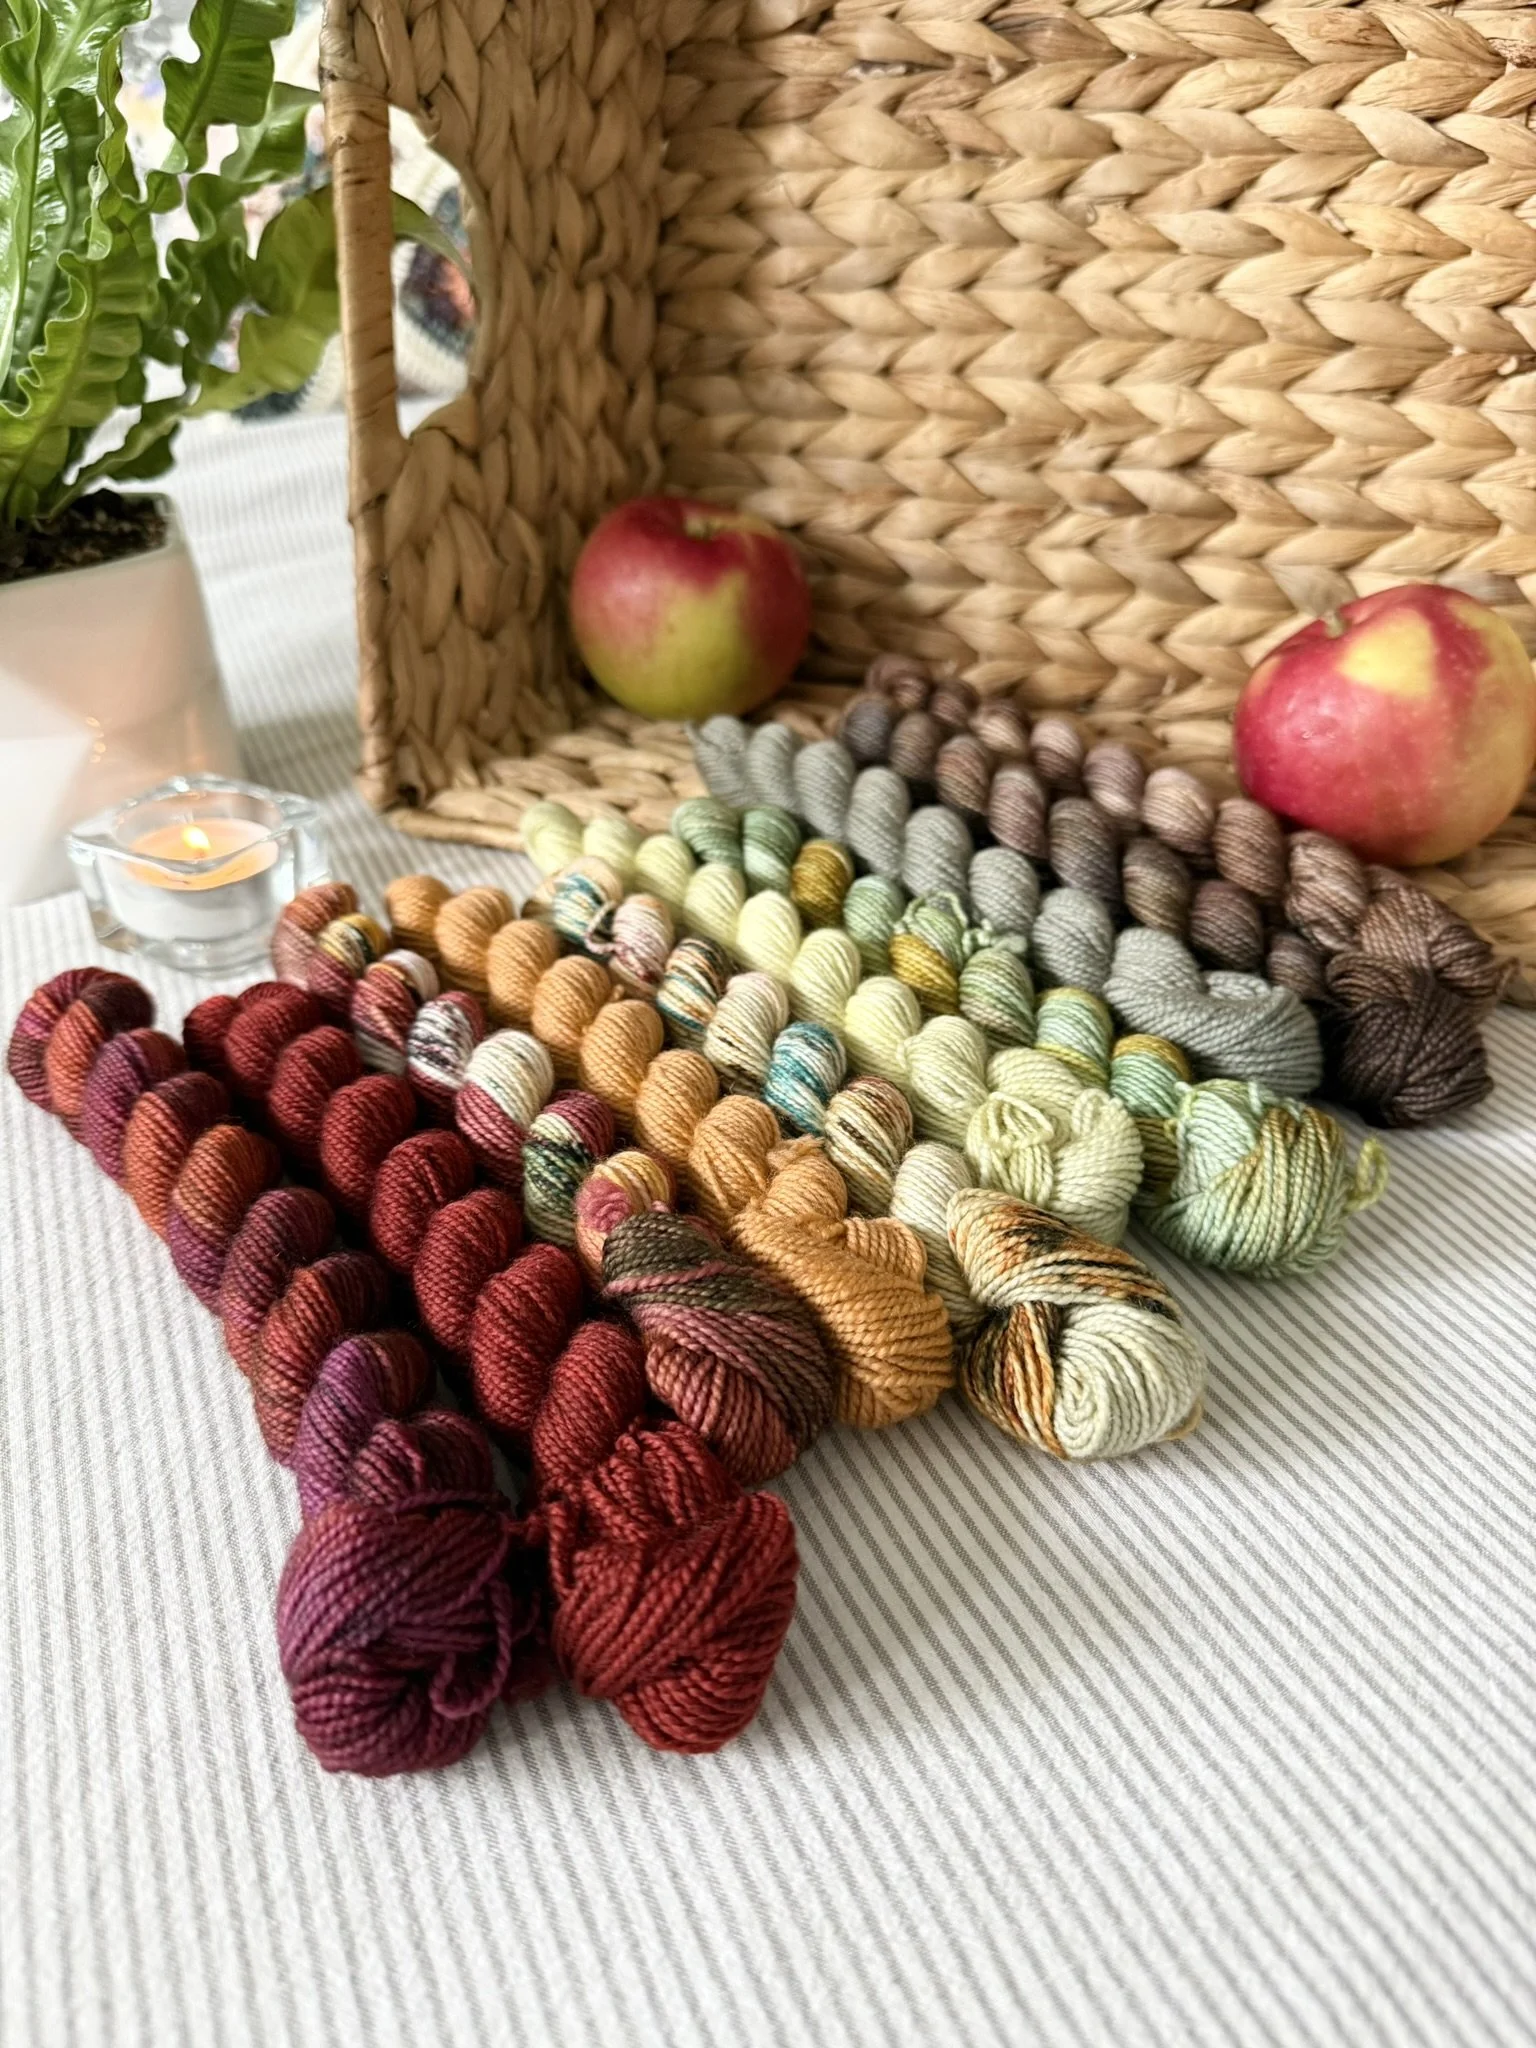
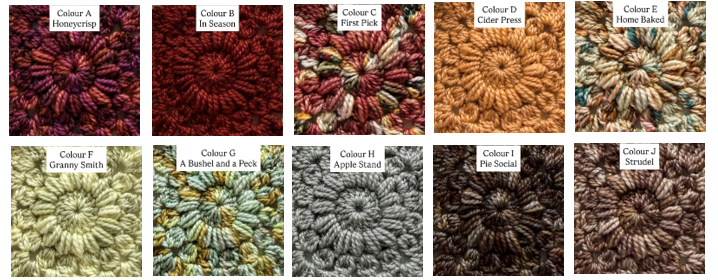
Hue Loco Apple Pie, Oh My! Collection Mini Set- Merino Sock, 80/20 SW Merino/Nylon (800yds/200g):
Colour A: Honeycrisp (60yds/15g)
Colour B: In Season (60yds/15g)
Colour C: First Pick (60yds/15g)
Colour D: Cider Press (44yds/11g)
Colour E: Home Baked (60yds/15g)
Colour F: Grany Smith (44yds/11g)
Colour G: A Bushel and a Peck (44yds/11g)
Colour H: Apple Stand (64yds/16g)
Colour I: Pie Social (44yds/11g)
Colour J: Strudel (40yds/10g)
Hue Loco Merino Sock, 80/20% SW Merino/Nylon (400yds/100g):
Linen (200yds/50g) 1 skein
Yarn Recommendations
Hue Loco Apple Pie, Oh My! Collection Mini Set-Merino Sock (this link has the option to purchase the mini set OR a pillow kit with joining yarn included)
Hue Loco Merino Sock Skeins (80% Superwash Merino, 20% Nylon)
Hue Loco Mini Sets (Merino Sock 80/20% SW Merino/Nylon)
Hue Loco Mini’s (make your own set!)
WeCrochet Stroll Fingering Yarn (75% Fine Superwash Merino Wool, 25% Nylon)
WeCrochet Stroll Tweed Fingering Yarn (65/25/10% SW Merino Wool/Nylon/ Donegal Tweed)
WeCrochet Stroll Mini Packs (75/25% SW Merino, Nylon)
WeCrochet Comfy Fingering Yarn (75% Pima Cotton, 25% Acrylic)
Gauge
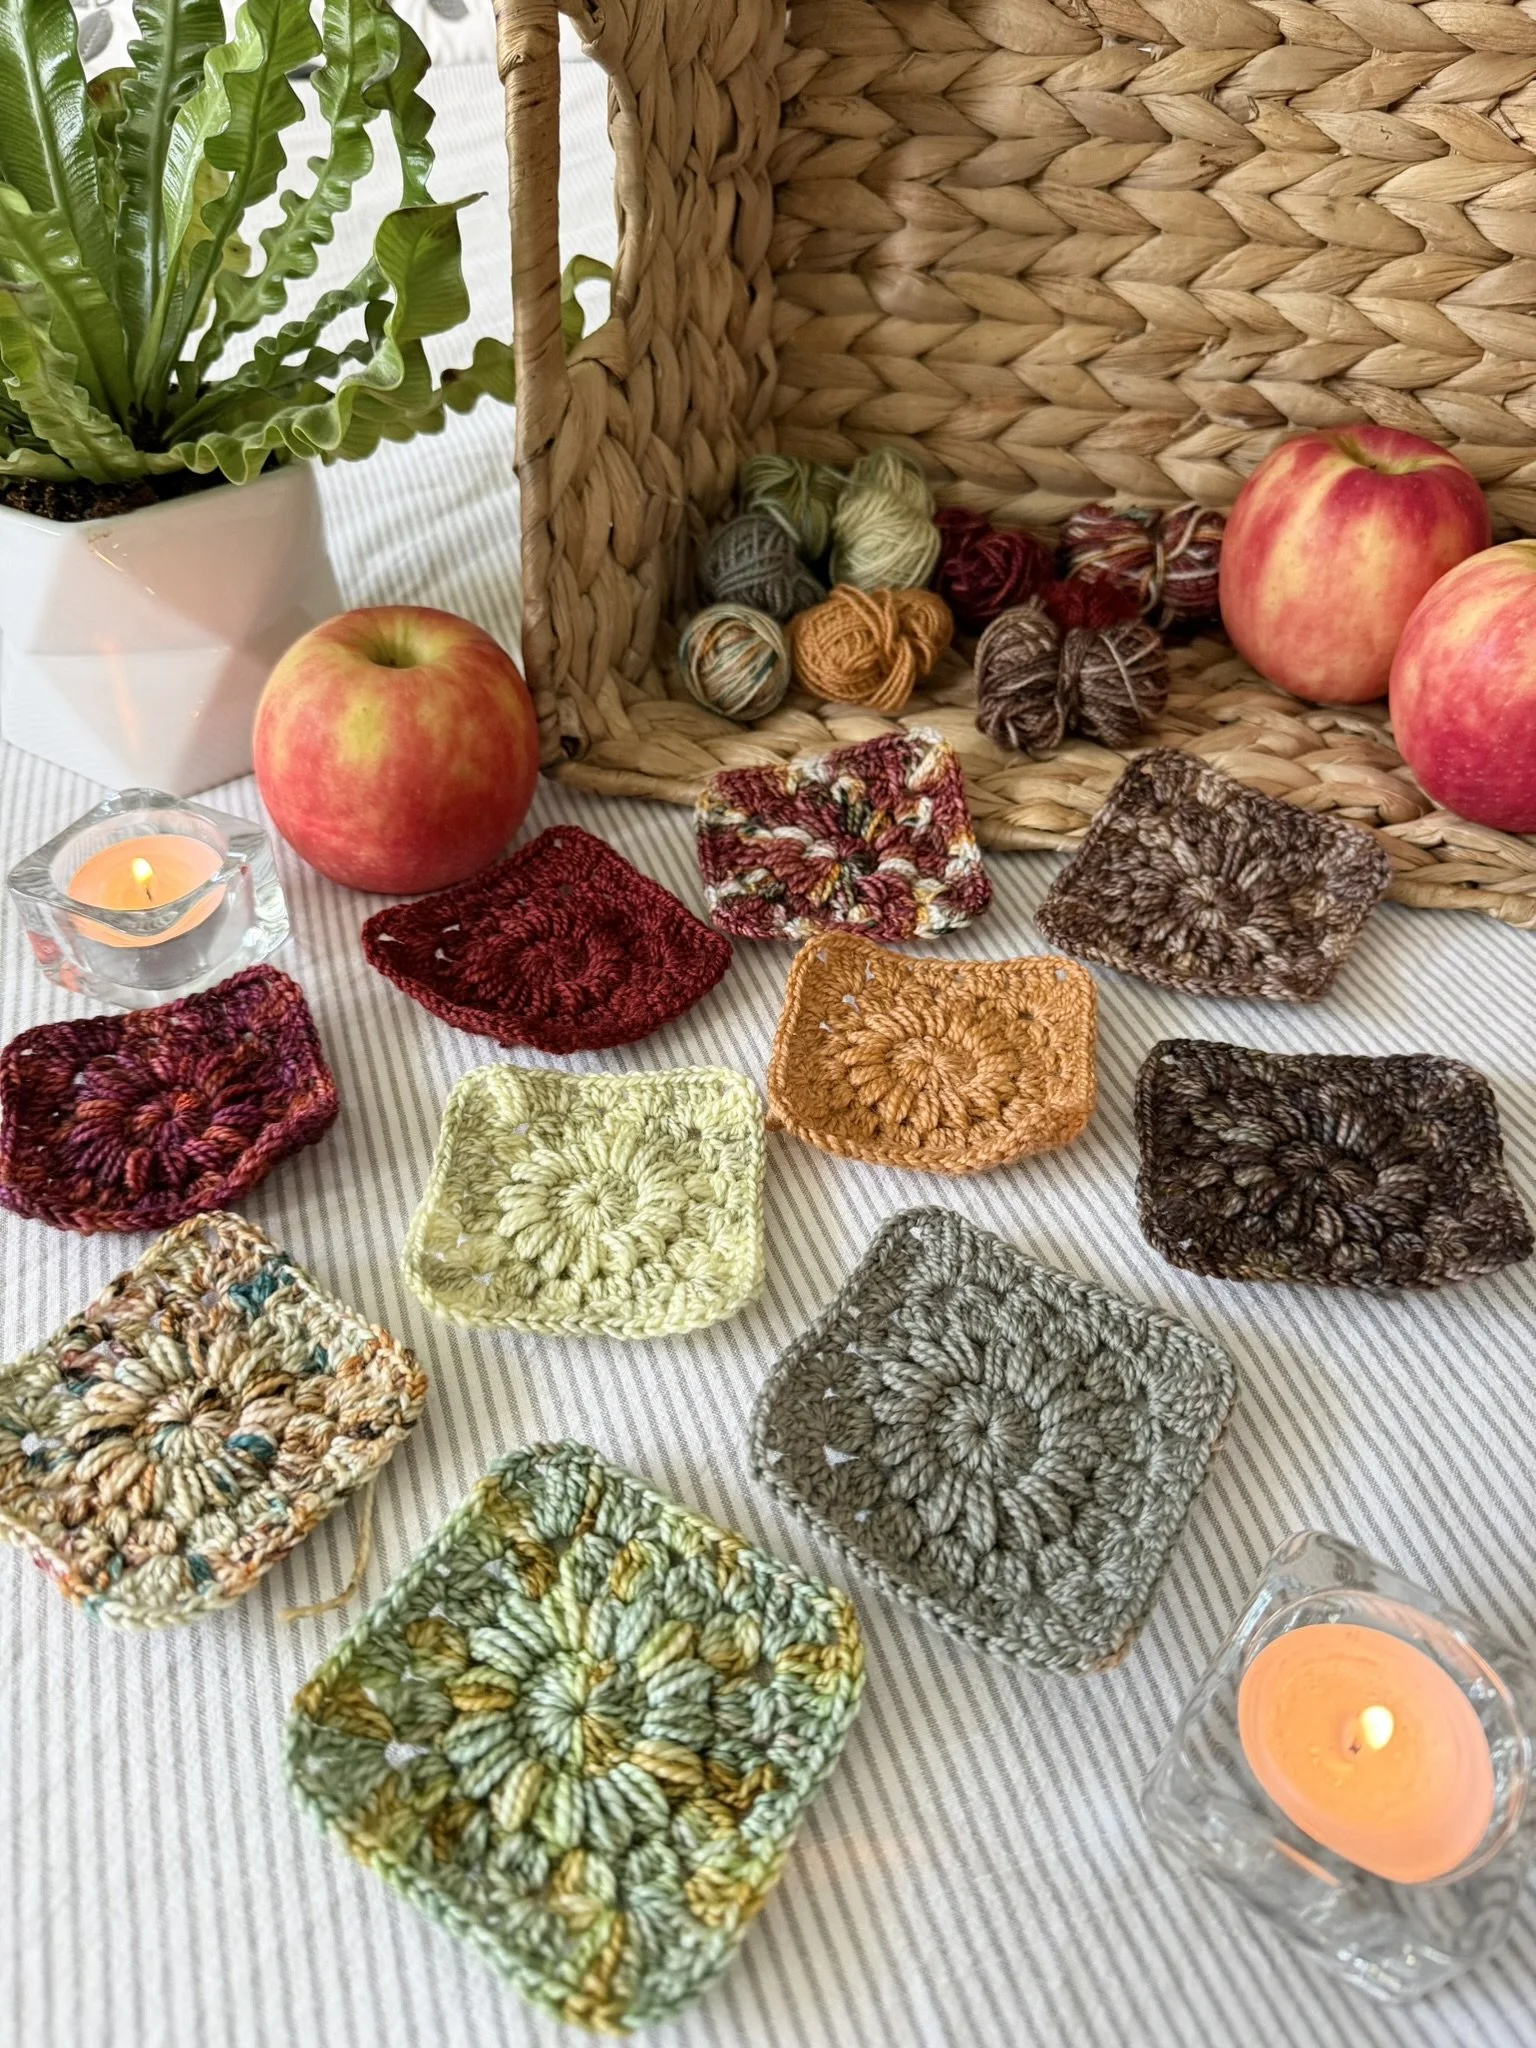
4 rnd sunburst granny square 3” across (unblocked), 3.5” w joining (unblocked)
Finished Size
12” x 16”
Glossary (using US Crochet Terminology)
st(s)- stitch(es)
ch- chain
ch-sp- chain space
sl st- slip stitch
YO- yarn over
rnd- round
SC- single crochet
HDC- half double crochet
DC- double crochet
tr- treble crochet
cl st(s)- cluster stitch(es)
4 DC cl- 4 double crochet cluster stitch
puff- puff stitch
WS- wrong side
RS- right side
How to puff stitch (puff): YO and insert hook into st, YO and pull up a loop (pull up to about the height of a DC). Repeat 2 more times. There should be 7 loops on the hook. YO and pull through all 7 loops.
How to 4 DC cl: YO and insert hook into sp, YO and pull up a loop, YO and pull through 2. Repeat 3 more times. There should be 5 loops on the hook. YO and pull through all 5 loops.
Pattern Notes
In some cases, the video tutorials have been used for other patterns. Please follow the yarn recommendations, hook size and stitch counts in the written pattern- the videos are only meant as visual guides.
Gauge will affect yarn quantities, please adjust hook size to meet gauge.
***While I have tried my best to capture the true colours of this yarn (white room, natural lighting), please note that each screen varies. For another perspective on these colourways, please see the blanket listing at Hueloco.com
The Colour Legend is my attempt to provide you with colour accurate photos that you can use if you’d like to find an alternative yarn.
Ch 2 counts as DC throughout.
Ch 3 counts as tr throughout.
Sunburst squares are joined with CJAYG; where each square is joined to the next in a continuous fashion while working an extra round to each square.
Don’t forget to share your makes on Instagram and Facebook! I always love seeing what you’ve all worked up. Tag me on Instagram @nautikrallcrochet or Facebook @nautikrall_crochet
Colour Legend
Schematic
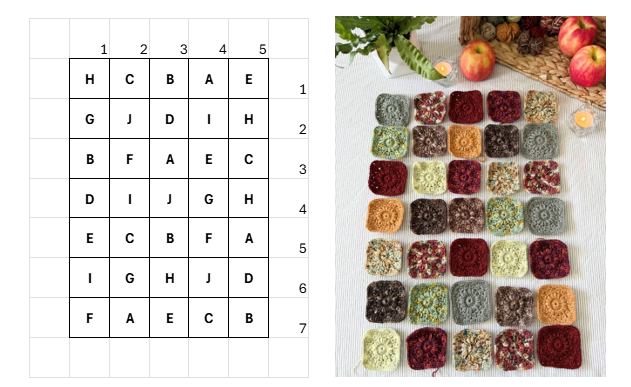
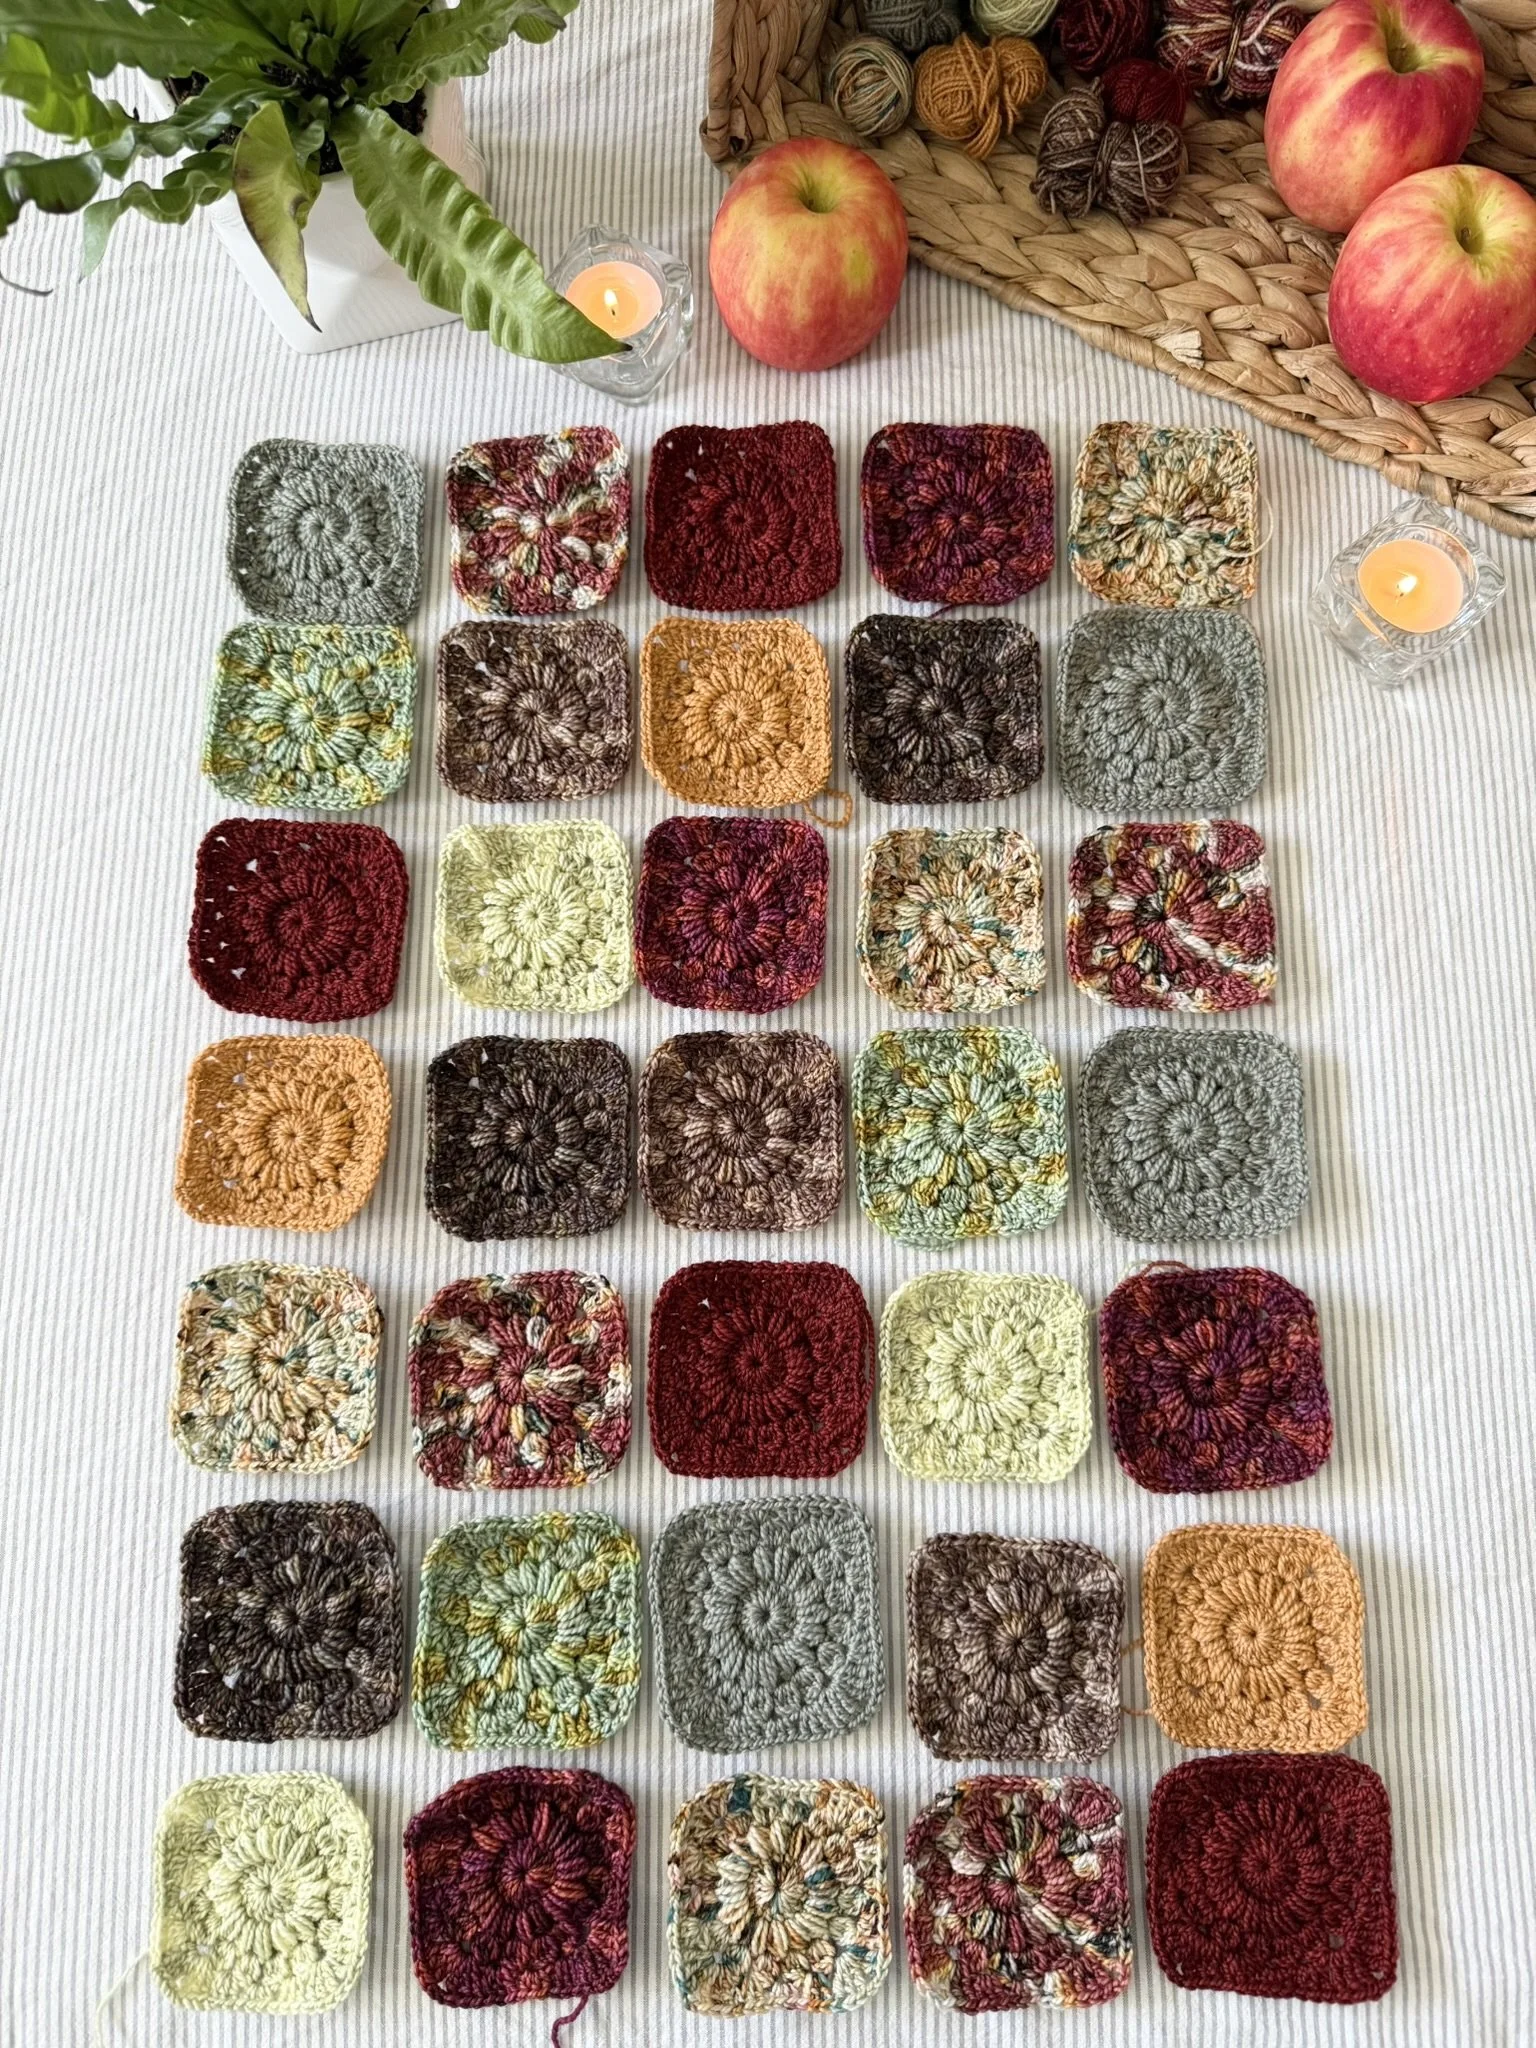
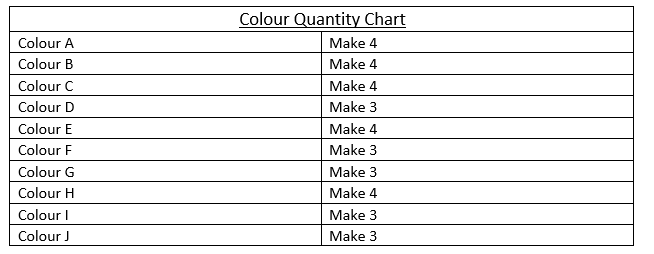
Pillow Panel Dimensions: 5 squares x 7 squares = 35 squares total
*Squares are lettered to coordinate with the colour chart below. Please use this chart for final placement of squares.
Pattern Sunburst Granny Square
Rnd 1
With first colour, Ch 4.
Sl st into 4th ch from hook to create centre ring.
Ch 2, 15 DC into centre ring (16 total).
Join with sl st to the top of first DC (not the ch- 2), Do not fasten off…
Rnd 2
Ch 1, Puff into same st, ch 1.
[Puff, ch 1] into each st around (16 puff sts).
Sl st into the sp between the first two puff sts (NOT into top of the first puff st), Do not fasten off…
Rnd 3
Ch 2, work a [4 DC cl, ch 2] into same sp.
Work a [4 DC cl, ch 2] into each ch-1 sp around (16 cl sts).
Sl st into the ch-2 sp between the first two cls (NOT into the top of the cl st).
Fasten off.
Rnd 4
Join new colour into corner sp, ch 3.
Work [2 tr, ch 2, 3 tr] into same sp (completes 1st corner of square).
*Work 3 DC into the next ch-sp.
Work 3 HDC into the next ch-sp.
Work 3 DC into the next ch-sp.
Into the next ch-sp work [3tr, ch 2, 3 tr].*
Repeat from * to * 2 more times.
Work 3 DC into the next ch-sp.
Work 3 HDC into the next ch-sp.
Work 3 DC into the next ch-sp.
Sl st to the top of first tr (not the ch-3).
Fasten off, weave in ends.
**Please see video tutorial below for how to crochet the sunburst motif:
Assembling Pillow Panel (CJAYG)
Lay out all squares in the arrangement from the schematic above.
Starting from the top right-hand corner join squares across the rows using “Linen” joining colour.
Example: First row will be joined from square number 5 across to square 1 (E to H). Second row will be joined from number 10 to 6 (H to G) etc.
Following along with the video tutorial below, crocheting squares together until panel is complete.
Fasten off, weave in all ends.
**Please see video tutorial below for how create pillow panel with CJAYG:
Assembling Finished Pillow Cover
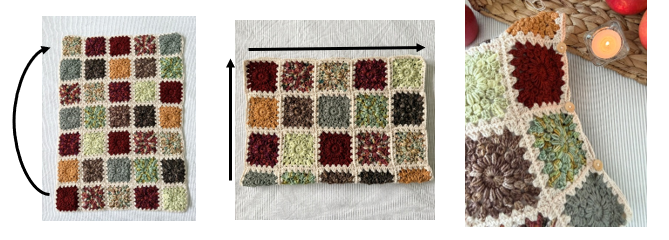
Panel should measure approximately 18”x 26” flat, unblocked.
Place pillow cover down with WS up.
Fold length of pillow panel in half; seam two sides together using zig zag sl st.
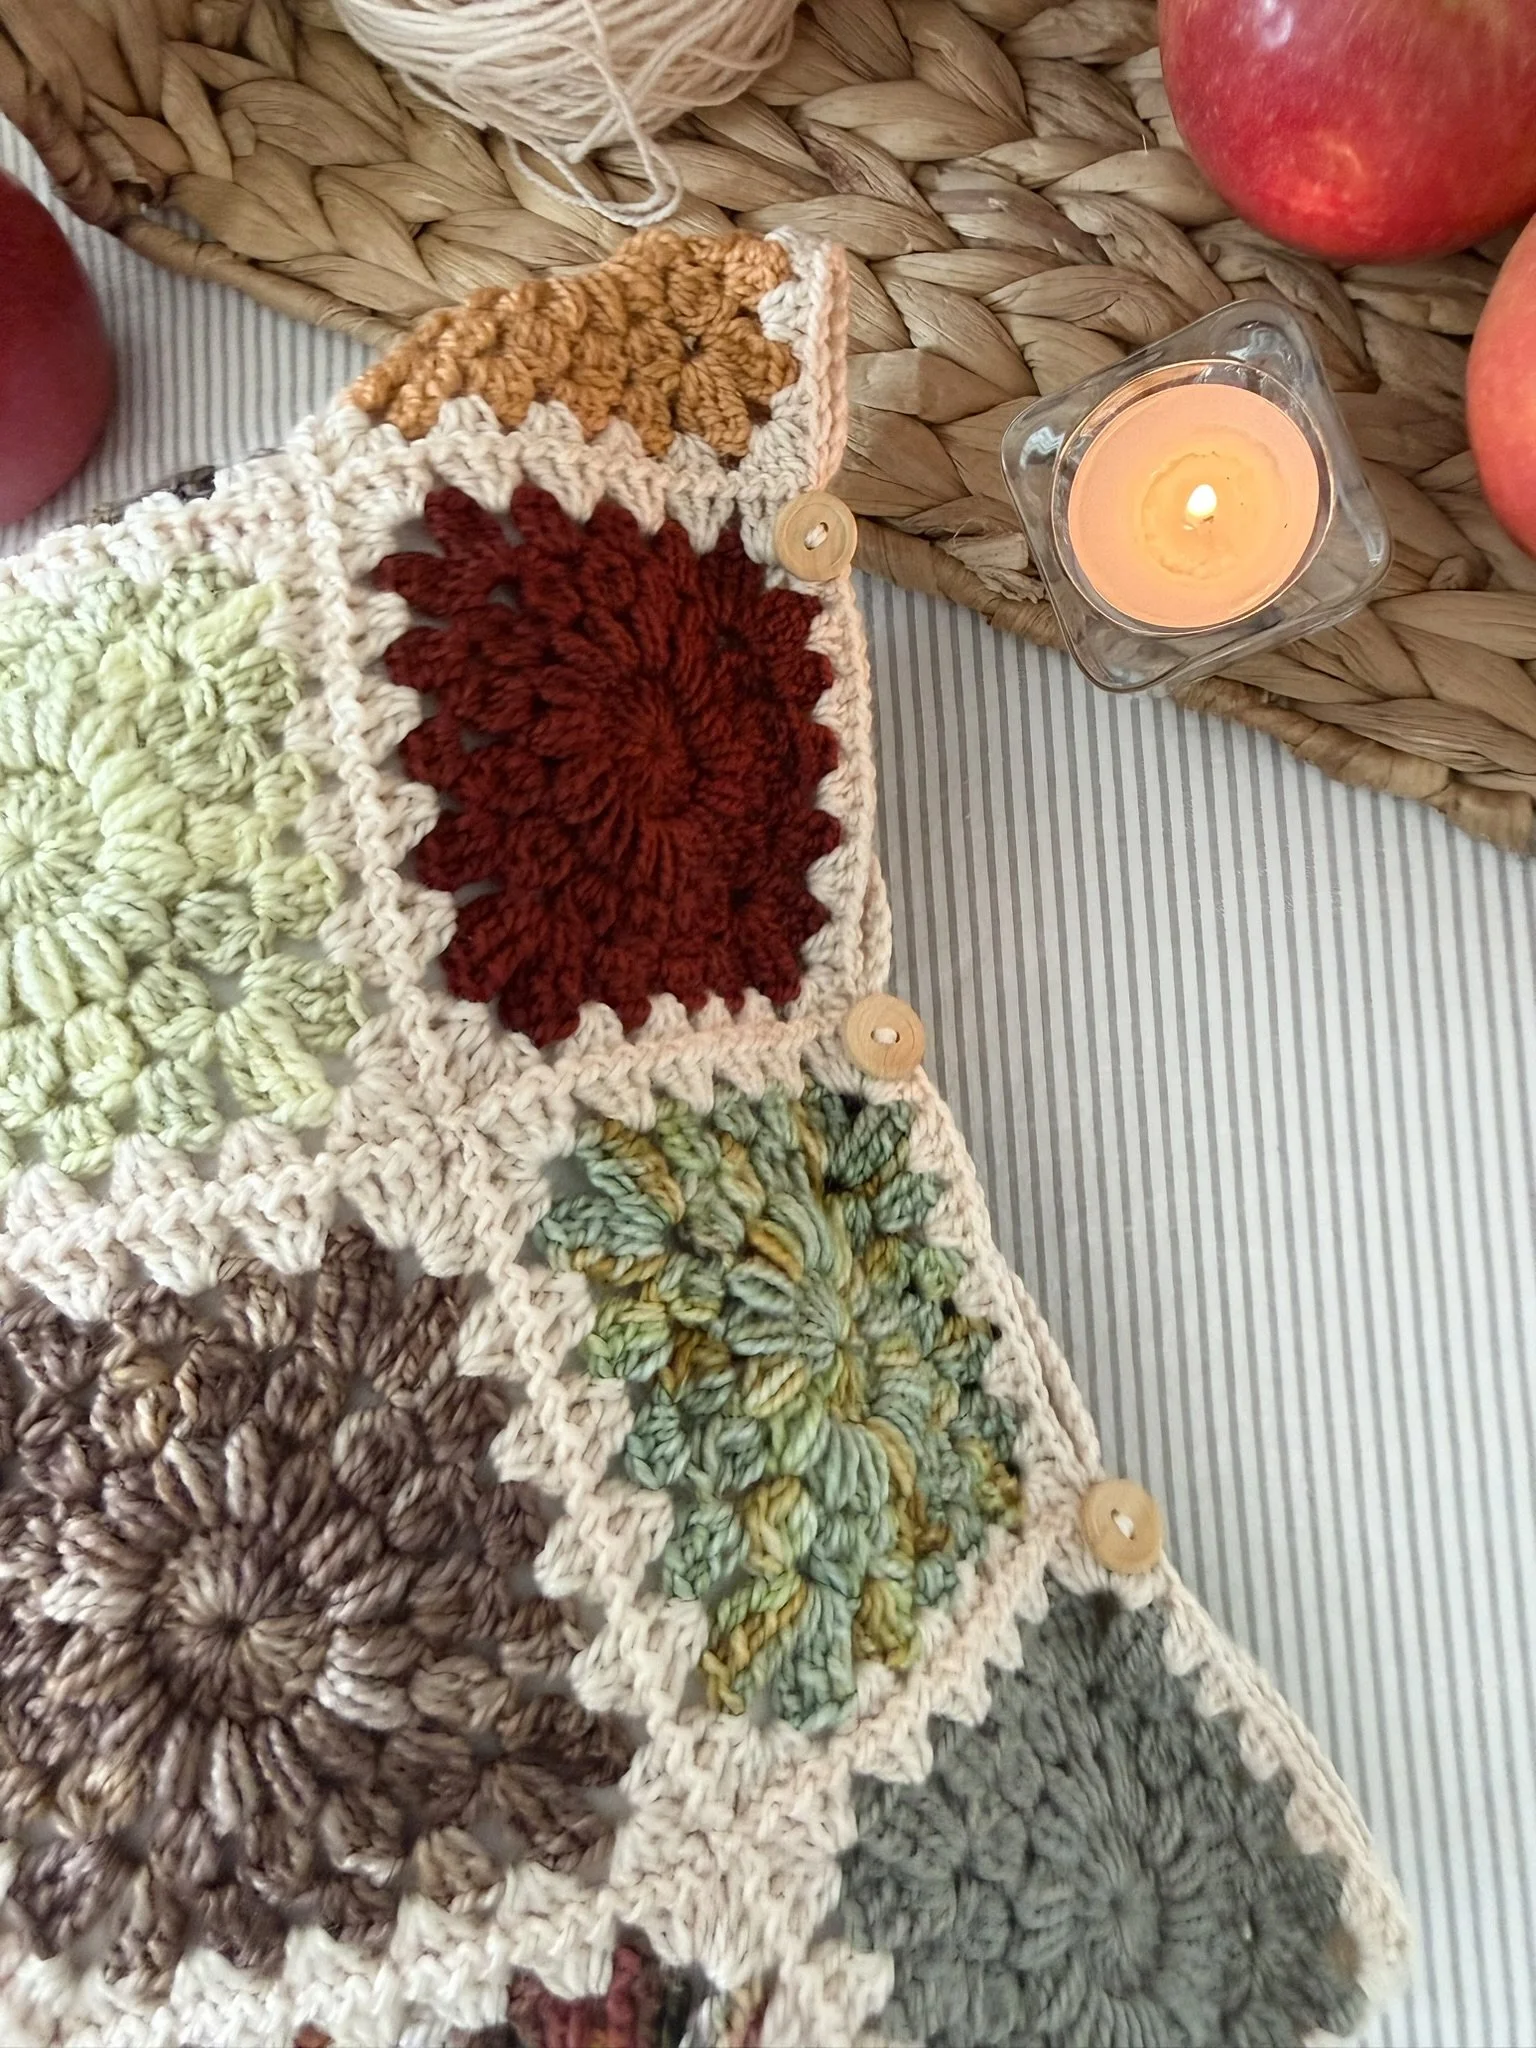
On the final open side, sew on 3 buttons evenly spaced. Use the openings between granny square stitches as holes to close the button side shut.
Fasten off, weave in all ends.
**Please see video tutorial below for how to crochet the zig zag slip stitch to assemble your pillow cover:
~ The End ~
The pattern, the photographs and video tutorials in this document are the property of NautiKrall Crochet. You may sell items you make from this pattern; but may not sell, reproduce, or distribute this pattern, in whole or in part, as your own.
Copyright © 2026 NautiKrall Crochet – All right reserved.