This post contains affiliate links. Affiliate links cost you nothing, but when purchasing through these links you help me earn a small commission. This supports me and my family and my continued efforts to bring you free patterns.
Intro.
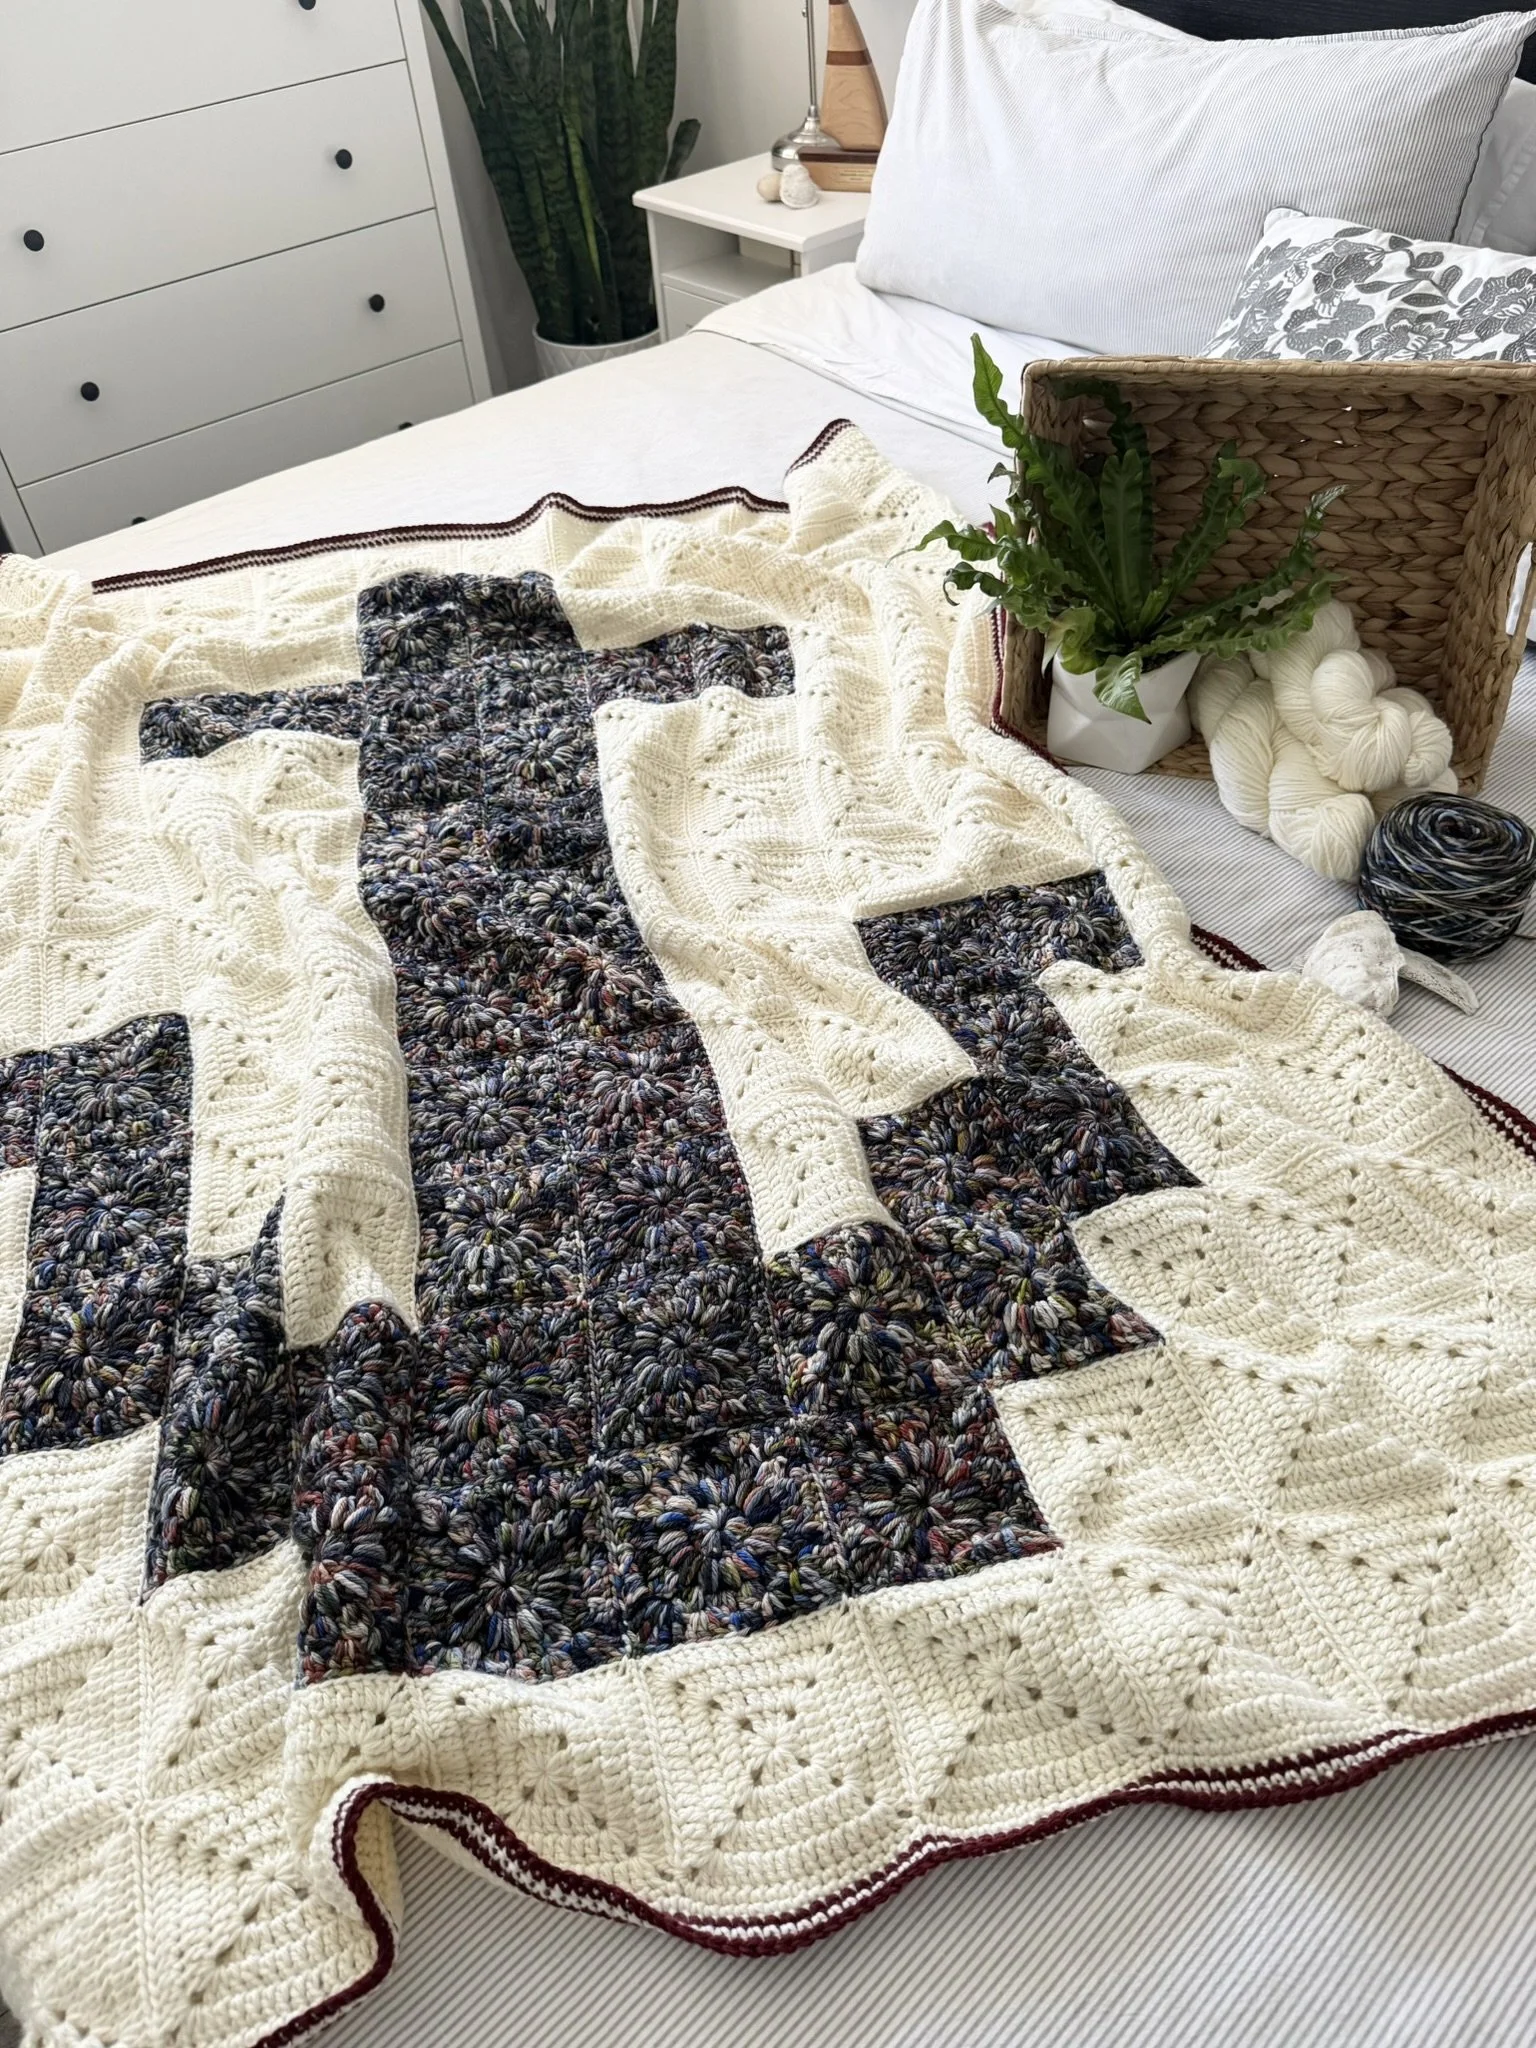
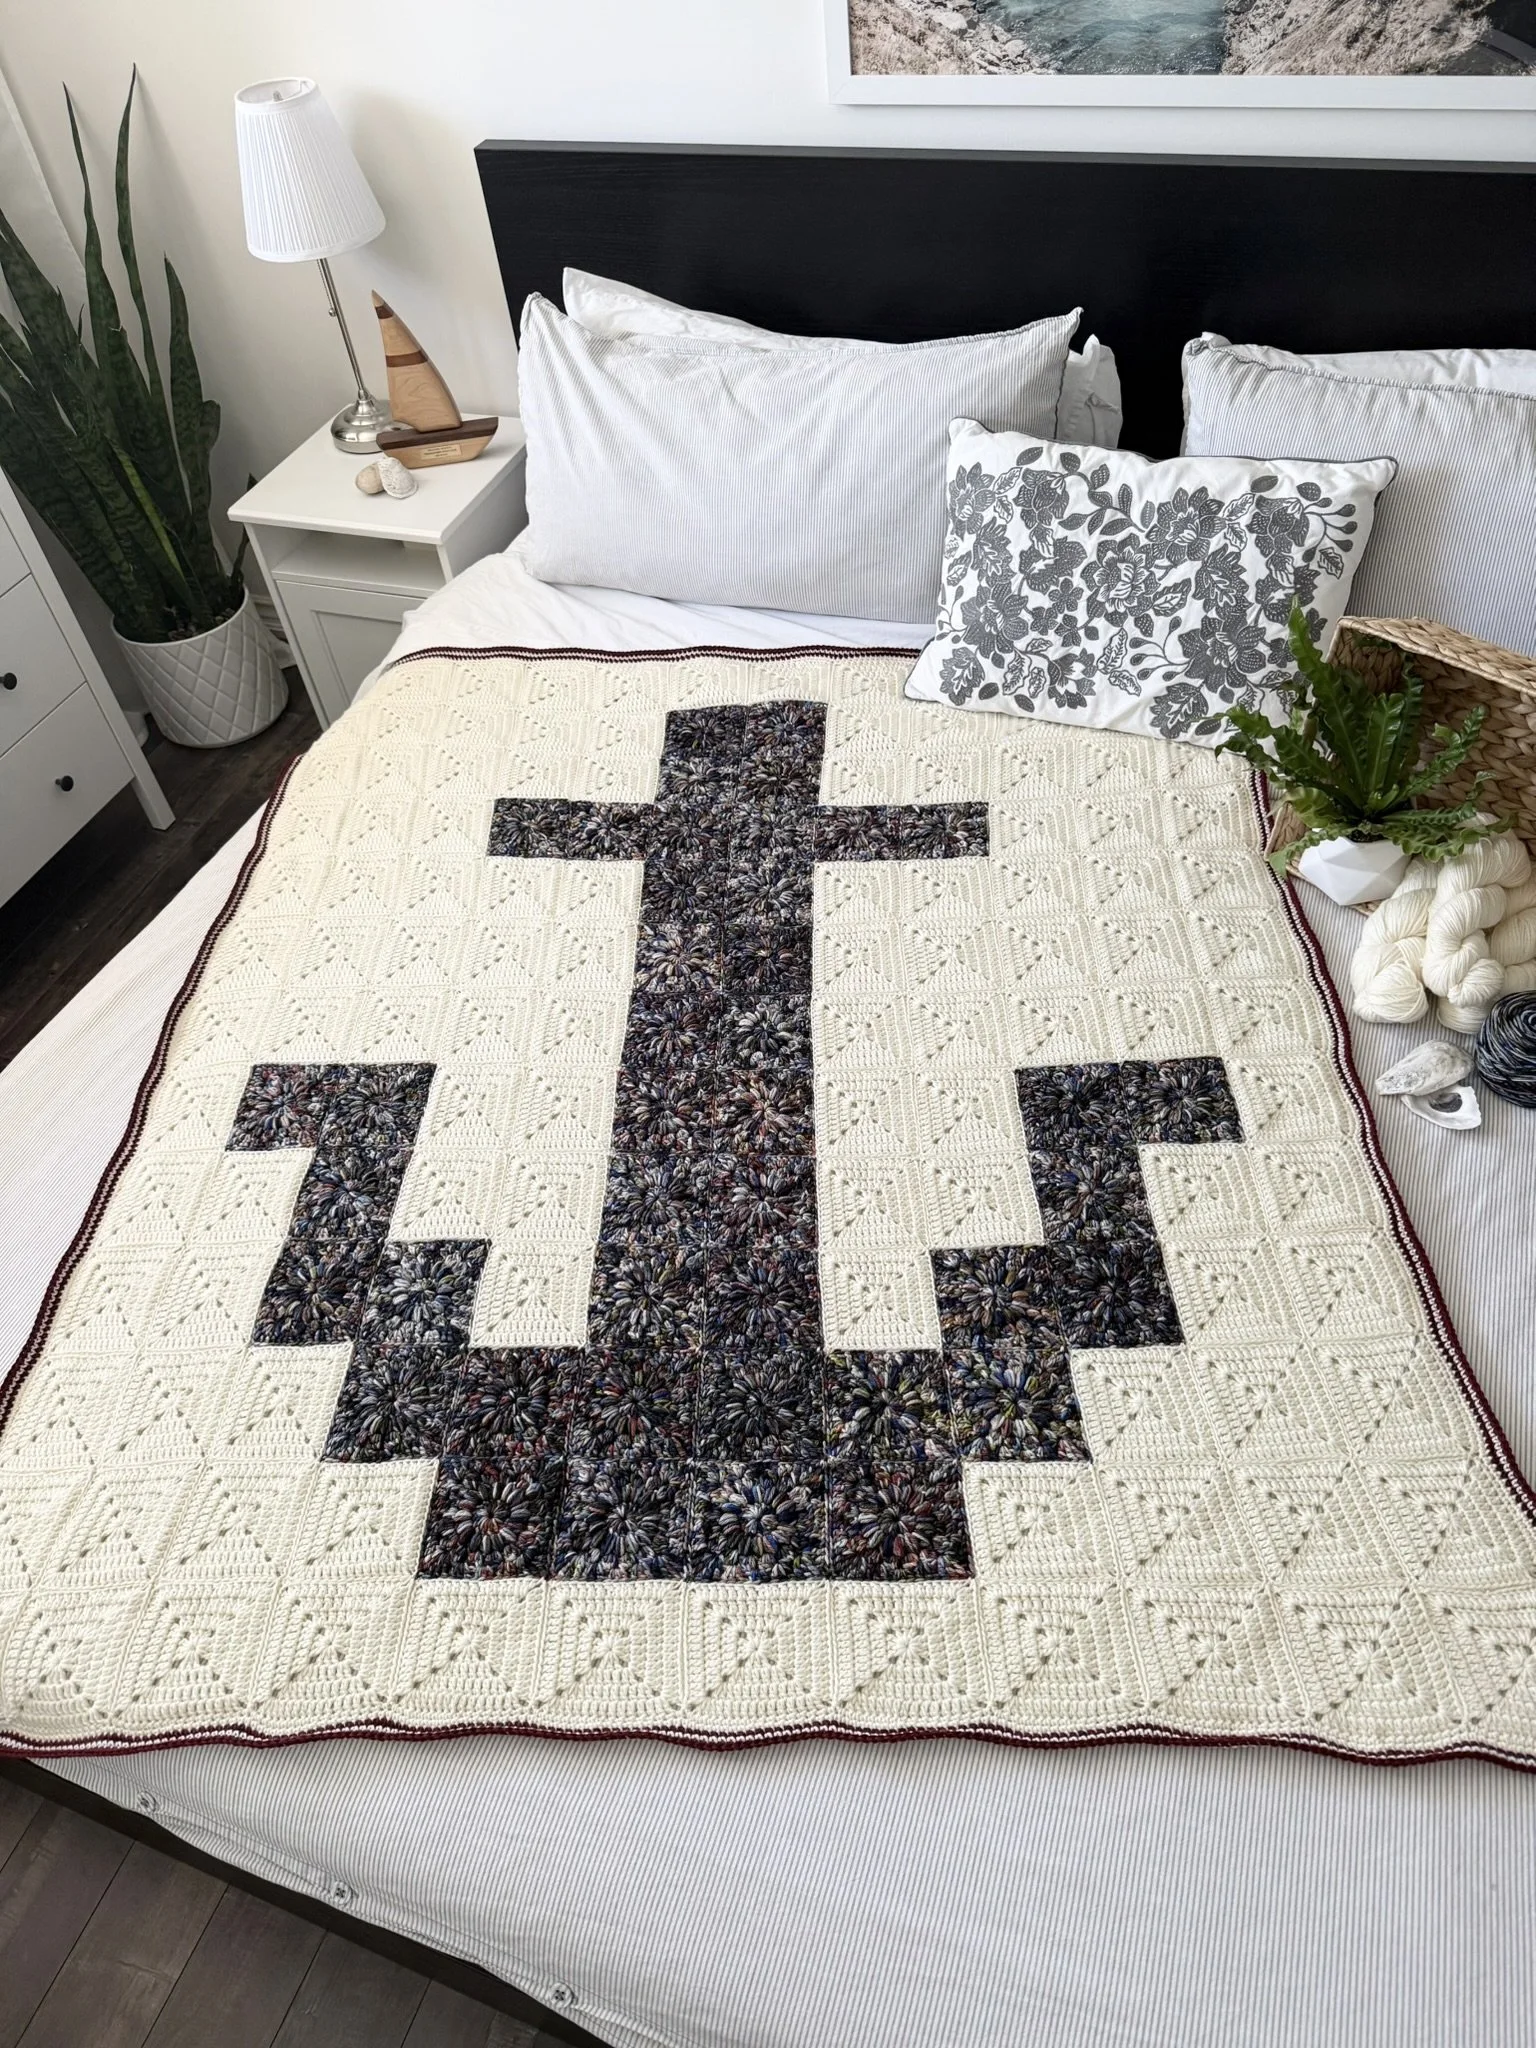
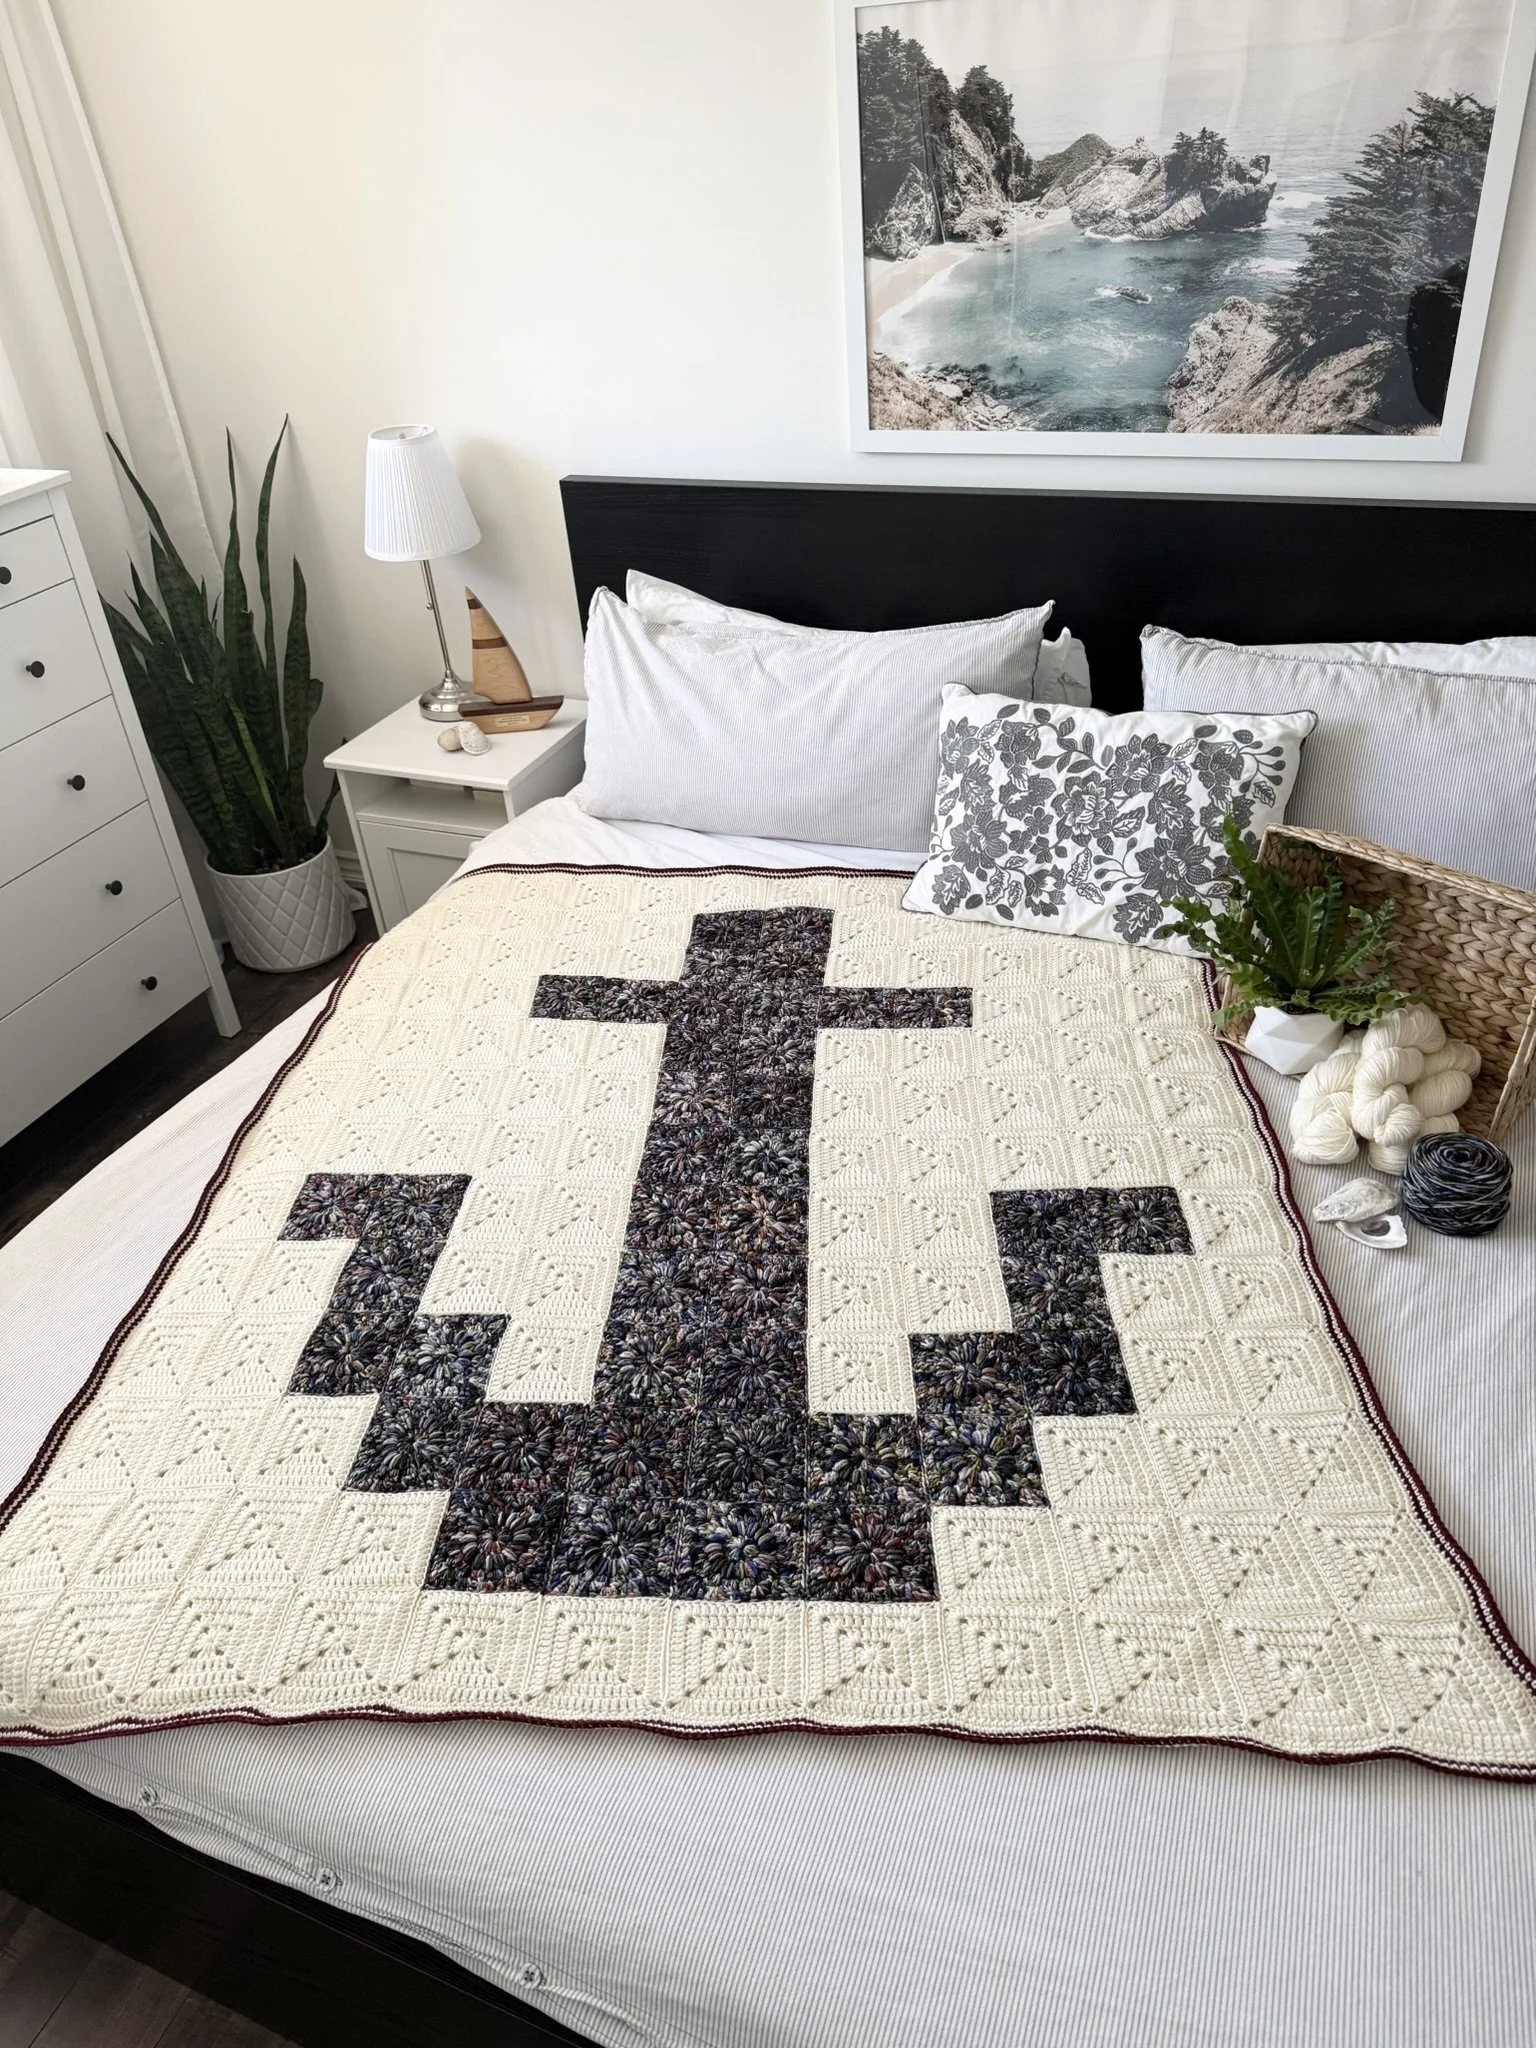
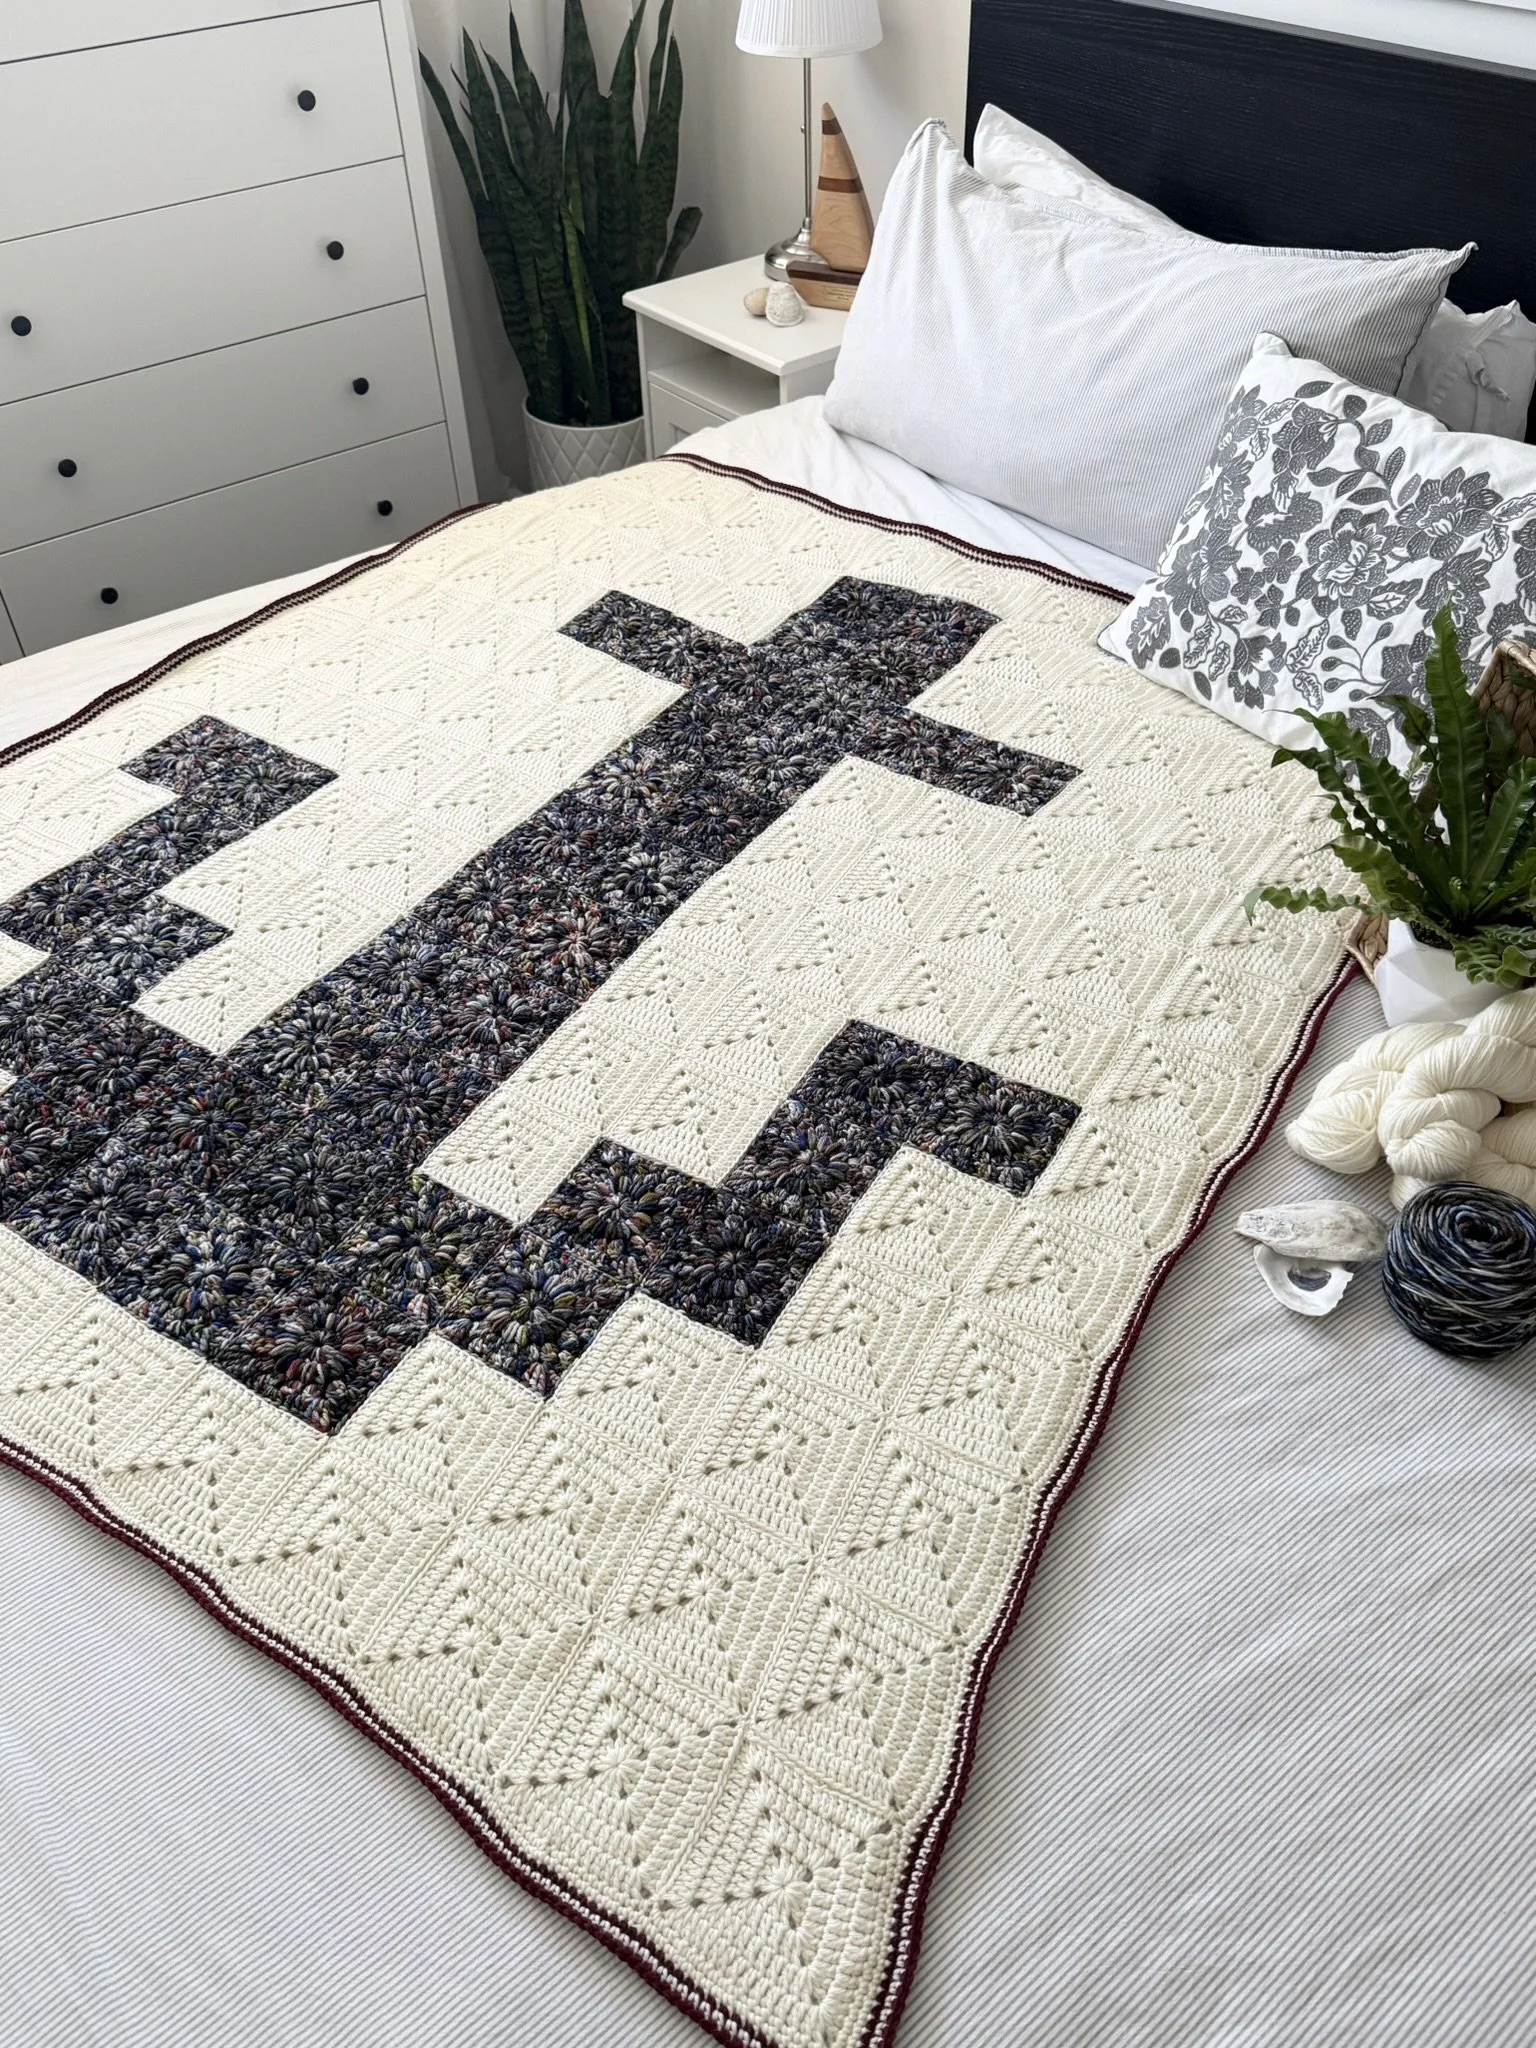
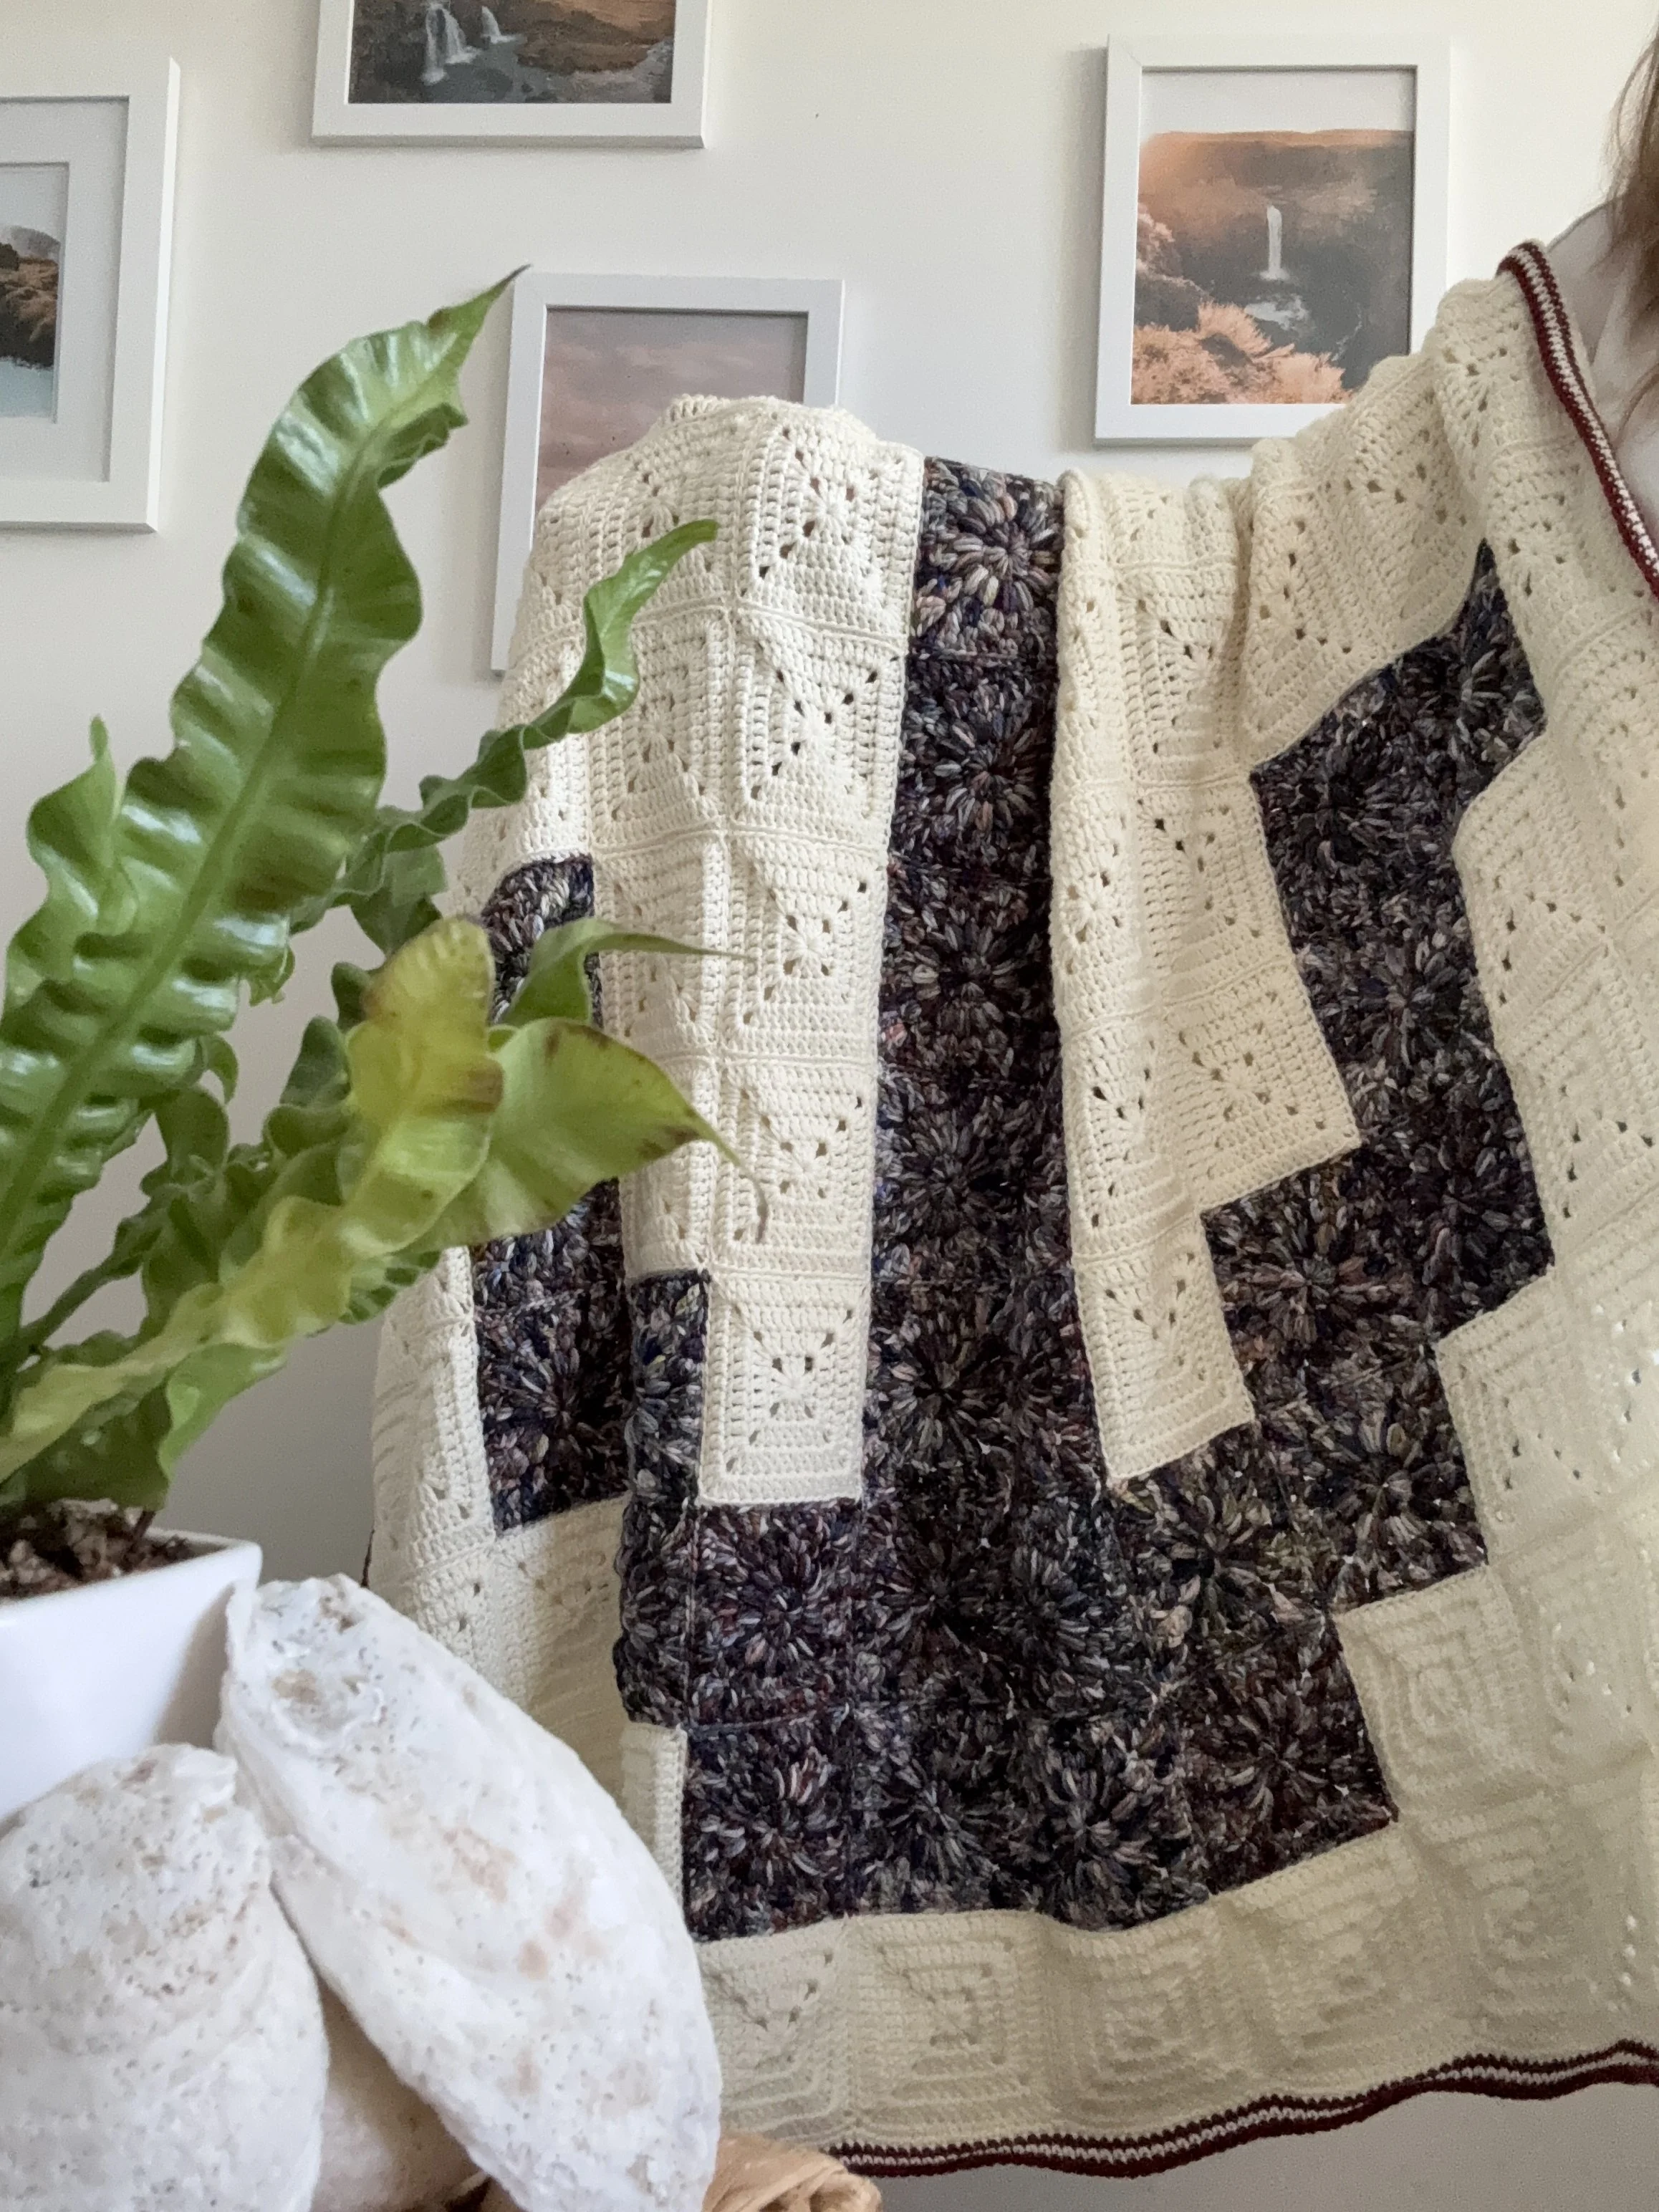
Dreaming of crisp linen, lines clacking against masts, swallows diving and chirping, sun-bleached beaches and heavy anchors hanging off the bow of bobbing sailboats in gentle waves. Everyone needs a good summer throw to curl up in on those cooler Nantucket-like nights. I hope I’ve captured your imagination with this one. Happiest crocheting, always.
L, M
ps. If you want the printable PDF of the pattern you can grab one in my Etsy or Ravelry pattern shops below:

Notions
US 5.0 mm (size H) crochet hook
US 5.5 mm (size I) crochet hook
Needle for weaving in ends
Scissors
Yarn
WeCrochet/Knit Picks Swish Worsted, 100% SW Merino (220yds/100g):
Colour A: Bare (2161yds/982g) 10 skeins
Ravenswood Fibre Co. Worsted/Aran, 100% SW Merino (182yds/100g):
Colour B: Date Me (932yds/512g) 6 skeins
WeCrochet/Knit Picks Swish Worsted, 100% SW Merino (110yds/50g):
Colour C: Garnet Heather (95yds/43g) 1 skein
Yarn Recommendations/ Links
- WeCrochet/Knit Picks Swish Worsted Bare (100% SW Merino)
- WeCrochet/Knit Picks Swish Worsted (100% SW Merino)
- Ravenswood Fibre Co. Worsted/Aran (100% SW Merino)
- Hue Loco Worsted Yarn (100% SW Merino)
- The Frosted Stitch Worsted Yarn (100% SW Merino)
- WeCrochet Wool of the Andes (100% Peruvian Highland Wool)
- WeCrochet Wool of the Andes Tweed (80% Peruvian Highland Wool, 20% Donegal Tweed)
- WeCrochet Brava Worsted (100% Acrylic)
- WeCrochet Chroma Worsted (70% Superwash Wool, 30% Nylon)
- Malabrigo Rios Worsted (100% SW Merino) *Canadian supplier
- LoveCrafts Malabrigo Rios (100% SW Merino)
- Berroco Vintage Worsted (52% Acrylic, 40% Wool, 8% Nylon) *Canadian supplier
- Berroco Vintage Worsted (52% Acrylic, 40% Wool, 8% Nylon)
Gauge
Hook 5.0mm:
Sunburst granny square= 4.25” across (unblocked).
Hook 5.5mm:
Solid granny square= 4.25” across (unblocked).
Finished Size
54”x 58” Blocked
Glossary (using US Crochet Terminology)
st(s)- stitch(es)
ch- chain
ch-sp- chain space
sl st- slip stitch
rnd- round
SC- single crochet
HDC- half double crochet
DC- double crochet
tr- treble crochet
cl st(s)- cluster stitch(es)
4 DC cl– 4 double crochet cluster stitch
puff- puff stitch
BLO- back loop only
YO- yarn over
RS- right side
WS- wrong side

How to puff stitch (puff): YO and insert hook into st, YO and pull up a loop (pull up to about the height of a DC). Repeat this 2 more times. There should be 7 loops on the hook. YO and pull through all 7 loops.
How to 4 DC cl: YO and insert hook into sp, YO and pull up a loop, YO and pull through 2. Repeat 3 more times. There should be 5 loops on the hook. YO and pull through all 5 loops.
Pattern Notes
Gauge will affect yarn quantities, please adjust hook size to meet gauge.
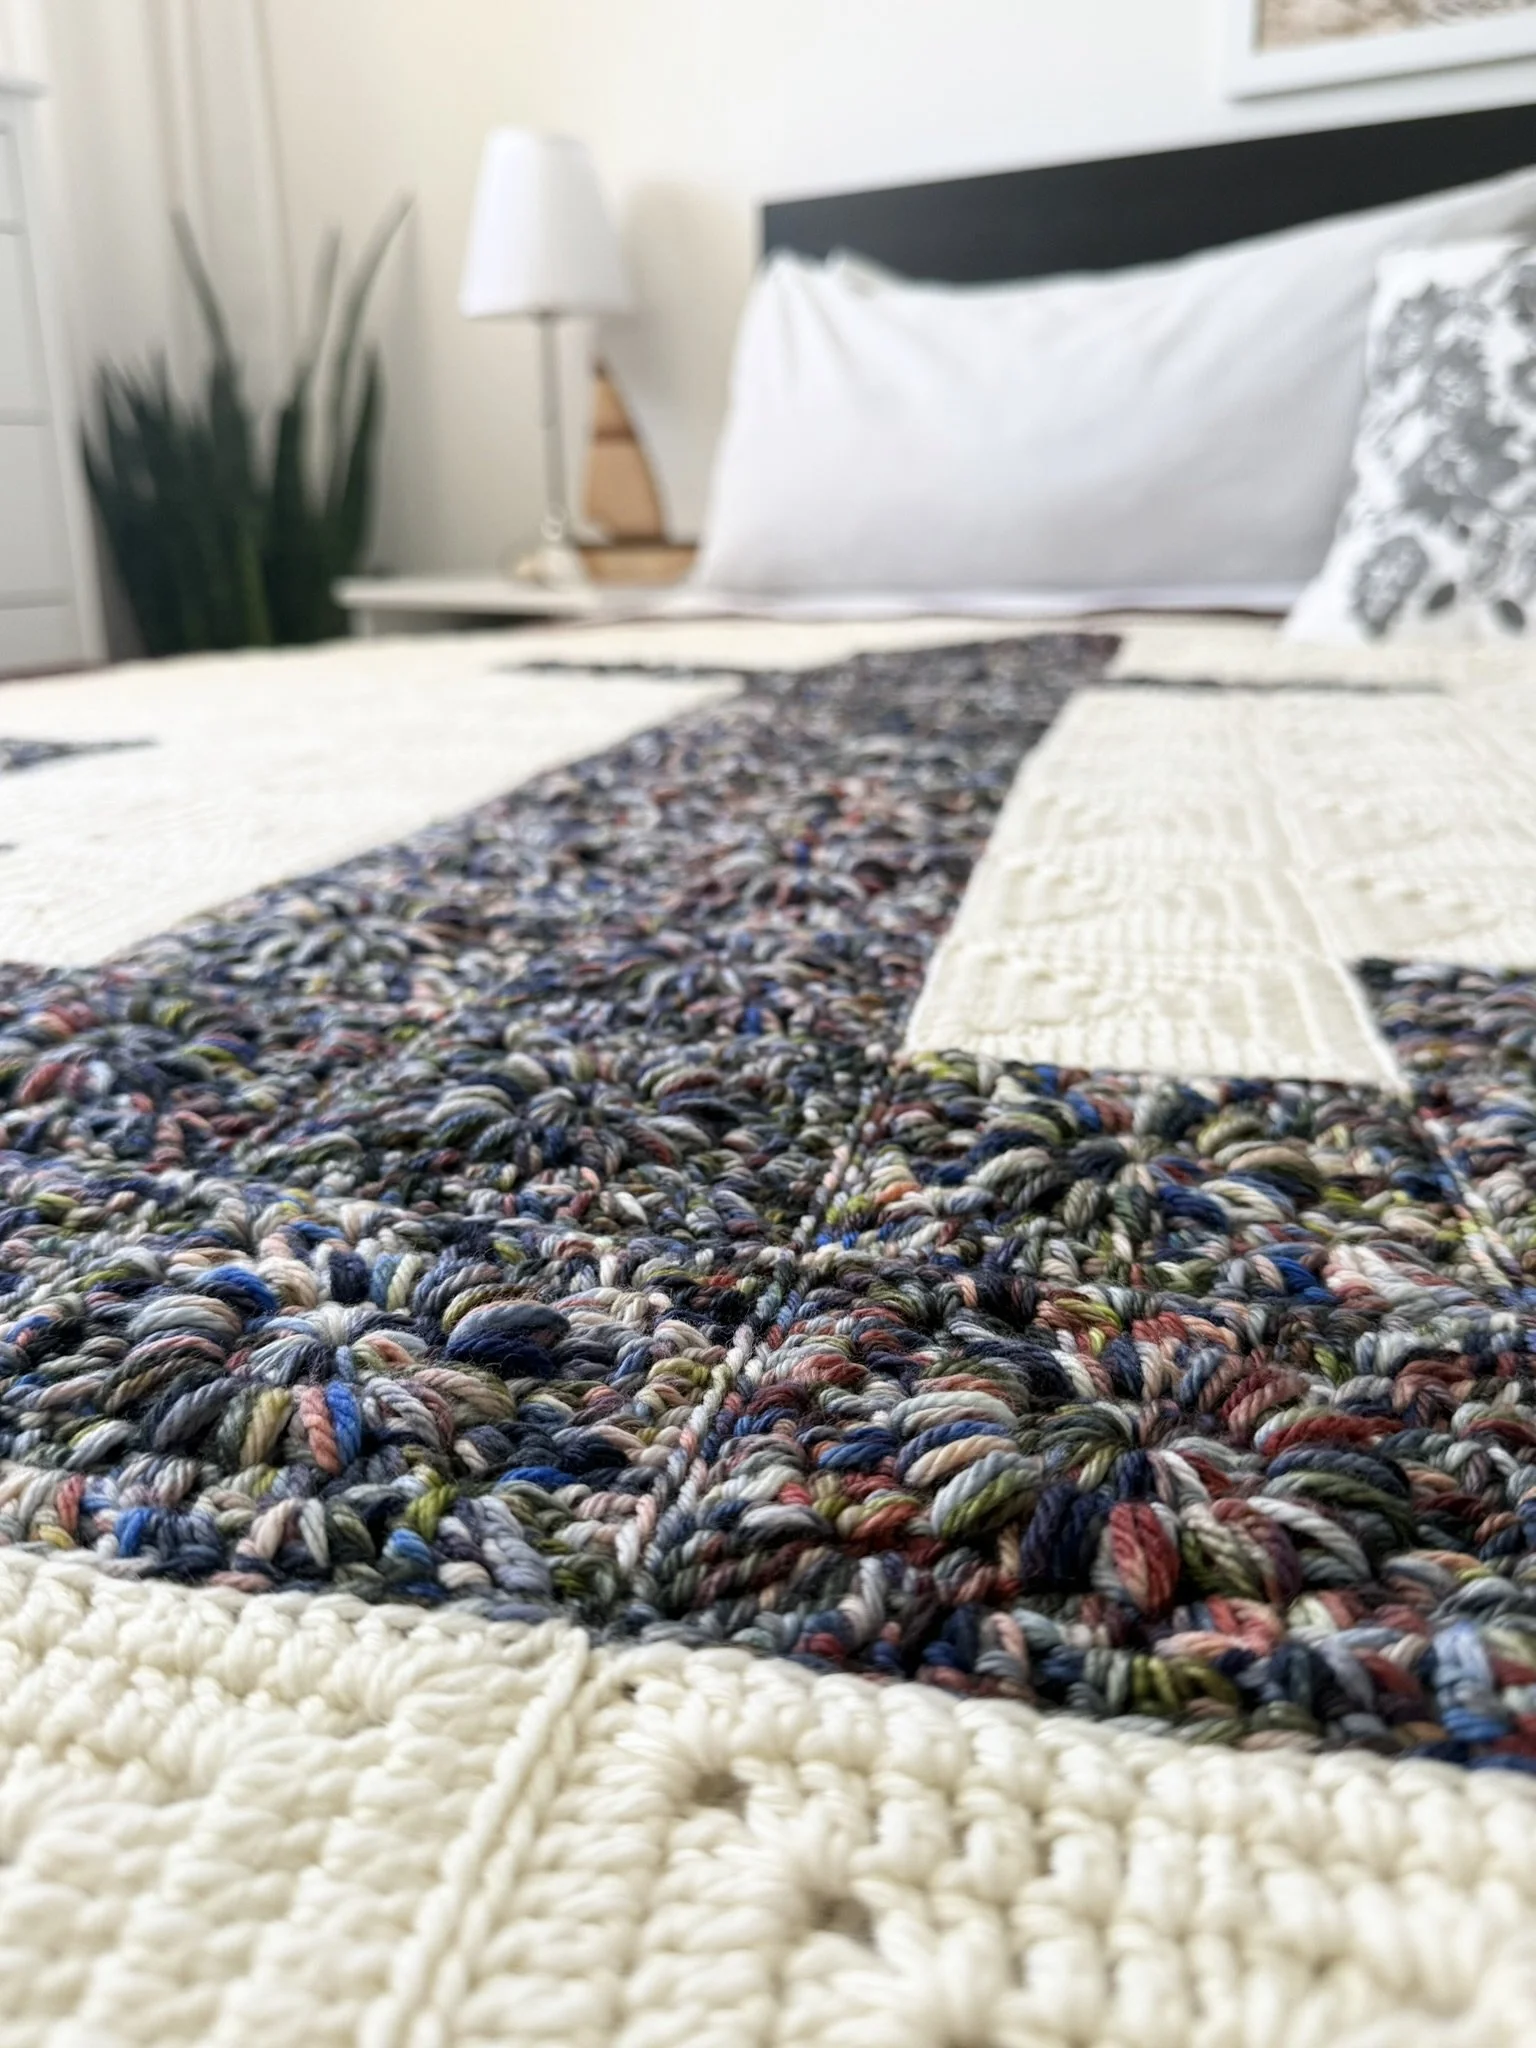
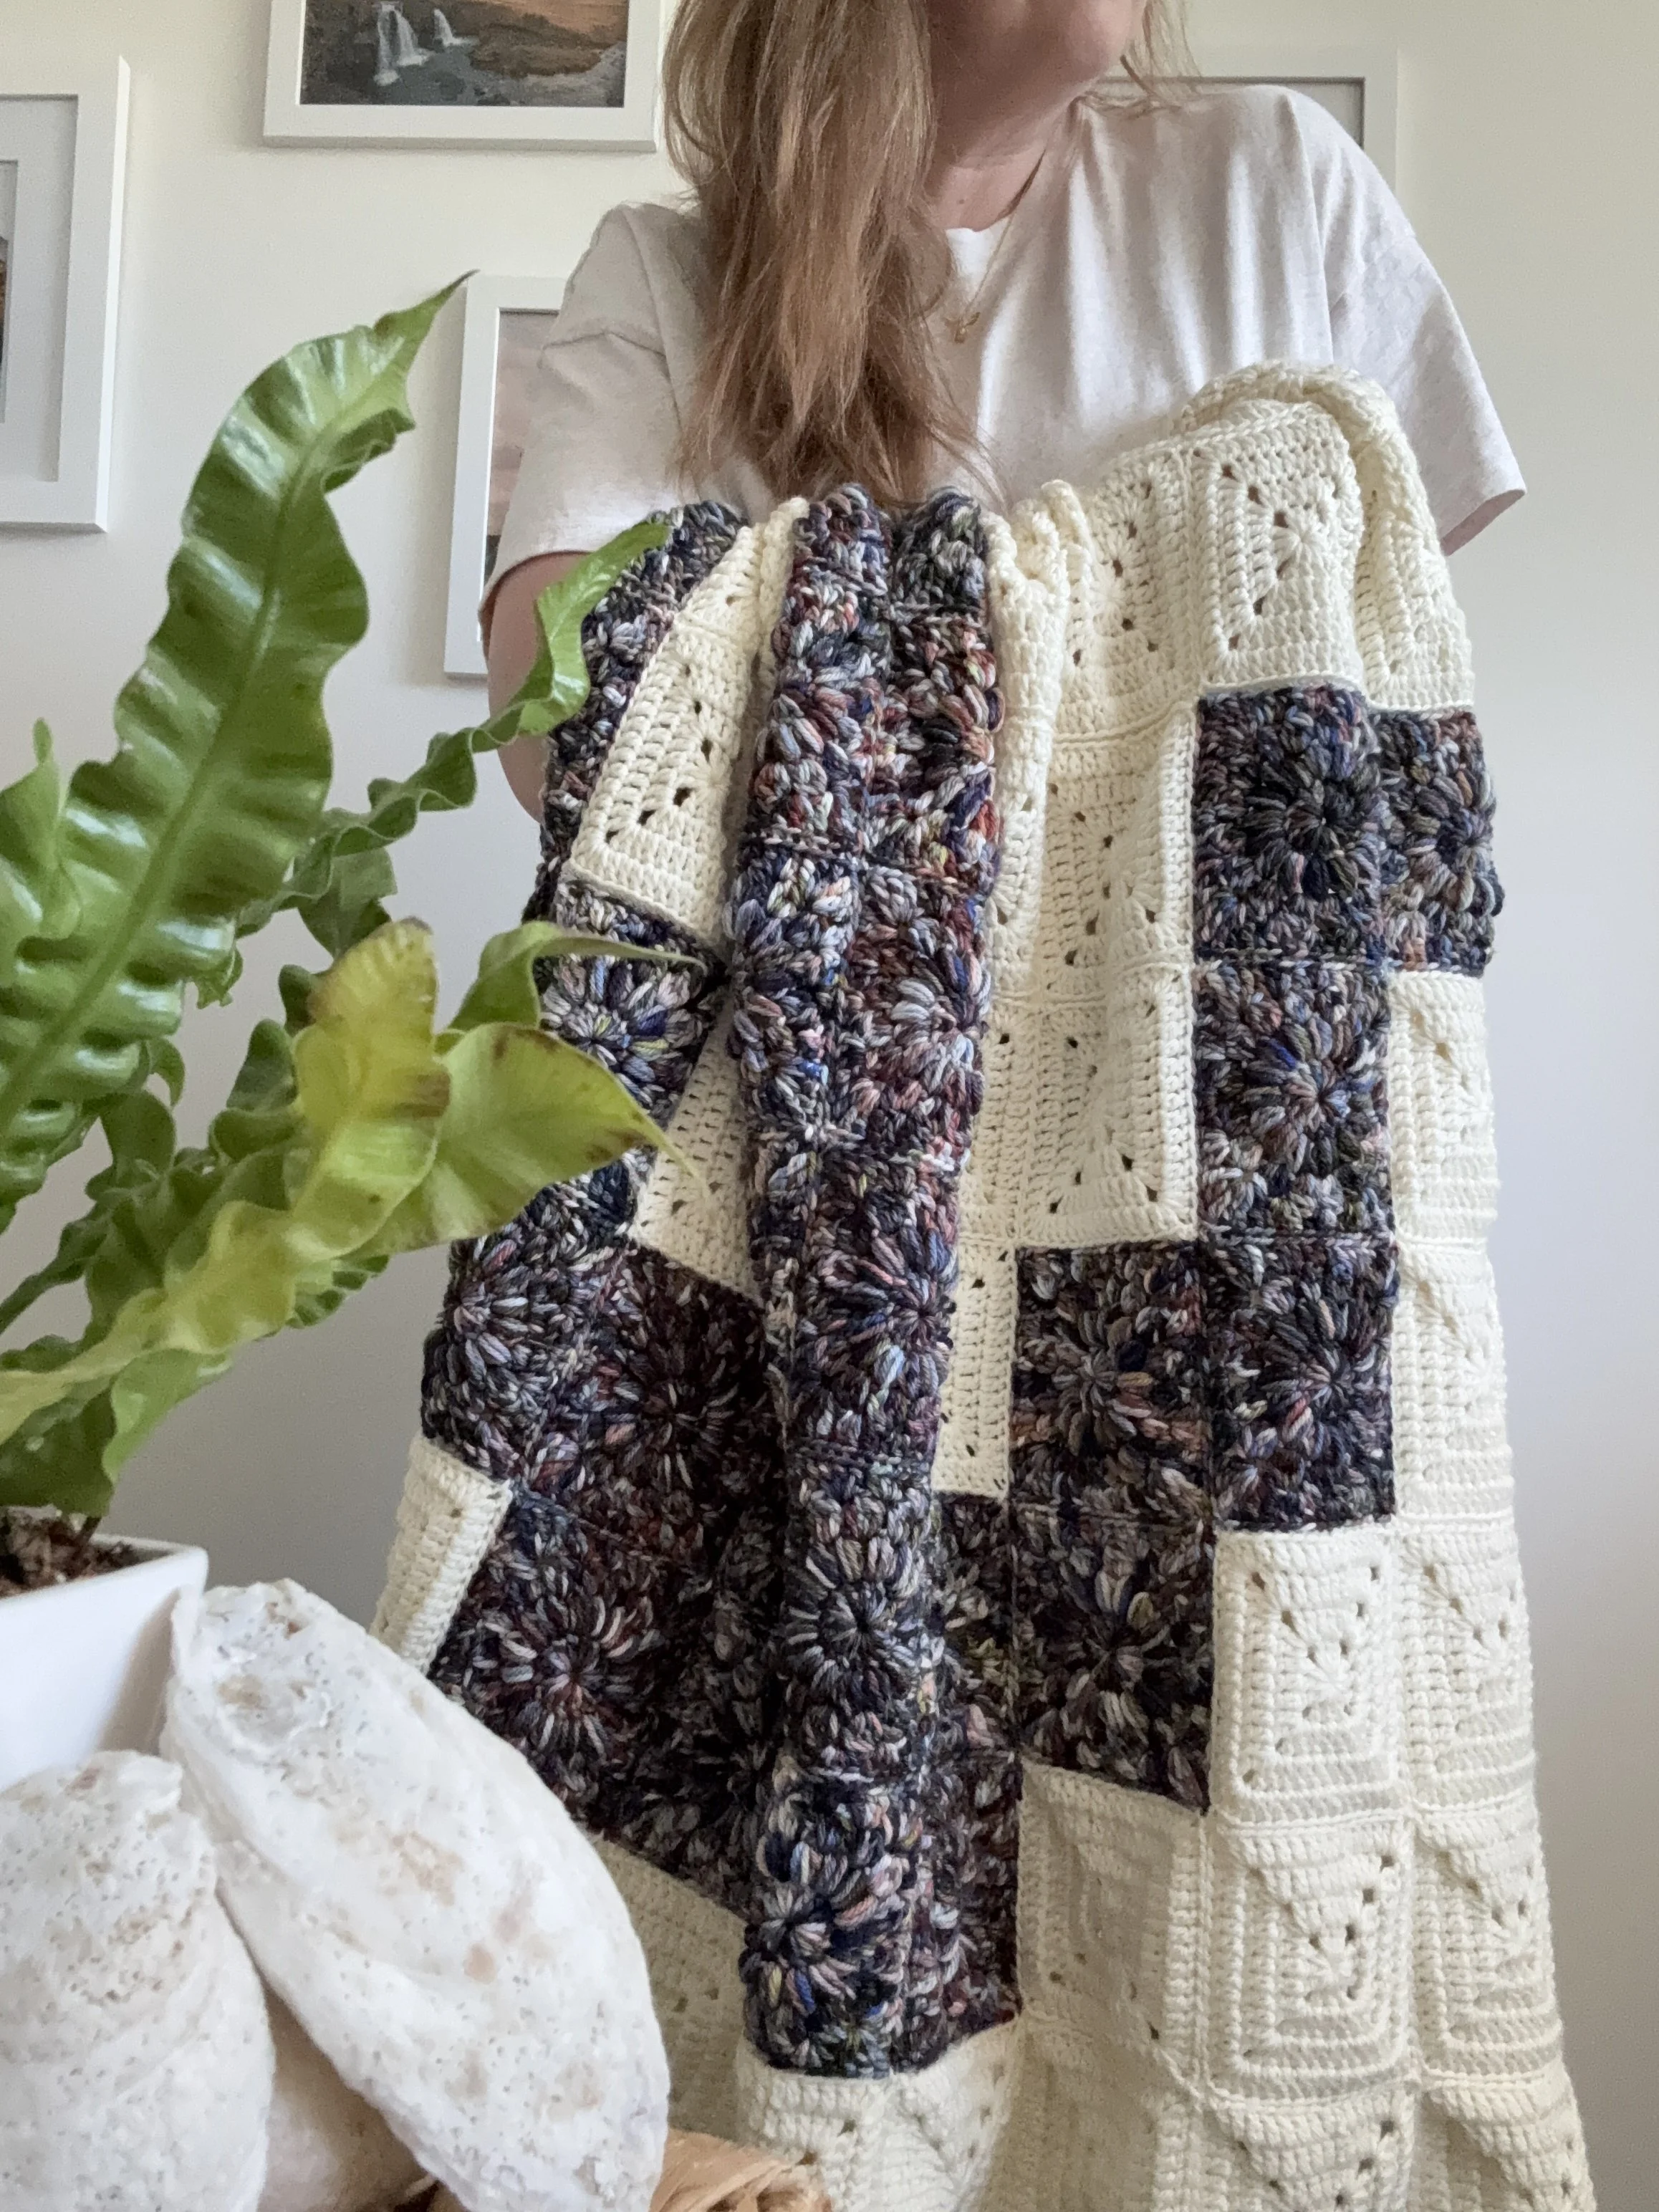
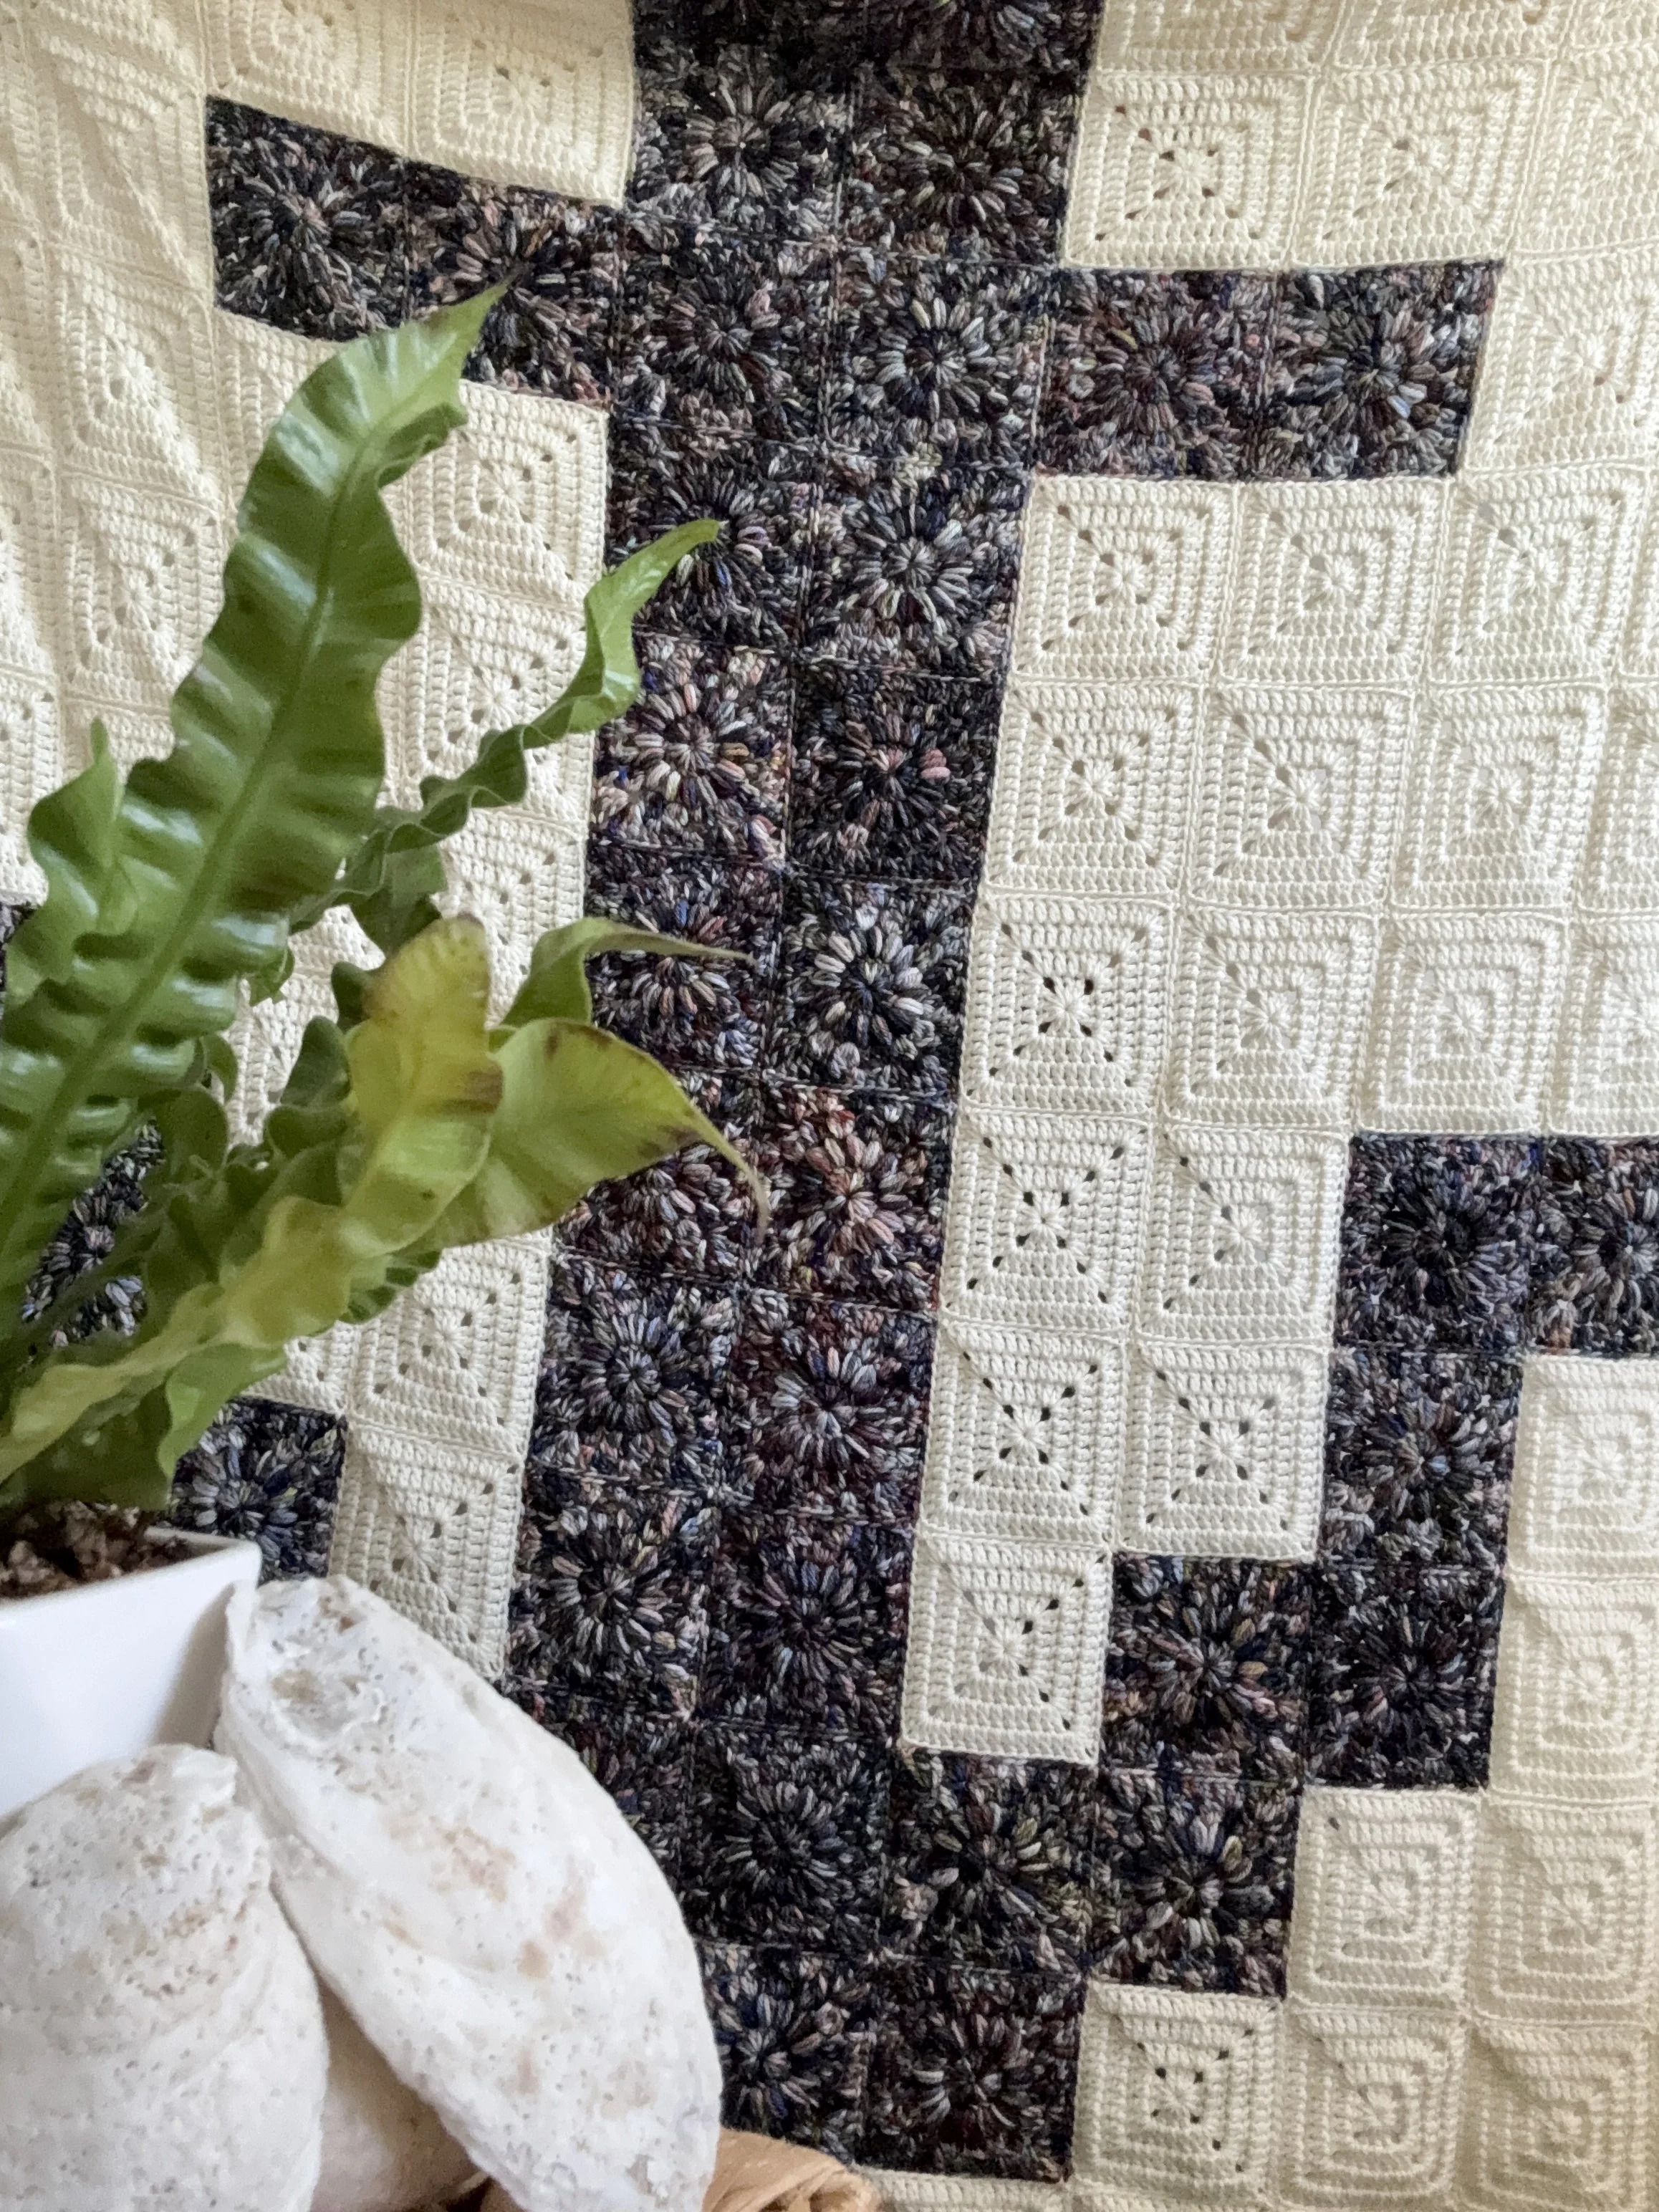
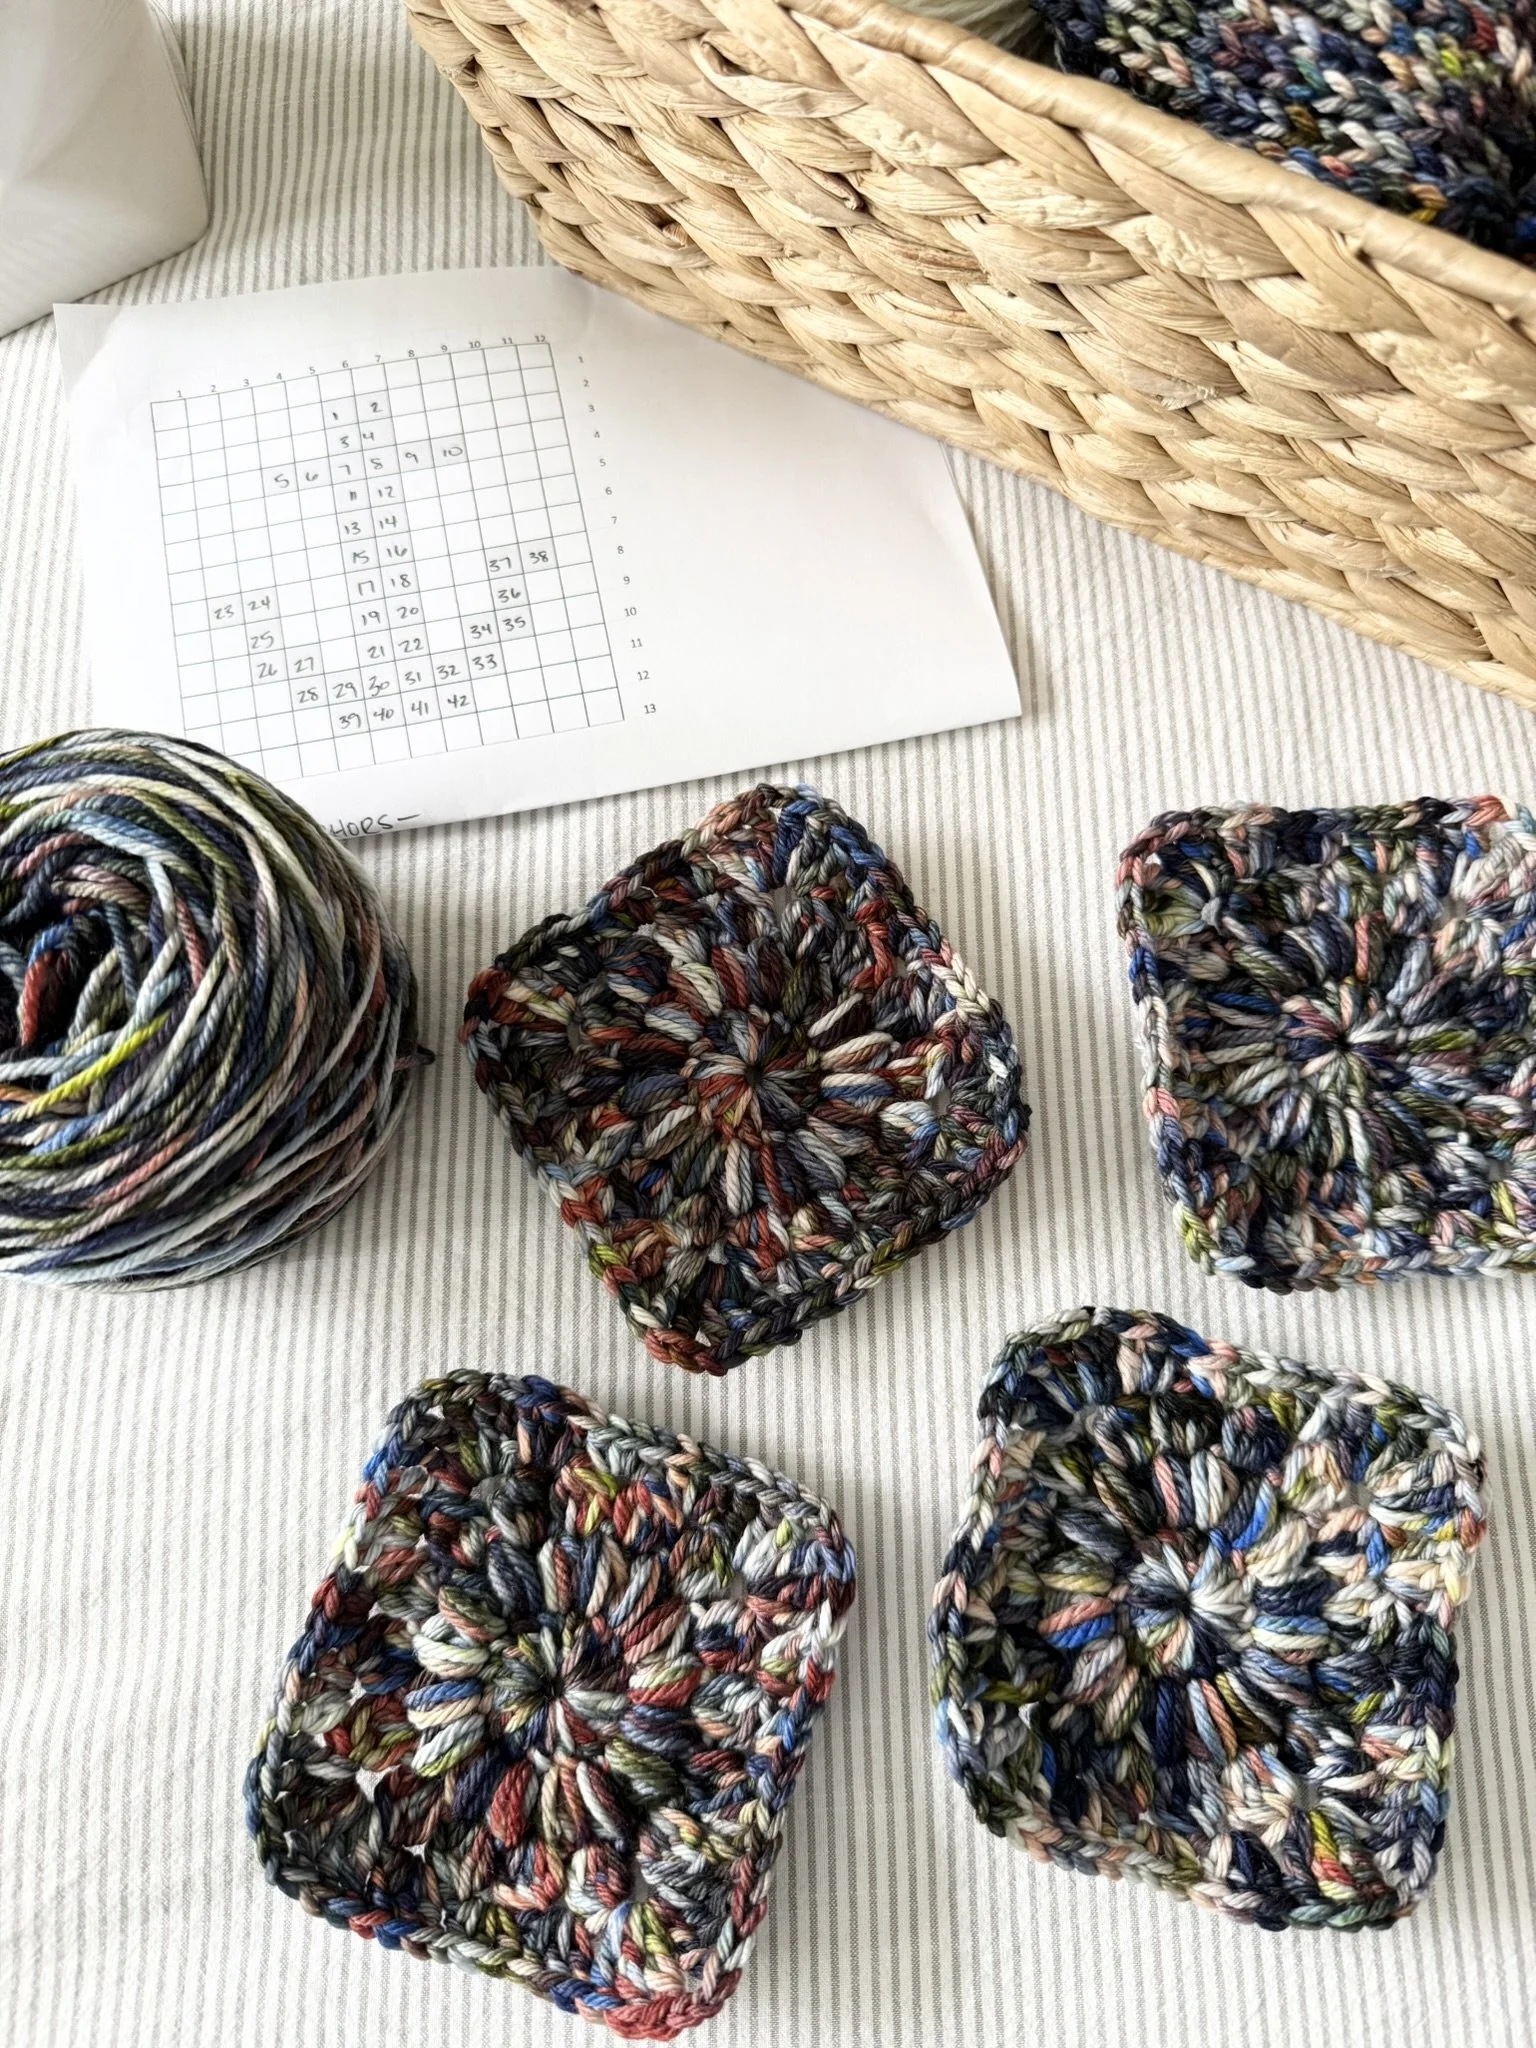
The blanket construction is made up of two squares; sunburst granny squares for the Anchor and solid granny squares for the background of the blanket.
A 5.0mm hook was used for the sunburst granny squares because the yarn was slightly heavier in weight than the yarn used for the background squares.
A 5.5mm hook was used for the main background solid squares, slip stitch joining and border.
** if your yarns are the same thickness then you should be able to use the same hook for BOTH the sunburst and solid squares. Only adjust hook sizes to meet gauge IF there is a difference in the thickness between yarns that you’re using.
Ch 2 counts as DC throughout.
Ch 3 counts as tr throughout.
In some cases, the video tutorials have been used for other patterns. Please follow the yarn recommendations, hook size and stitch counts in the written pattern- the videos are only meant as visual guides.
I stash busted for this blanket! The yarn from Ravenswood Fibre Co. is a one-of-a-kind (OOAK) colour. She only dyes colours in small batches and then that’s it. I encourage you to have a look through and find a colour that you love, or stash bust from your own beautiful collections.
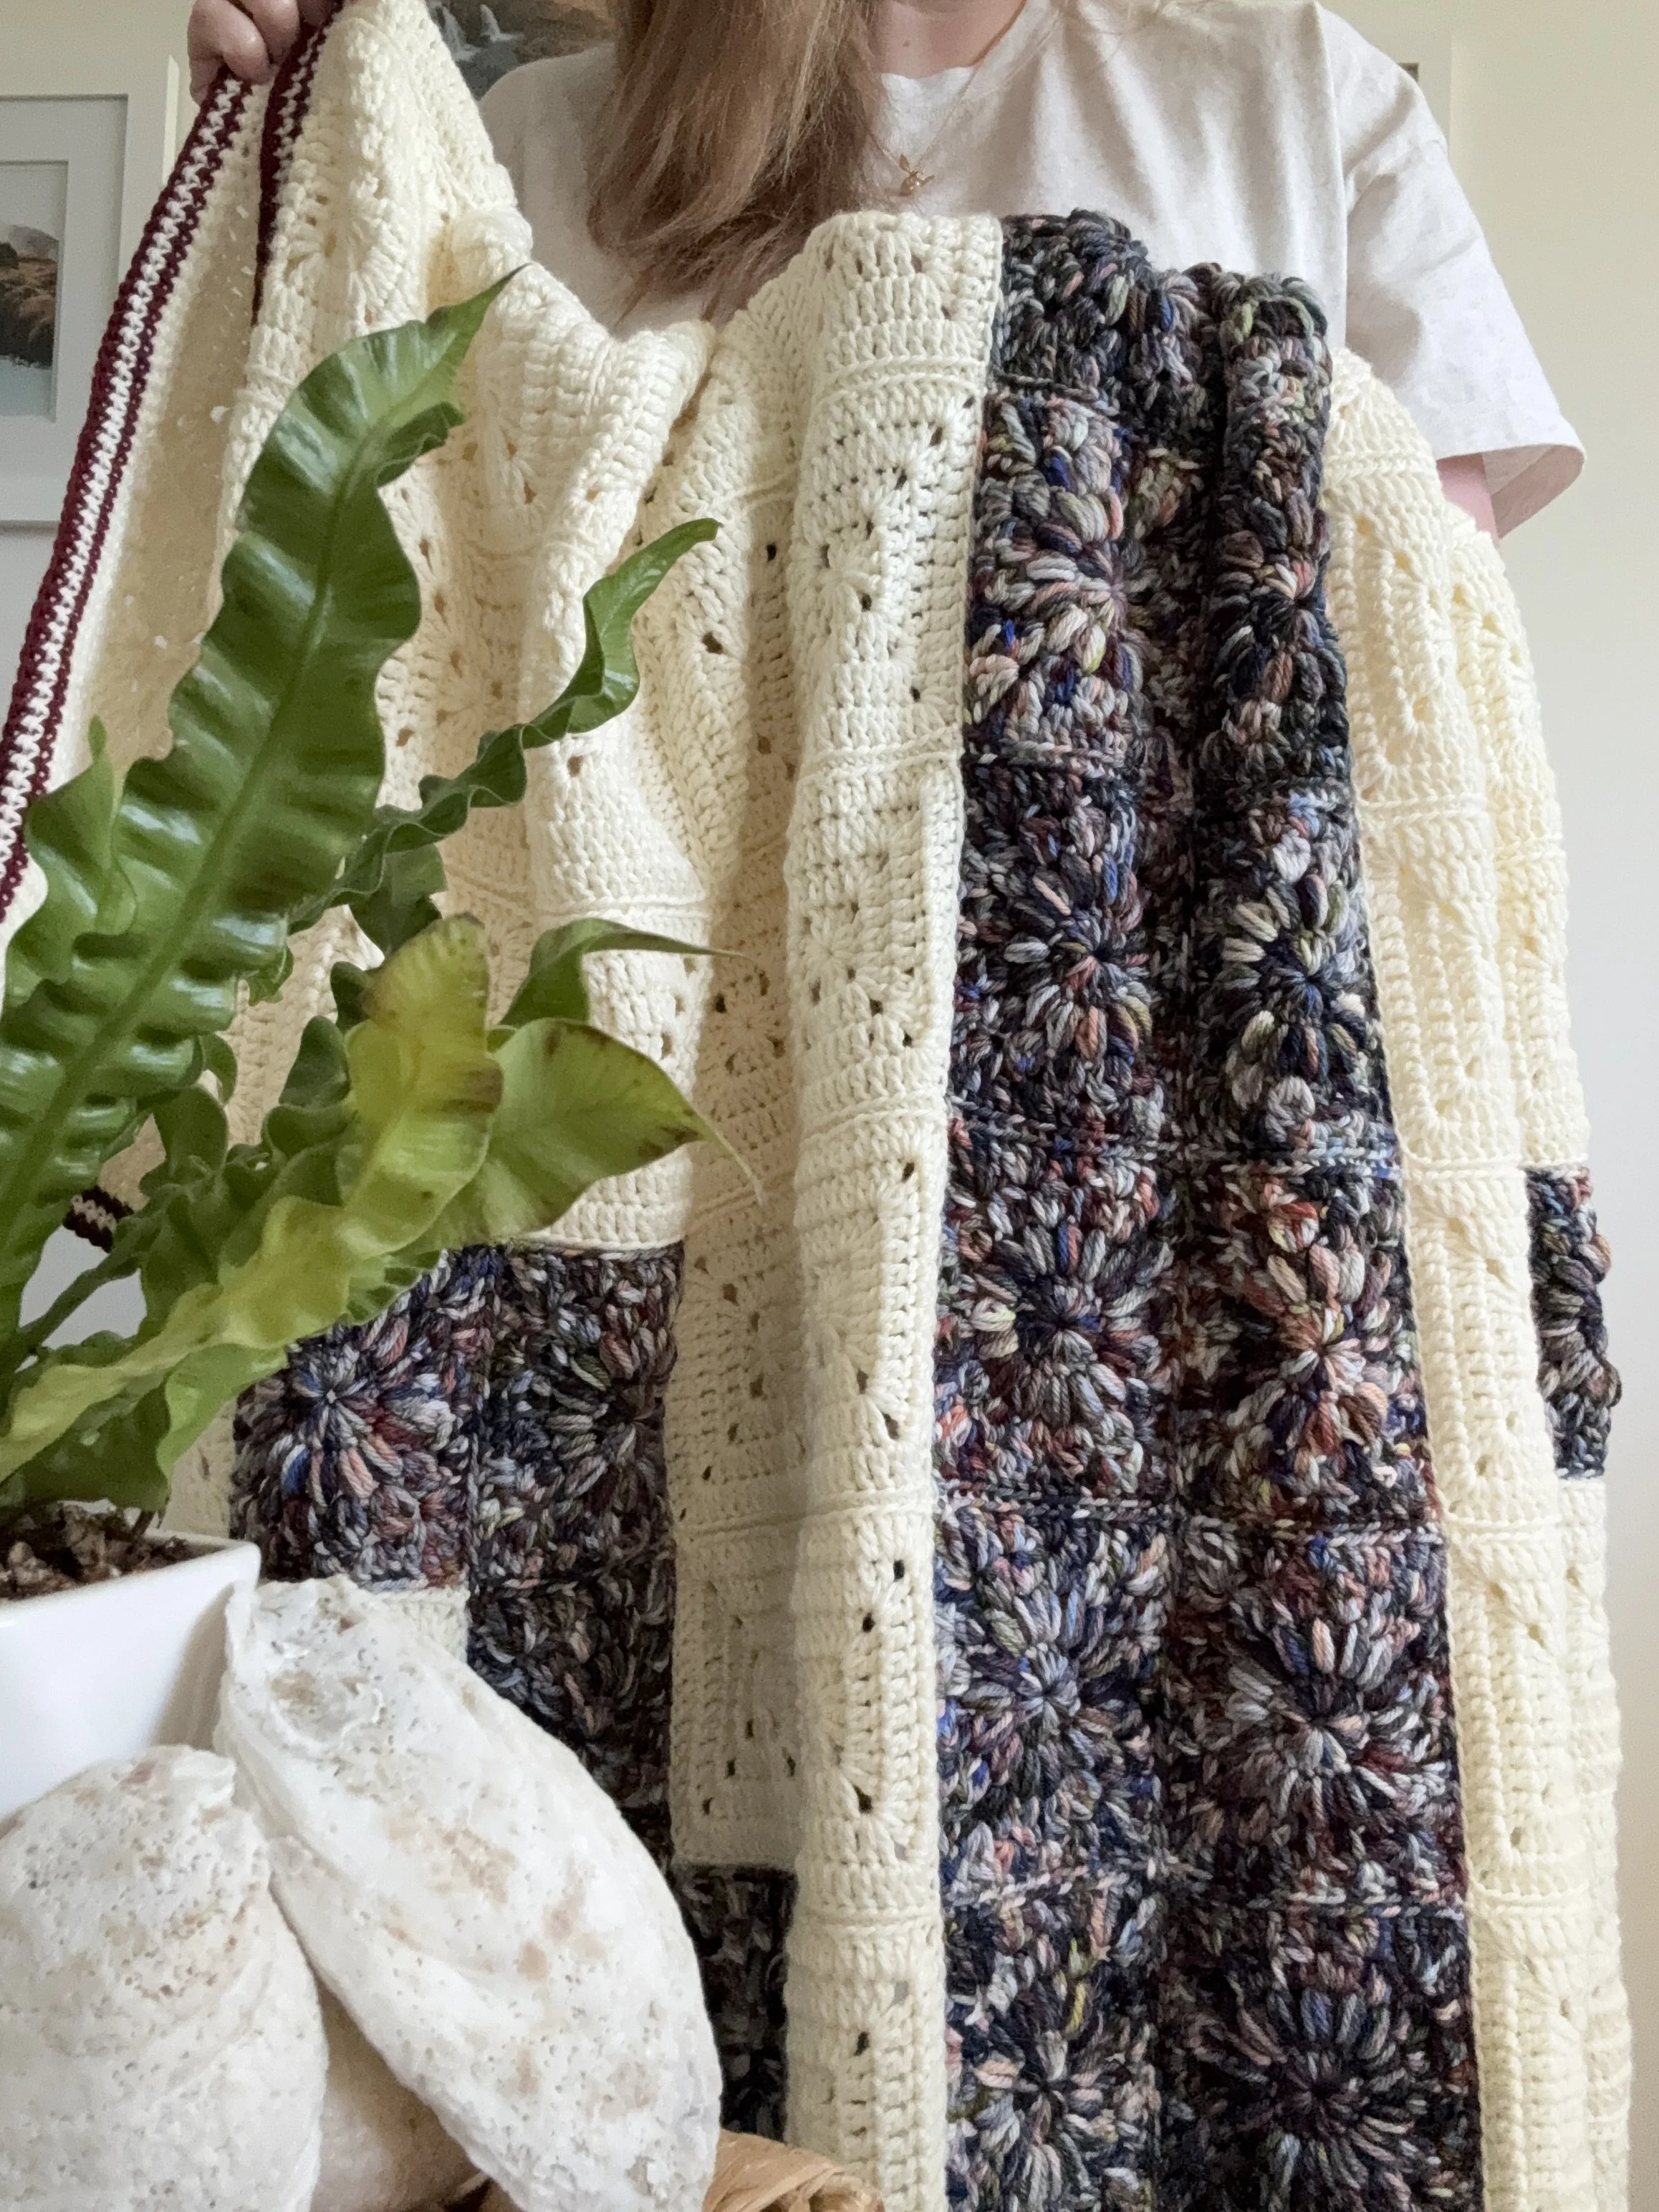
For this blanket I chose to seam them together using a slip stitch in the back loops. This creates a beautiful, tidy square on the front of the blanket—with visible seams/ridges on the backside of the blanket. When the squares are worked together this way the blanket is a little less reversible, but I do find that it’s a sturdier seam that worked well with the bigger and heavier blanket.
Don’t forget to share your makes on Instagram and Facebook! I always love seeing what you have all worked up. Tag me on Instagram @nautikrallcrochet or Facebook @nautikrall_crochet
Pattern Graph/Schematic
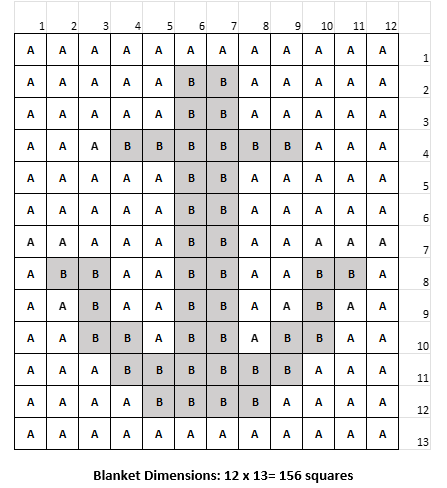
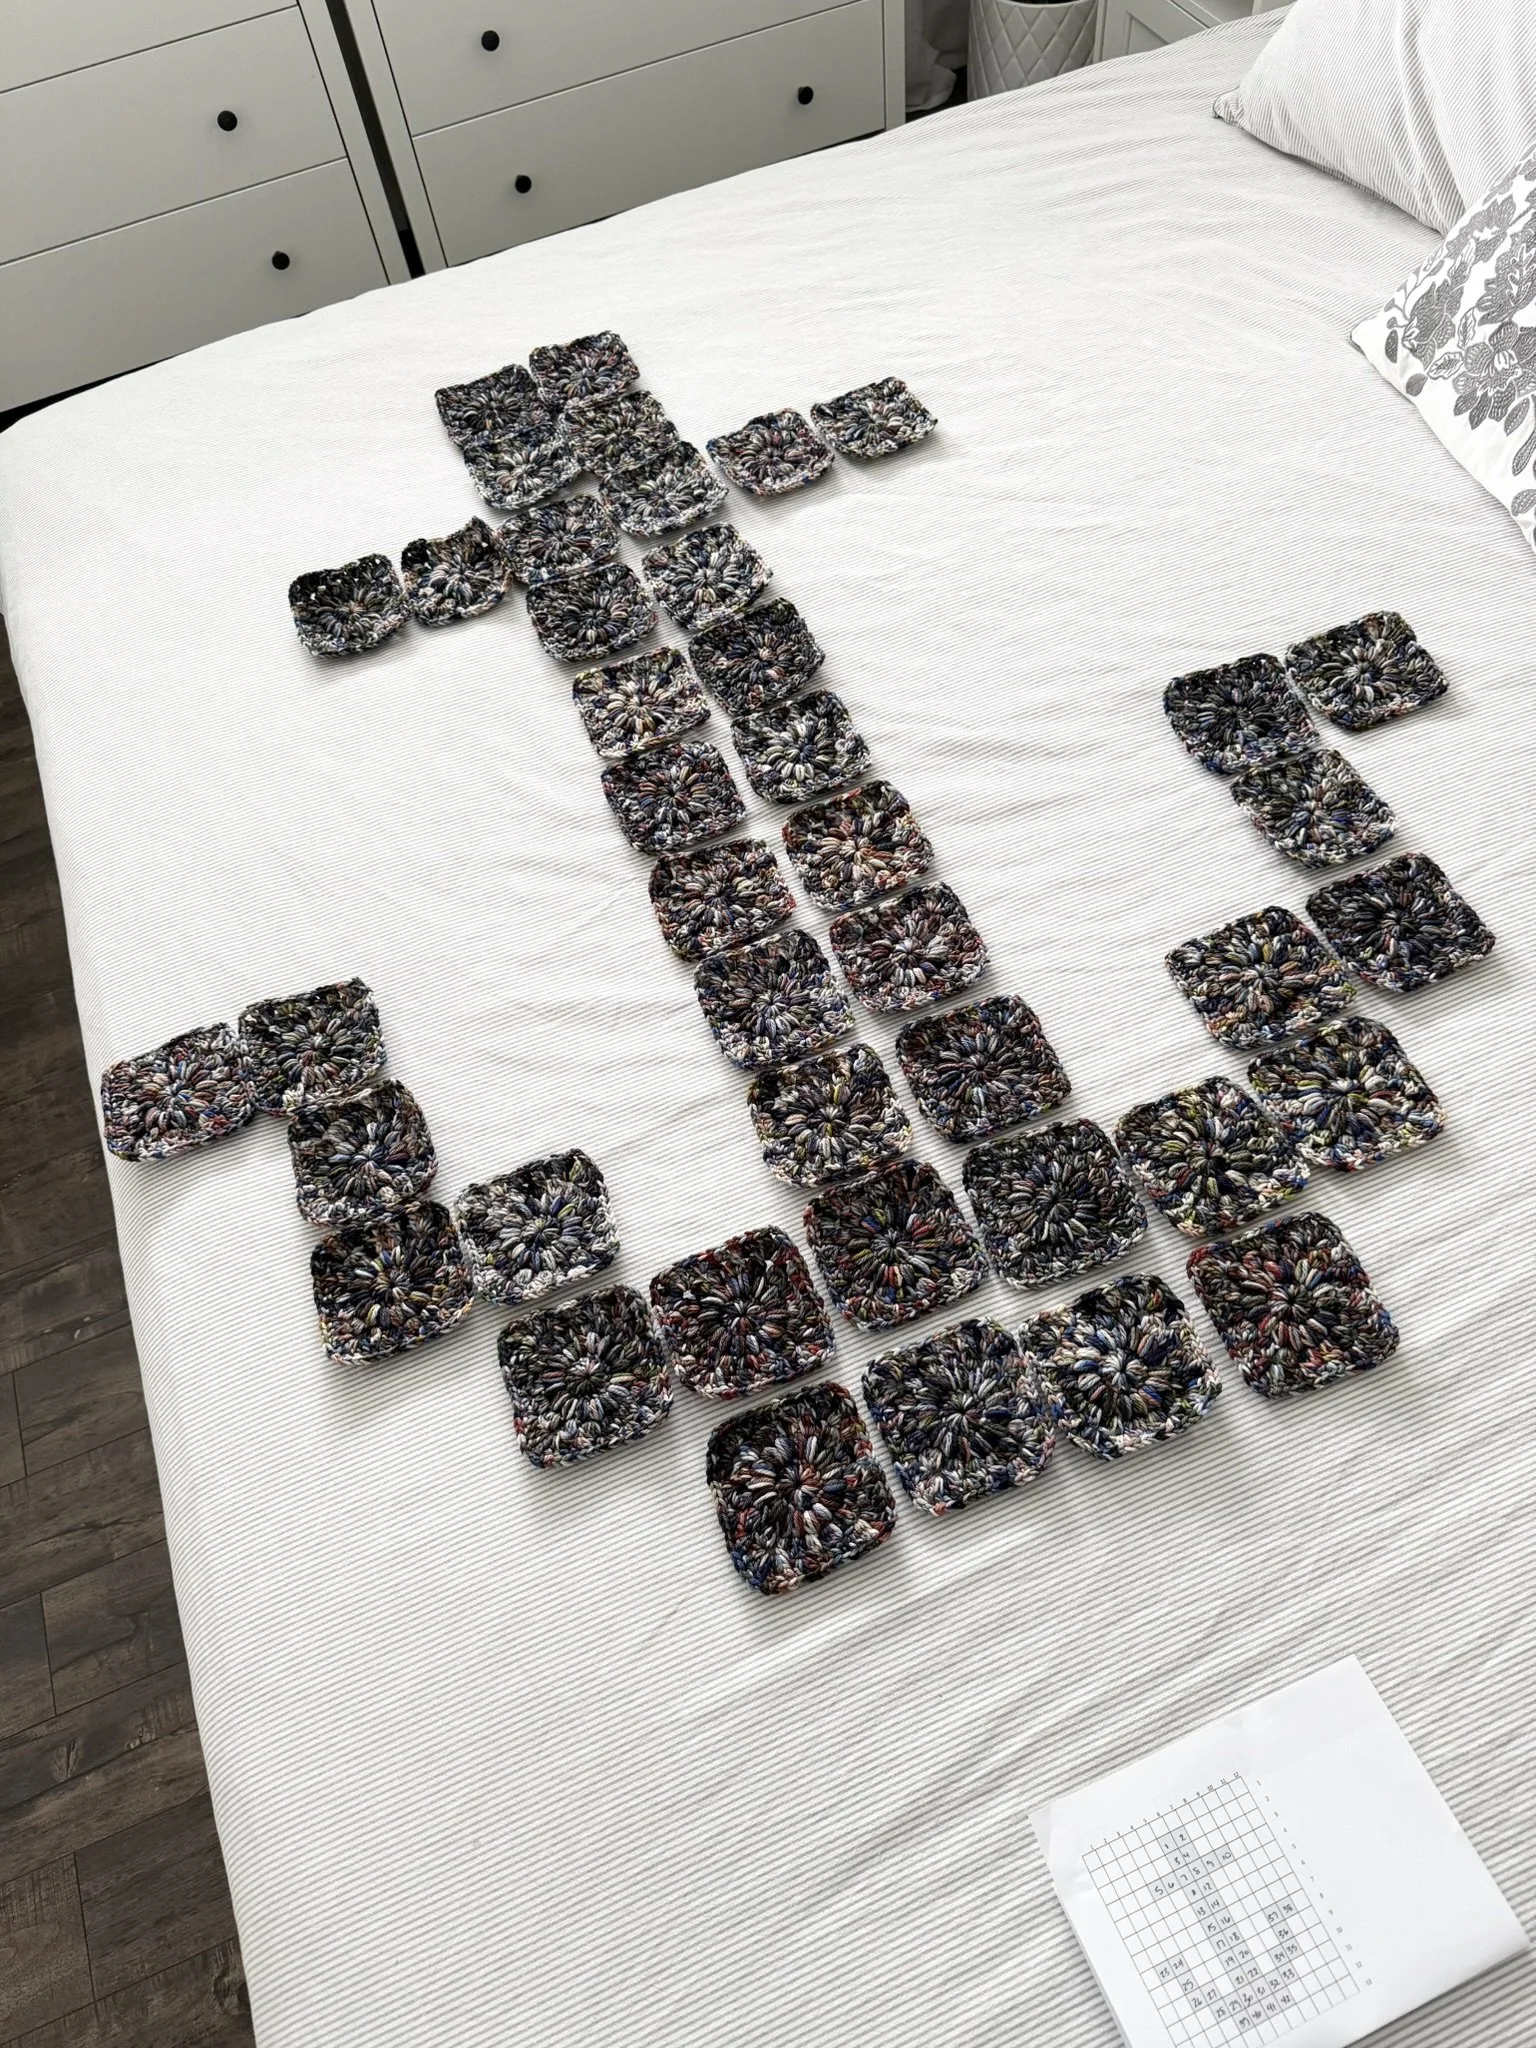
*Squares are lettered to coordinate with the colour chart below. Please use this chart for final quantities and placement of squares.


Pattern Sunburst Granny Square
Rnd 1
With first colour, Ch 4.
Sl st into 4th chain from hook to create centre ring.
Ch 2, 15 DC into centre ring (16 total).
Join with sl st to the top of first DC (not the ch- 2), do not fasten off…
Rnd 2
Ch 1, Puff into same st, ch 1.
[Puff, ch 1] into each st around (16 puff sts).
Sl st into the sp between the first two puff sts (NOT into top of the first puff st), do not fasten off…
Rnd 3
Ch 2, work a [4 DC cl, ch 2] into same sp.
Work a [4 DC cl, ch 2] into each ch-1 sp around (16 cl sts).
Sl st into the ch-2 sp between the first two cls (NOT into the top of the cl st), do not fasten off…
Rnd 4
Ch 3, work [2 tr, ch 2, 3 tr] into same sp (completes 1st corner of square).
*Work 3 DC into the next ch-sp.
Work 3 HDC into the next ch-sp.
Work 3 DC into the next ch-sp.
Into the next ch-sp work [3tr, ch 2, 3 tr].*
Repeat from * to * 2 more times.
Work 3 DC into the next ch-sp.
Work 3 HDC into the next ch-sp.
Work 3 DC into the next ch-sp.
Sl st to the top of first tr (not the ch-3).
Fasten off, weave in ends.
***Please see the YouTube video tutorial below on how to make Sunburst Granny Squares:
Pattern Solid Granny Square
Rnd 1
Ch 4, sl st into 4th ch from hook.
Ch 2, 2 DC into centre ring, ch 2.
[3 DC into centre ring, ch 2], 3 times.
Join rnd with sl st into top of first DC (not the ch-2).
Do not fasten off.
Rnd 2
Ch 2, DC into same st.
*DC into each st across, into corner sp, [2 DC, ch 2, 2 DC].*
Repeat from * to * 3 times (each side should have 7 sts including corners).
Join with sl st into the top of the first DC (not the ch-2).
Do not fasten off.
Rnd 3
Ch 2, DC into same st.
*DC into each st across, into corner sp, [2 DC, ch 2, 2 DC].*
Repeat from * to * 3 times (each side should have 11 sts across, including corners).
DC into the next 2 sts, join with sl st into the top of the first DC (not the ch-2).
Do not fasten off.
Rnd 4
Ch 2, DC into same st.
*DC into each st across, into corner sp, [2 DC, ch 2, 2 DC].*
Repeat from * to * 3 times (each side should have 15 sts across, including corners).
DC into the next 4 sts, join with sl st into the top of the first DC (not the ch-2).
Fasten off, weave in ends.
**Please see the YouTube video tutorial below for how to crochet Solid Granny Squares:
Assembling Blanket Squares
With RS up, follow the colour layout in the schematic above to create your Anchor!
Once squares are placed in preferred arrangement; using Colour A, follow along with the video tutorial below to sl st the squares together in BLO.
Fasten off and weave in all ends before starting Border rnd.
**Please see the YouTube video tutorial below for how to join squares with slip stitches in BLO to make the blanket:
Border
Rnd 1
Join Colour A into any st and ch 1.
SC into same st and each st around blanket.
Along edge, where two squares meet, put 1 SC into each corner sp.
Into each of the 4 corners of blanket work 3 SC (you may want to place a st marker into the middle SC of each corner to help with next rnds).
Join rnd with sl st into top of first SC (not the ch-1).
Do not fasten off…
Rnd 2
Ch 1, SC into same st, and each st around blanket.
In the 2nd (or middle st) of each corner, work 3 SC (you may want to place a st marker into the middle SC of each corner to help with next rnds).
Join rnd with sl st into top of first SC (not the ch-1).
Fasten off.
Rnd 3
Join Colour C into top of any st and repeat Rnd 2.
Fasten off.
Rnd 4
Join Colour A into top of any st and repeat Rnd 2.
Fasten off.
Rnd 5
Join Colour C into top of any st and repeat Rnd 2.
Fasten off, weave in all ends.
~The End~
The pattern, the photographs and video tutorials in this document are the property of NautiKrall Crochet. You may sell items you make from this pattern; but may not sell, reproduce, or distribute this pattern, in whole or in part, as your own.
Copyright © 2026 NautiKrall Crochet – All right reserved.