
Island Time Scarf -Free Crochet Pattern

This post contains affiliate links. Affiliate links cost you nothing, but when purchasing through these links you help me earn a small commission. This supports me and my family and my continued efforts to bring you free patterns.
Intro:
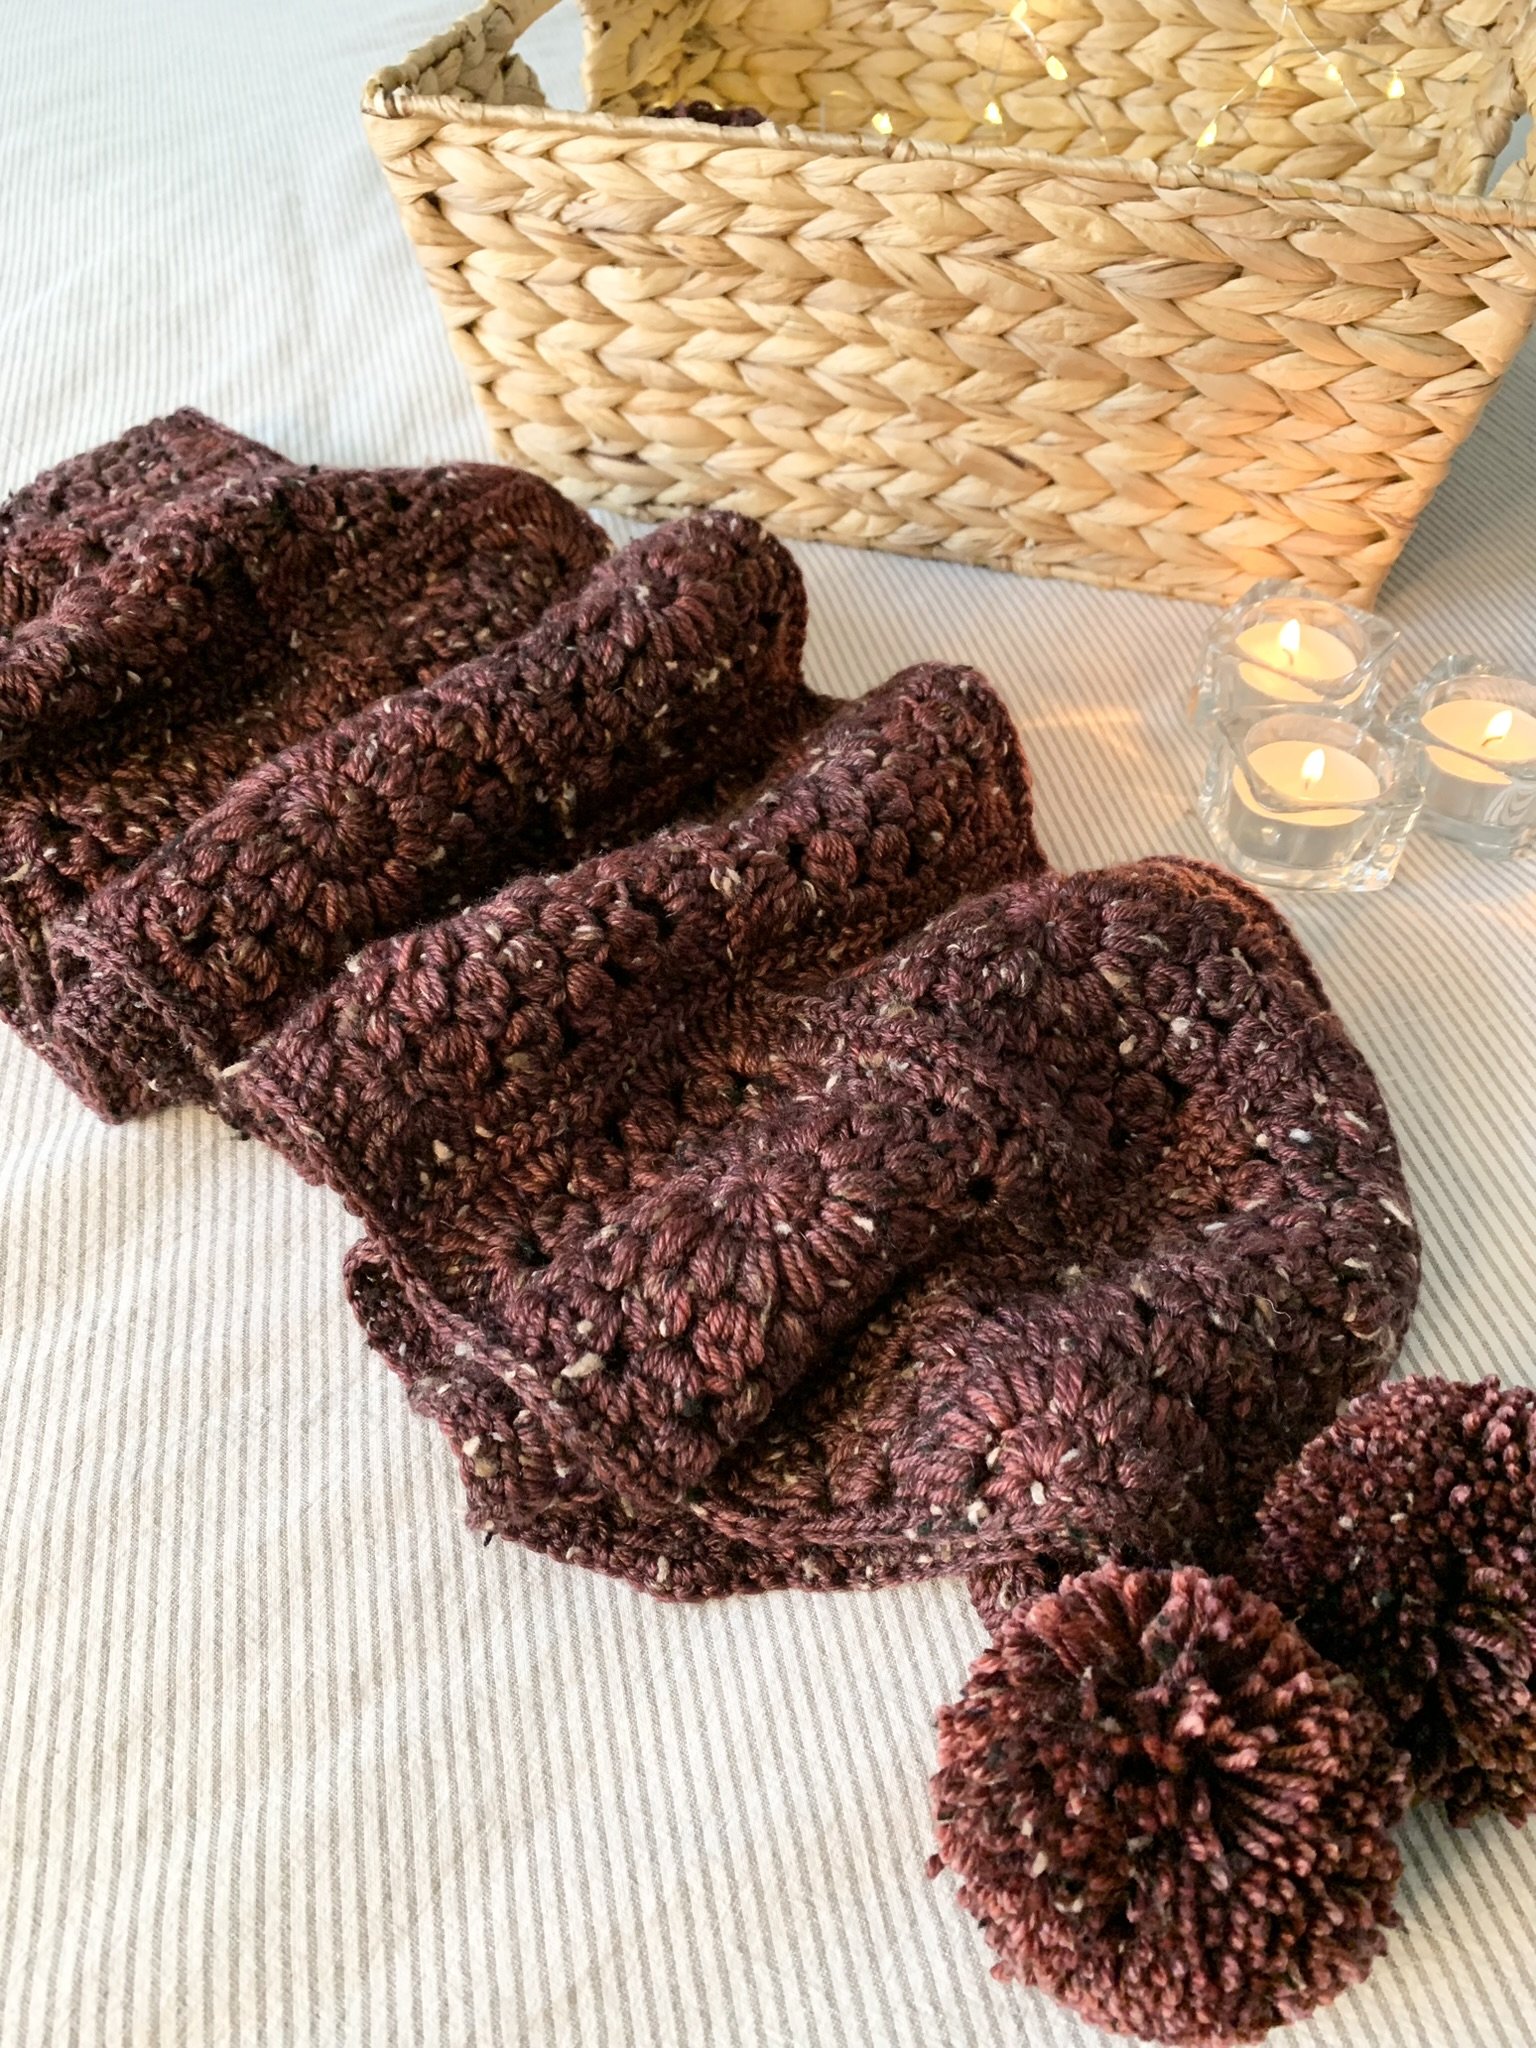
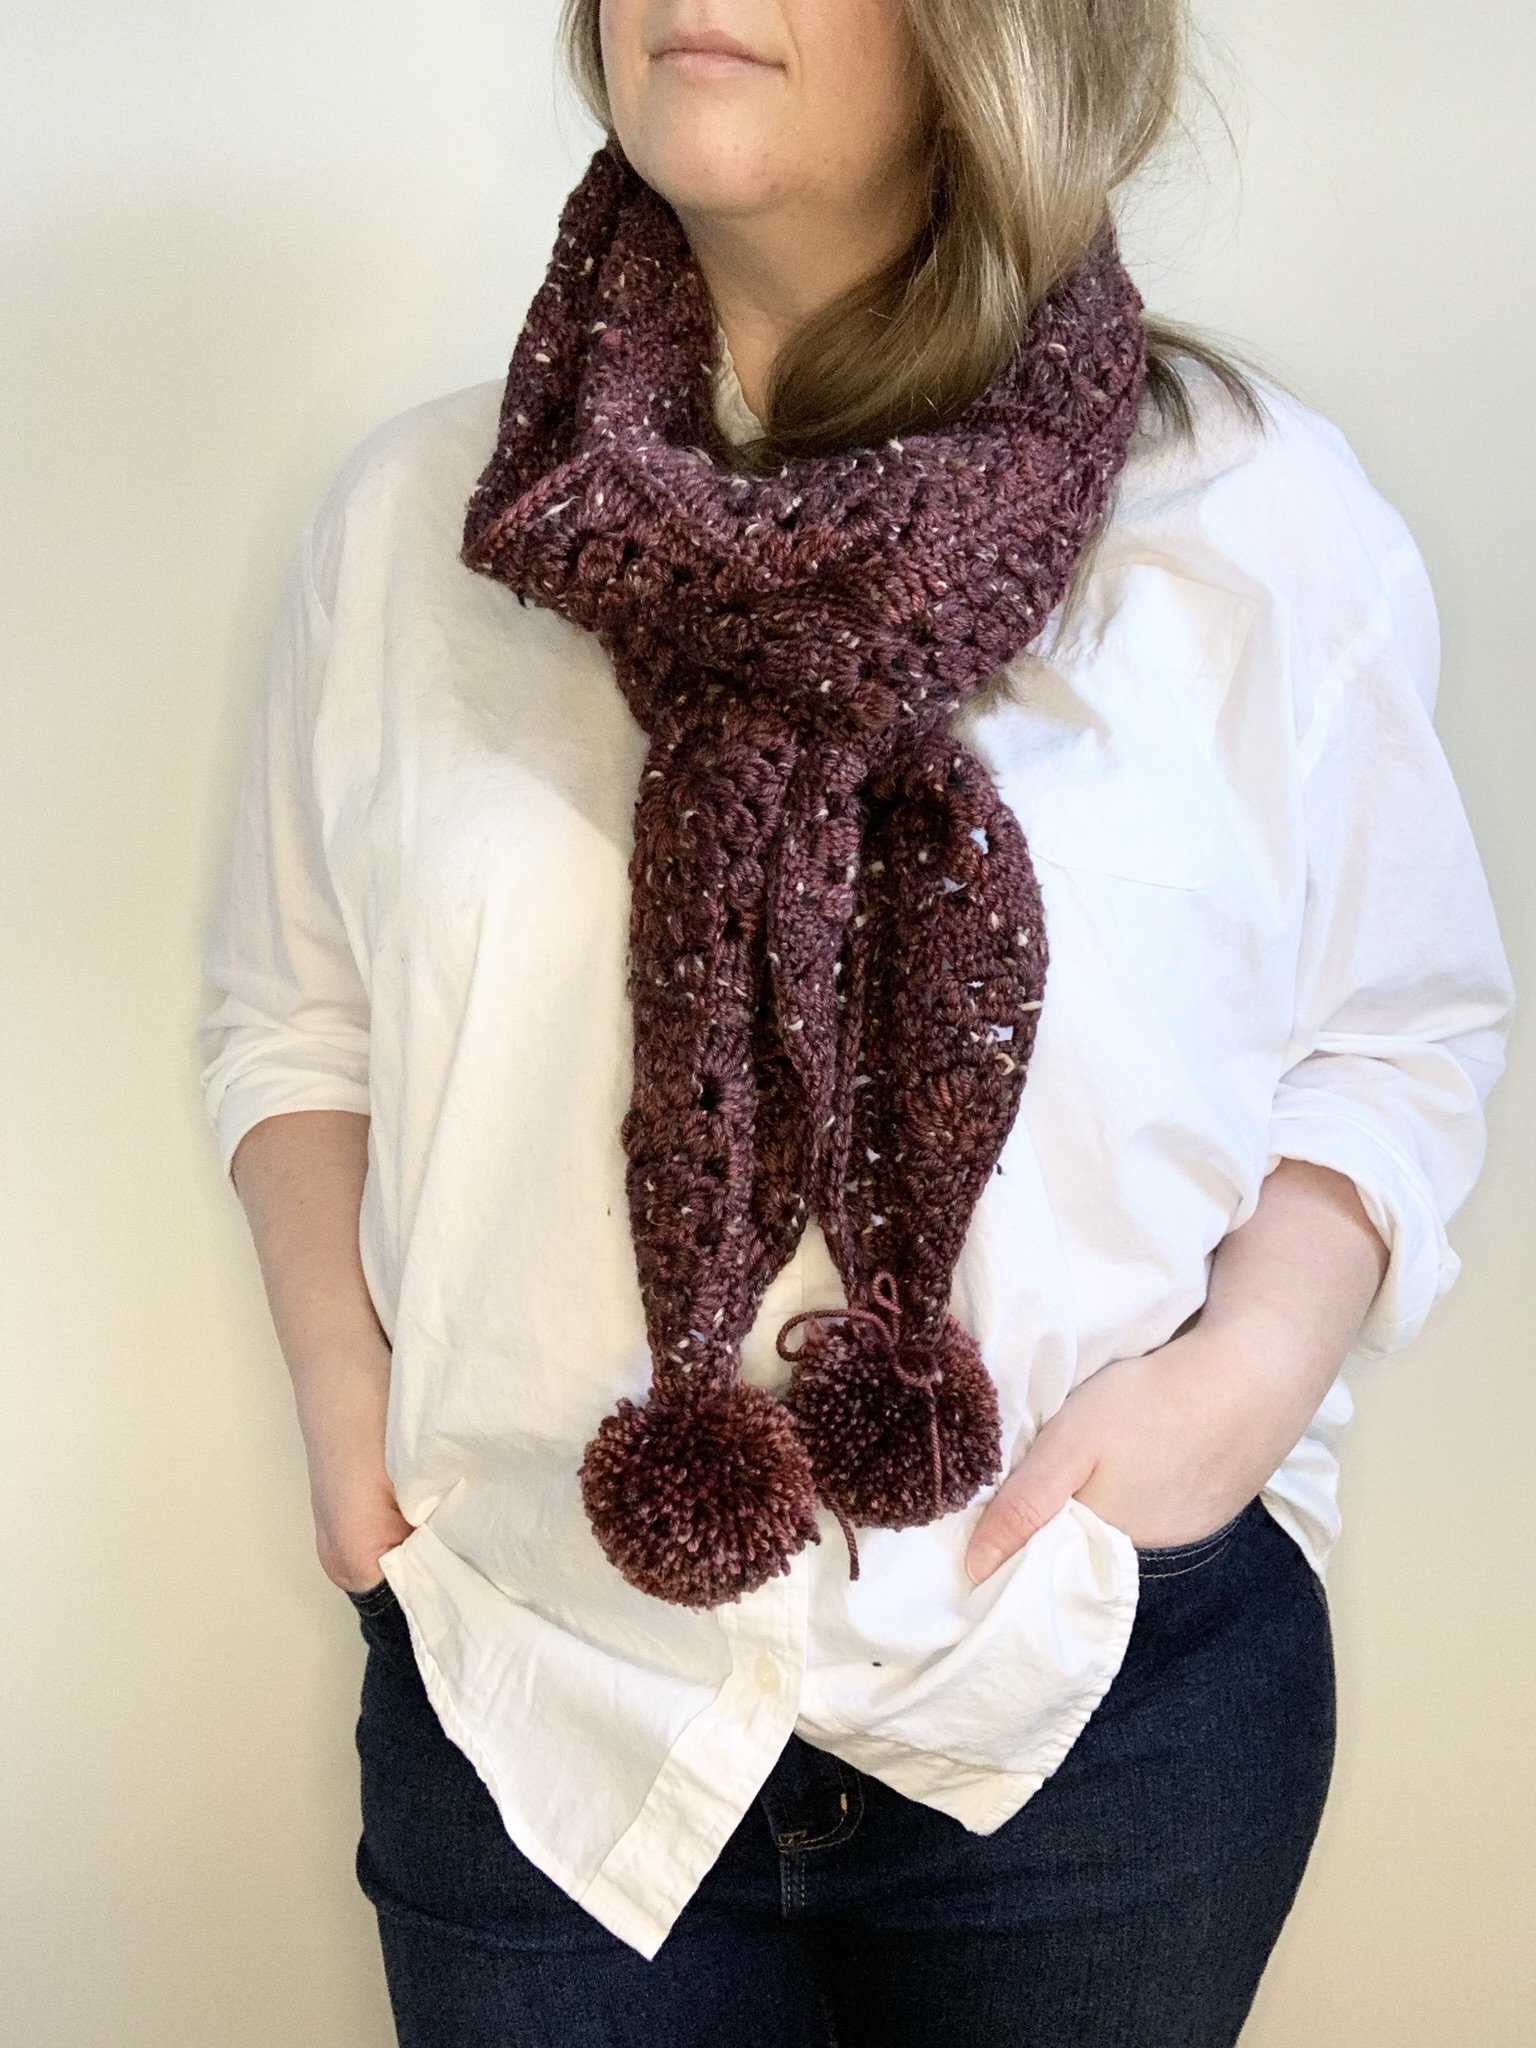
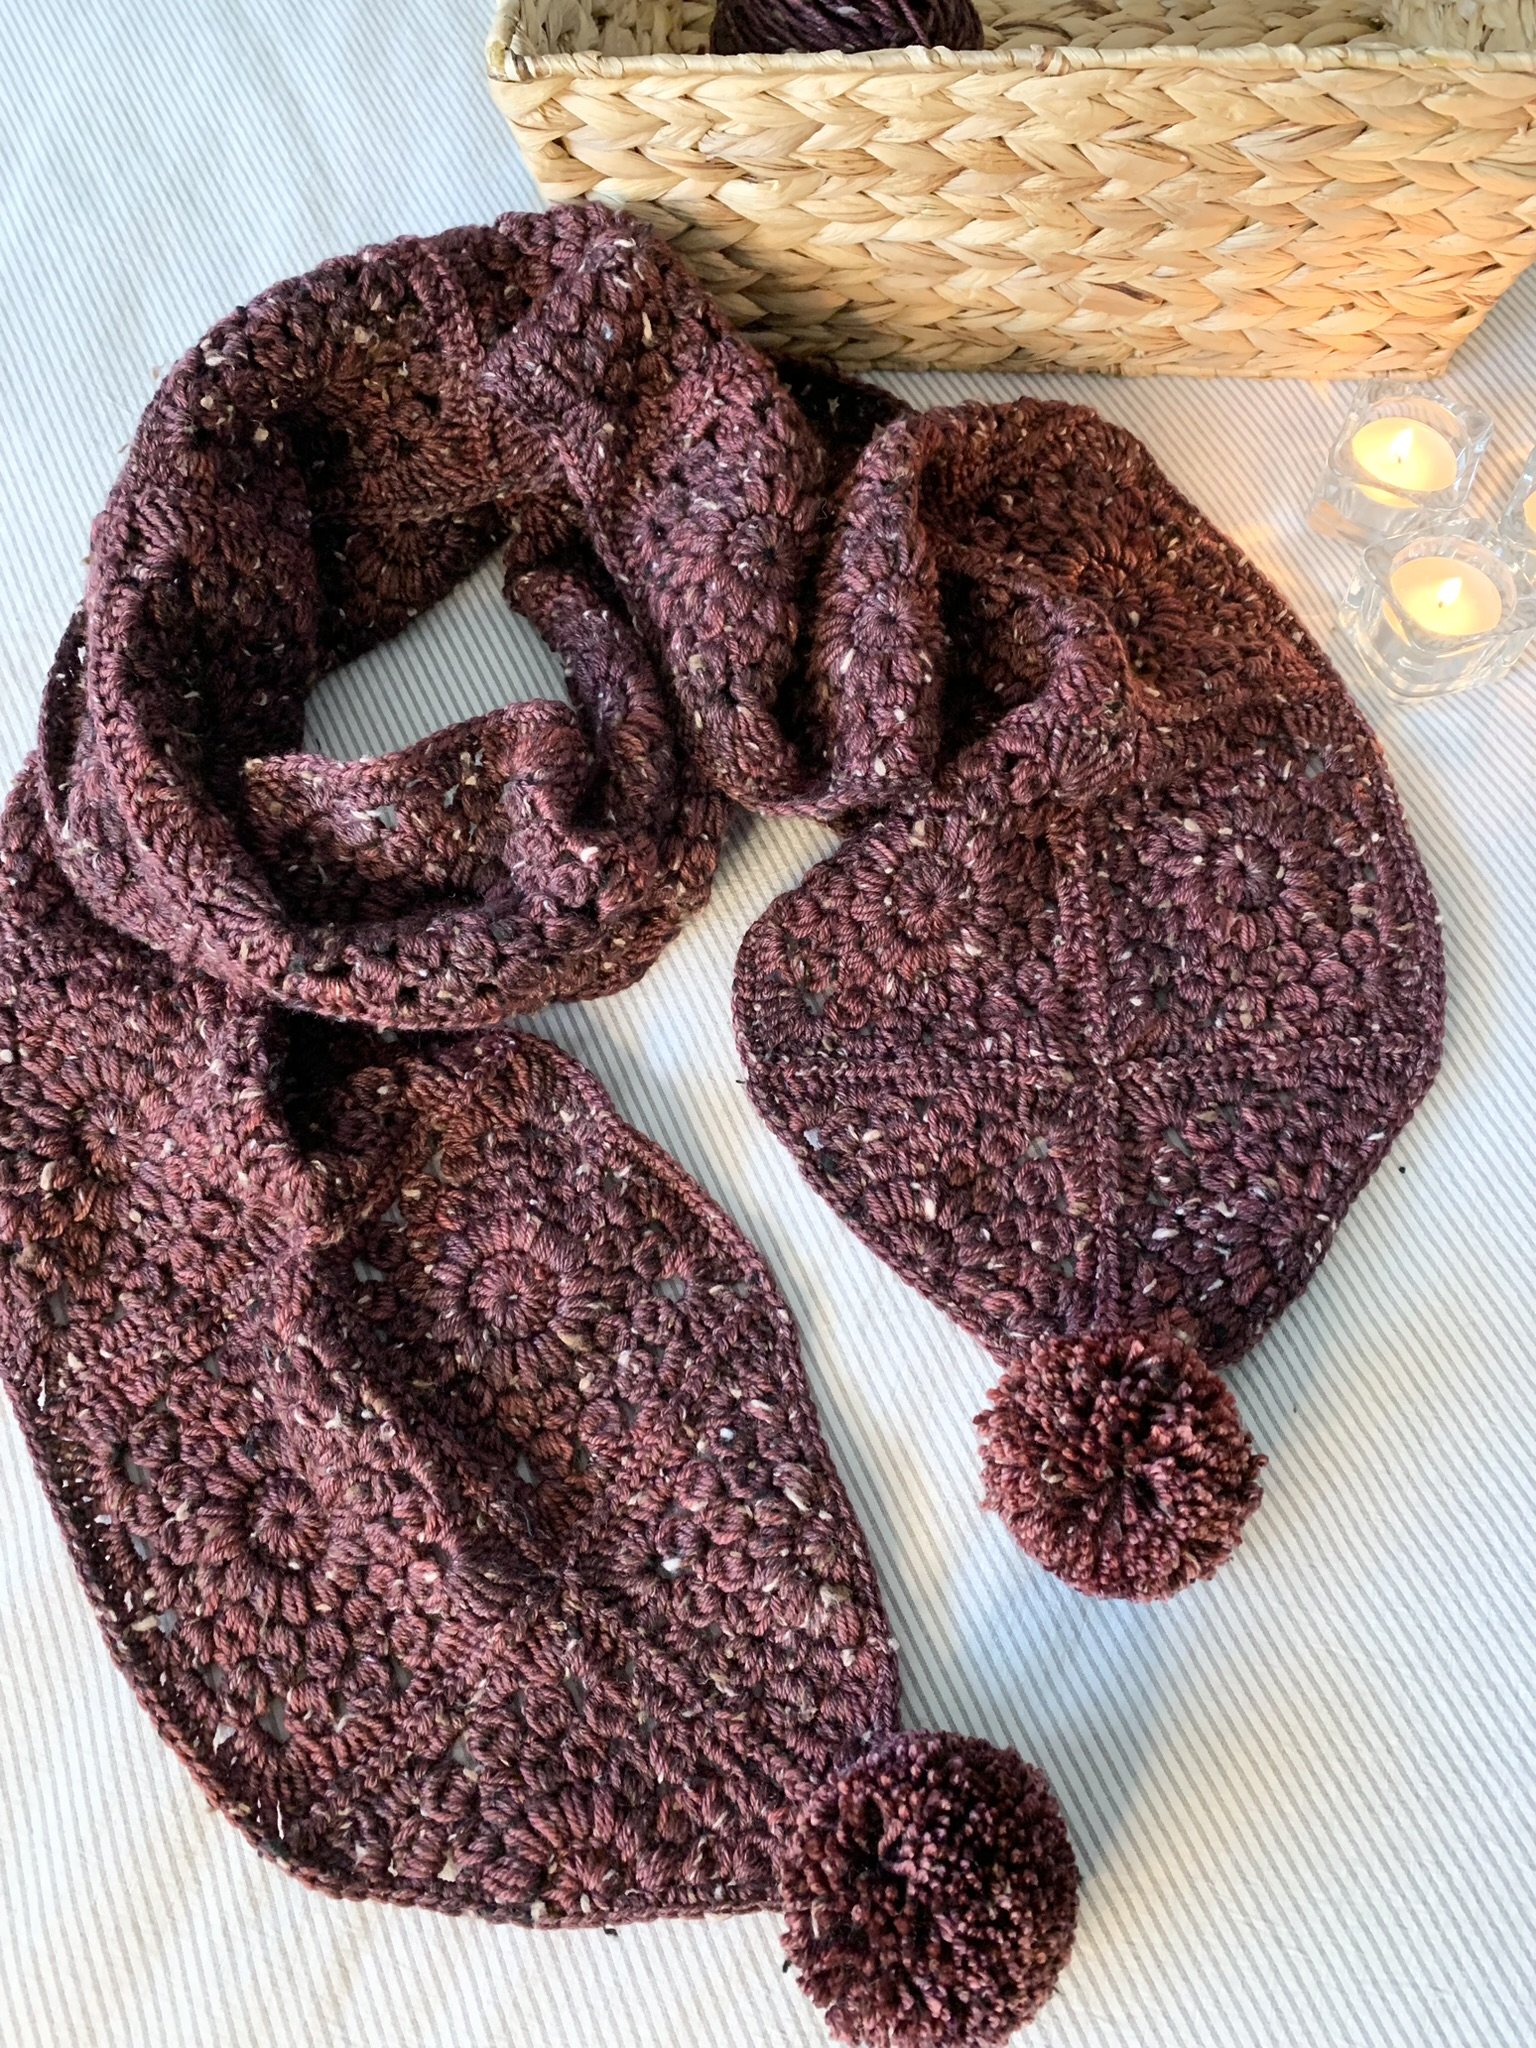
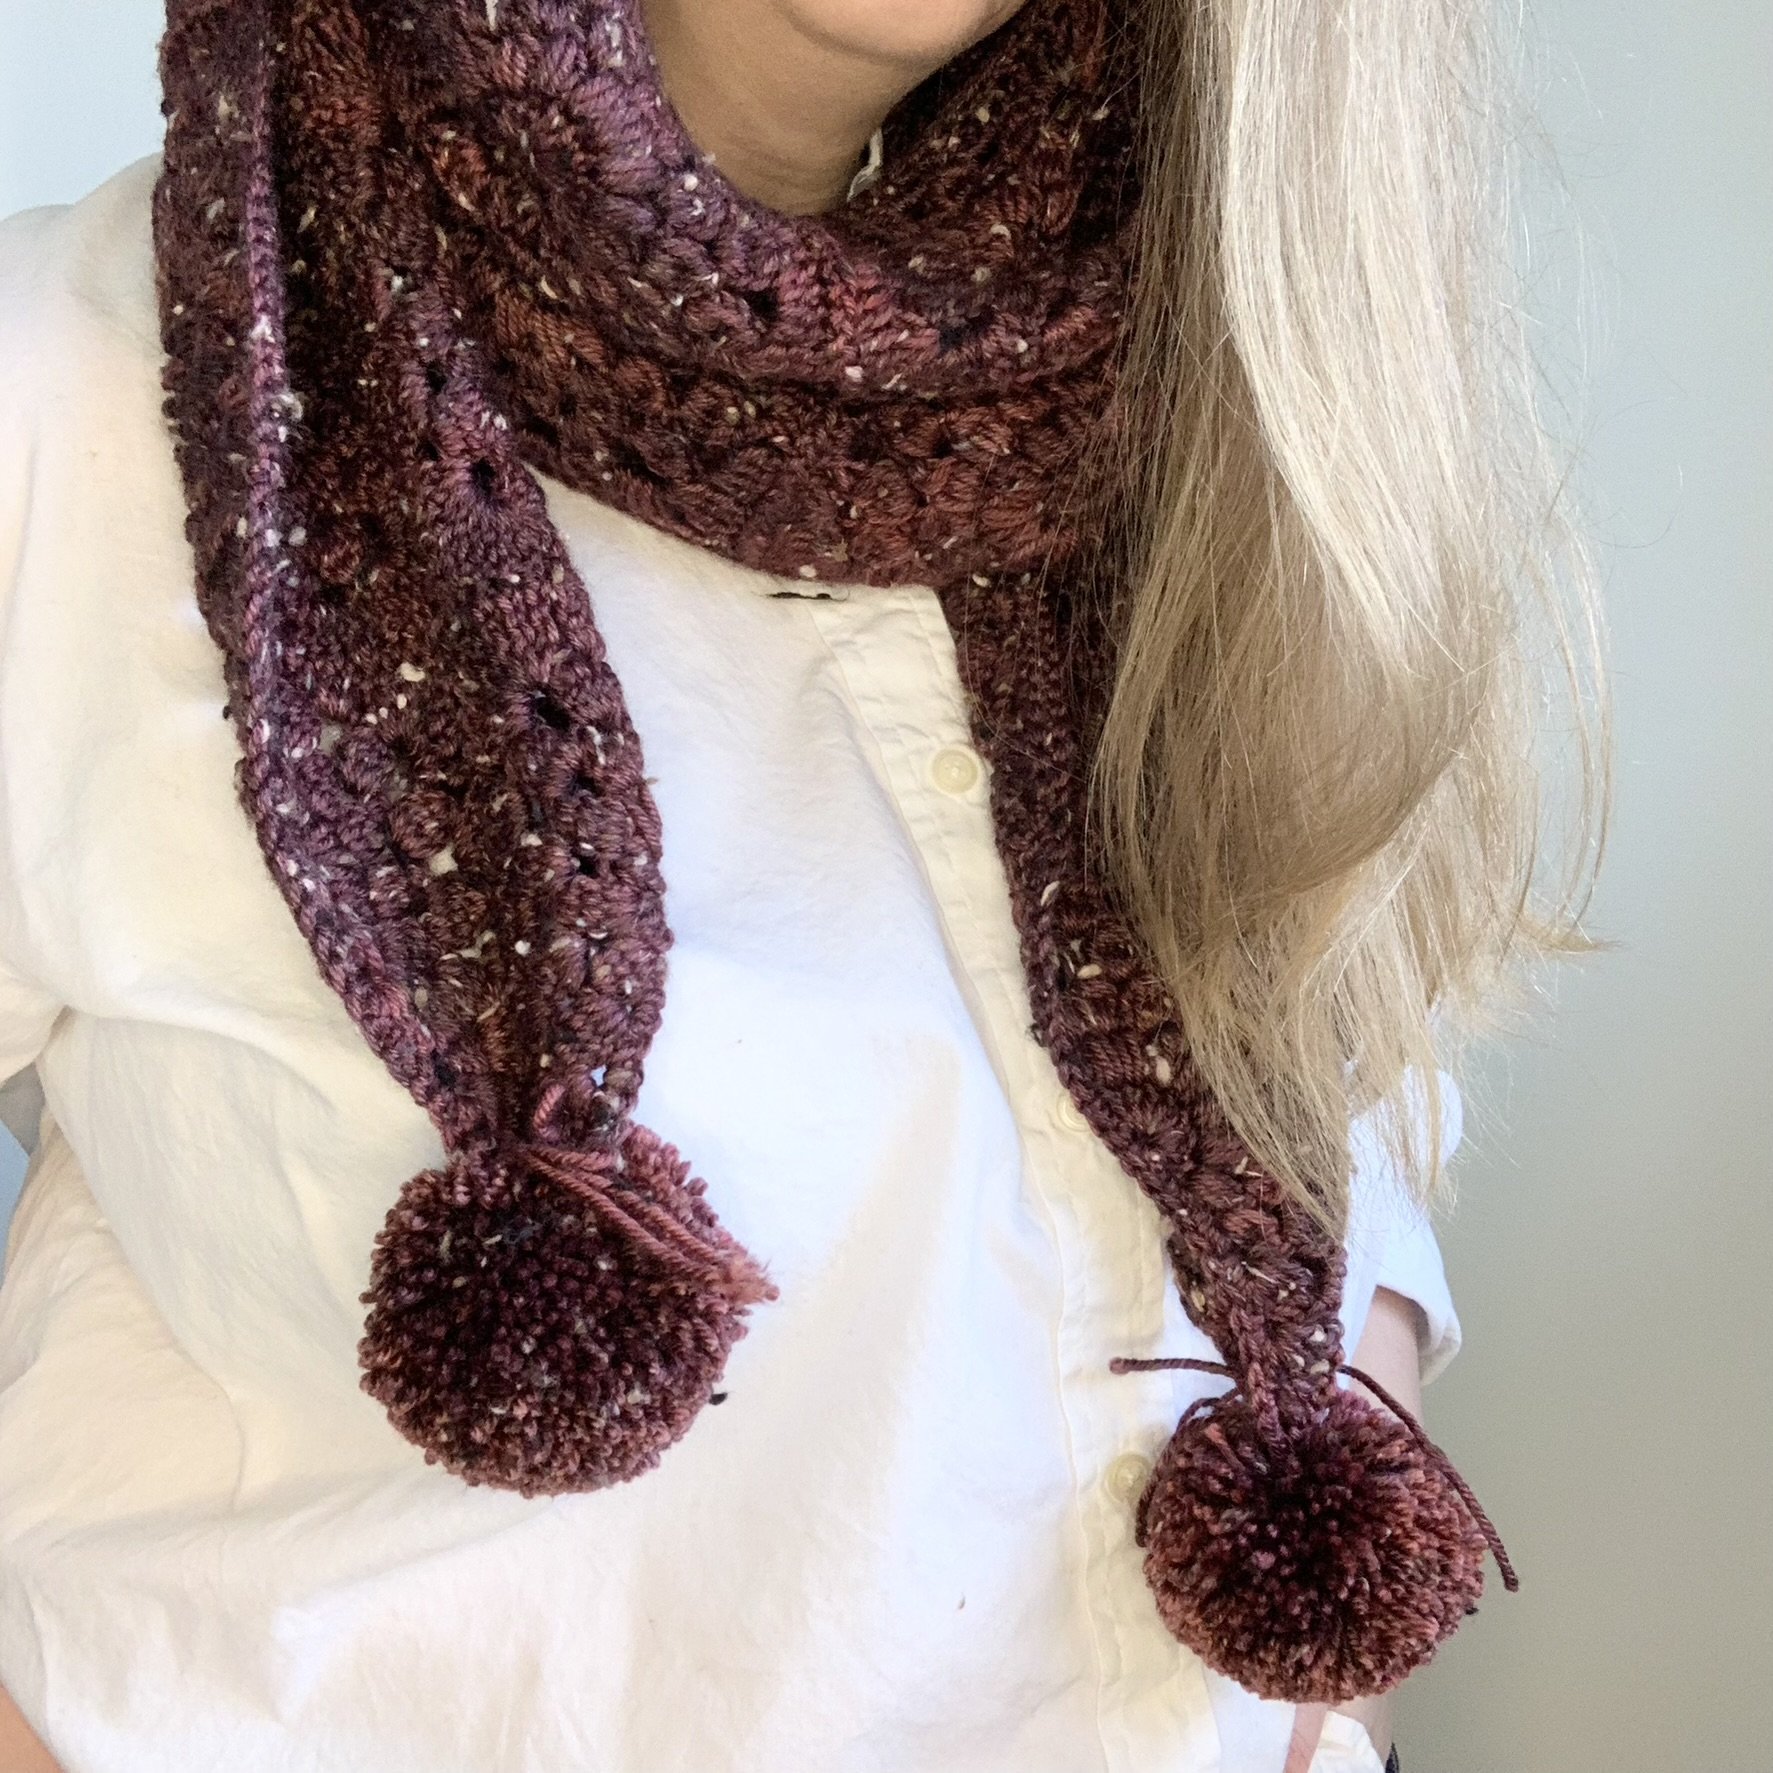
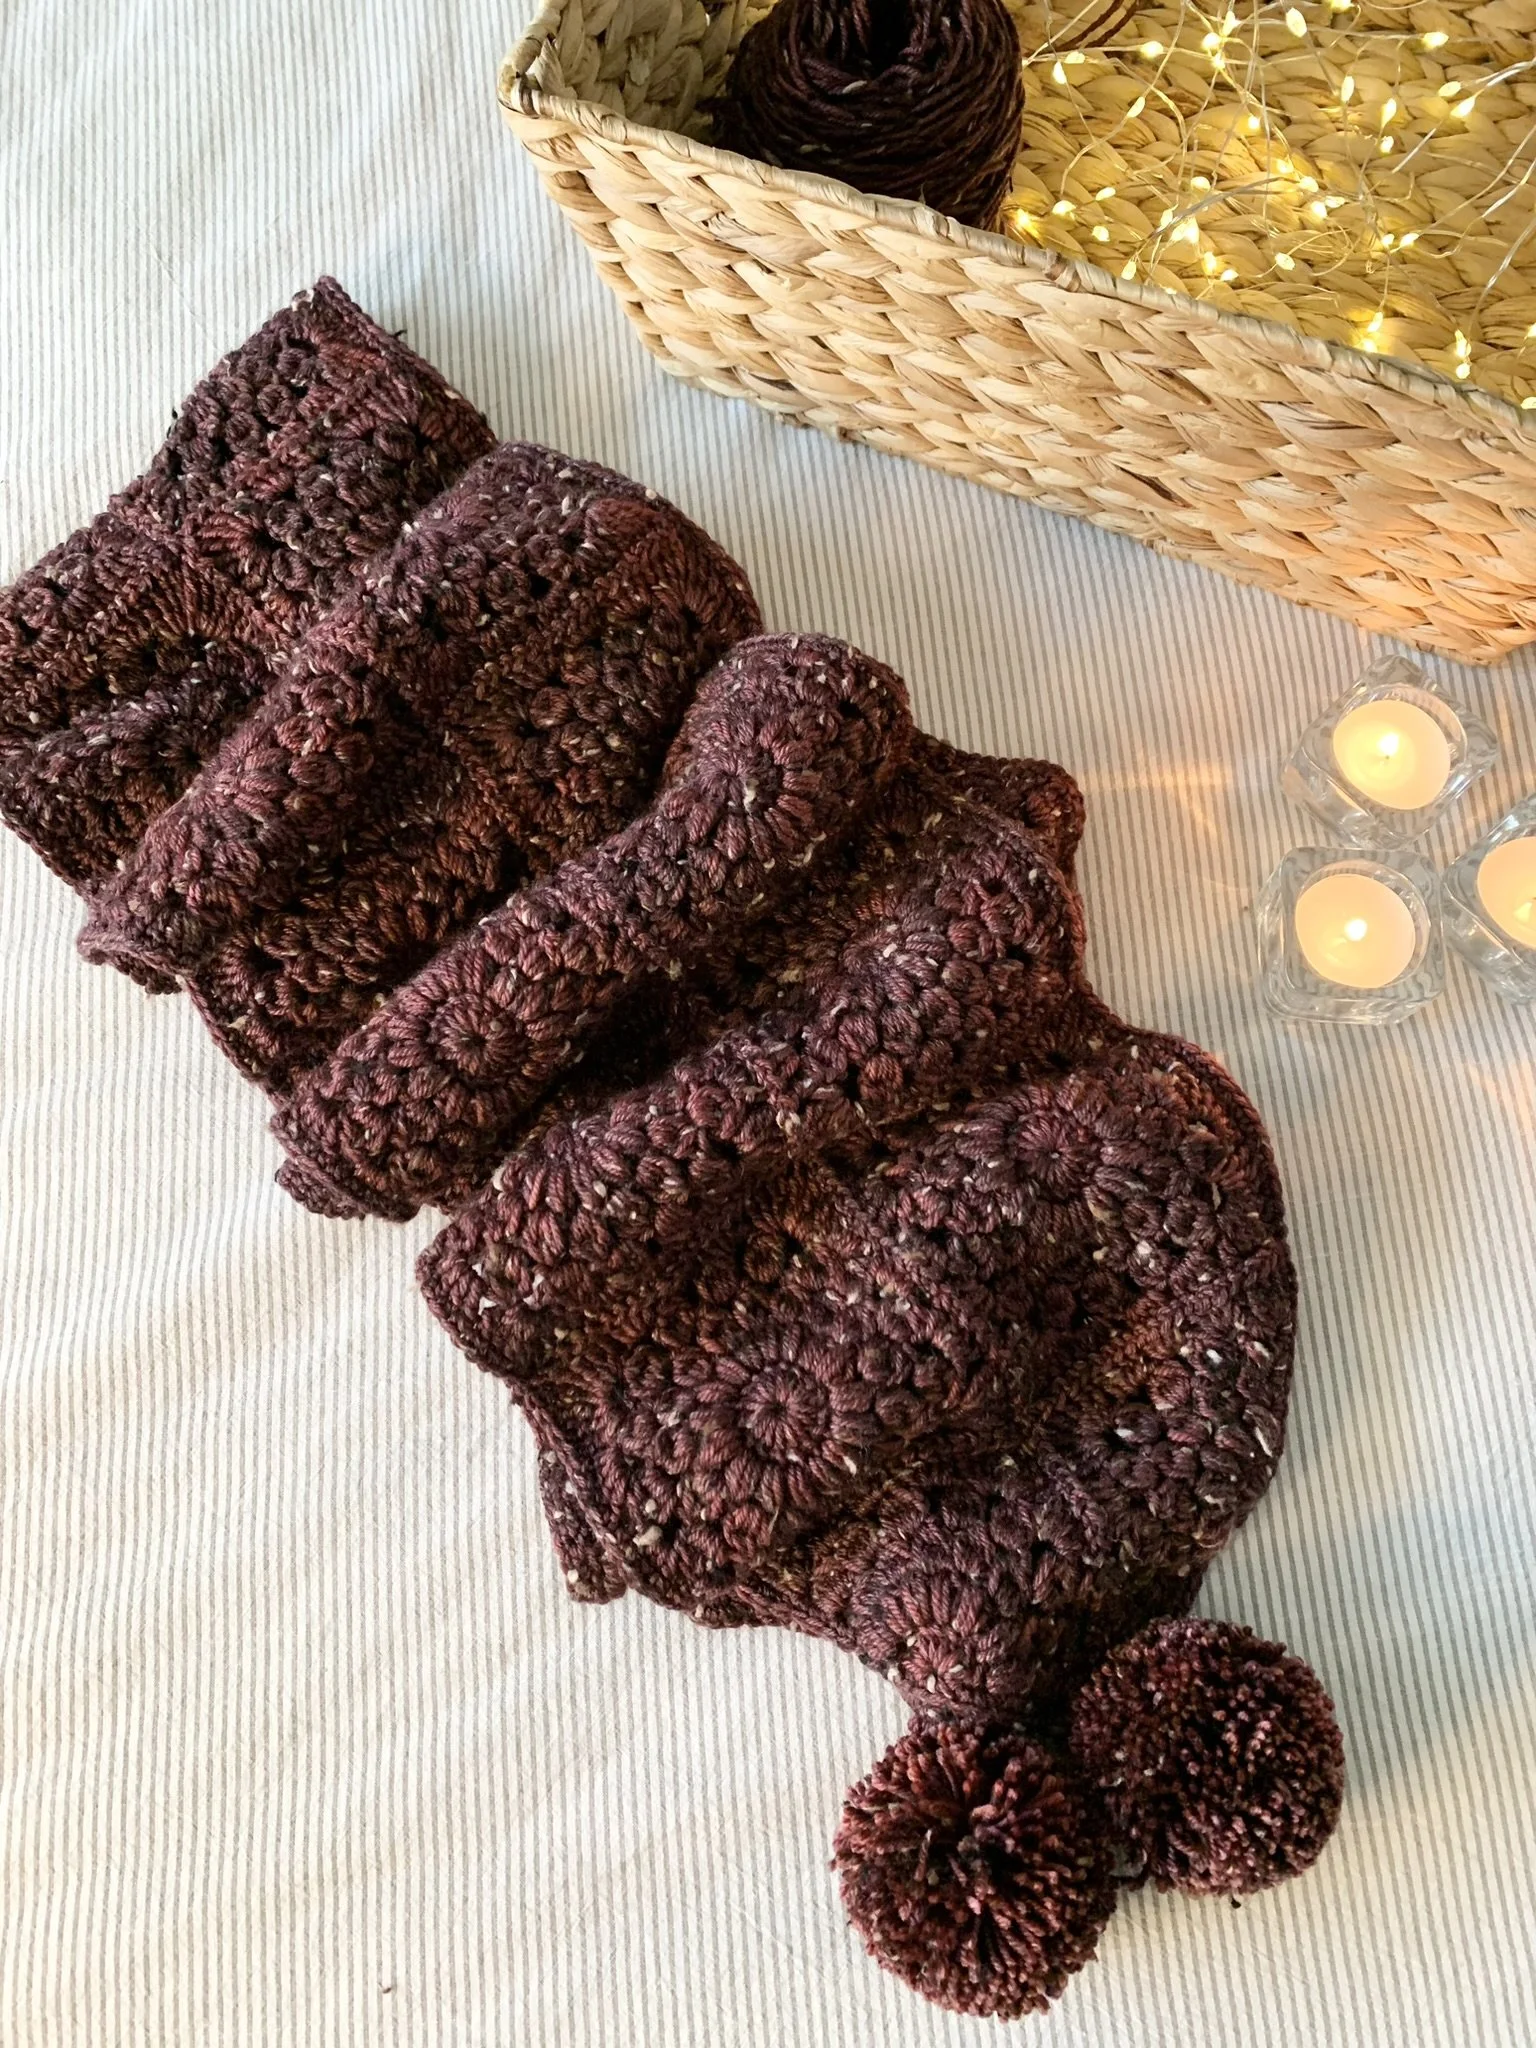
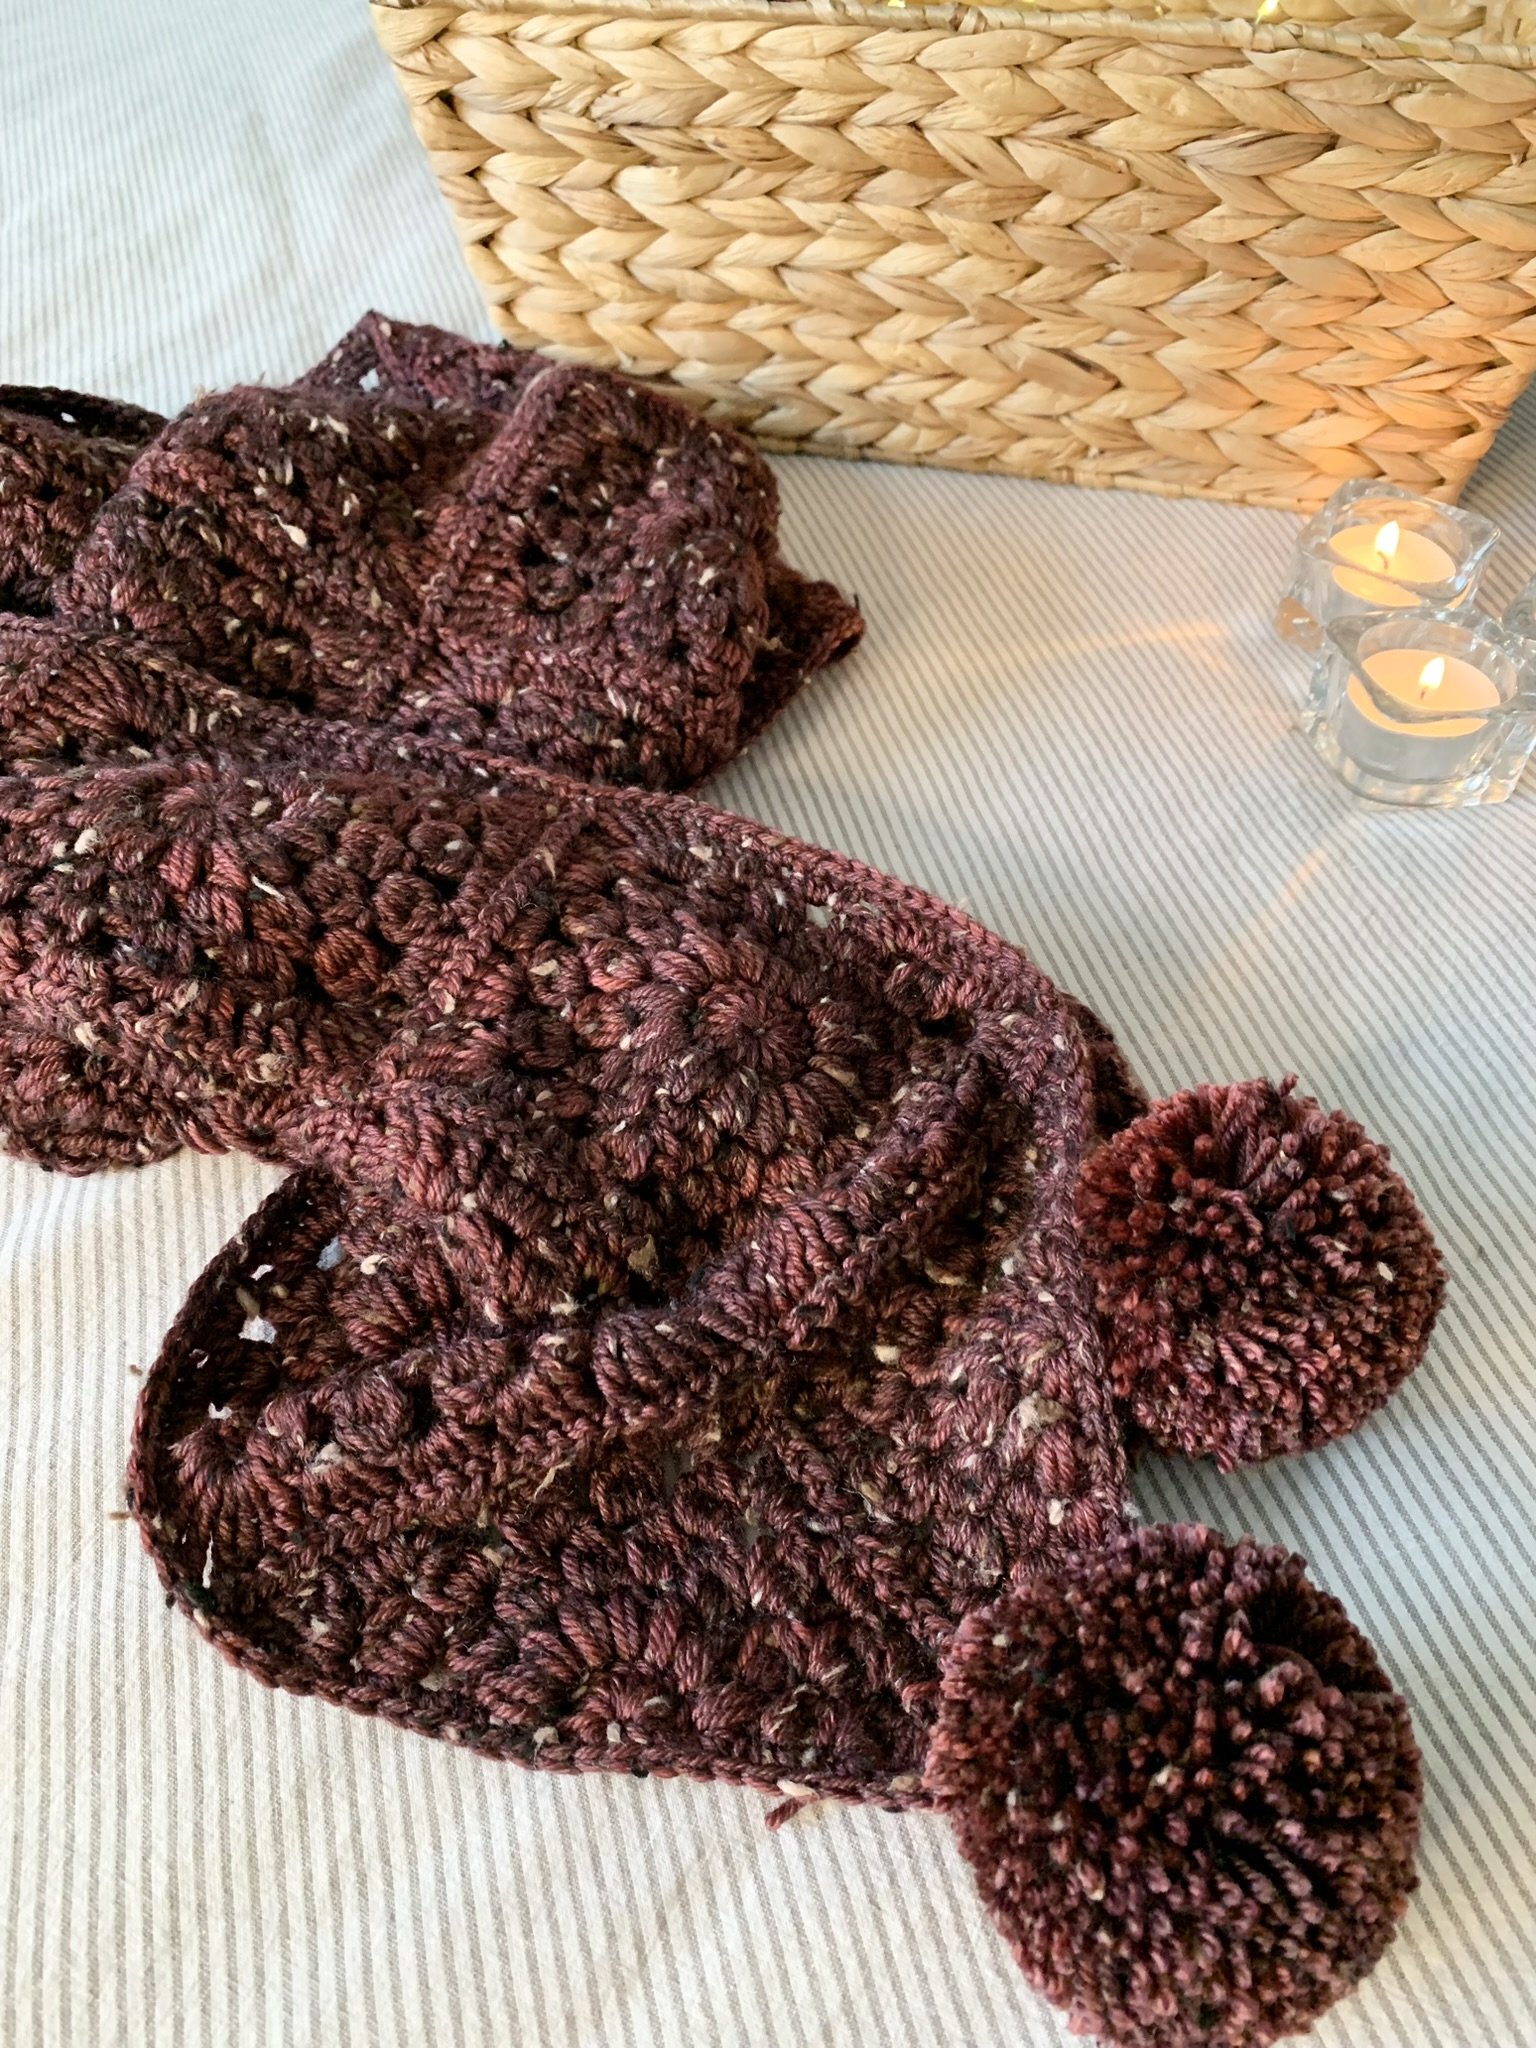
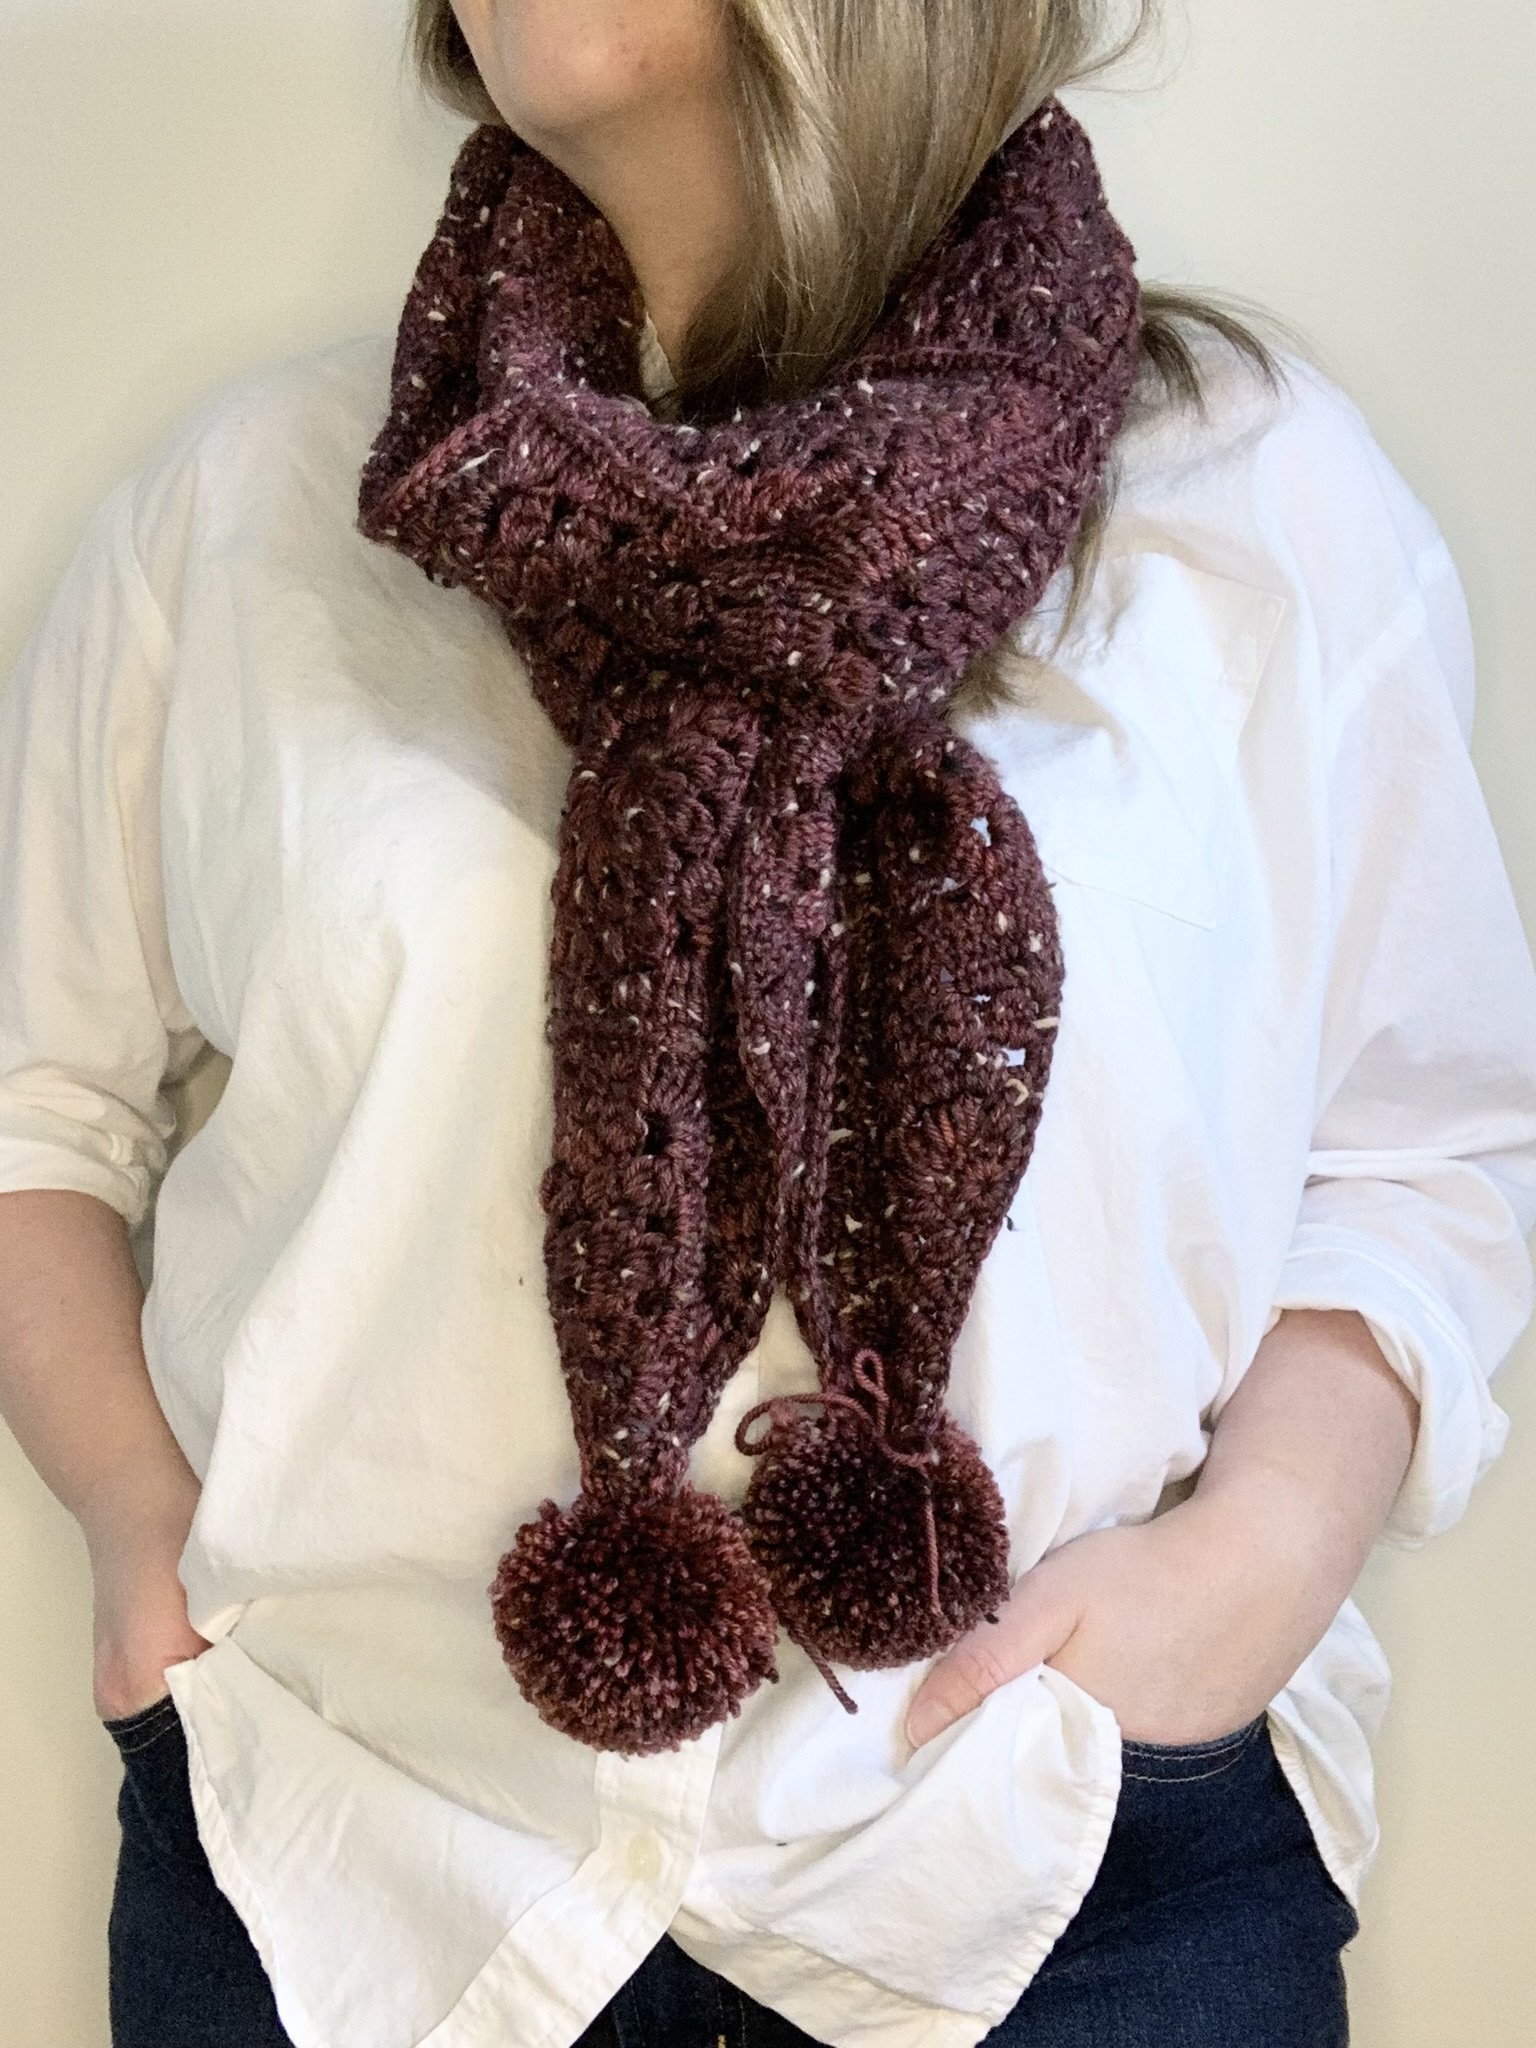
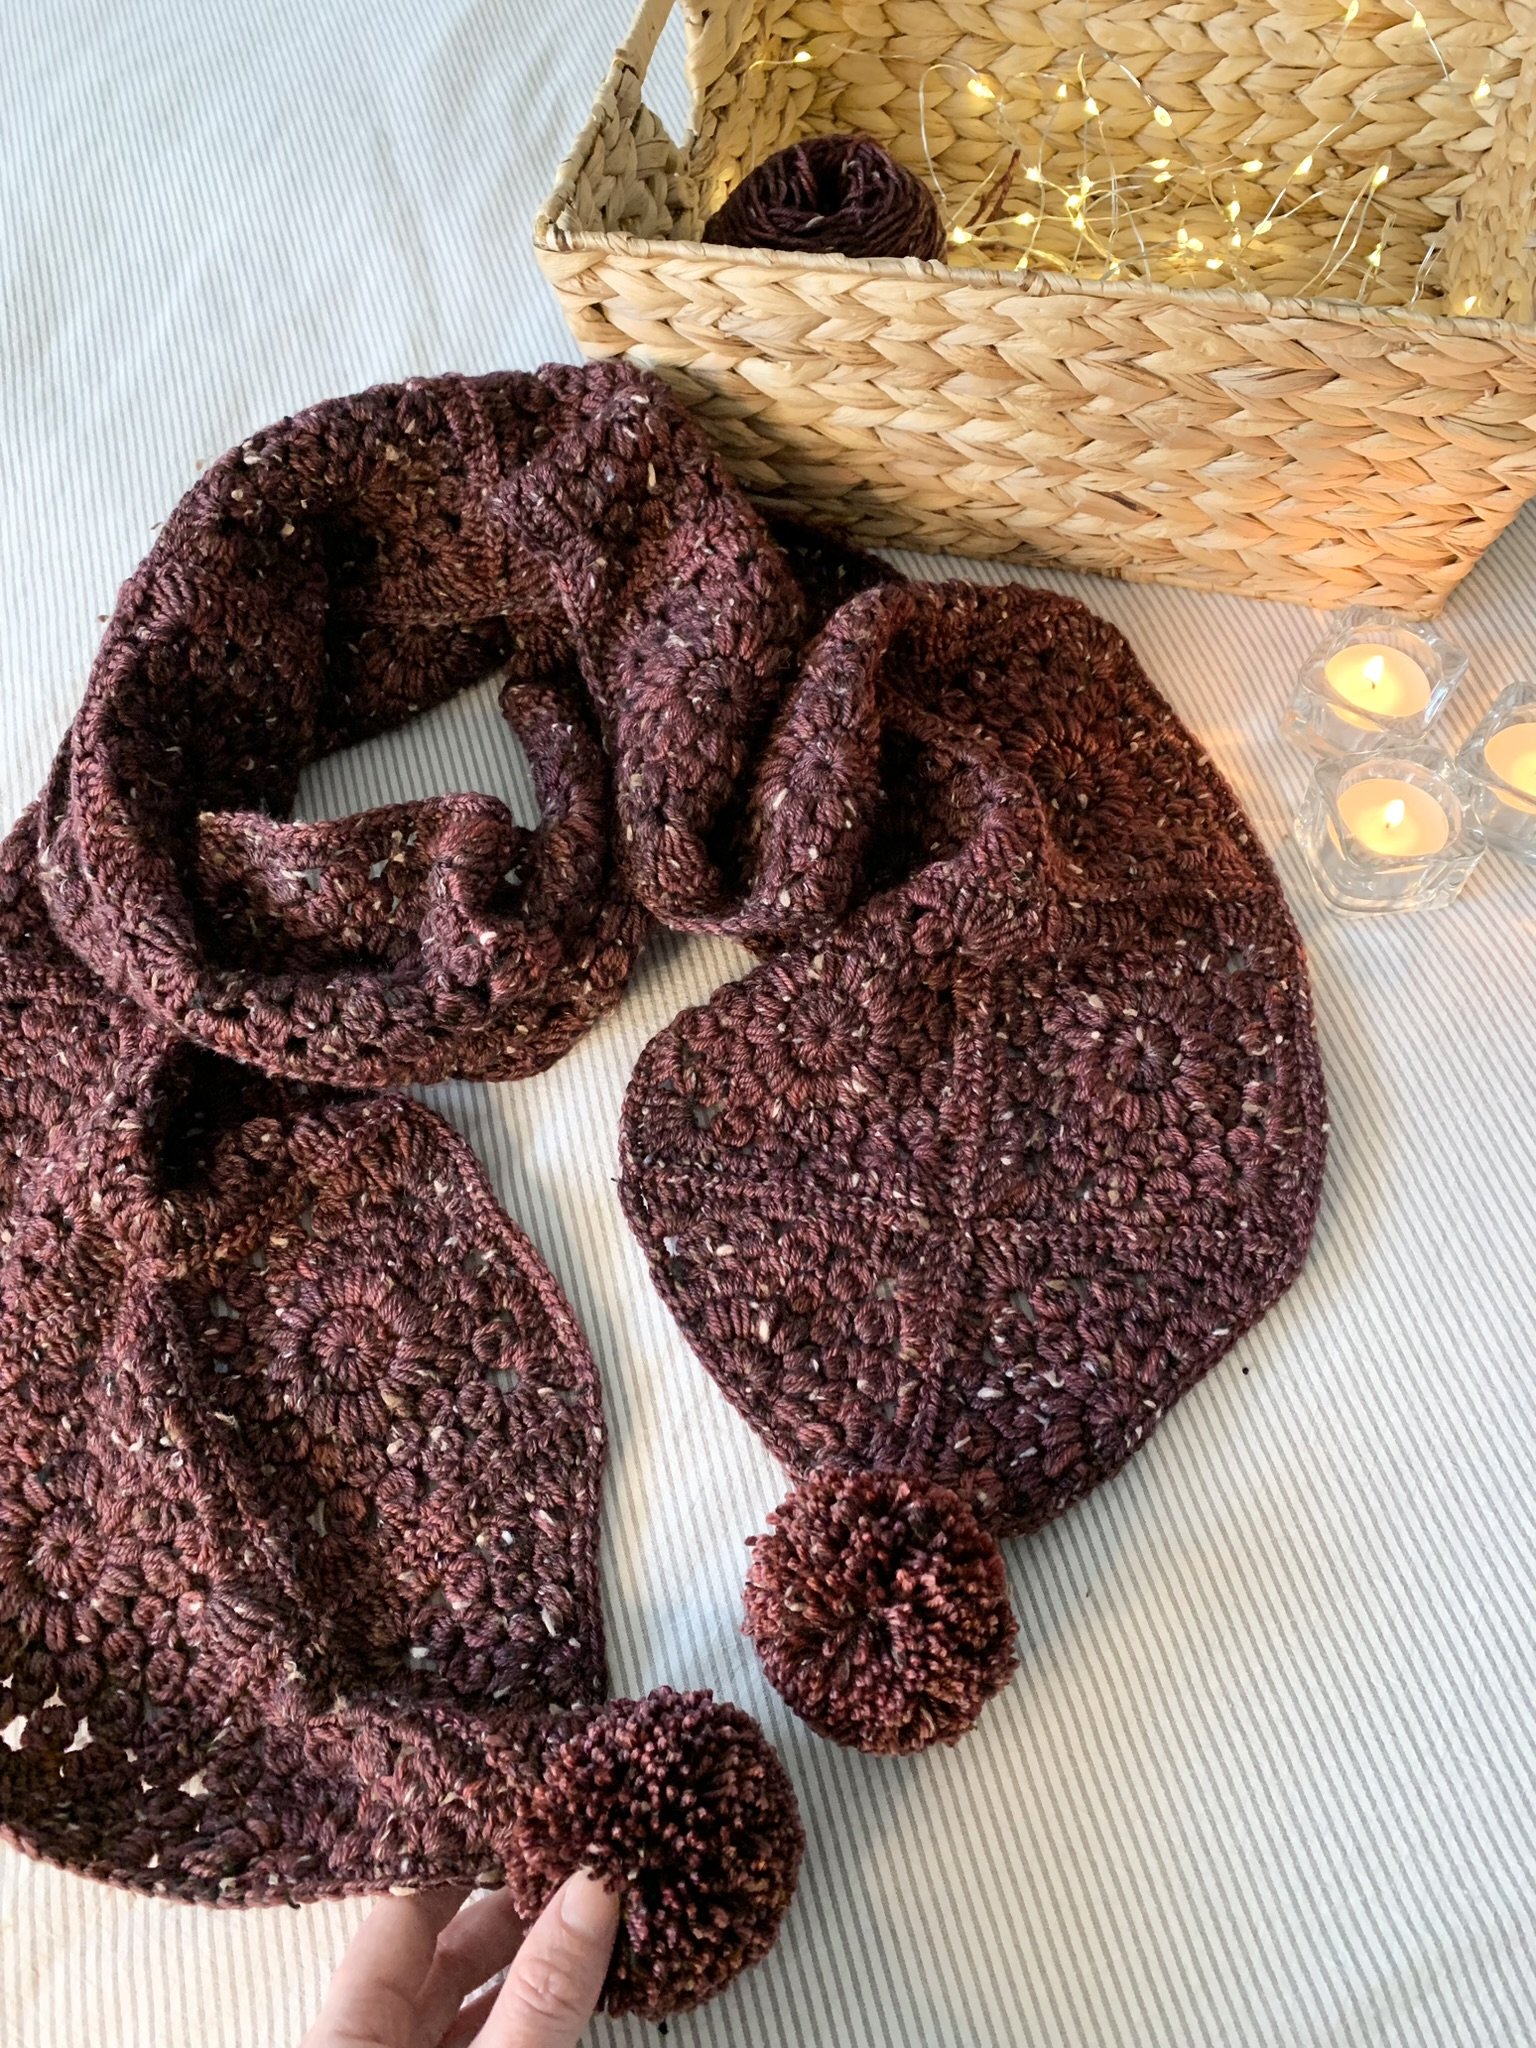
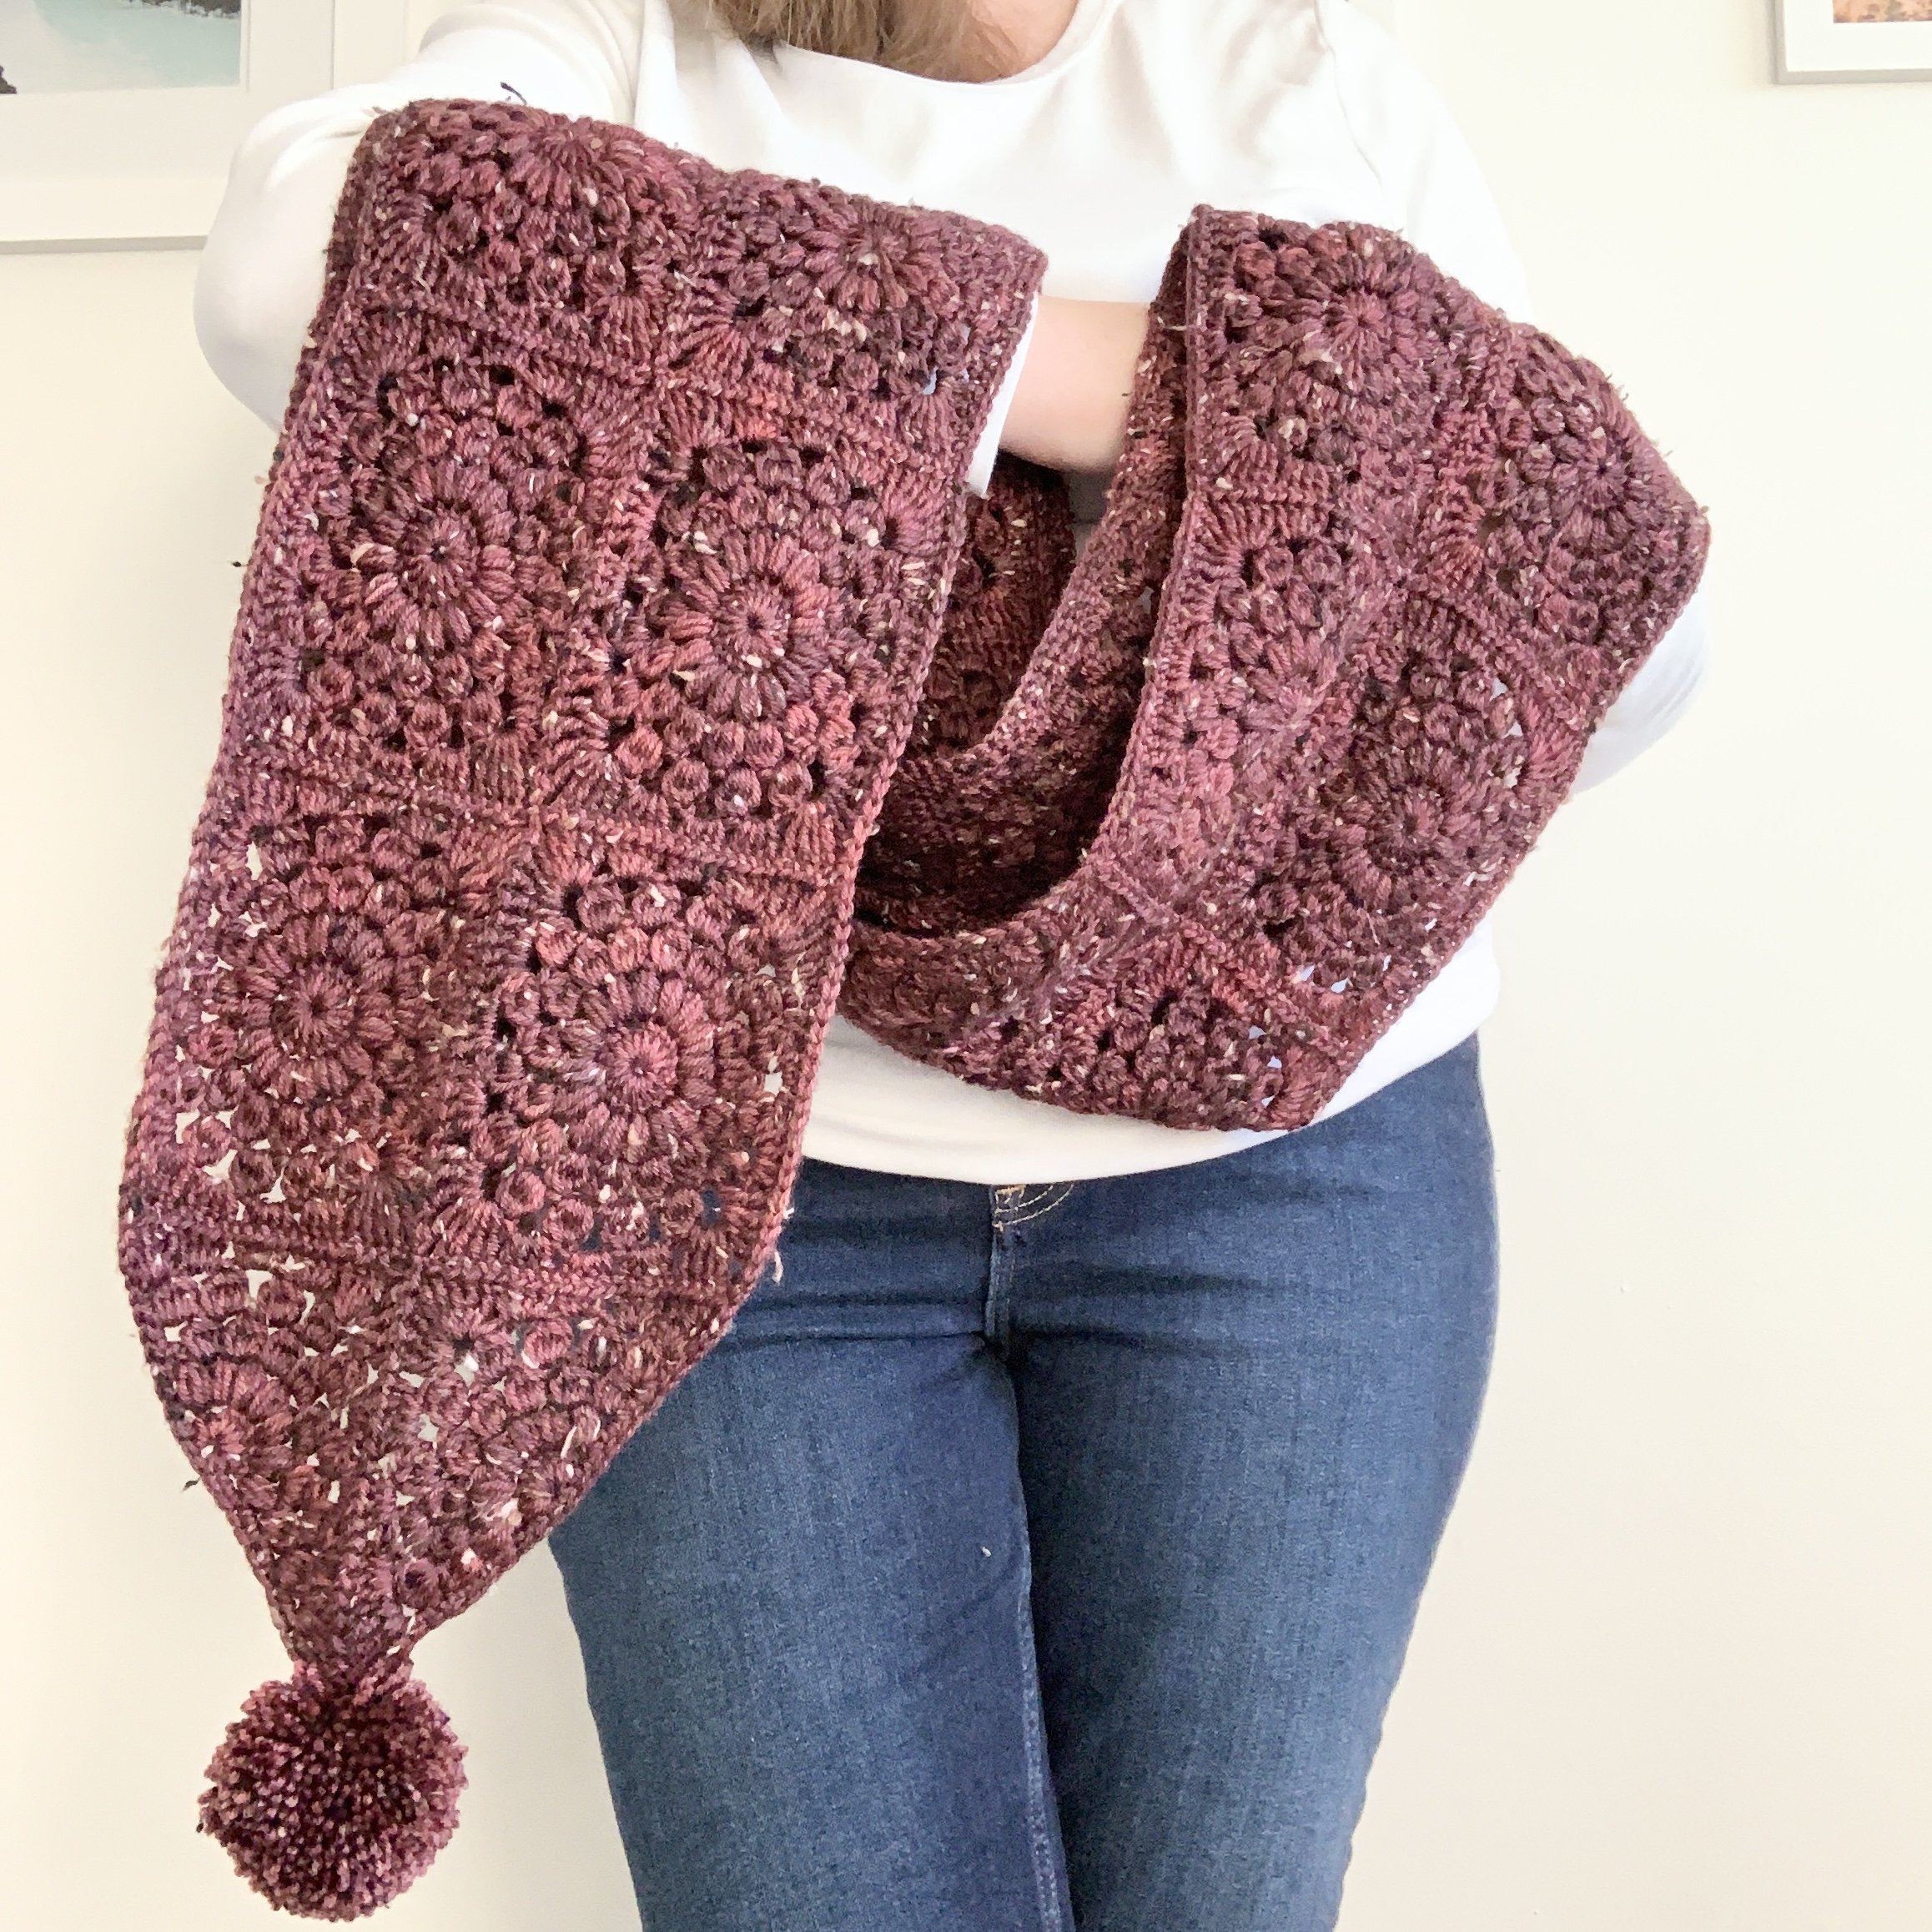
When I started thinking about making another Island Time Shawl….I knew I wanted it to be a bit smaller (and more wearable with a heavy winter coat), solid coloured and well….I quickly realized I didn’t want a shawl. What I wanted, was a scarf! Hence, the last free pattern of the year: The Island Time Scarf Pattern. It’s wide enough for full coverage, long enough to wrap twice, and finished off with the sweetest triangular bottom and pom. It’s all about the details :) I chose to make mine monochrome—but the colour options are endless. It’s definitely a pattern I’ll be coming back to again and again.
So, grab your favourite DK weight yarn and lets get started!!
L, M
ps. If you want the ad-free, printable PDF of the pattern you can grab one in my Ravelry or Etsy:

Notions
US 4.50 mm (size 7) crochet hook
Needle for weaving in ends
Scissors
Pom-pom maker (optional)
Yarn
The Creative Knitter Rustic DK, 85% SW Merino, 15% Donegal Nep (231yds/100g):
Poinsettia (1016yds/440g) 5 skeins
Any DK weight yarn will work (as long as gauge is met). Here are some of my favourite alternatives:
WeCrochet City Tweed DK- a merino/alpaca blend with the most gorgeous tweed colours!
WeCrochet Swish DK -it’s a 100% SW merino that is delightful!
WeCrochet CotLin- a DK weight cotton linen blend
WeCrochet Capra DK- a merino/cashmere blend in the most gorgeous colours.
WeCrochet Gloss DK- a merino/silk blend in really gorgeous colours similar to the Capra above.
Gauge
Large Sunburst (4 rnds)= 4” (unblocked)
Finished Size
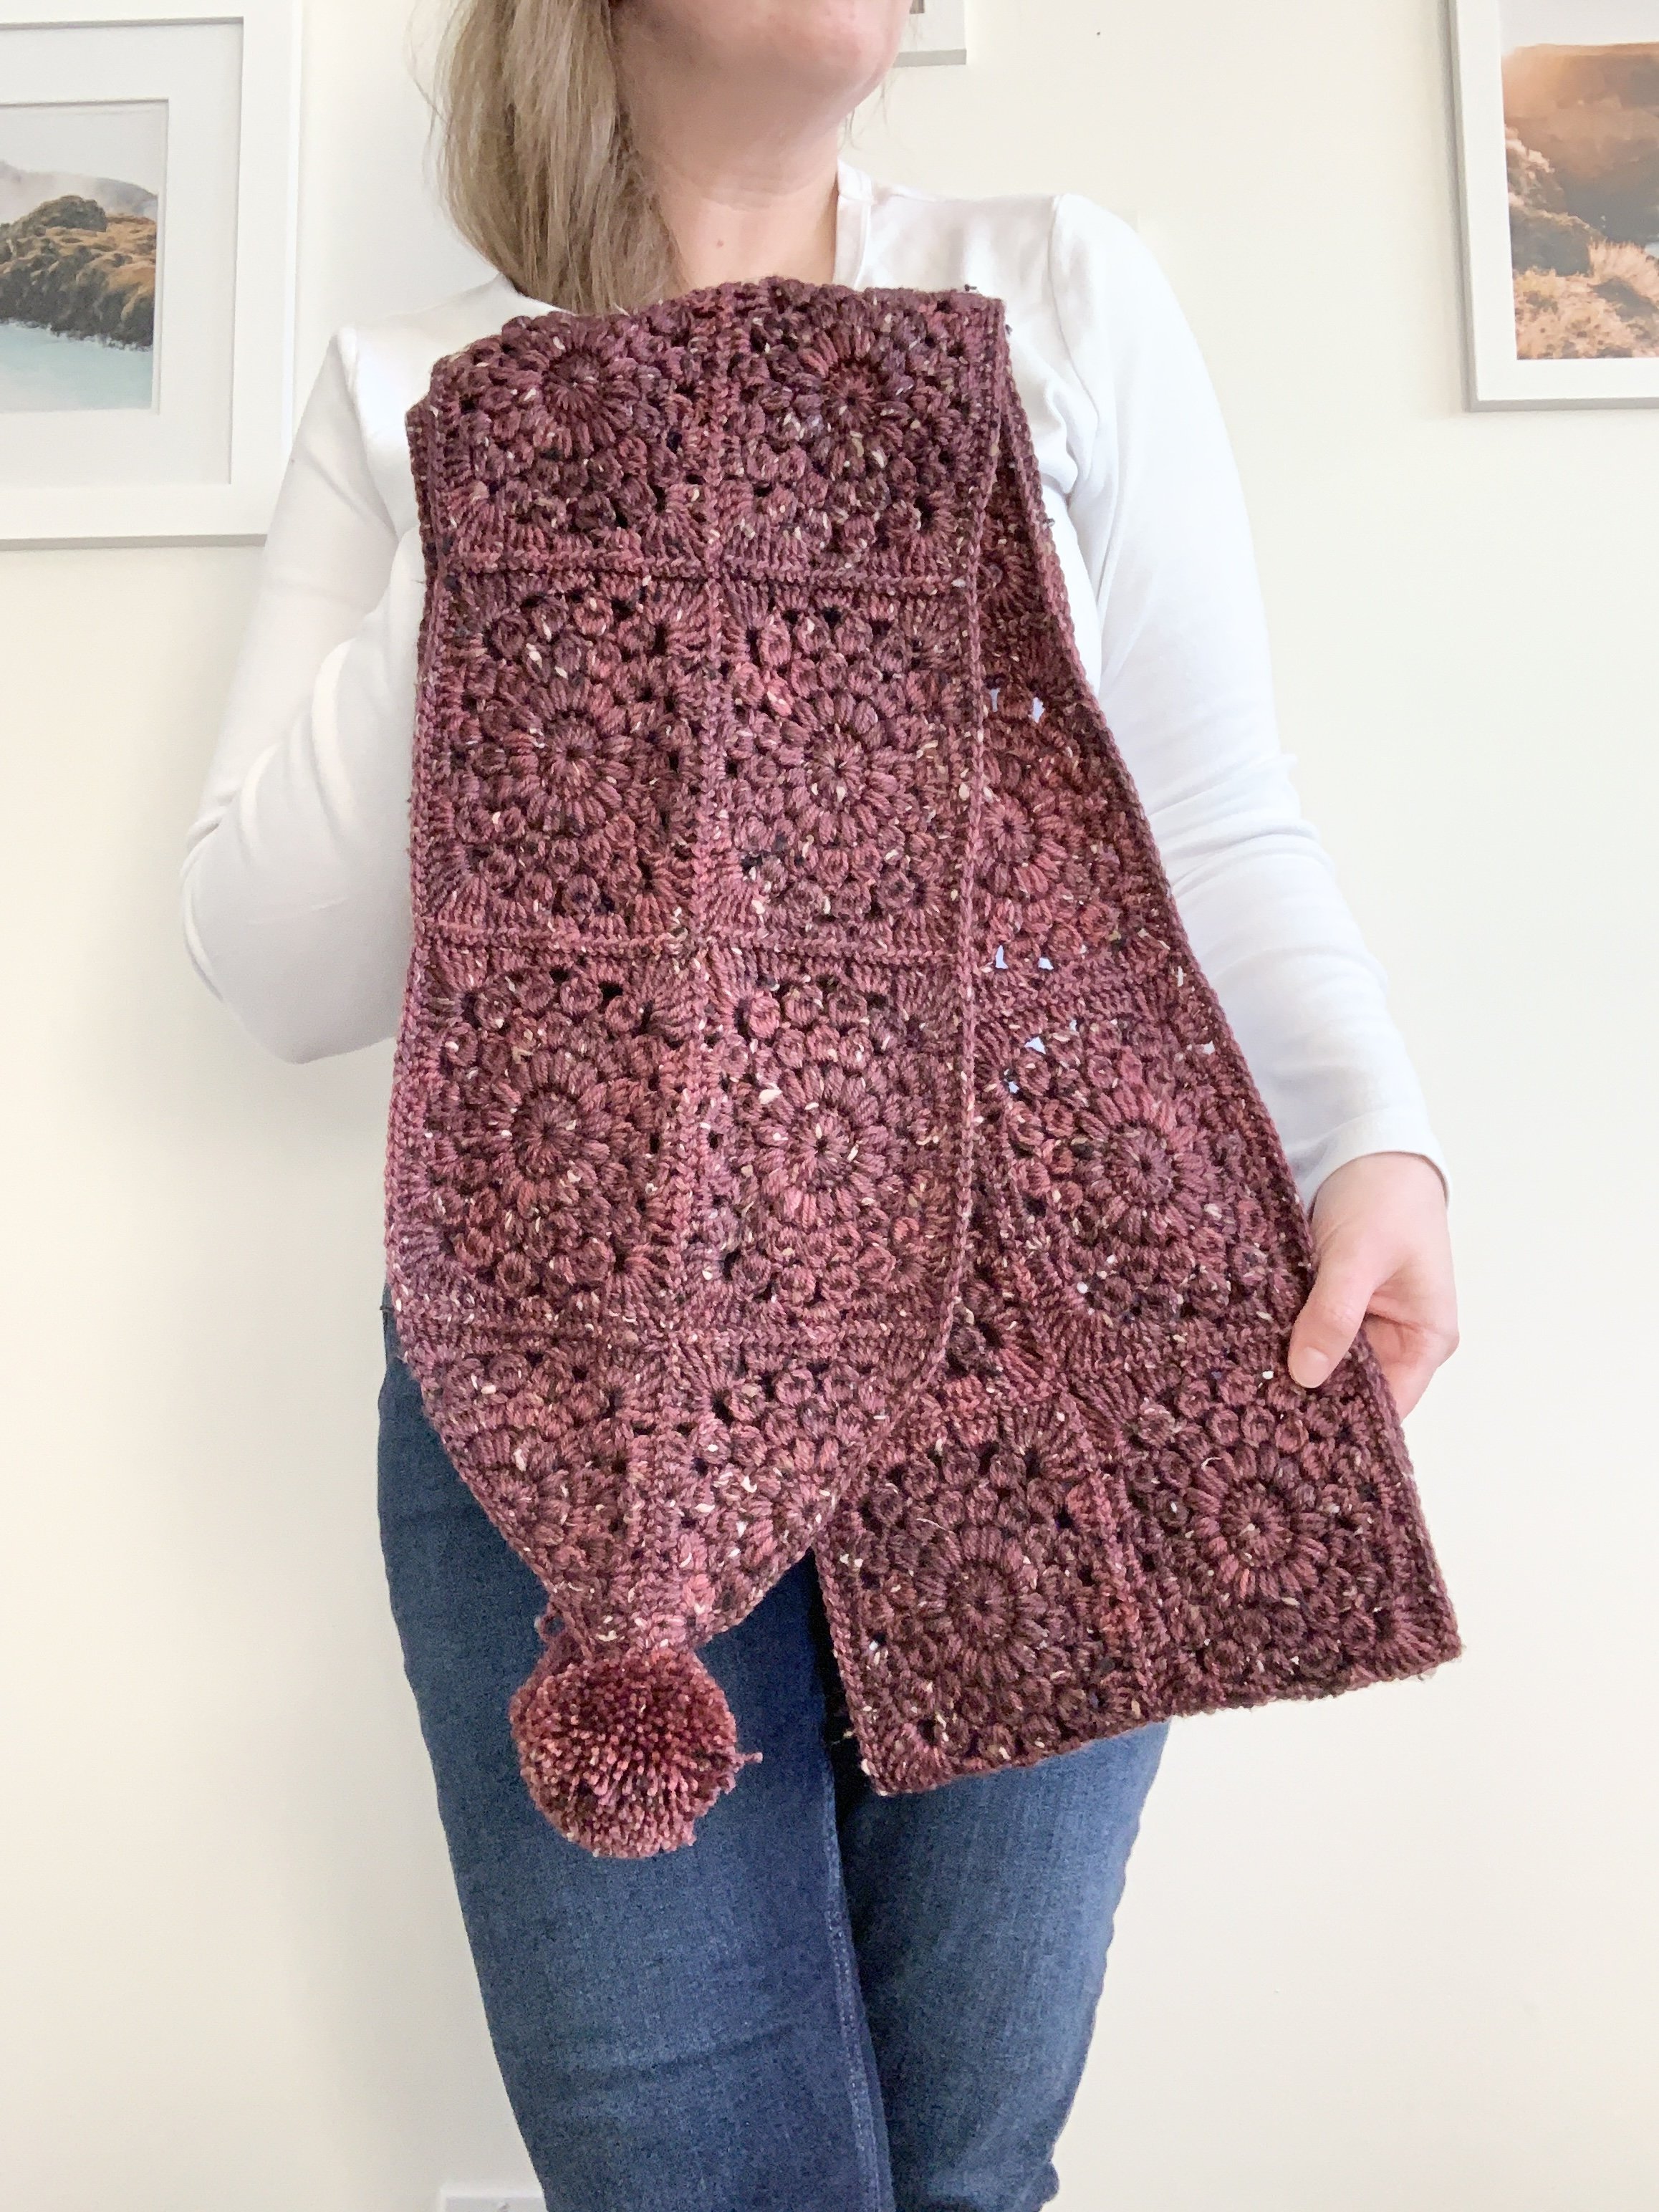
85” x 9” (Blocked)
Glossary (using US Crochet Terminology)
st(s)- stitch(es)
ch- chain
ch-sp- chain space
sl st- slip stitch
SC- single crochet
HDC- half double crochet
DC- double crochet
tr- treble crochet
YO- yarn over
rnd- round
JAYG- join as you go
CJAYG- continuous join-as-you-go
cl st(s)- cluster stitch(es)
4 DC cl– 4 double crochet cluster stitch
5 DC cl- 5 double crochet cluster stitch
puff- puff stitch

How to puff stitch (puff): YO and insert hook into st, YO and pull up a loop (pull up to about the height of a DC). Repeat this 2 more times. There should be 7 loops on your hook. YO and pull through all 7 loops.
How to 4 DC cl: YO and insert hook into sp, YO and pull up a loop, YO and pull through 2. Repeat this 3 more times. There should be 5 loops on the hook. YO and pull through all 5 loops.
How to 5 DC cl: YO and insert hook into sp, YO and pull up a loop, YO and pull through 2. Repeat this 4 more times. There should be 6 loops on the hook. YO and pull through all 6 loops.
Pattern Notes
Gauge is important! Please adjust hook size to meet gauge of pattern.
In some cases, the video tutorials have been used for other patterns. Please follow the yarn recommendations, hook size and stitch counts in the written pattern- the videos are only meant as visual guides.
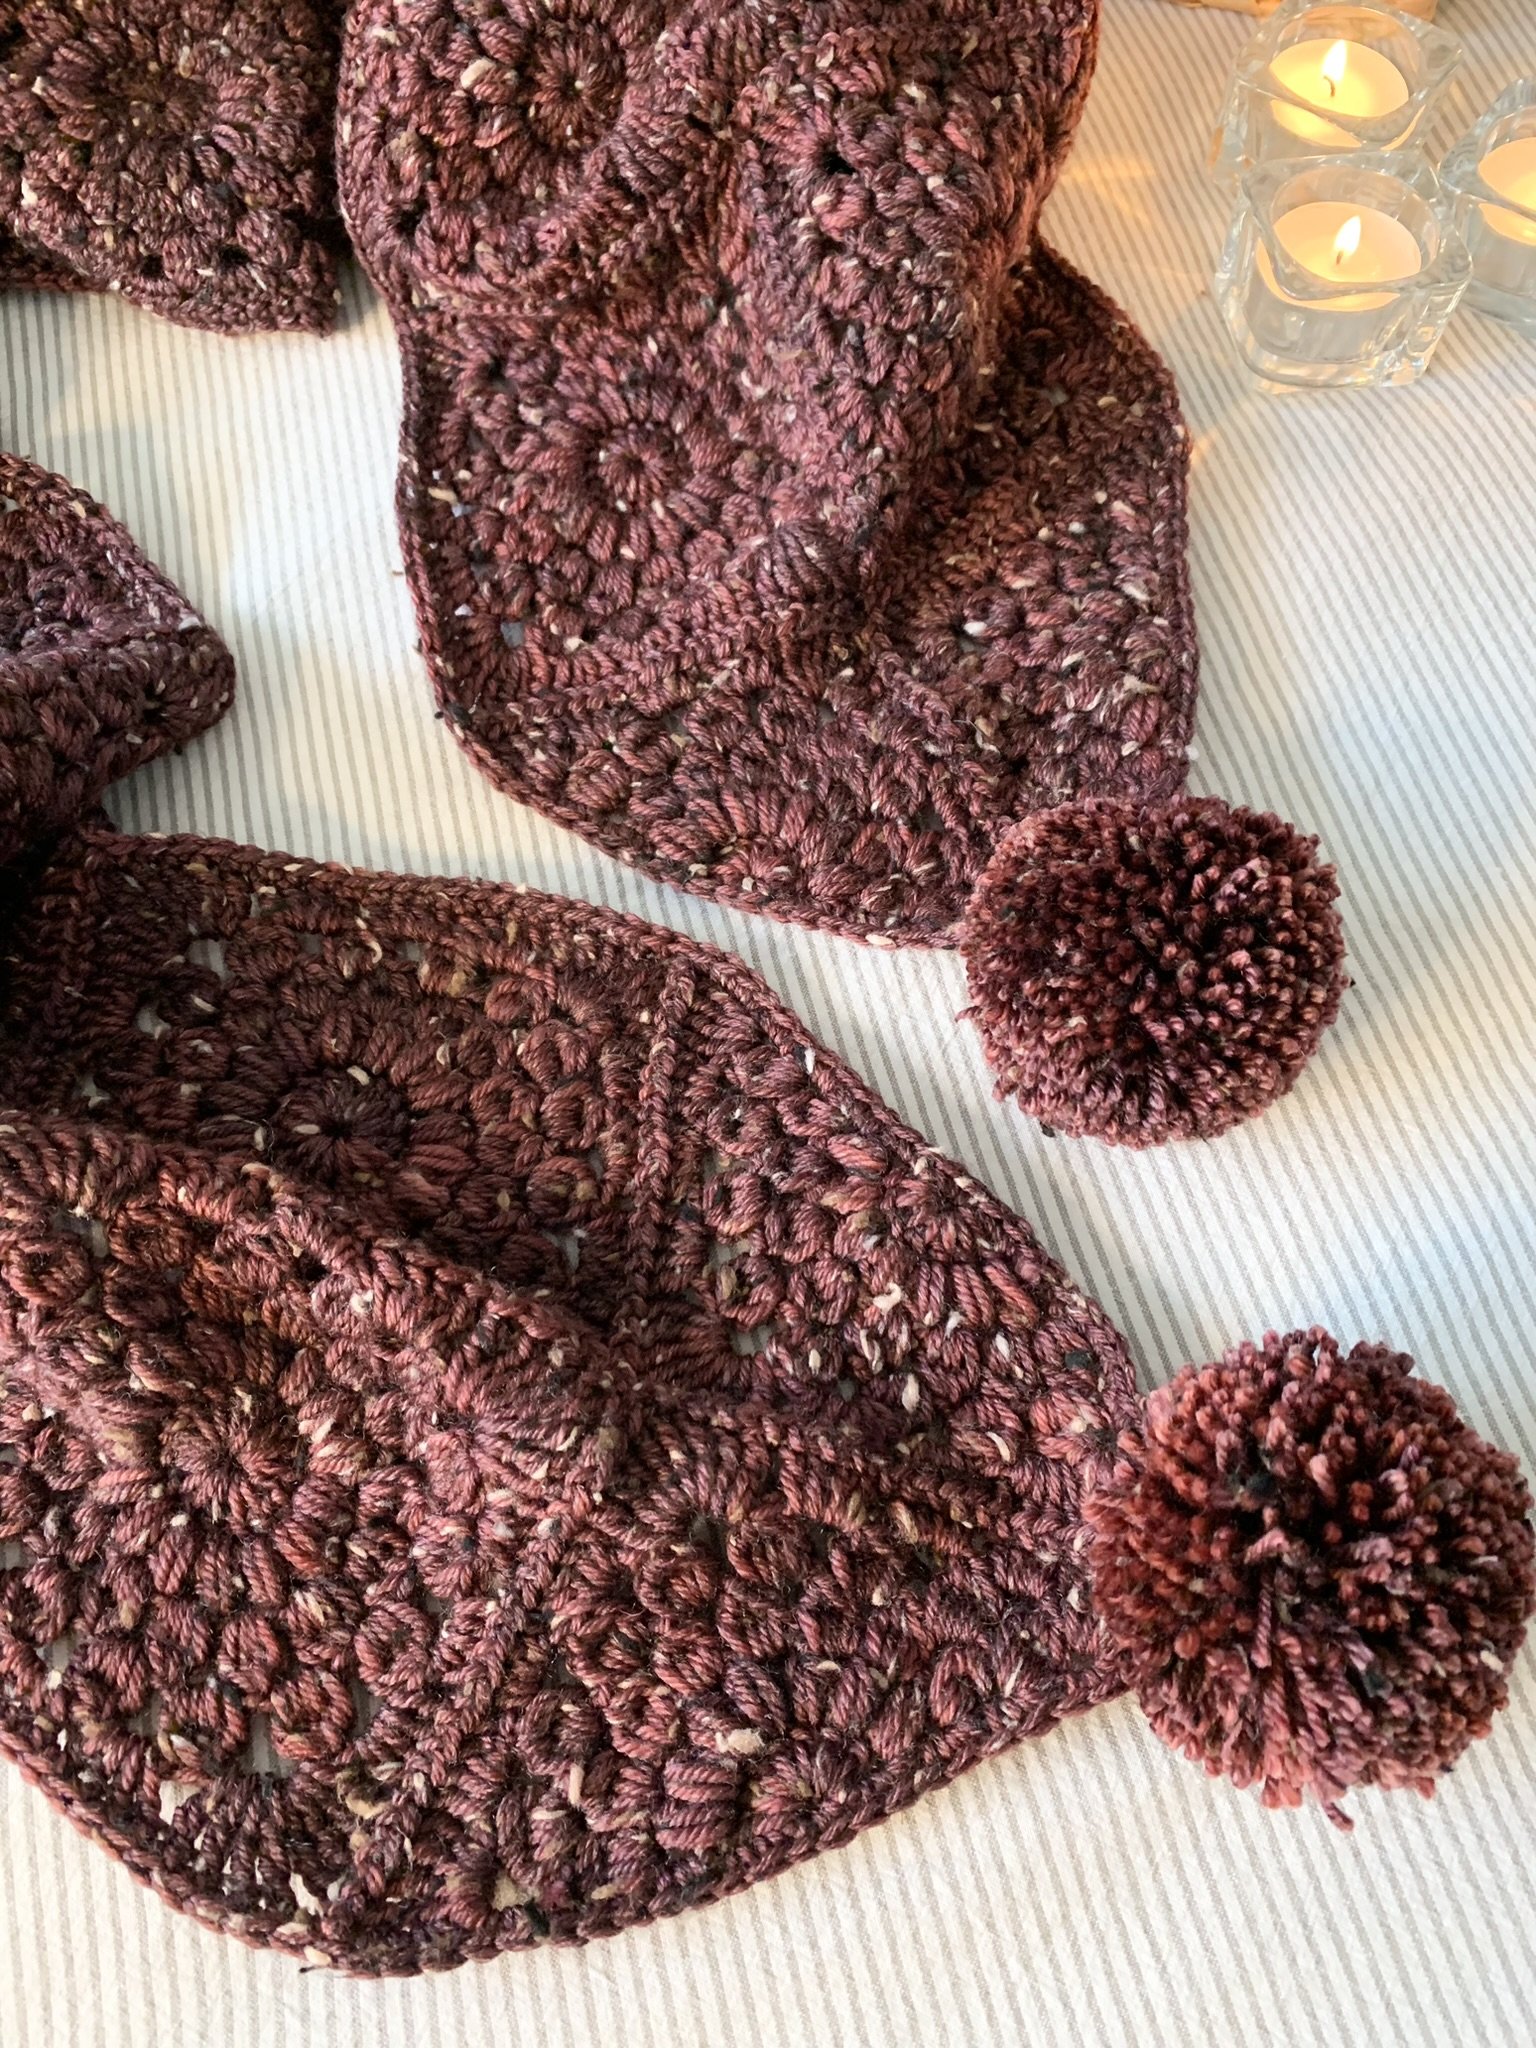
Shawl is constructed using CJAYG-where each sunburst is turned into a square while attaching to the previous square. Once the body of the scarf is complete, the sunburst triangles are attached to each end.
IF you wish to join using a different method-please note you will require more yarn.
Pattern is easily customizable! You can make it as big or as small as you like, by adding or subtracting sunbursts to the length.
Please note, the Large Sunbursts are worked (and written) as a solid-coloured motif. If you choose to make multi-coloured, please fasten off at the end of each rnd and join new colour for the next rnd.
The pattern is written and made as a solid coloured scarf. For those who wish to make centres with a different coloured background: you’ll need 3 skeins for the centres and 2 skeins to join the scarf.
I made two pom-poms for the ends of my scarf. Each pom pom weighed about 15g. I attach mine with a bow for ease of removal when washing.
Don’t forget to share your makes on Instagram and Facebook! I always love seeing what you have all worked up. Tag me on Instagram @nautikrallcrochet or Facebook @nautikrall_crochet, or use the hashtag: #islandtimescarf
Schematic


Pattern Large Sunburst Granny Square:
Make 28 sunbursts.
Rnd 1
Ch 5, sl st into 5th chain from hook to create centre ring.
Ch 2 (counts as first DC).
Work 15 DC into centre of ring (16 sts).
Join with sl st to the top of the first DC (not the ch-2).
Do not fasten off.
Rnd 2
Ch 1, puff into same st, ch 1.
[Puff, ch 1] into each st around (16 puffs).
Sl st into the ch-1 sp between the first two puff sts (not into the top of the first puff st).
Do not fasten off.

Rnd 3
Ch 2, into same sp work a [4 DC cl, ch 2].
Work [4 DC cl, ch 2] into each ch-1 sp around (16 cl sts).
Sl st into the ch-2 sp between the first two cls (not into the top of the cl st).
Do not fasten off.
Rnd 4
Ch 2, into the same sp work a [5 DC cl, ch 3].
Work [5 DC cl, ch 3] into each ch-2 sp around (16 cl sts).
Sl st into the ch-3 sp between the first two cl sts (not into the top of the first cluster st).
Fasten off.
**Only Complete the following Round 5 IF you do NOT plan on using the CJAYG to join the motifs. Round 5 is written out for anyone who wishes to seam their squares together separately at the end of their project.
Rnd 5
Join yarn into any ch-3 sp, ch 3 (counts as first tr).
[3 tr, ch 2, 4 tr] into same sp (1st corner).
*4 DC into next ch-3 sp.
4 HDC into next ch-3 sp.
4 DC into next ch-3 sp.
[4 tr, ch 2, 4 tr] into next ch-3 sp.*
Repeat from * to * 2 more times.
4 DC into next ch-3 sp.
4 HDC into next ch-3 sp.
4 DC into next ch-3 sp.
Join rnd with sl st into top of first tr (not the ch-3).
Fasten off.
**Please see video tutorial below for how to crochet the Large Sunburst Granny Square (NOTE: The 5th round is different in the video tutorial—I’ve added 1 extra DC to the granny shells for this scarf pattern):

Assembling Large Sunbursts with CYAJG:
- With RS of all sunbursts, start in the top right corner of scarf.
- Using the video tutorial below; CJAYG the large sunburst centres as per the schematic above.
Example: Join sunbursts from square 14 across to 1 and join the second row from square 28 across to 15.
***Please see the YouTube video tutorial for how to CJAYG Large Sunbursts:

Pattern Large Sunburst Granny Triangle:
Make 4 half sunbursts.
Rnd 1
Ch 4, sl st into 4th ch from hook to create centre ring.
Ch 3 (counts as first DC), 8 DC into centre ring (9 sts).
Fasten off.
Rnd 2
Join yarn at right side of work (between ch-3 and first DC).
Ch 3, [puff and ch 1] into next 7 DC sts (7 puff sts).
DC into last st.
Fasten off.

Rnd 3
Join yarn at right side of work (between ch-3 and first puff st).
Ch 3, into same sp work a [4 DC cl, ch 2].
Into each ch-1 sp work [4 DC cl, ch 2] 6 times (7 cl sts).
Work a [4 DC cl] into sp between last puff and DC, ch 1 (8 cl sts).
DC into last DC st.
Fasten off.
Rnd 4
Join yarn at right side of work (between ch-3 and first cl st).
Ch 4, into same sp work a [5 DC cl, ch 3].
Into each ch-2 sp work [5 DC cl, ch 3] 6 times (7 cl sts).
Work a [5 DC cl] into next ch-2 sp, ch 1 (8 cl sts).
DC into last DC st.
Fasten off.
**Only Complete the following Round 5 IF you do NOT plan on using the JAYG to join the half sunbursts. Round 5 is written out for anyone who wishes to seam their triangles together separately at the end of their project.
Rnd 5
Join yarn at right side of work (between ch-4 and first cl st).
Ch 4, 4 tr into same sp.
*4 DC into next ch-3 sp.
4 HDC into next ch-3 sp.
4 DC into next ch-3 sp.*
[4 tr, ch 2, 4 tr] into next ch-3 sp.
Repeat from * to * once.
5 tr into next ch-1 sp.
Fasten off.
**Please see video tutorial below for how to crochet the Large Sunburst Granny Triangle:

Assembling Half Sunburst Triangles (JAYG):
With RS of half sunbursts, use the JAYG tutorial below to attach two to each end of the scarf. Fast forward to time (38:55) to see how triangle sunbursts are joined.
***Please see the YouTube video tutorial below for the JAYG method of joining these half sunburst triangles:

Border
Rnd 1.
Join yarn in the top of any st and ch 1.
Work a SC into each st along the outer edge of scarf.
Where two squares meet, put 1 SC st into each corner.
Along the raw edge of the triangle sunbursts: put 3 SC sts in the ch-4 sps, put 2 SC in the ch-3 sps and put 2 SC into the centre ring.
To join rnd, sl st into top of the first SC st (not the ch-1).
Fasten off, weave in all ends.
Pom Poms
-Make two pom poms to attach to the ends of the scarf. I use a clover pom-pom maker for mine. Alternatively, you can make your own pom-poms with this tutorial: https://youtu.be/zok9hqyhTQ4?si=yj8F2AfFtYFetFn-
~The End~
The pattern, the photographs and video tutorials in this document are the property of Nautikrall Crochet. You may sell items you make from this pattern; but may not sell, reproduce, or distribute this pattern, in whole or in part, as your own.
Copyright © 2023 Nautikrall Crochet – All rights reserved.