Special Edition Basic Sunburst Pillow Pattern


This post contains affiliate links. Affiliate links cost you nothing, but when purchasing through these links you help me earn a small commission. This supports me and my family and my continued efforts to bring you free patterns.
Intro:
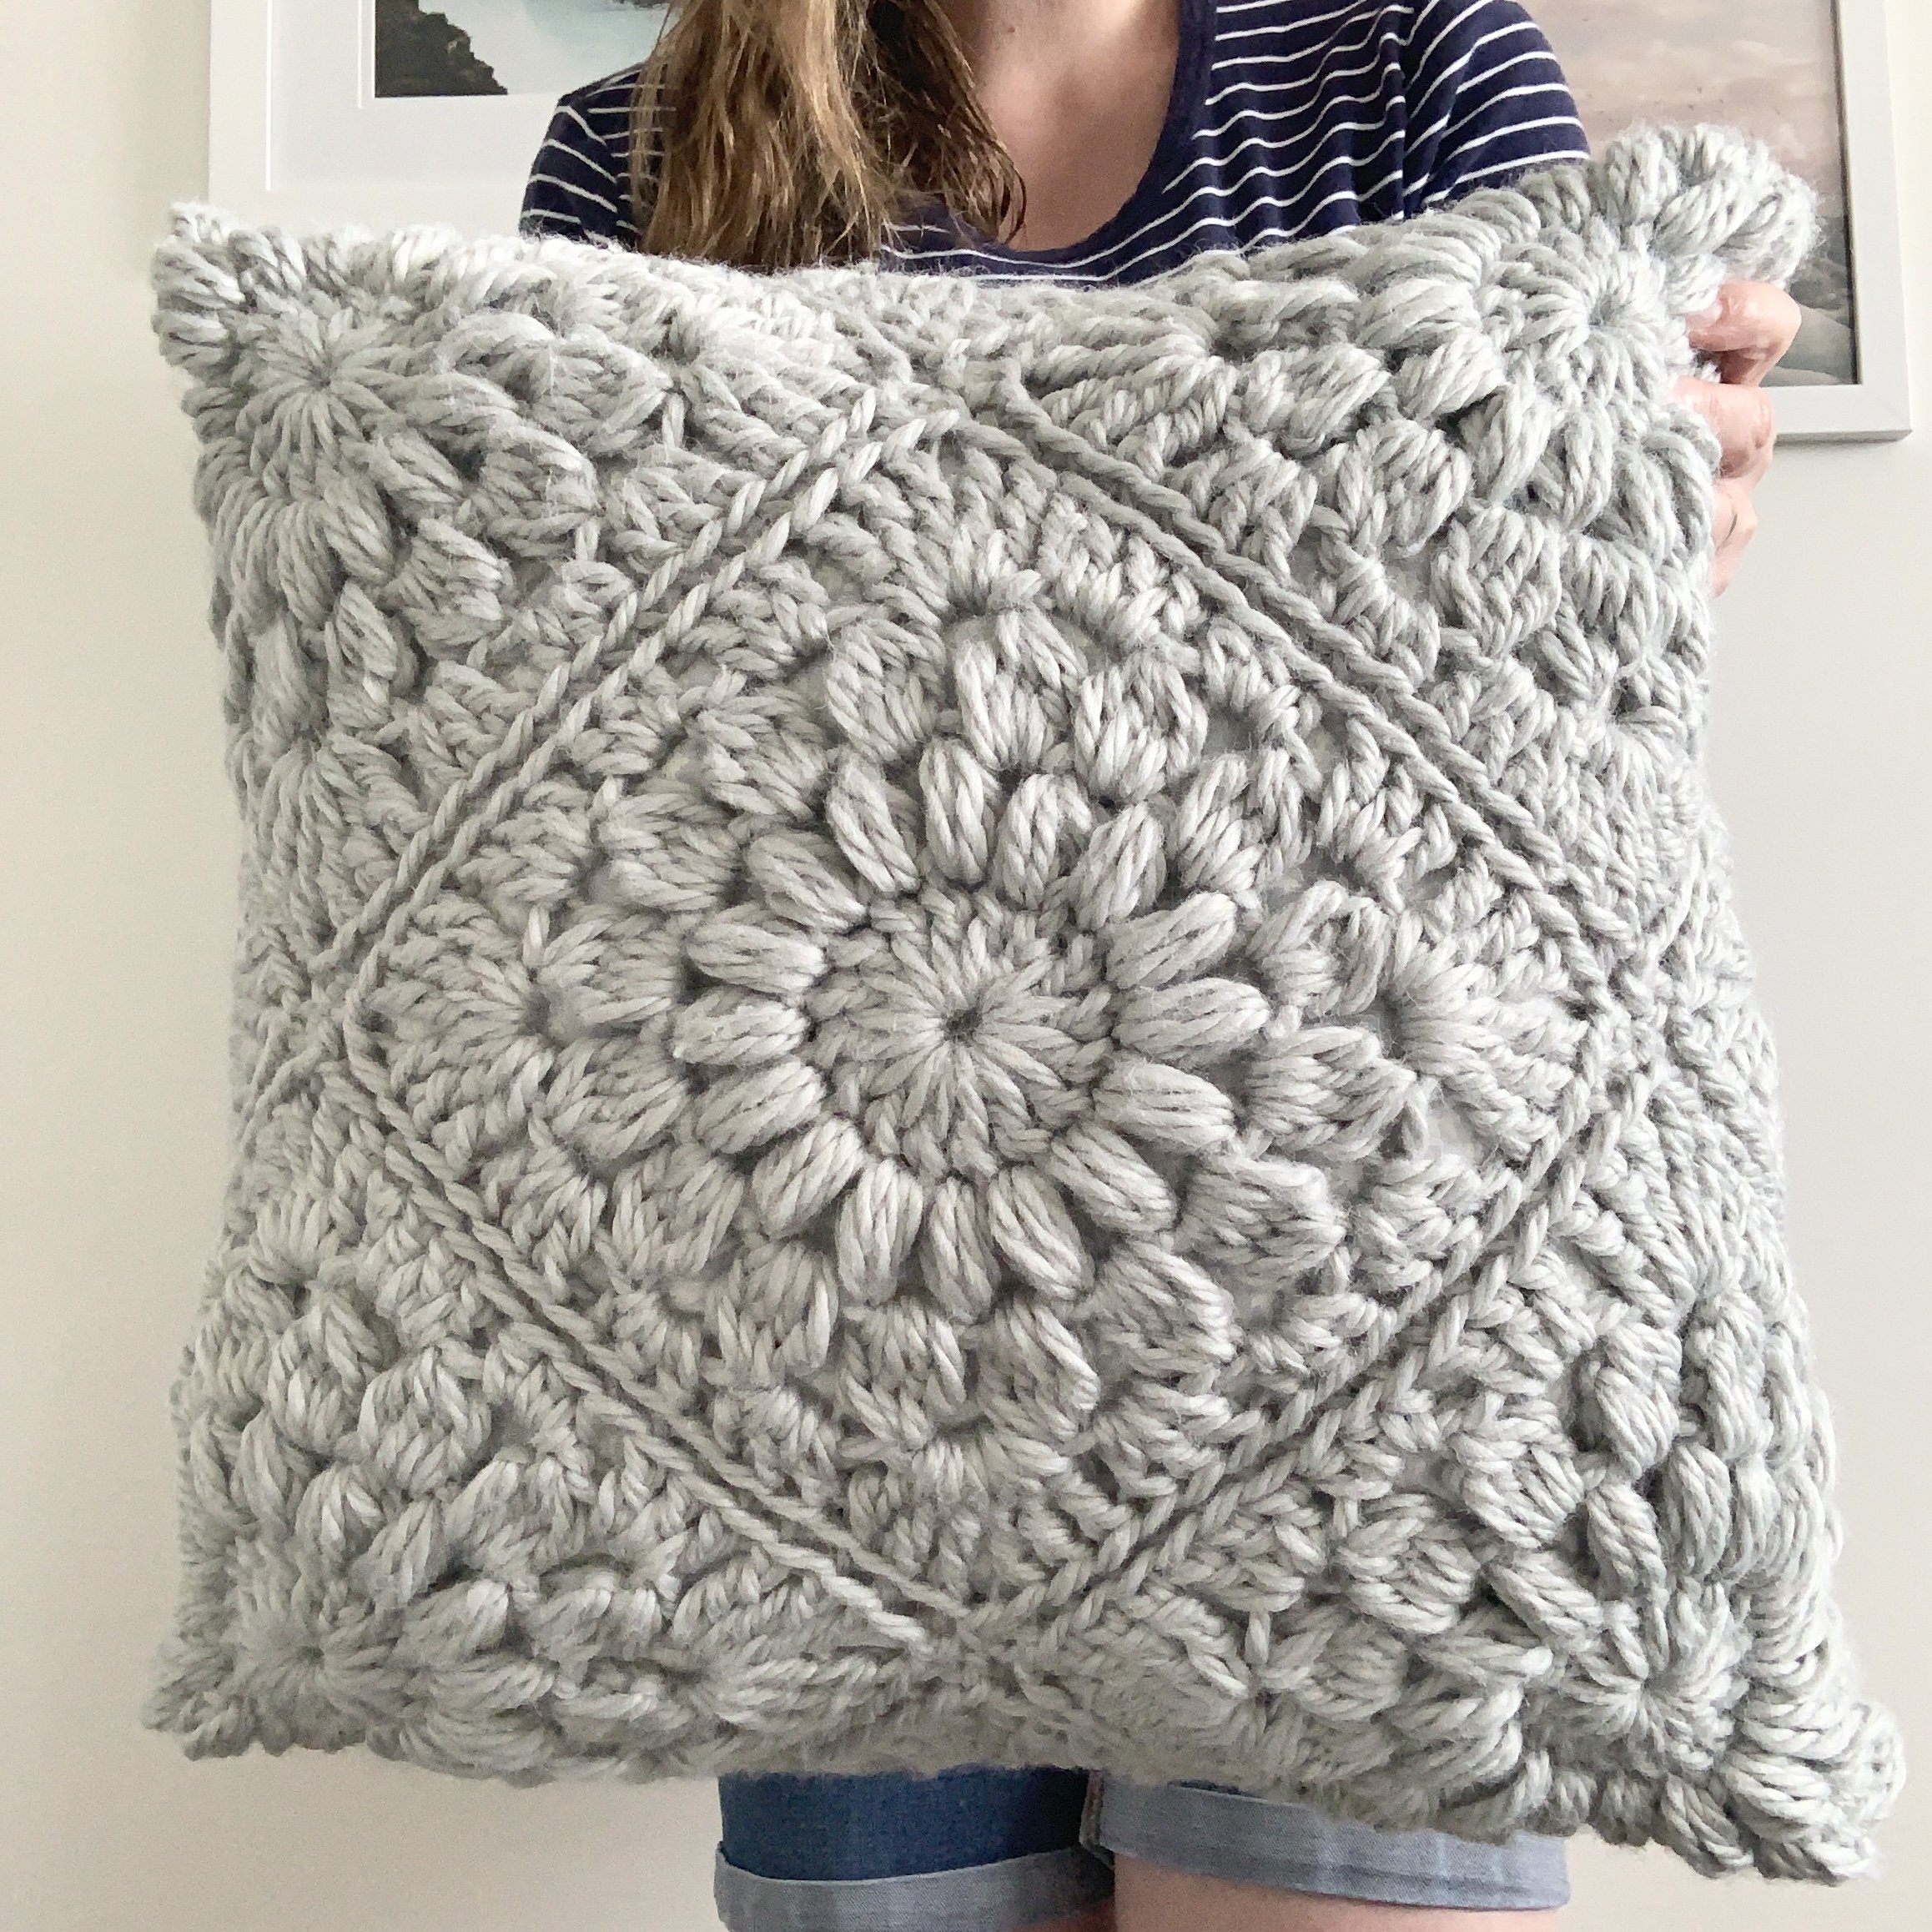
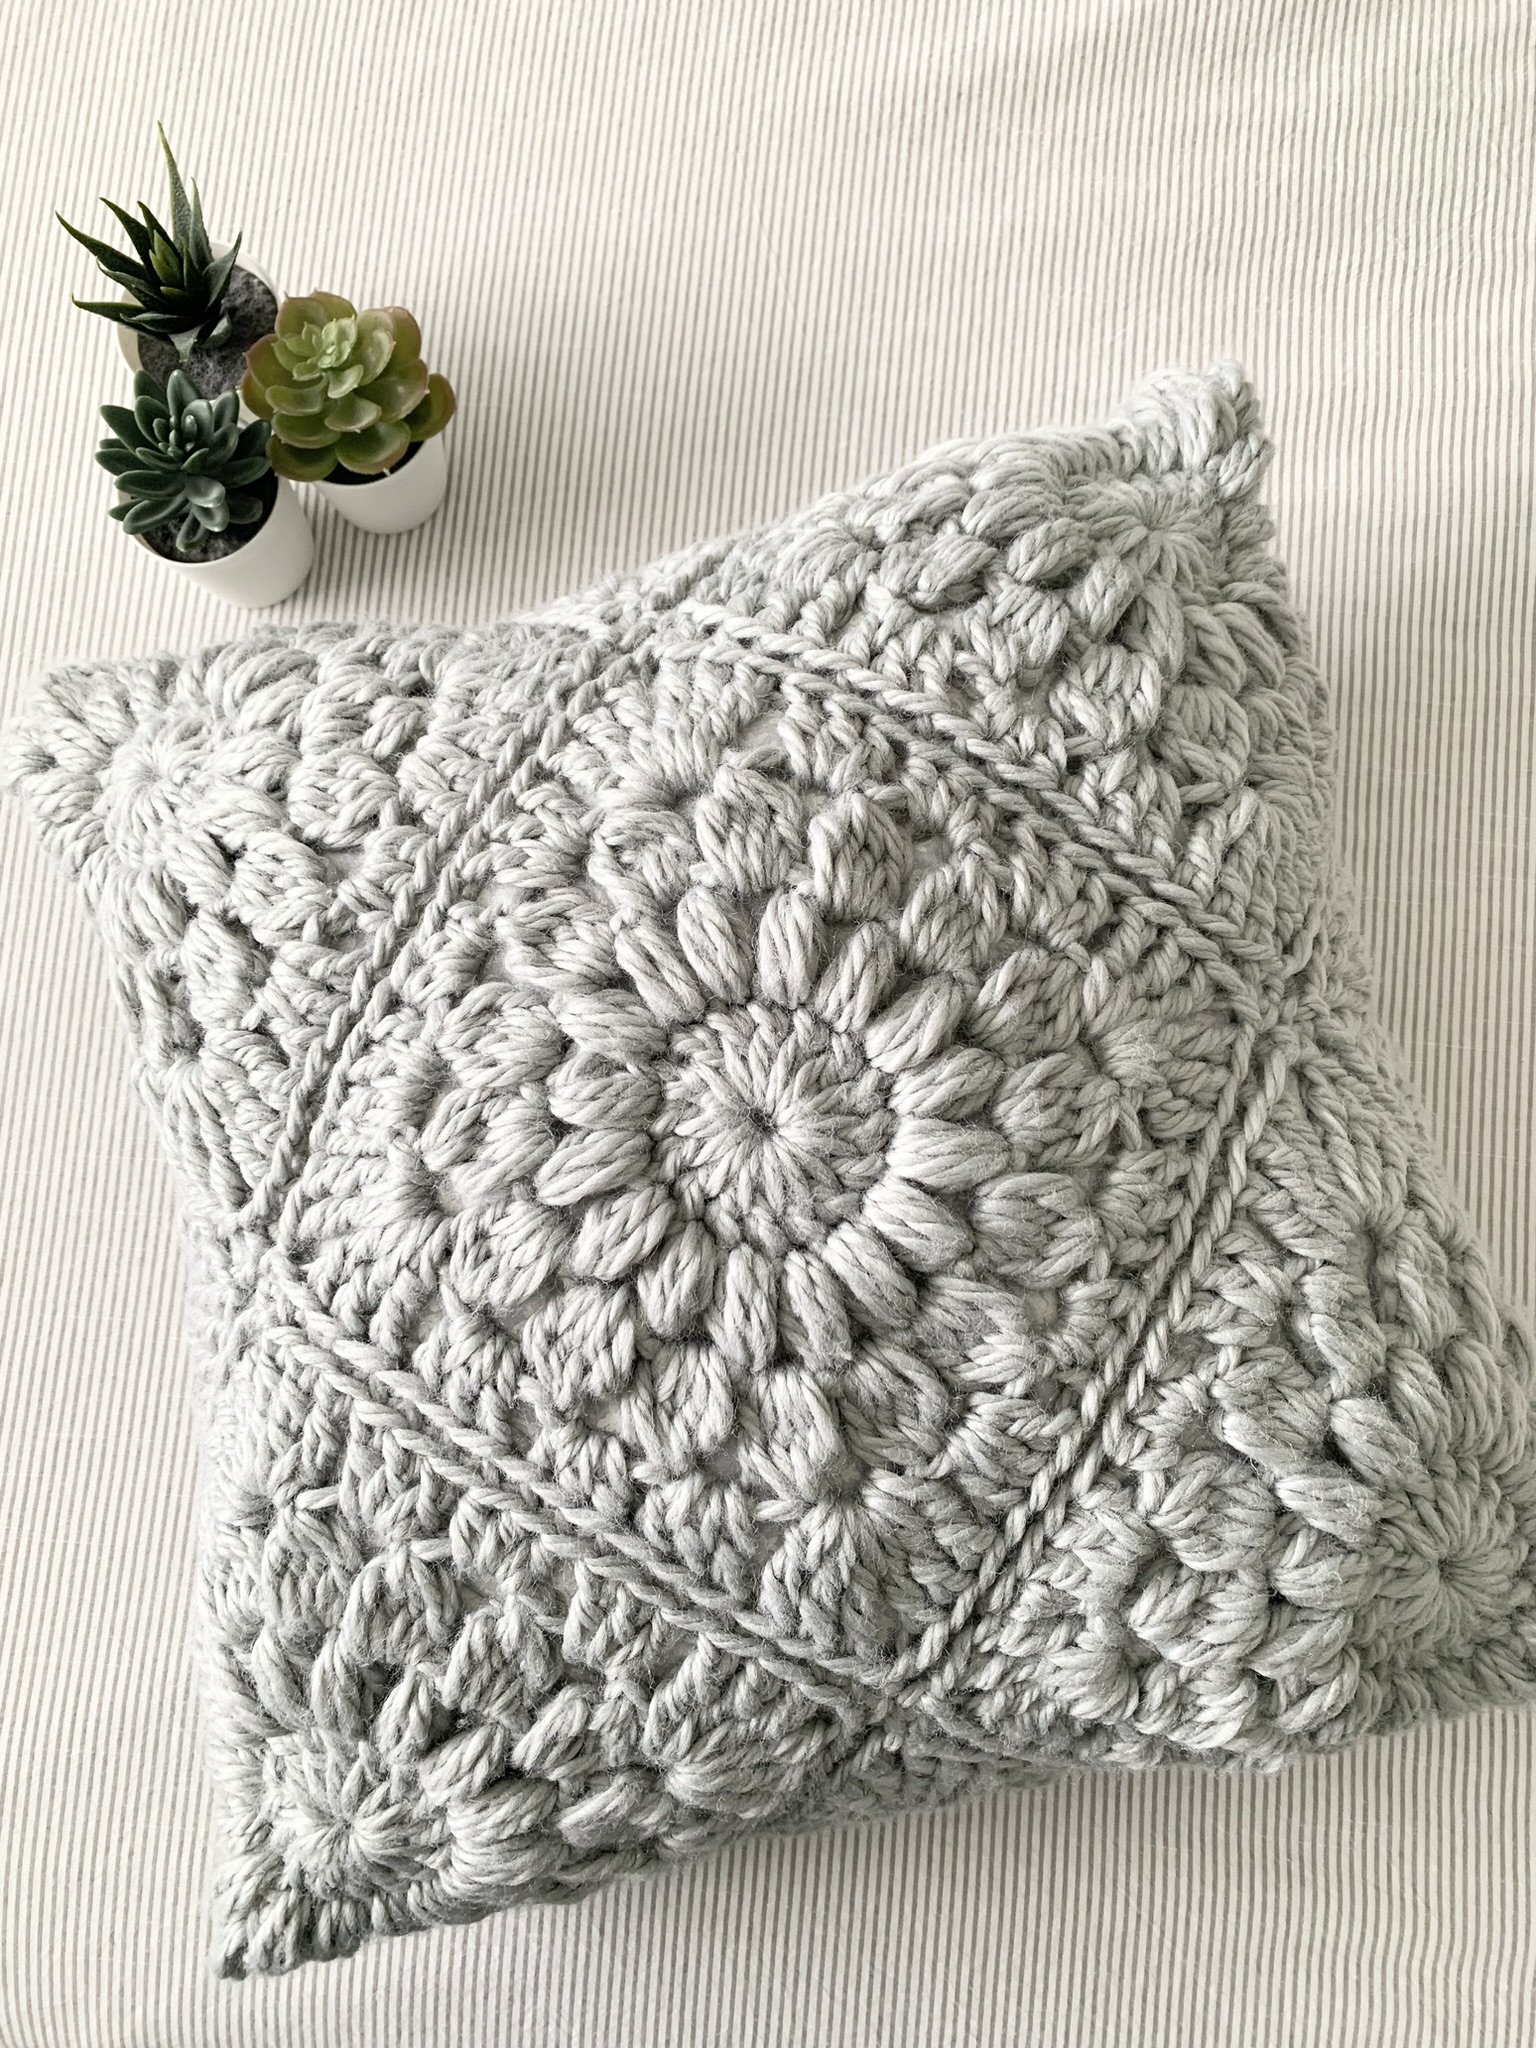
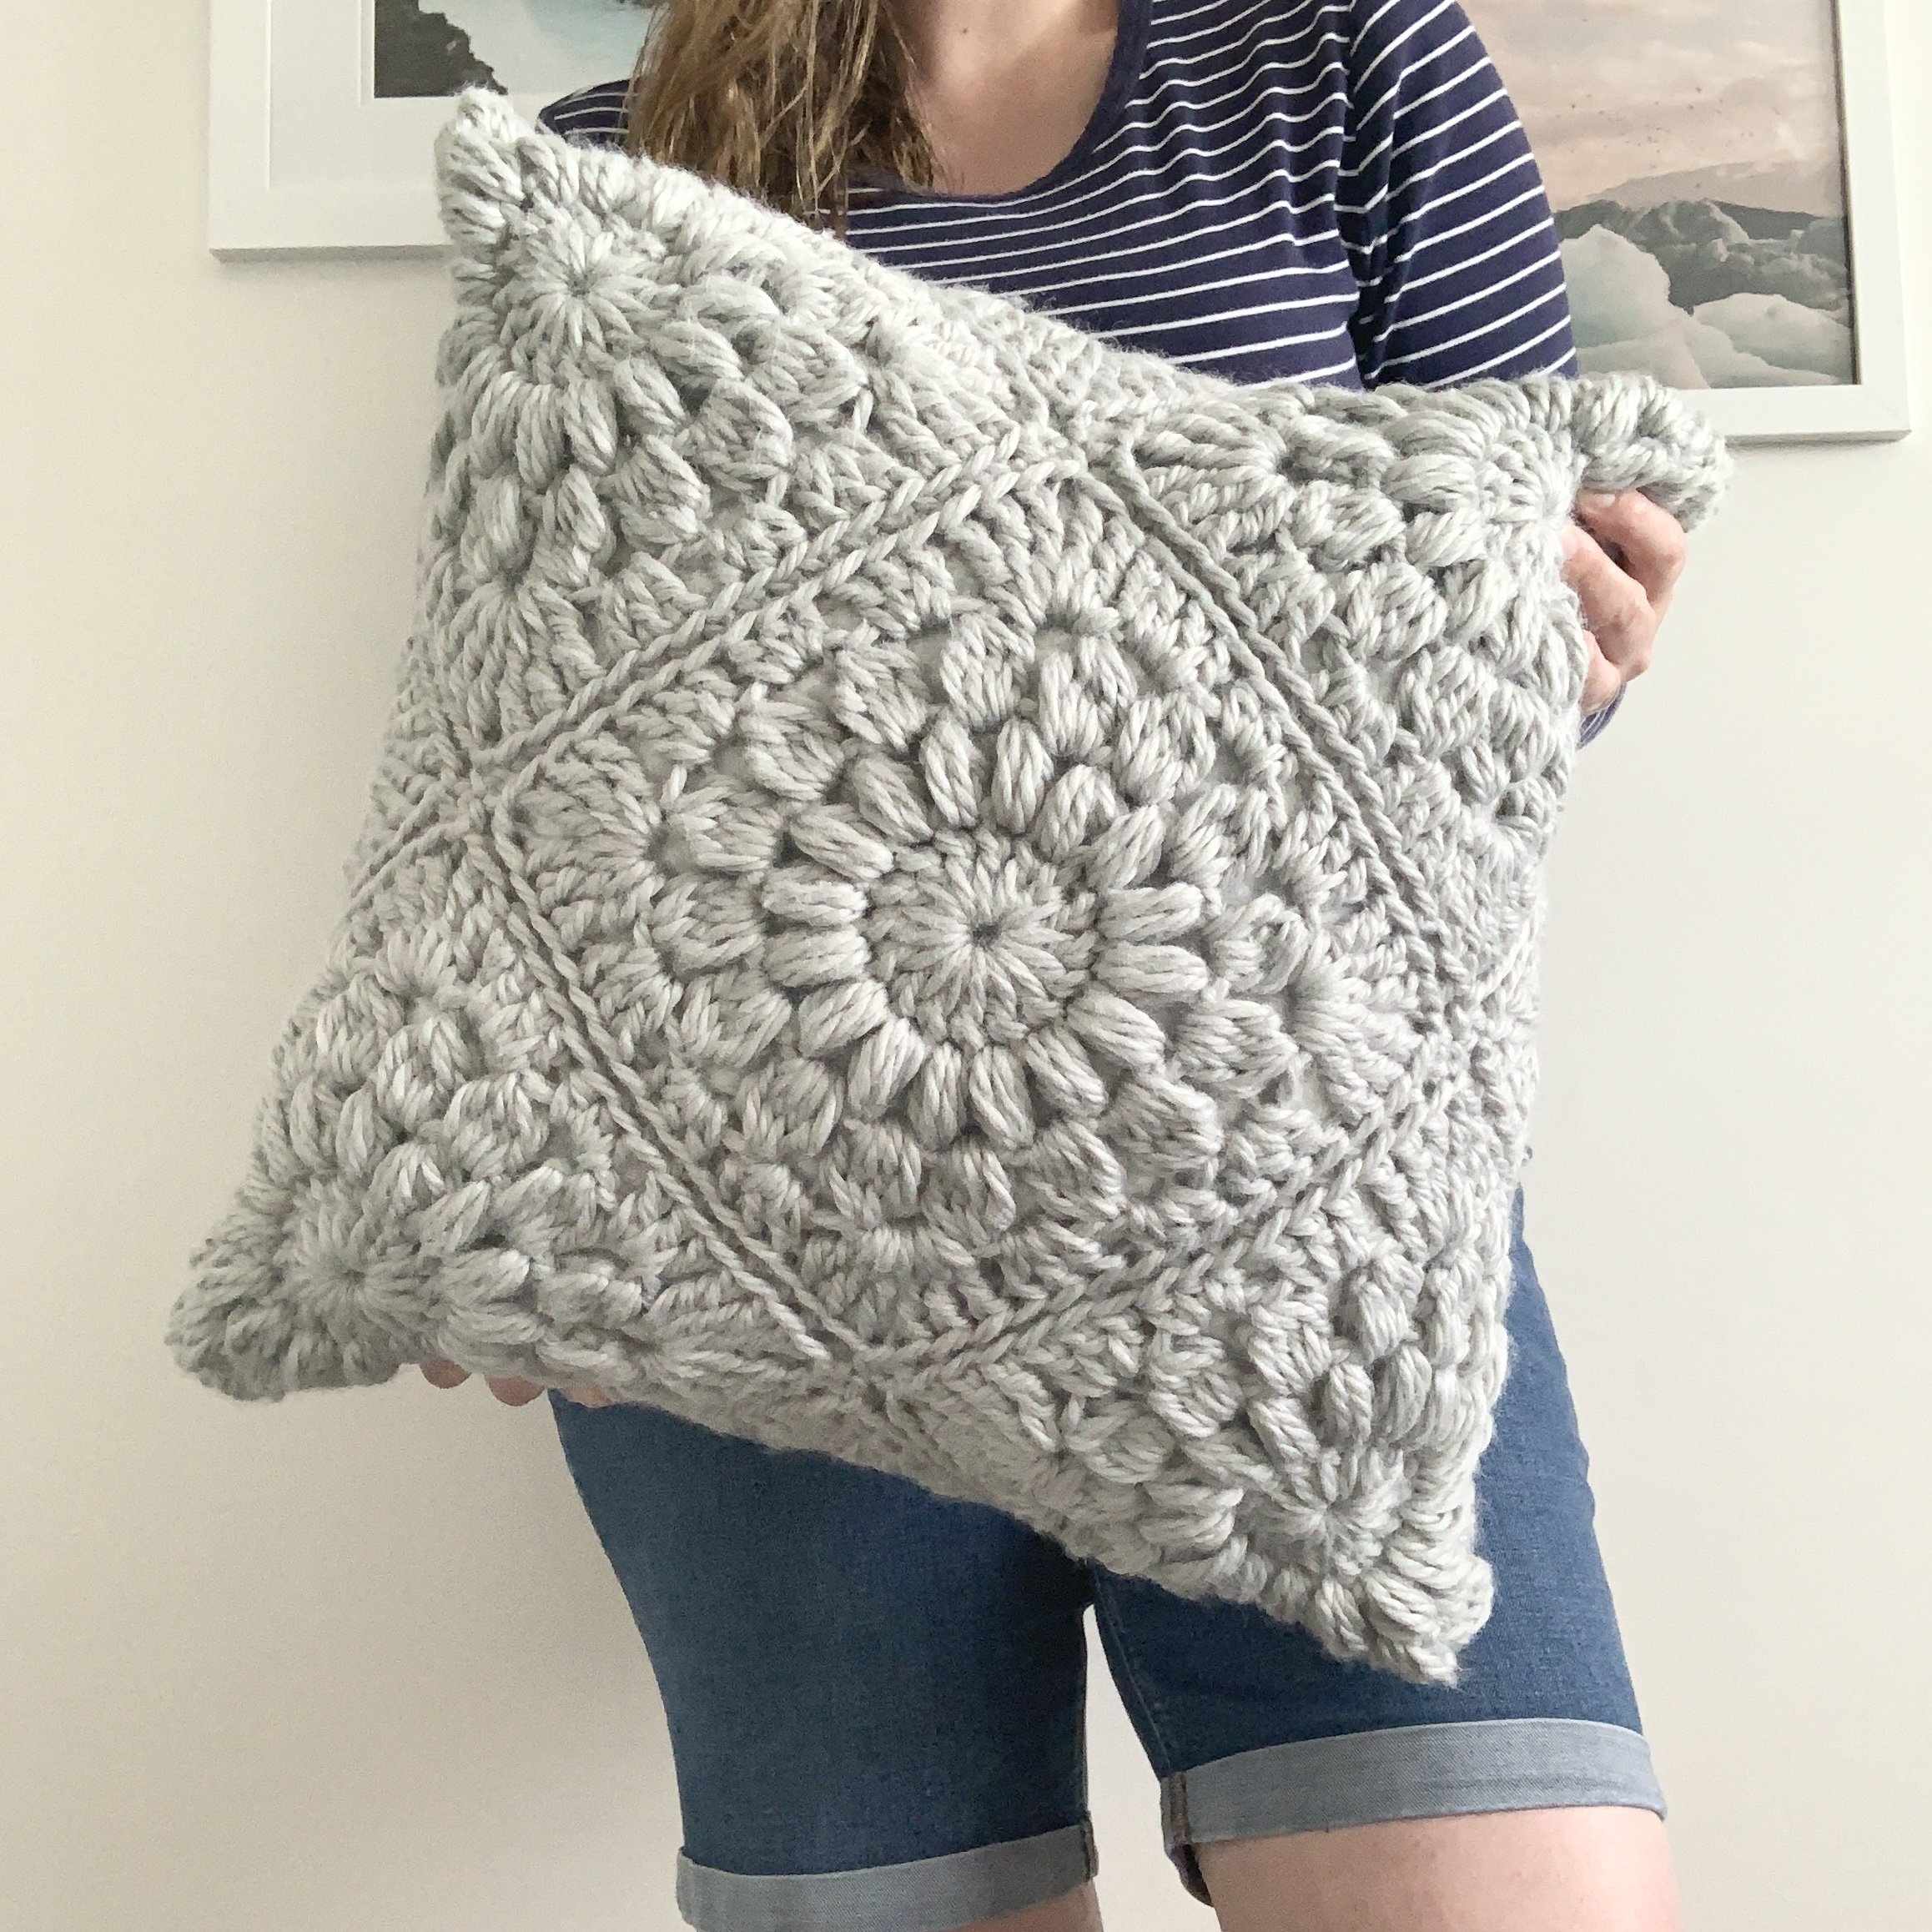
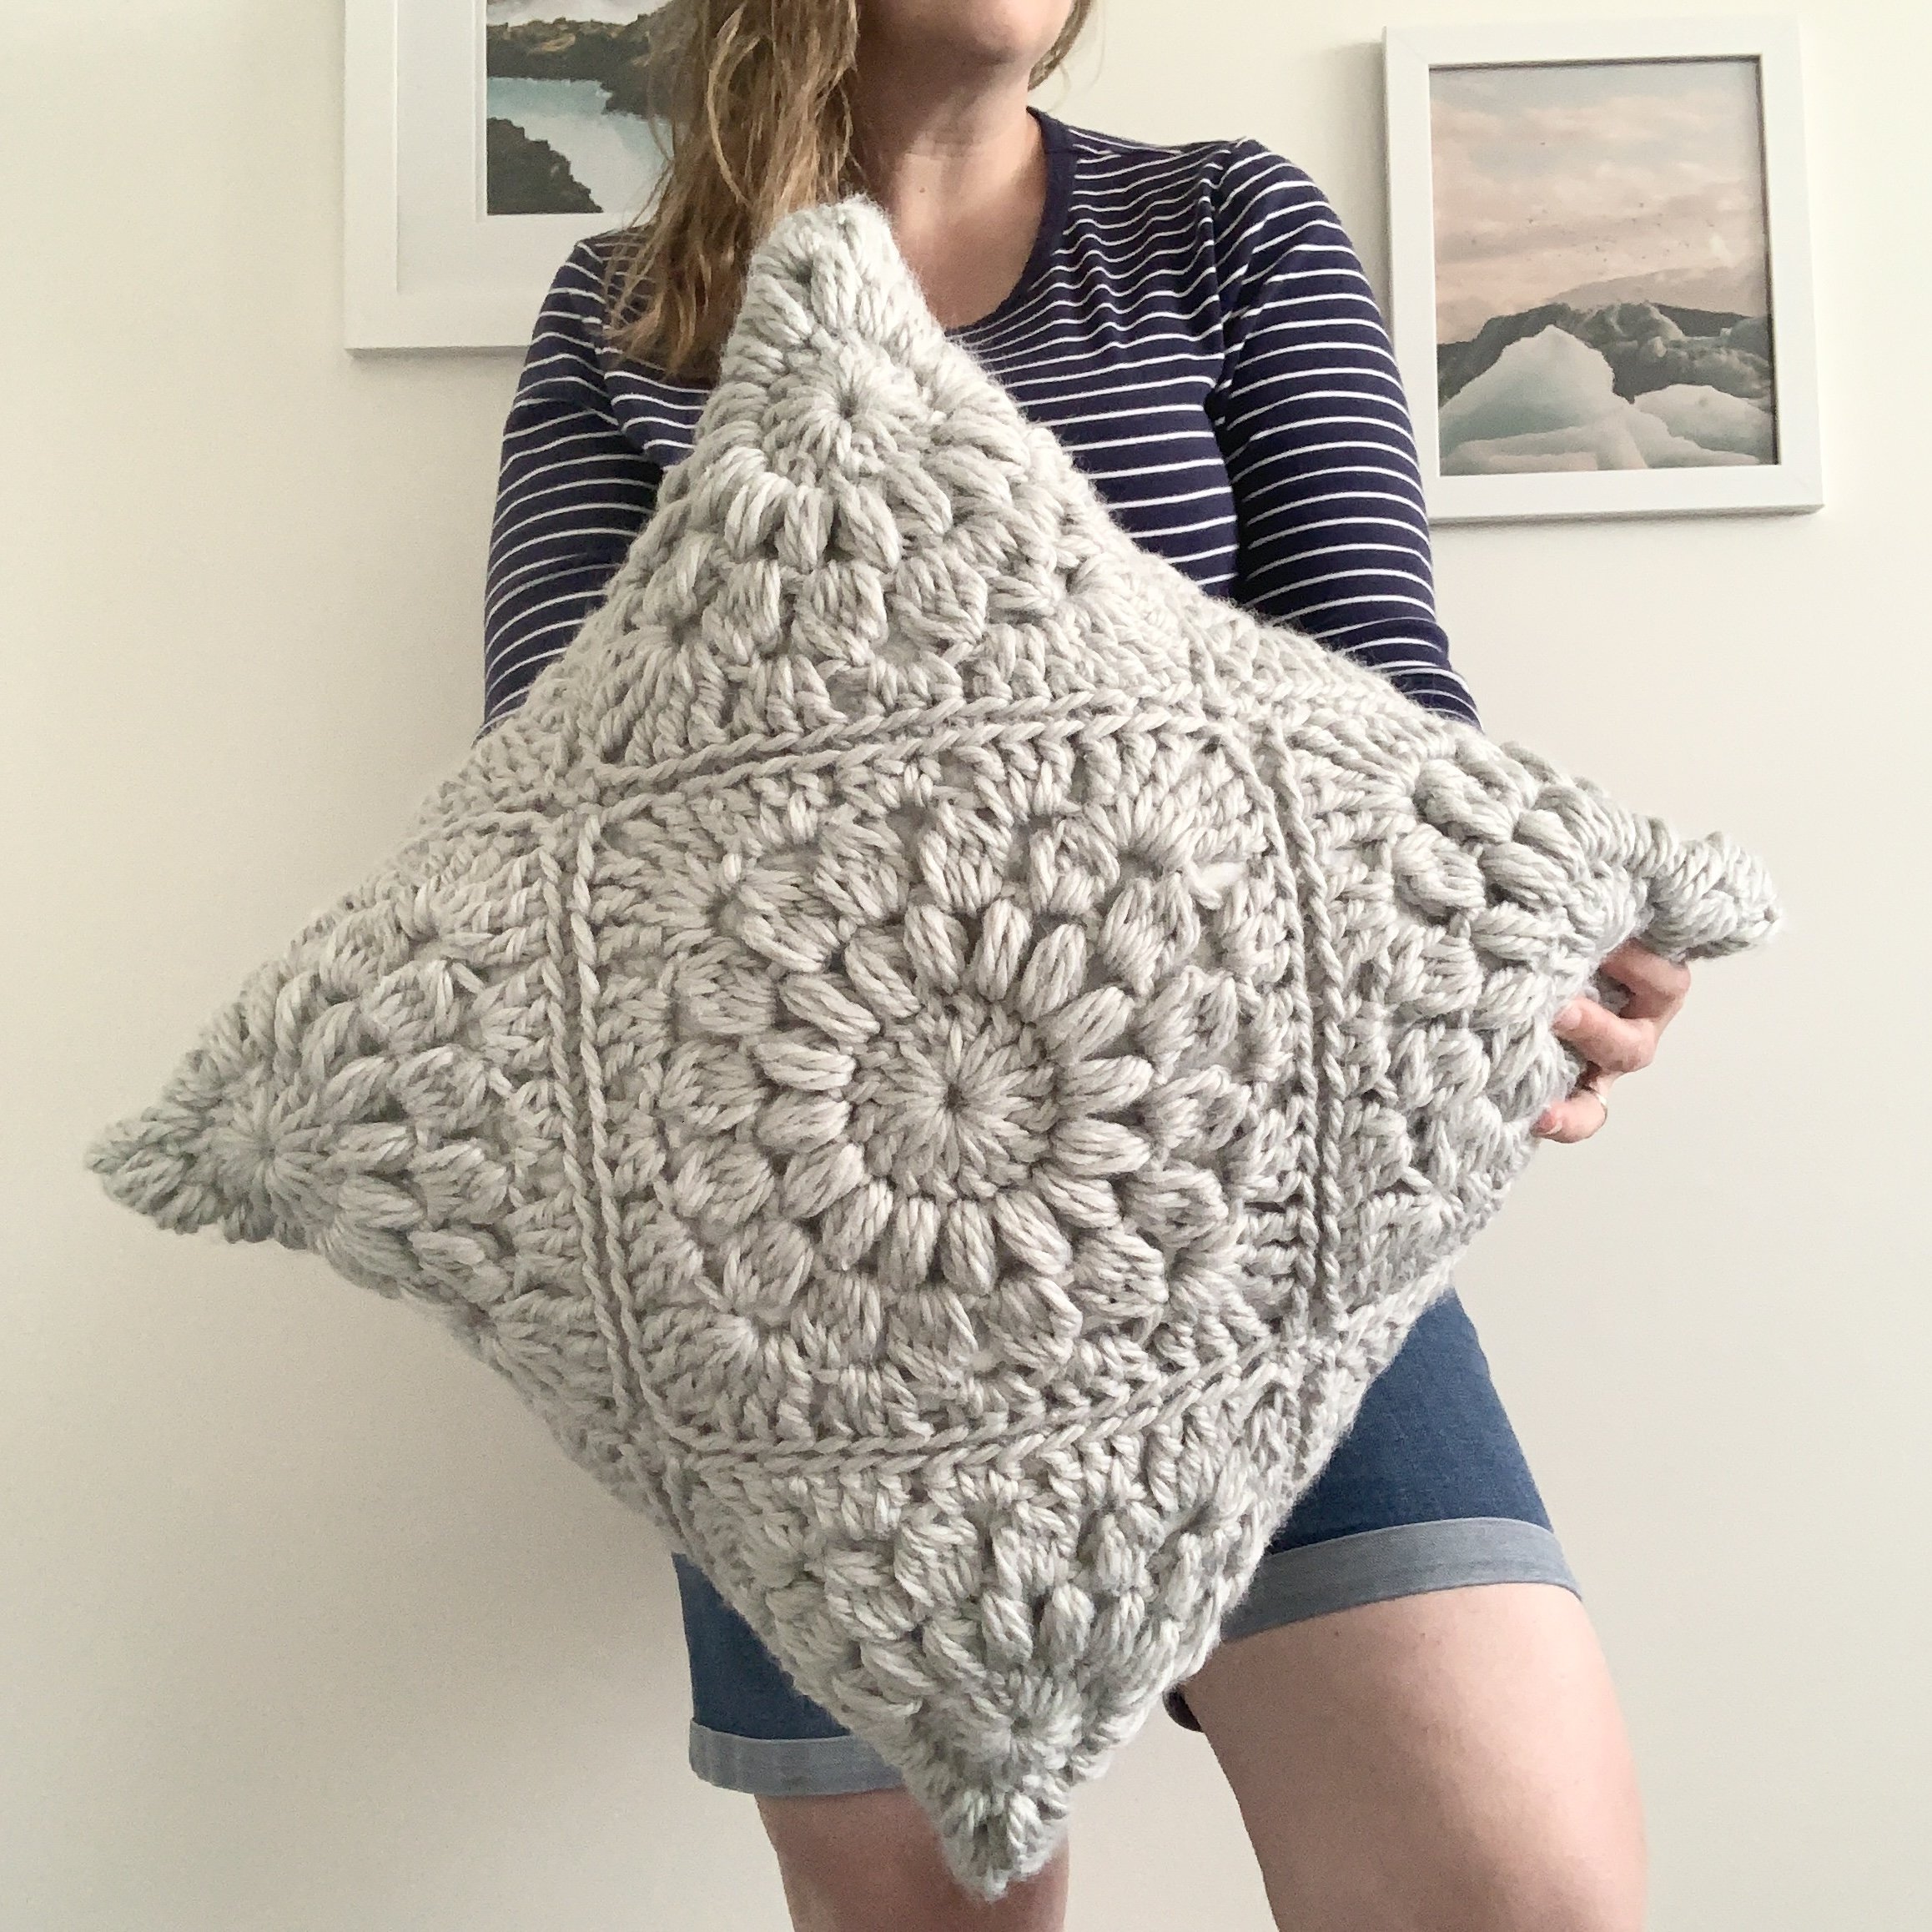
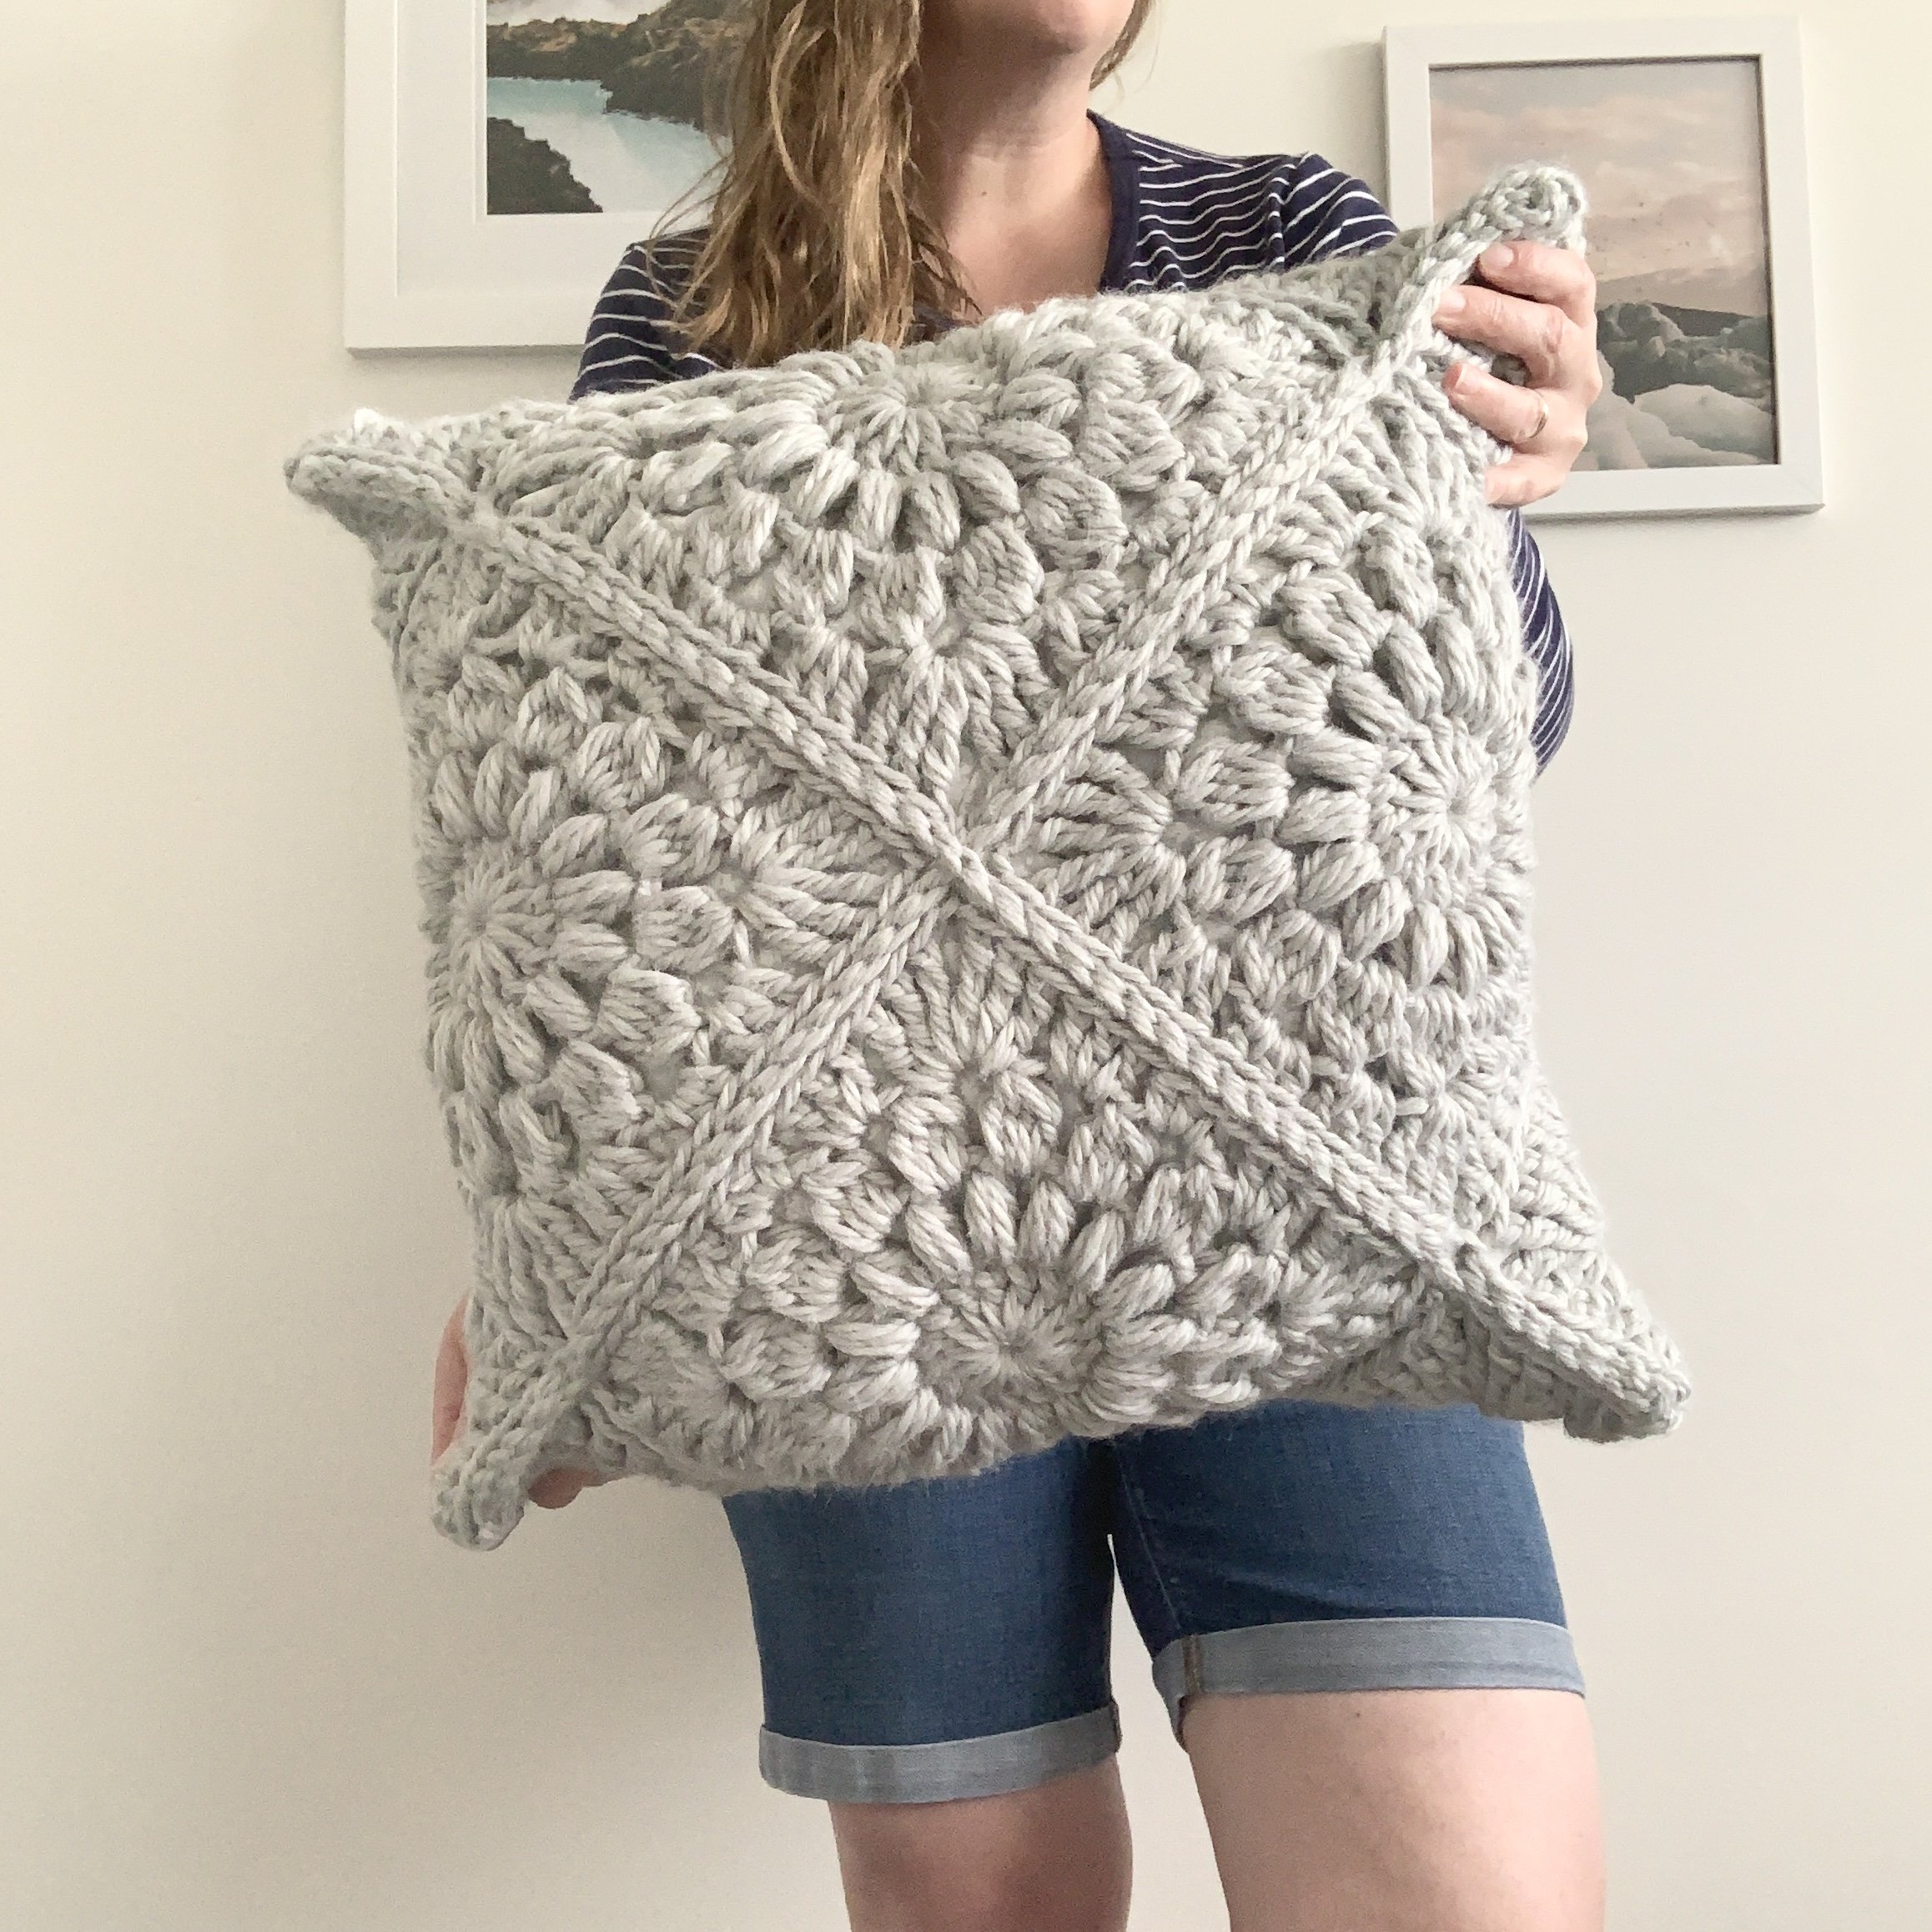
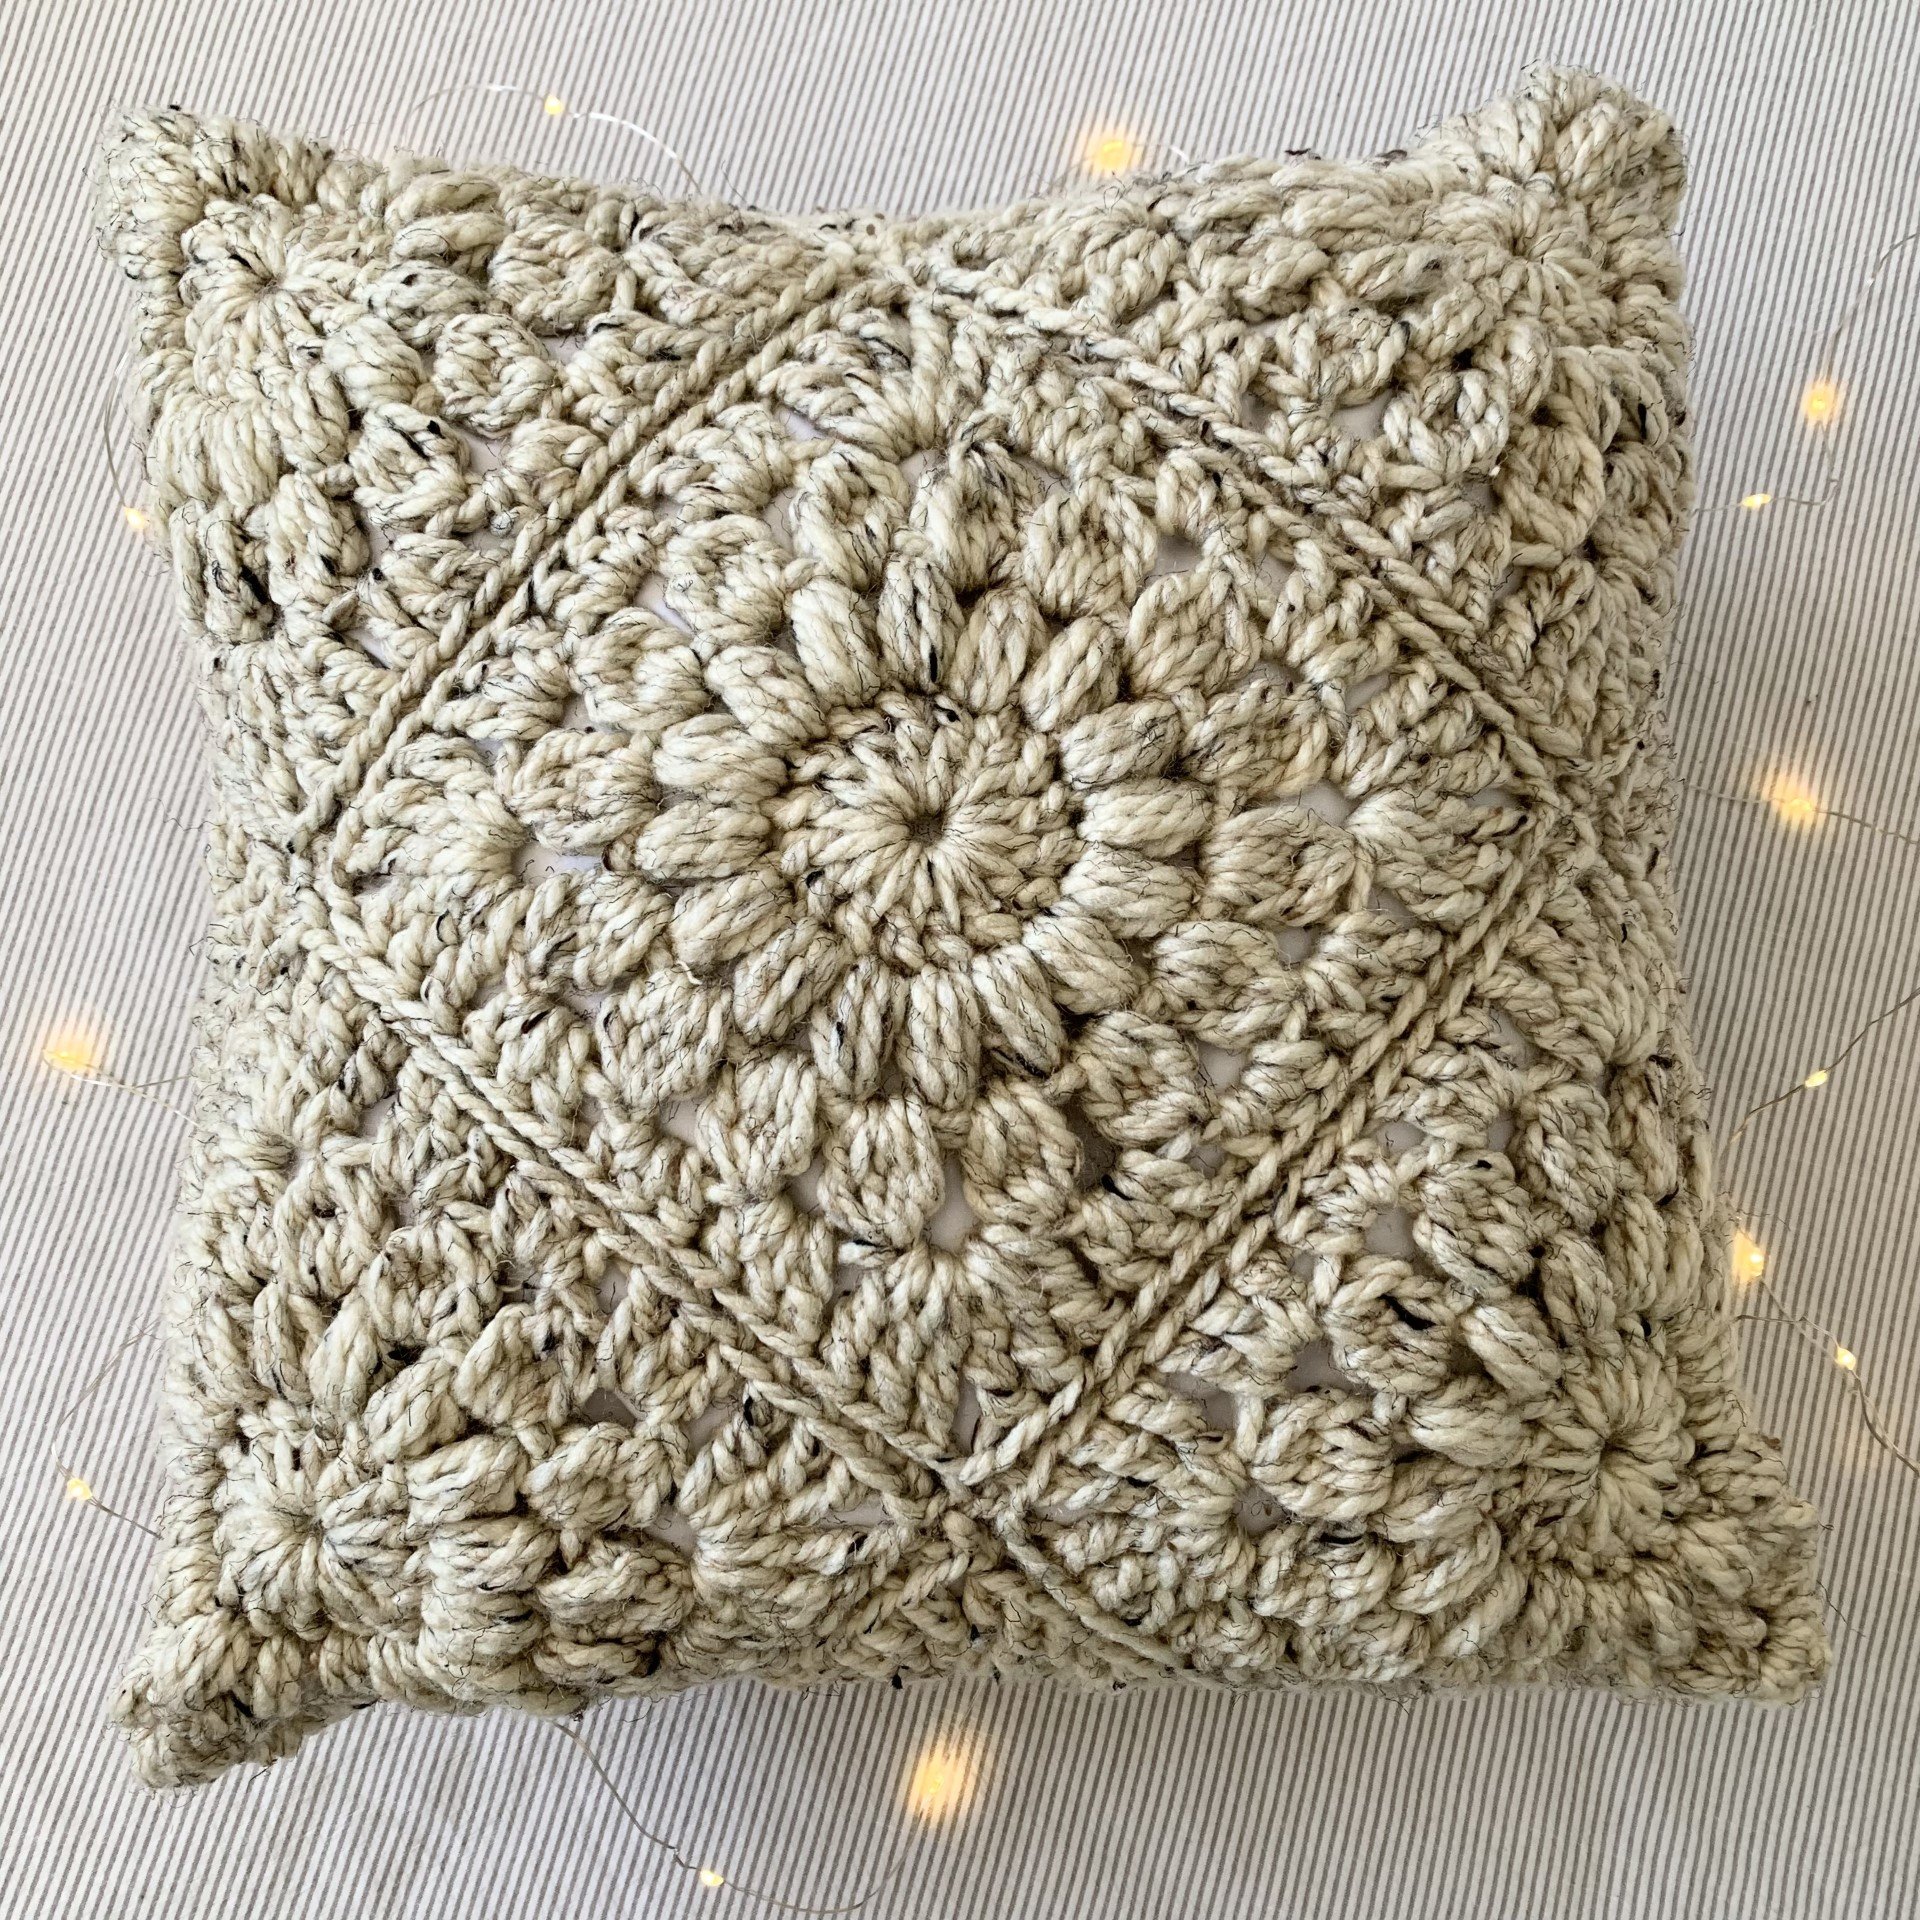
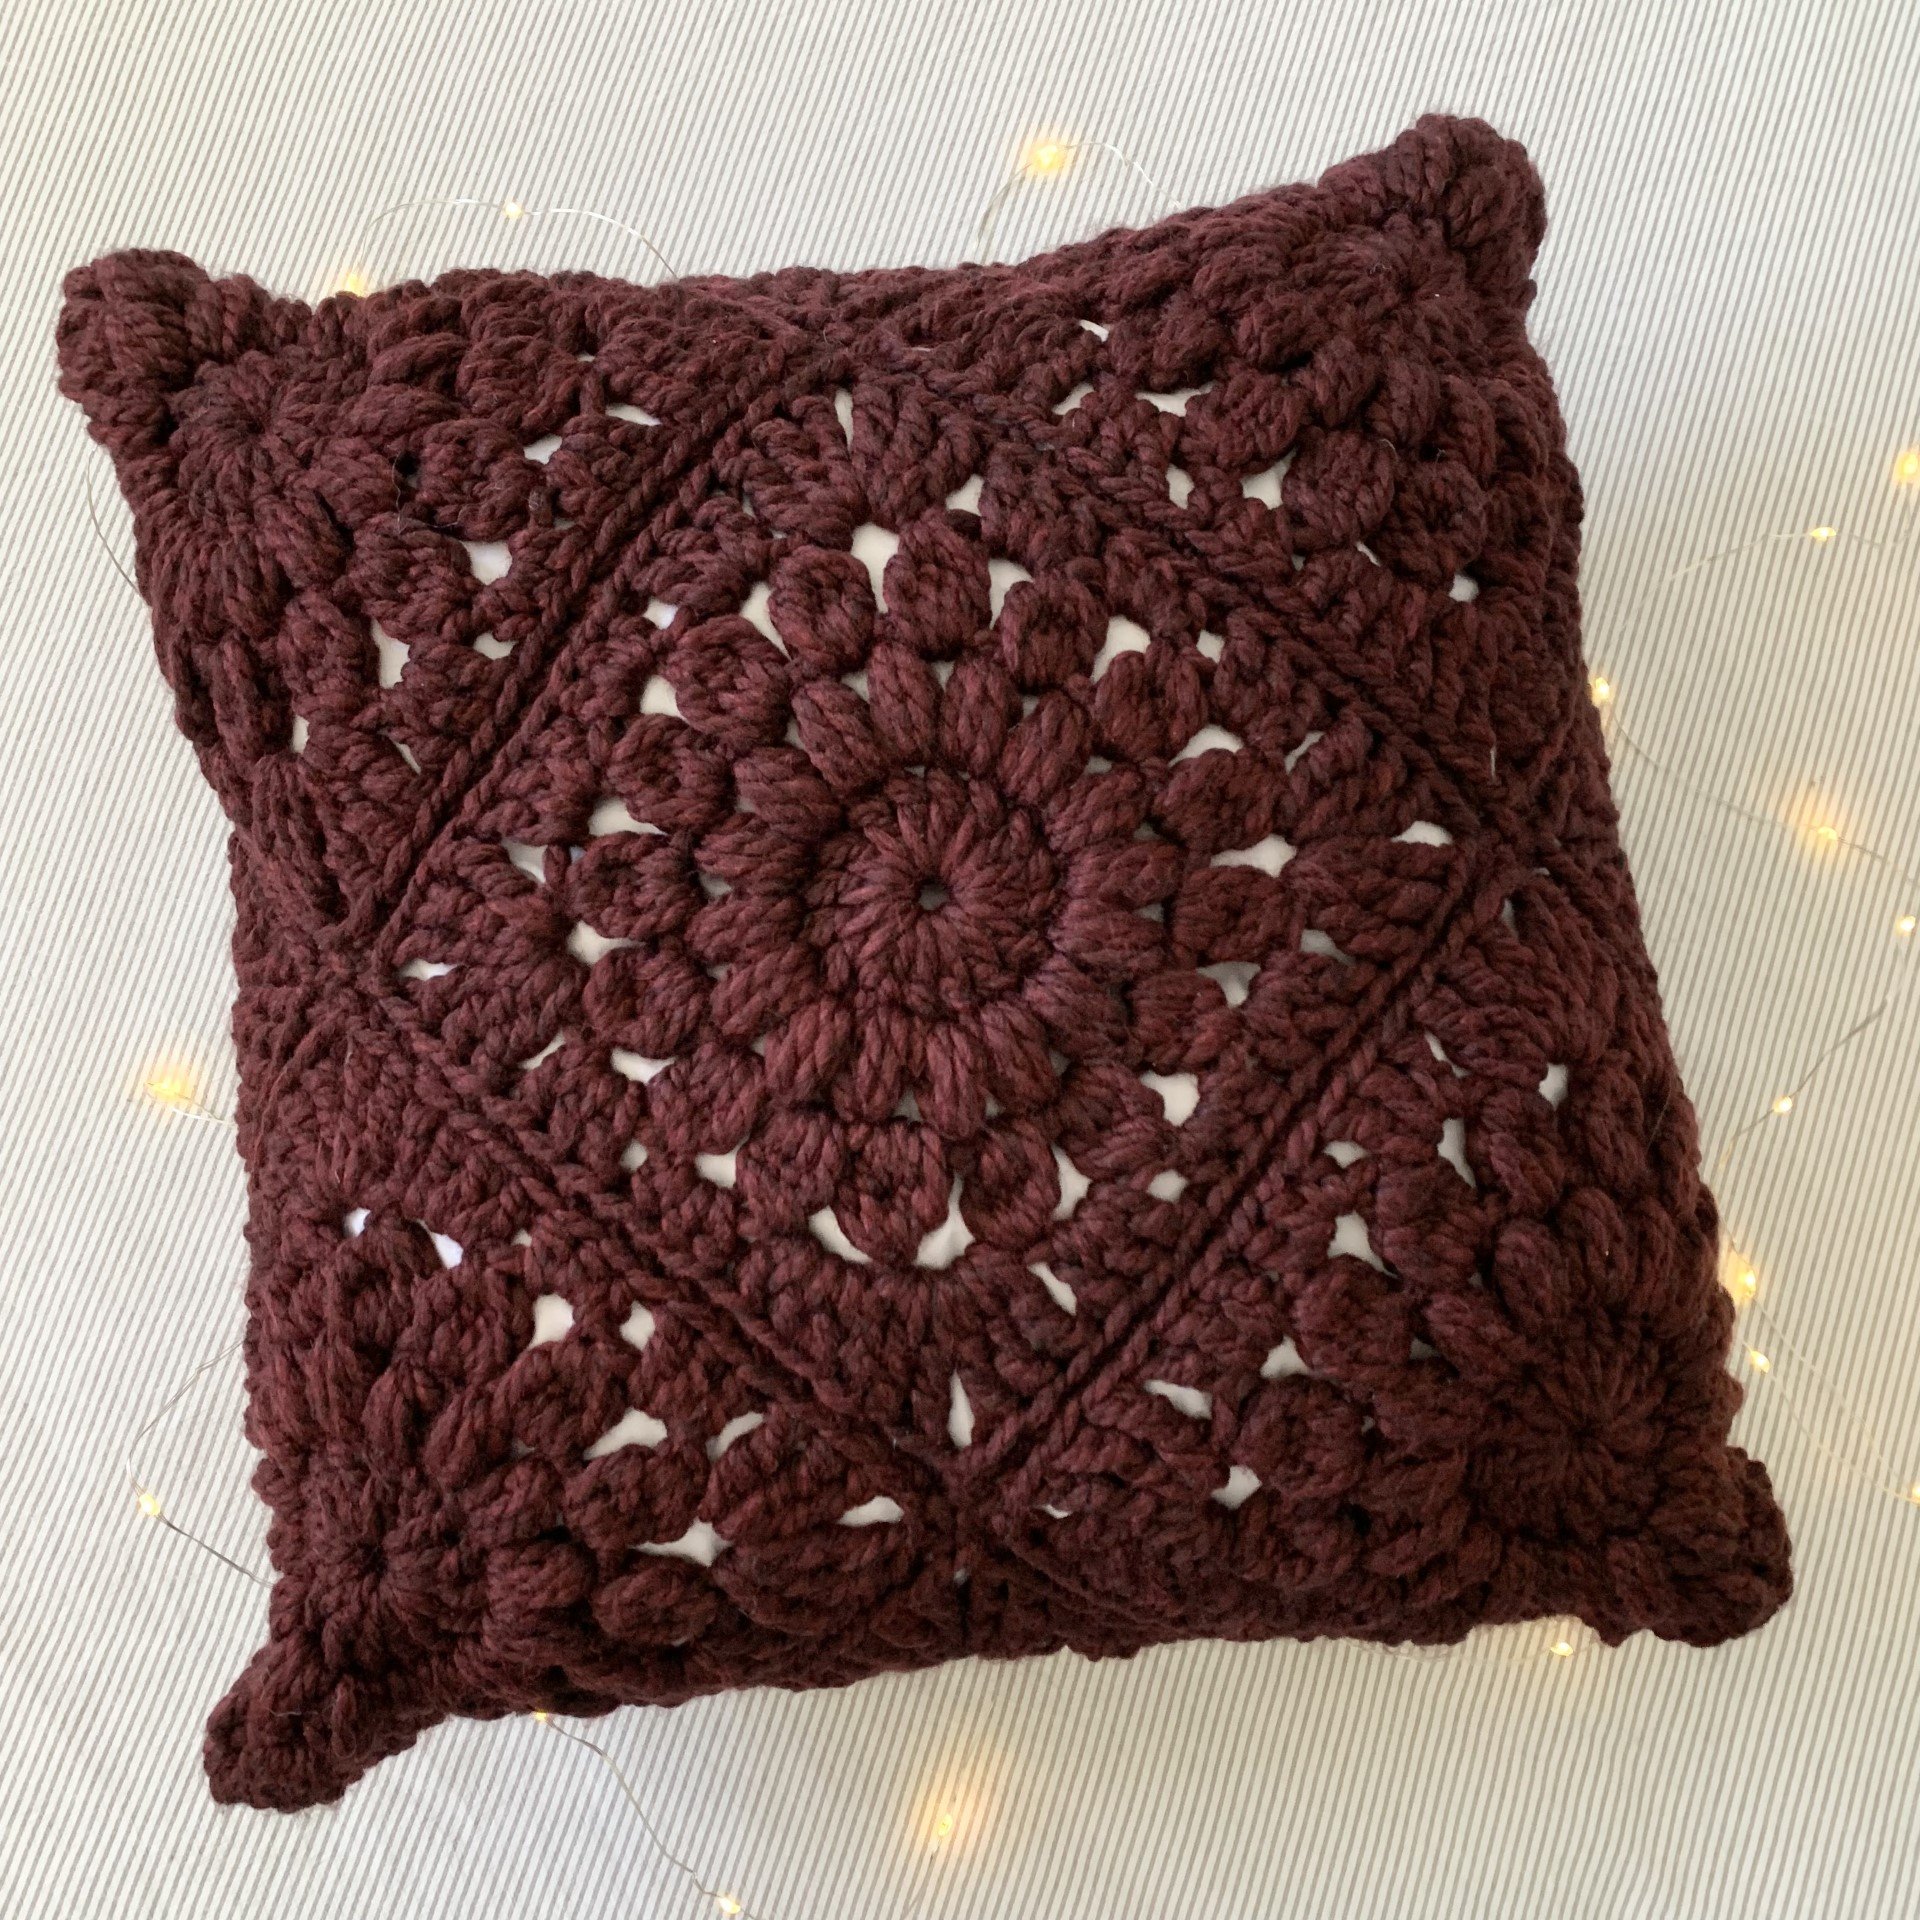
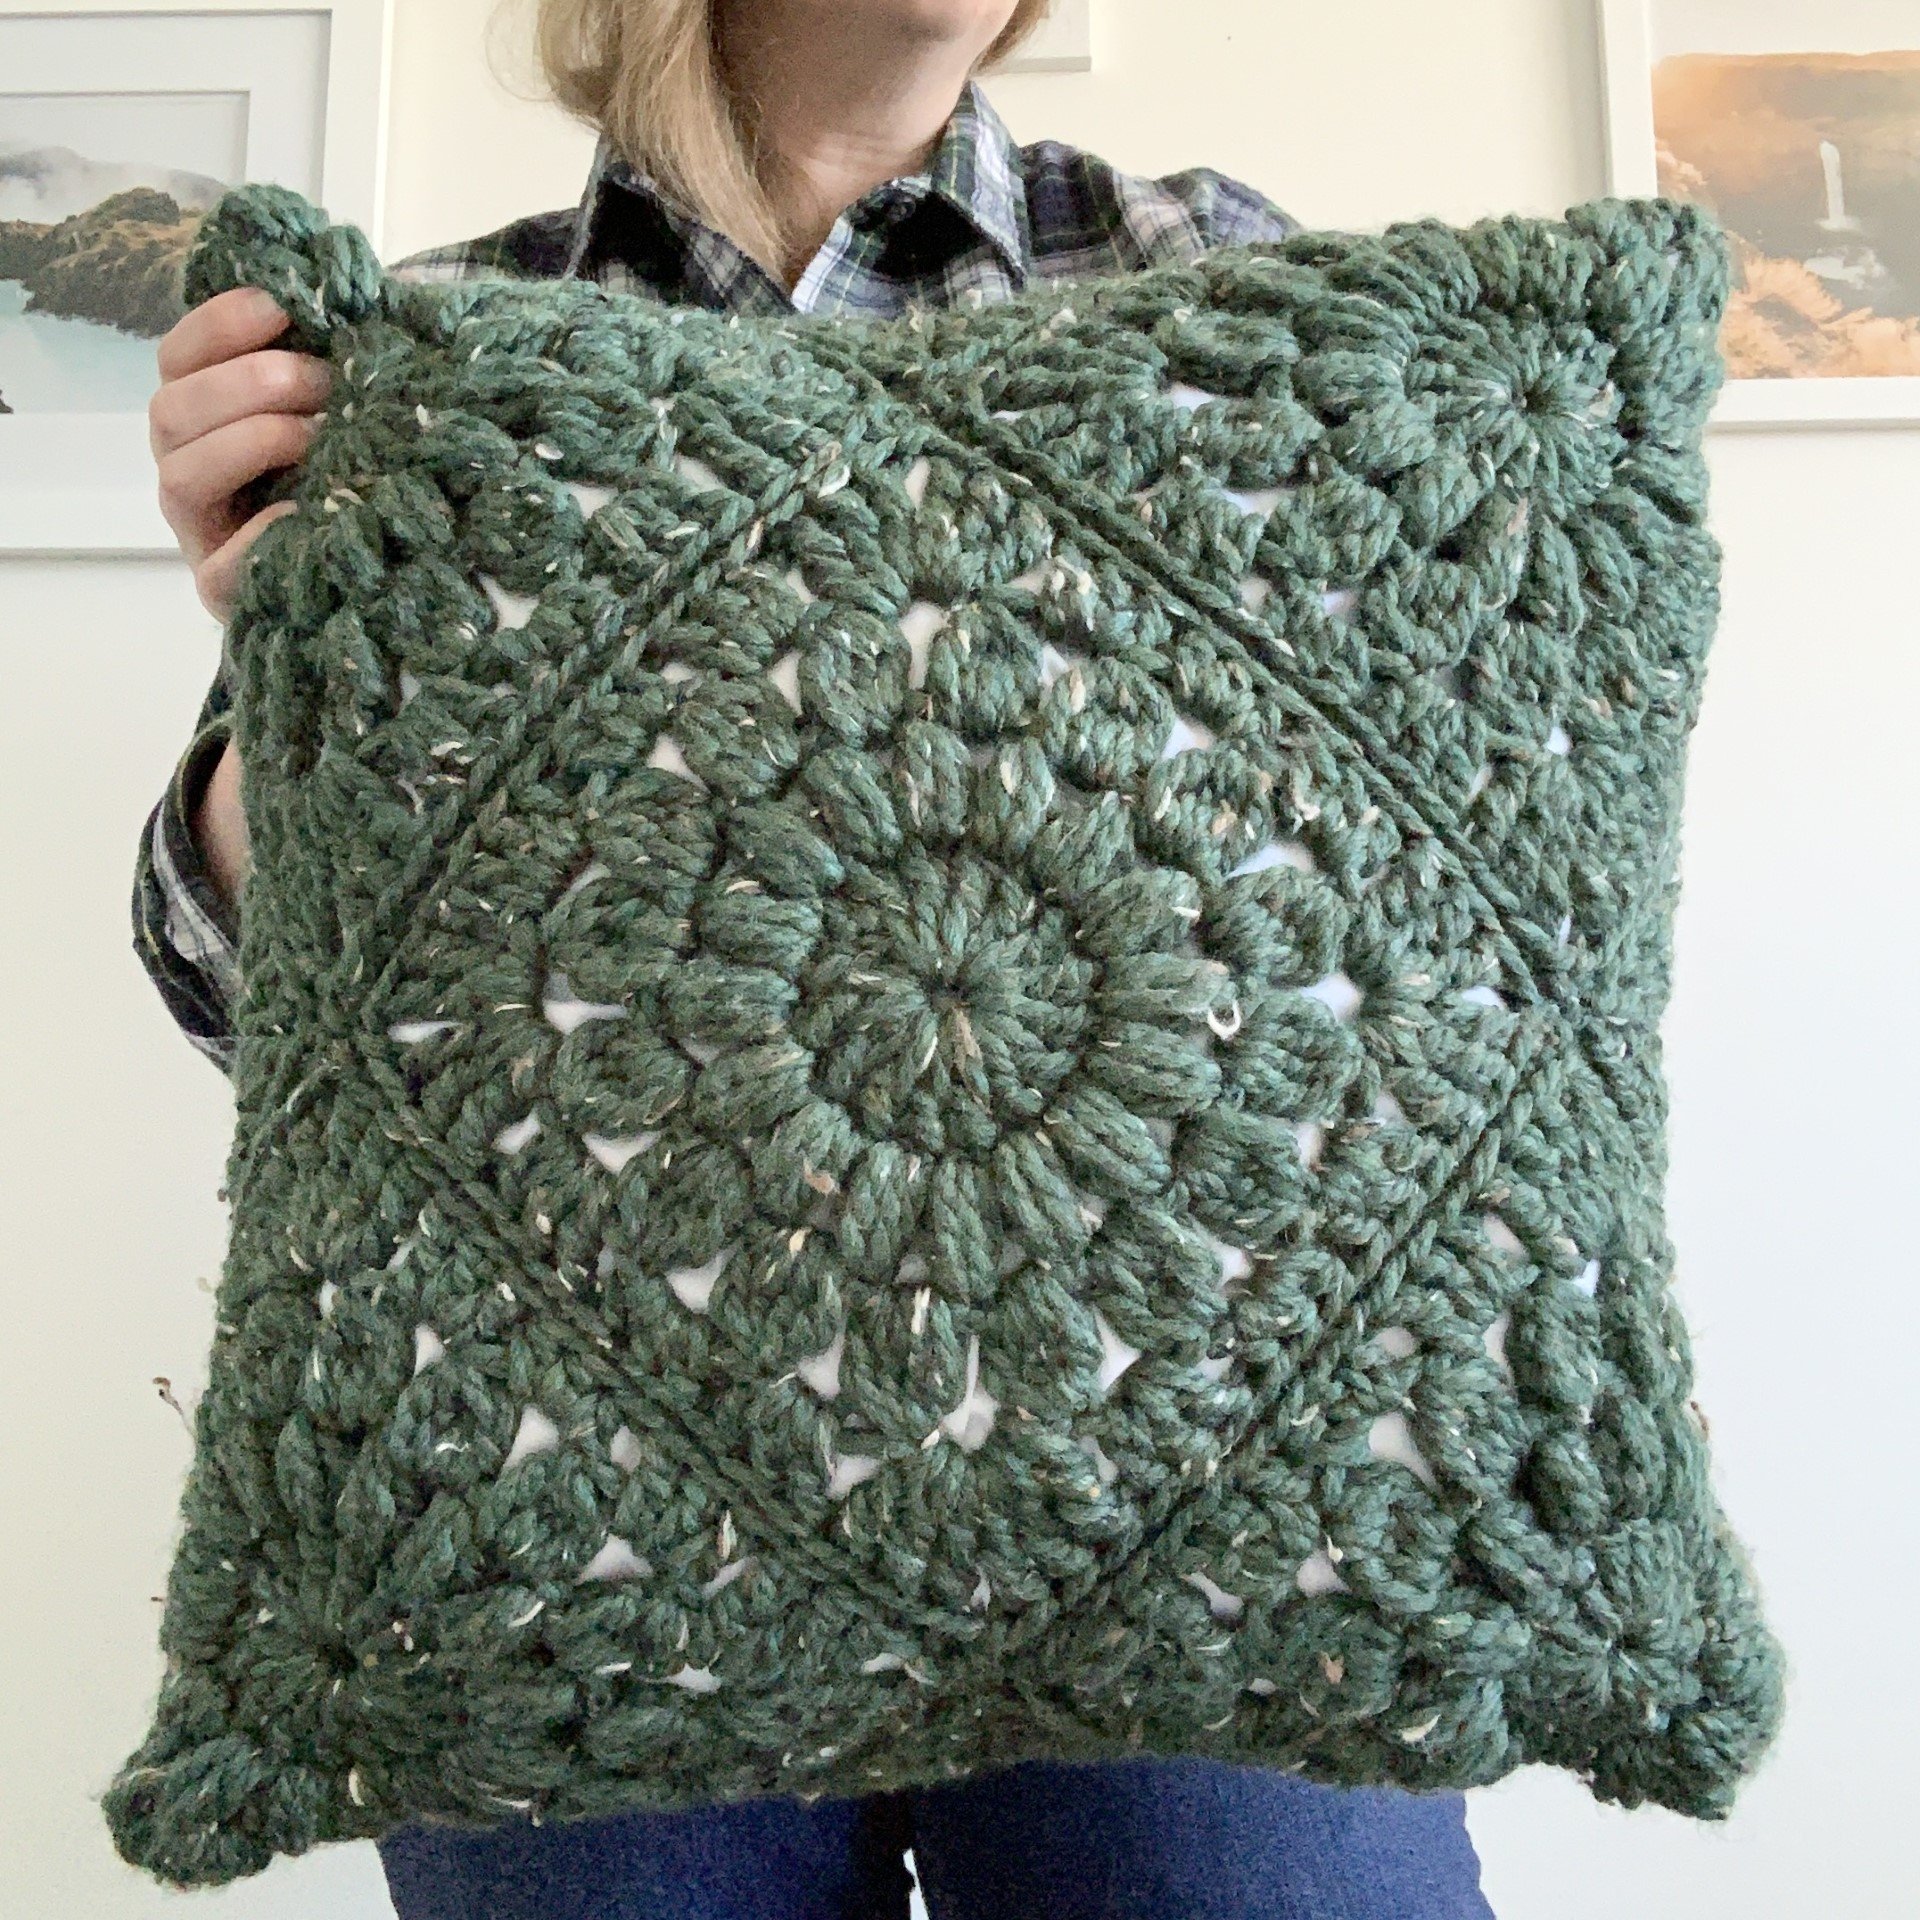
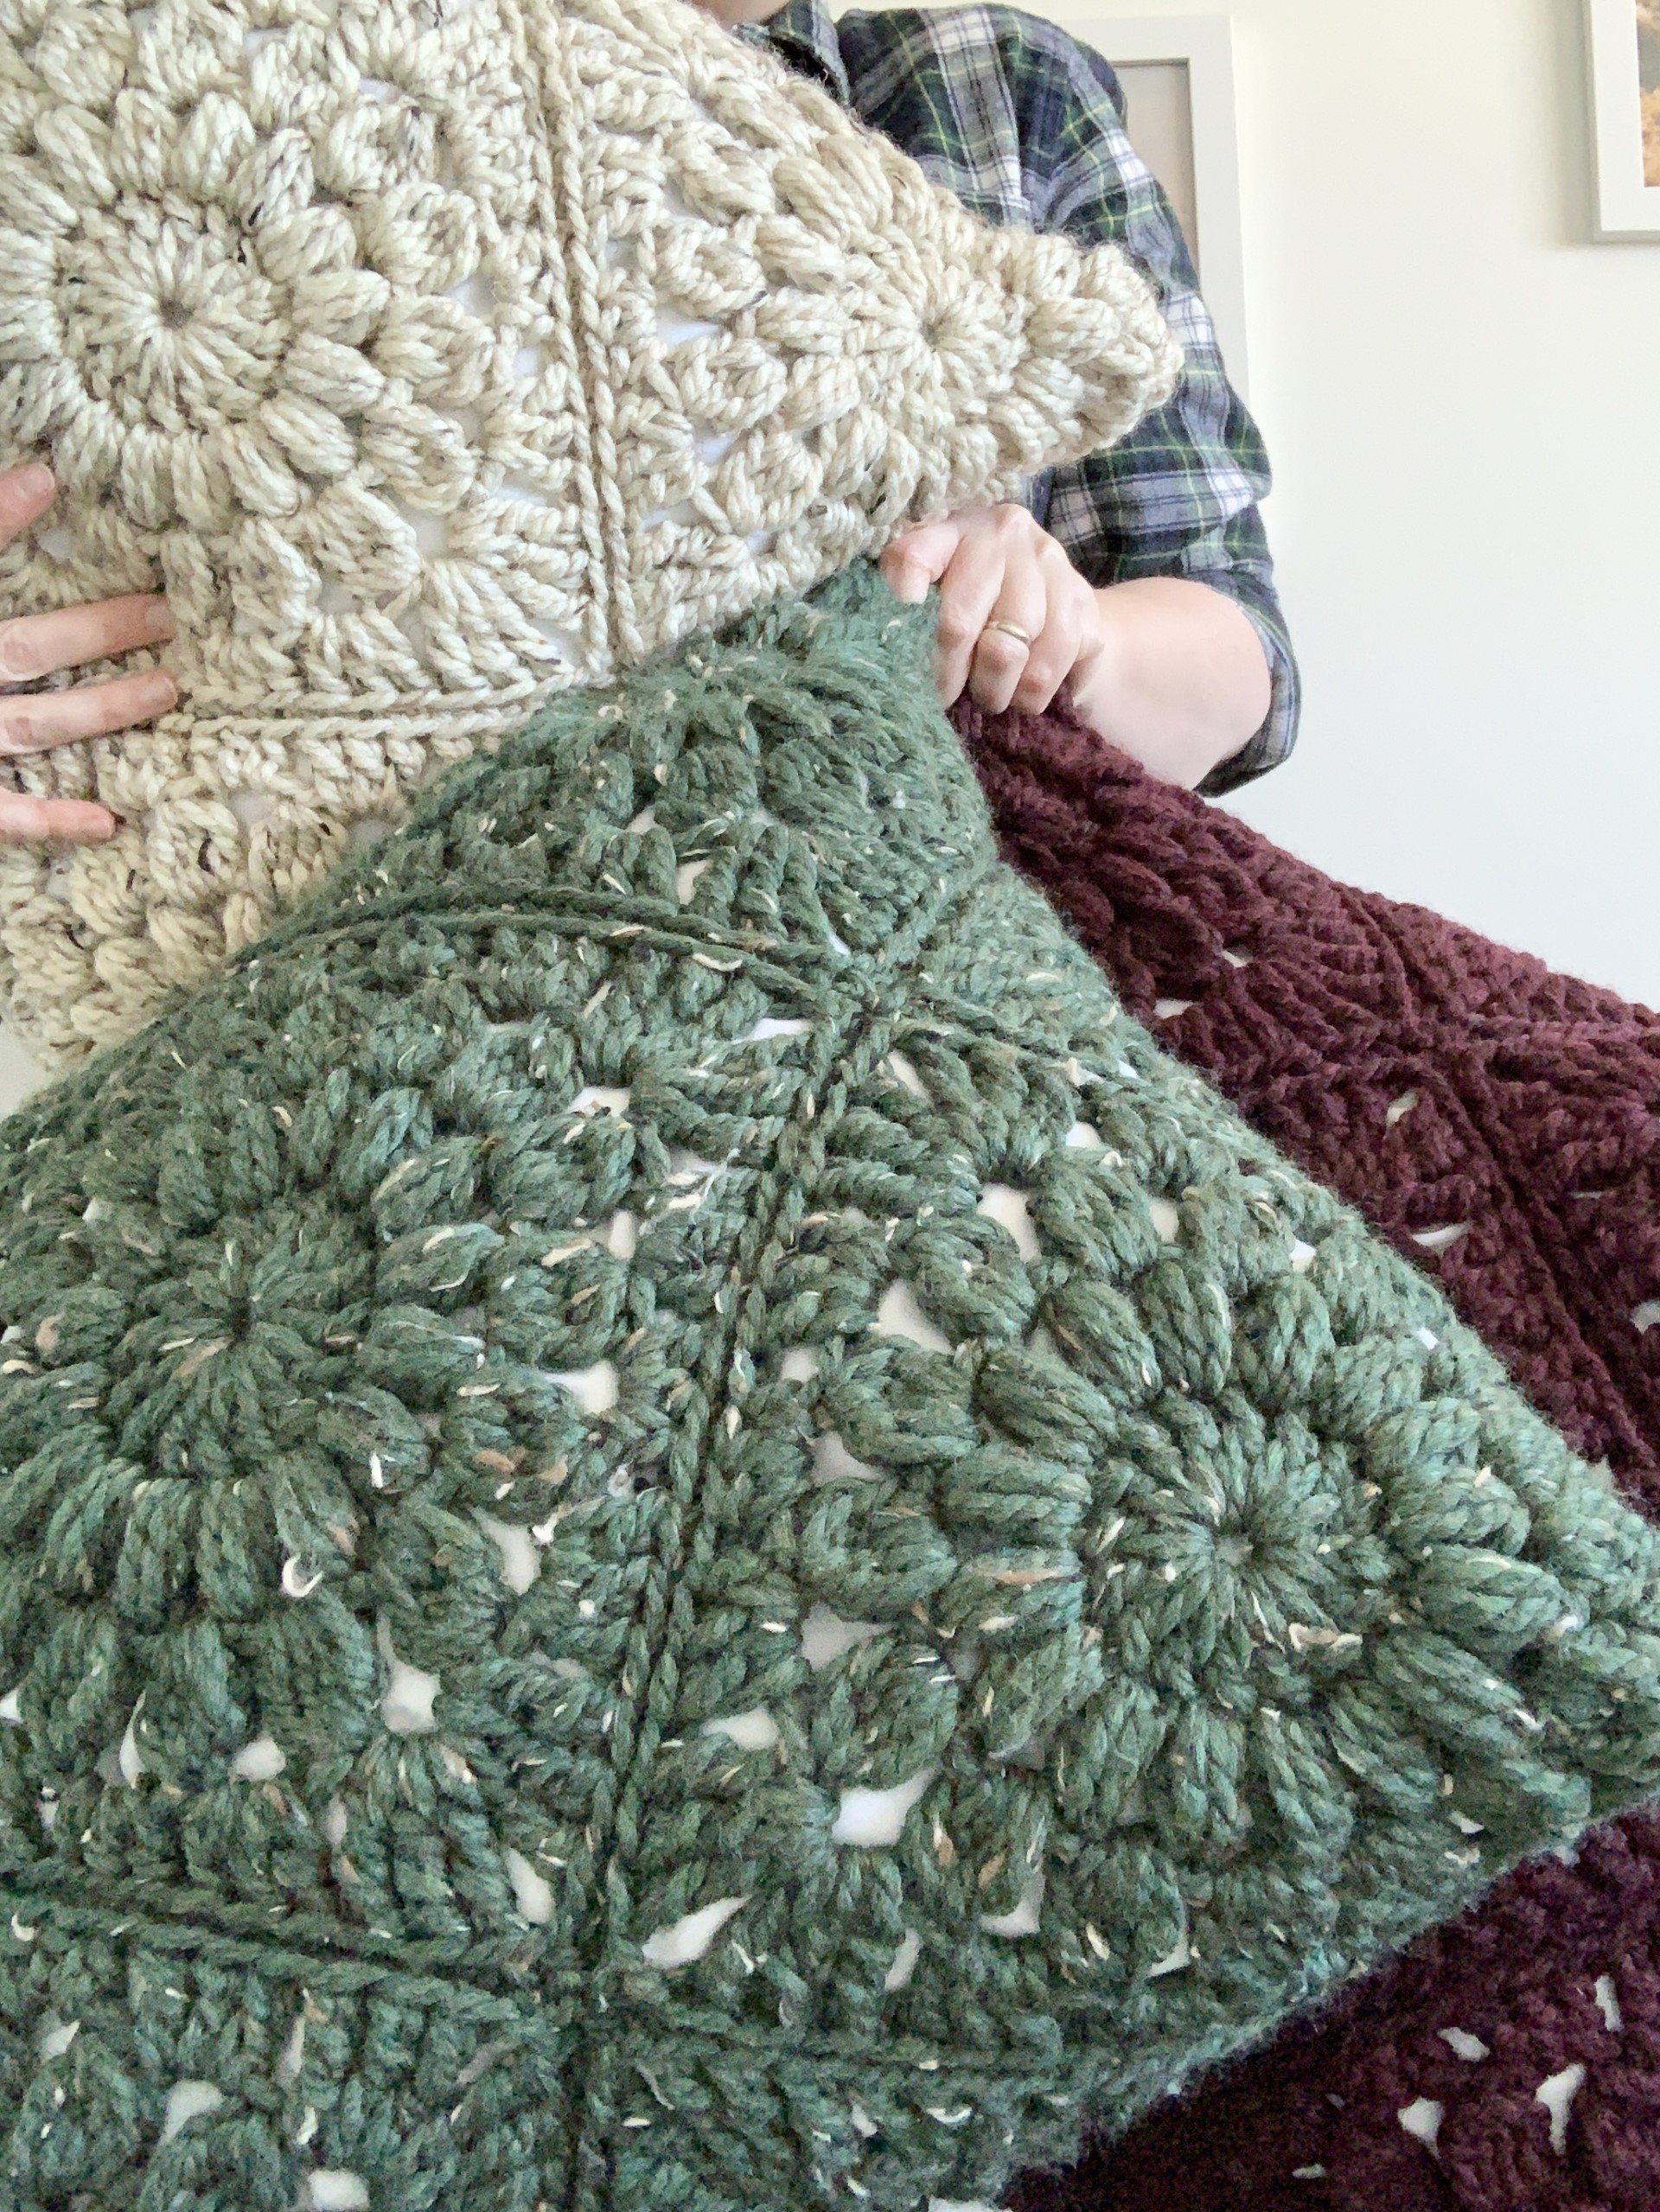
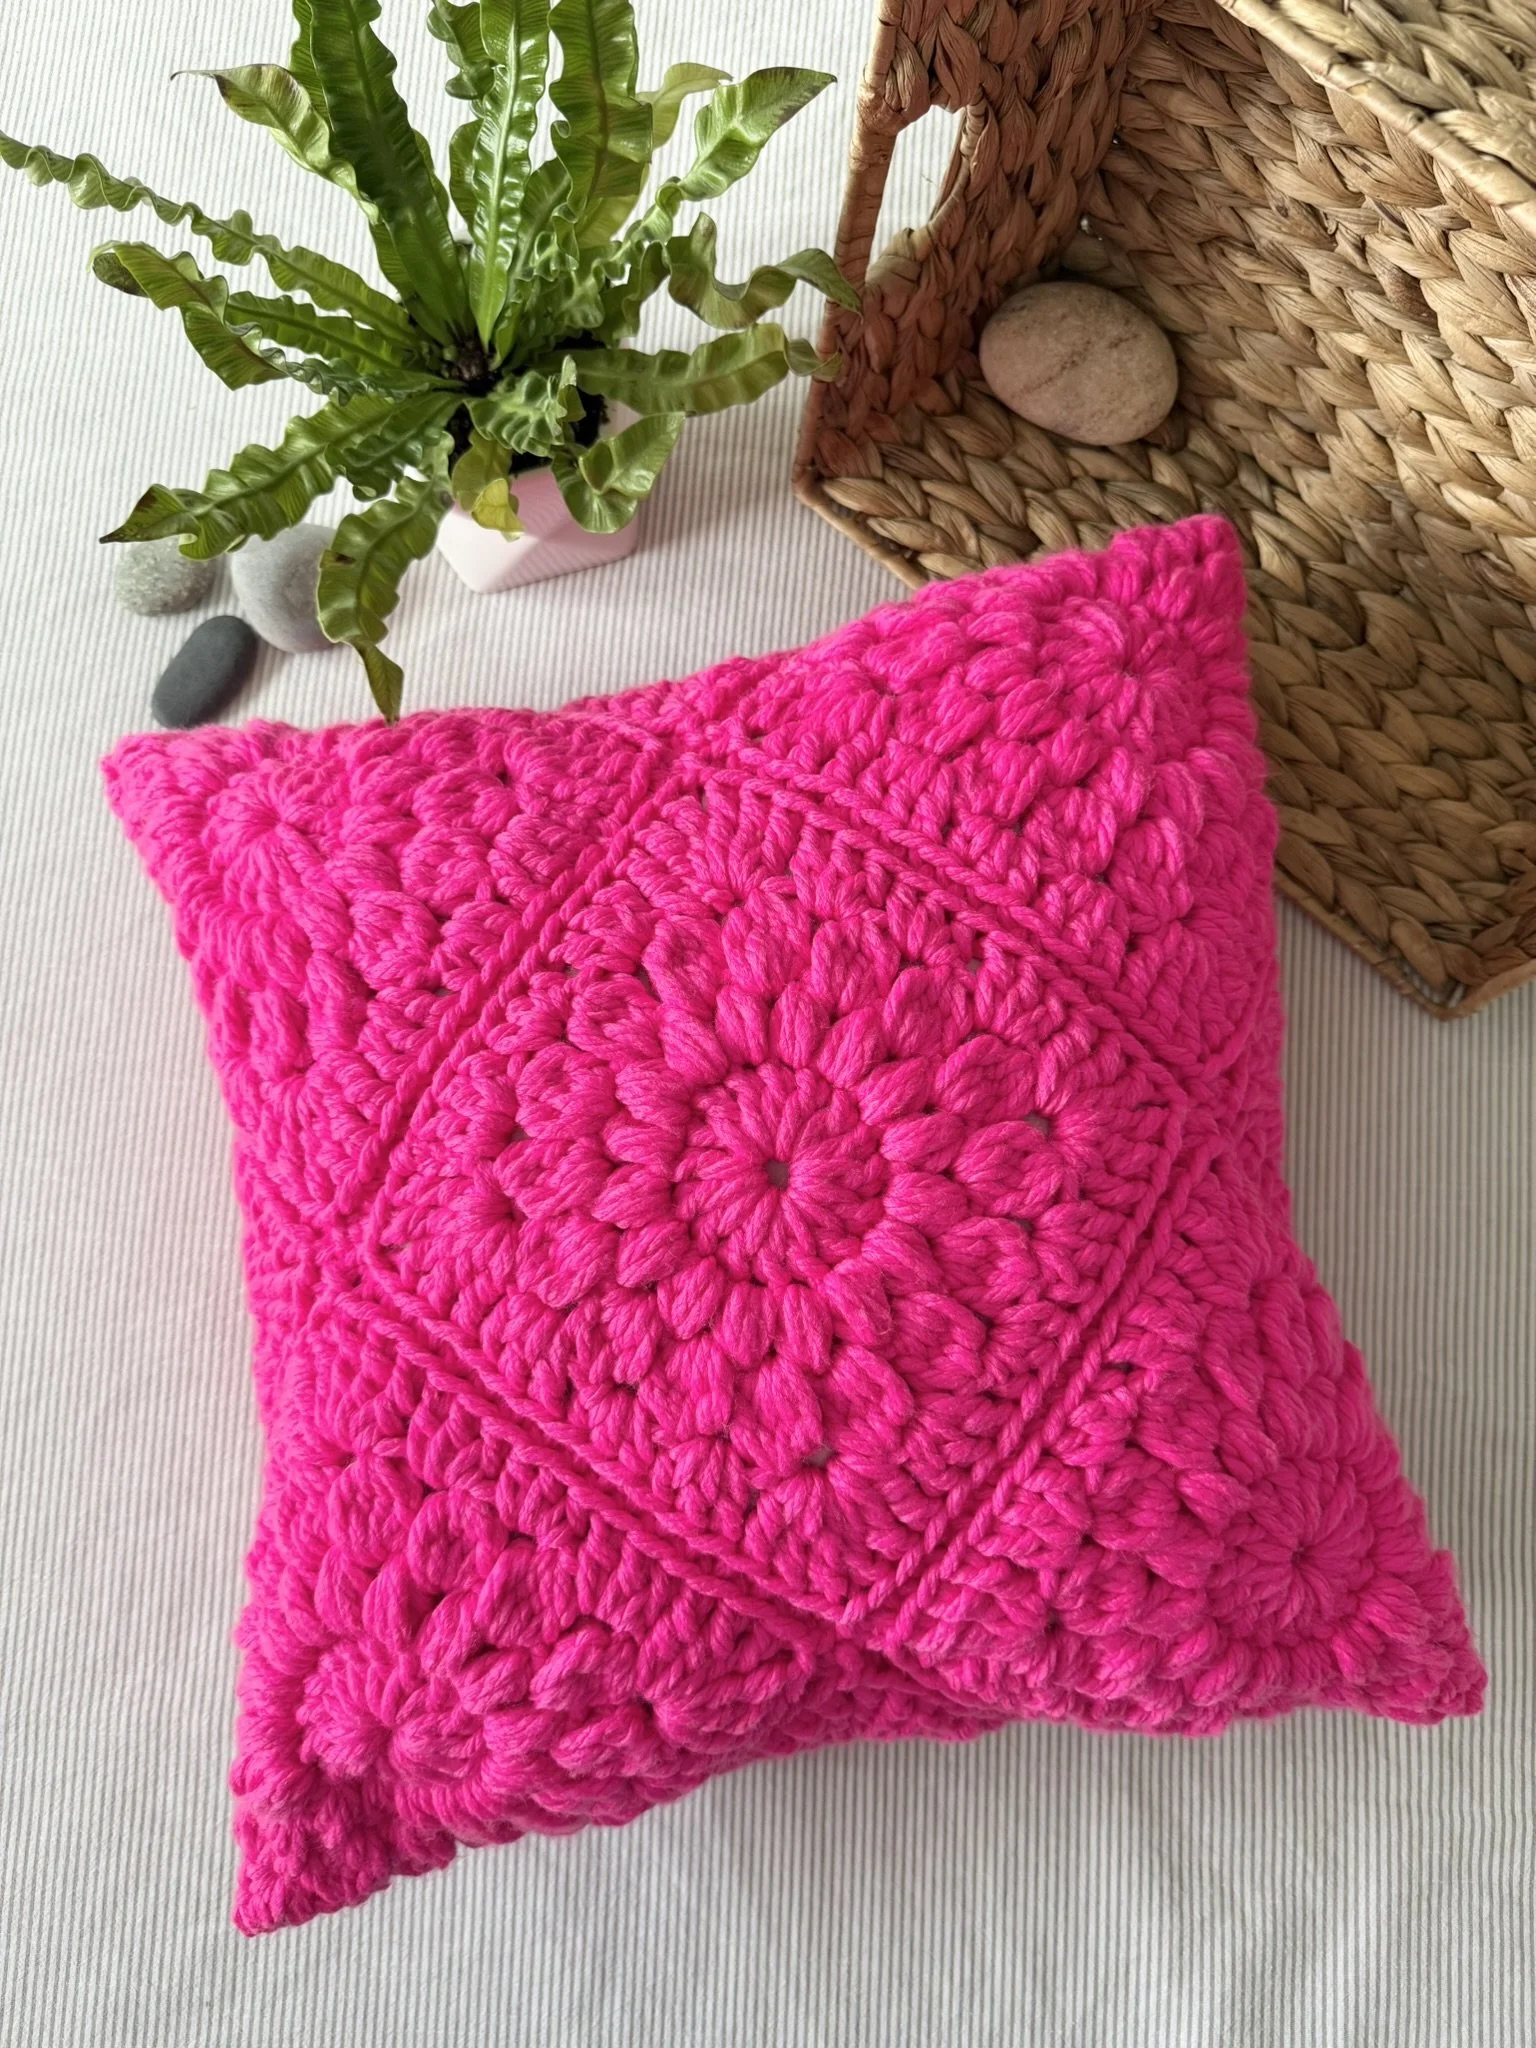
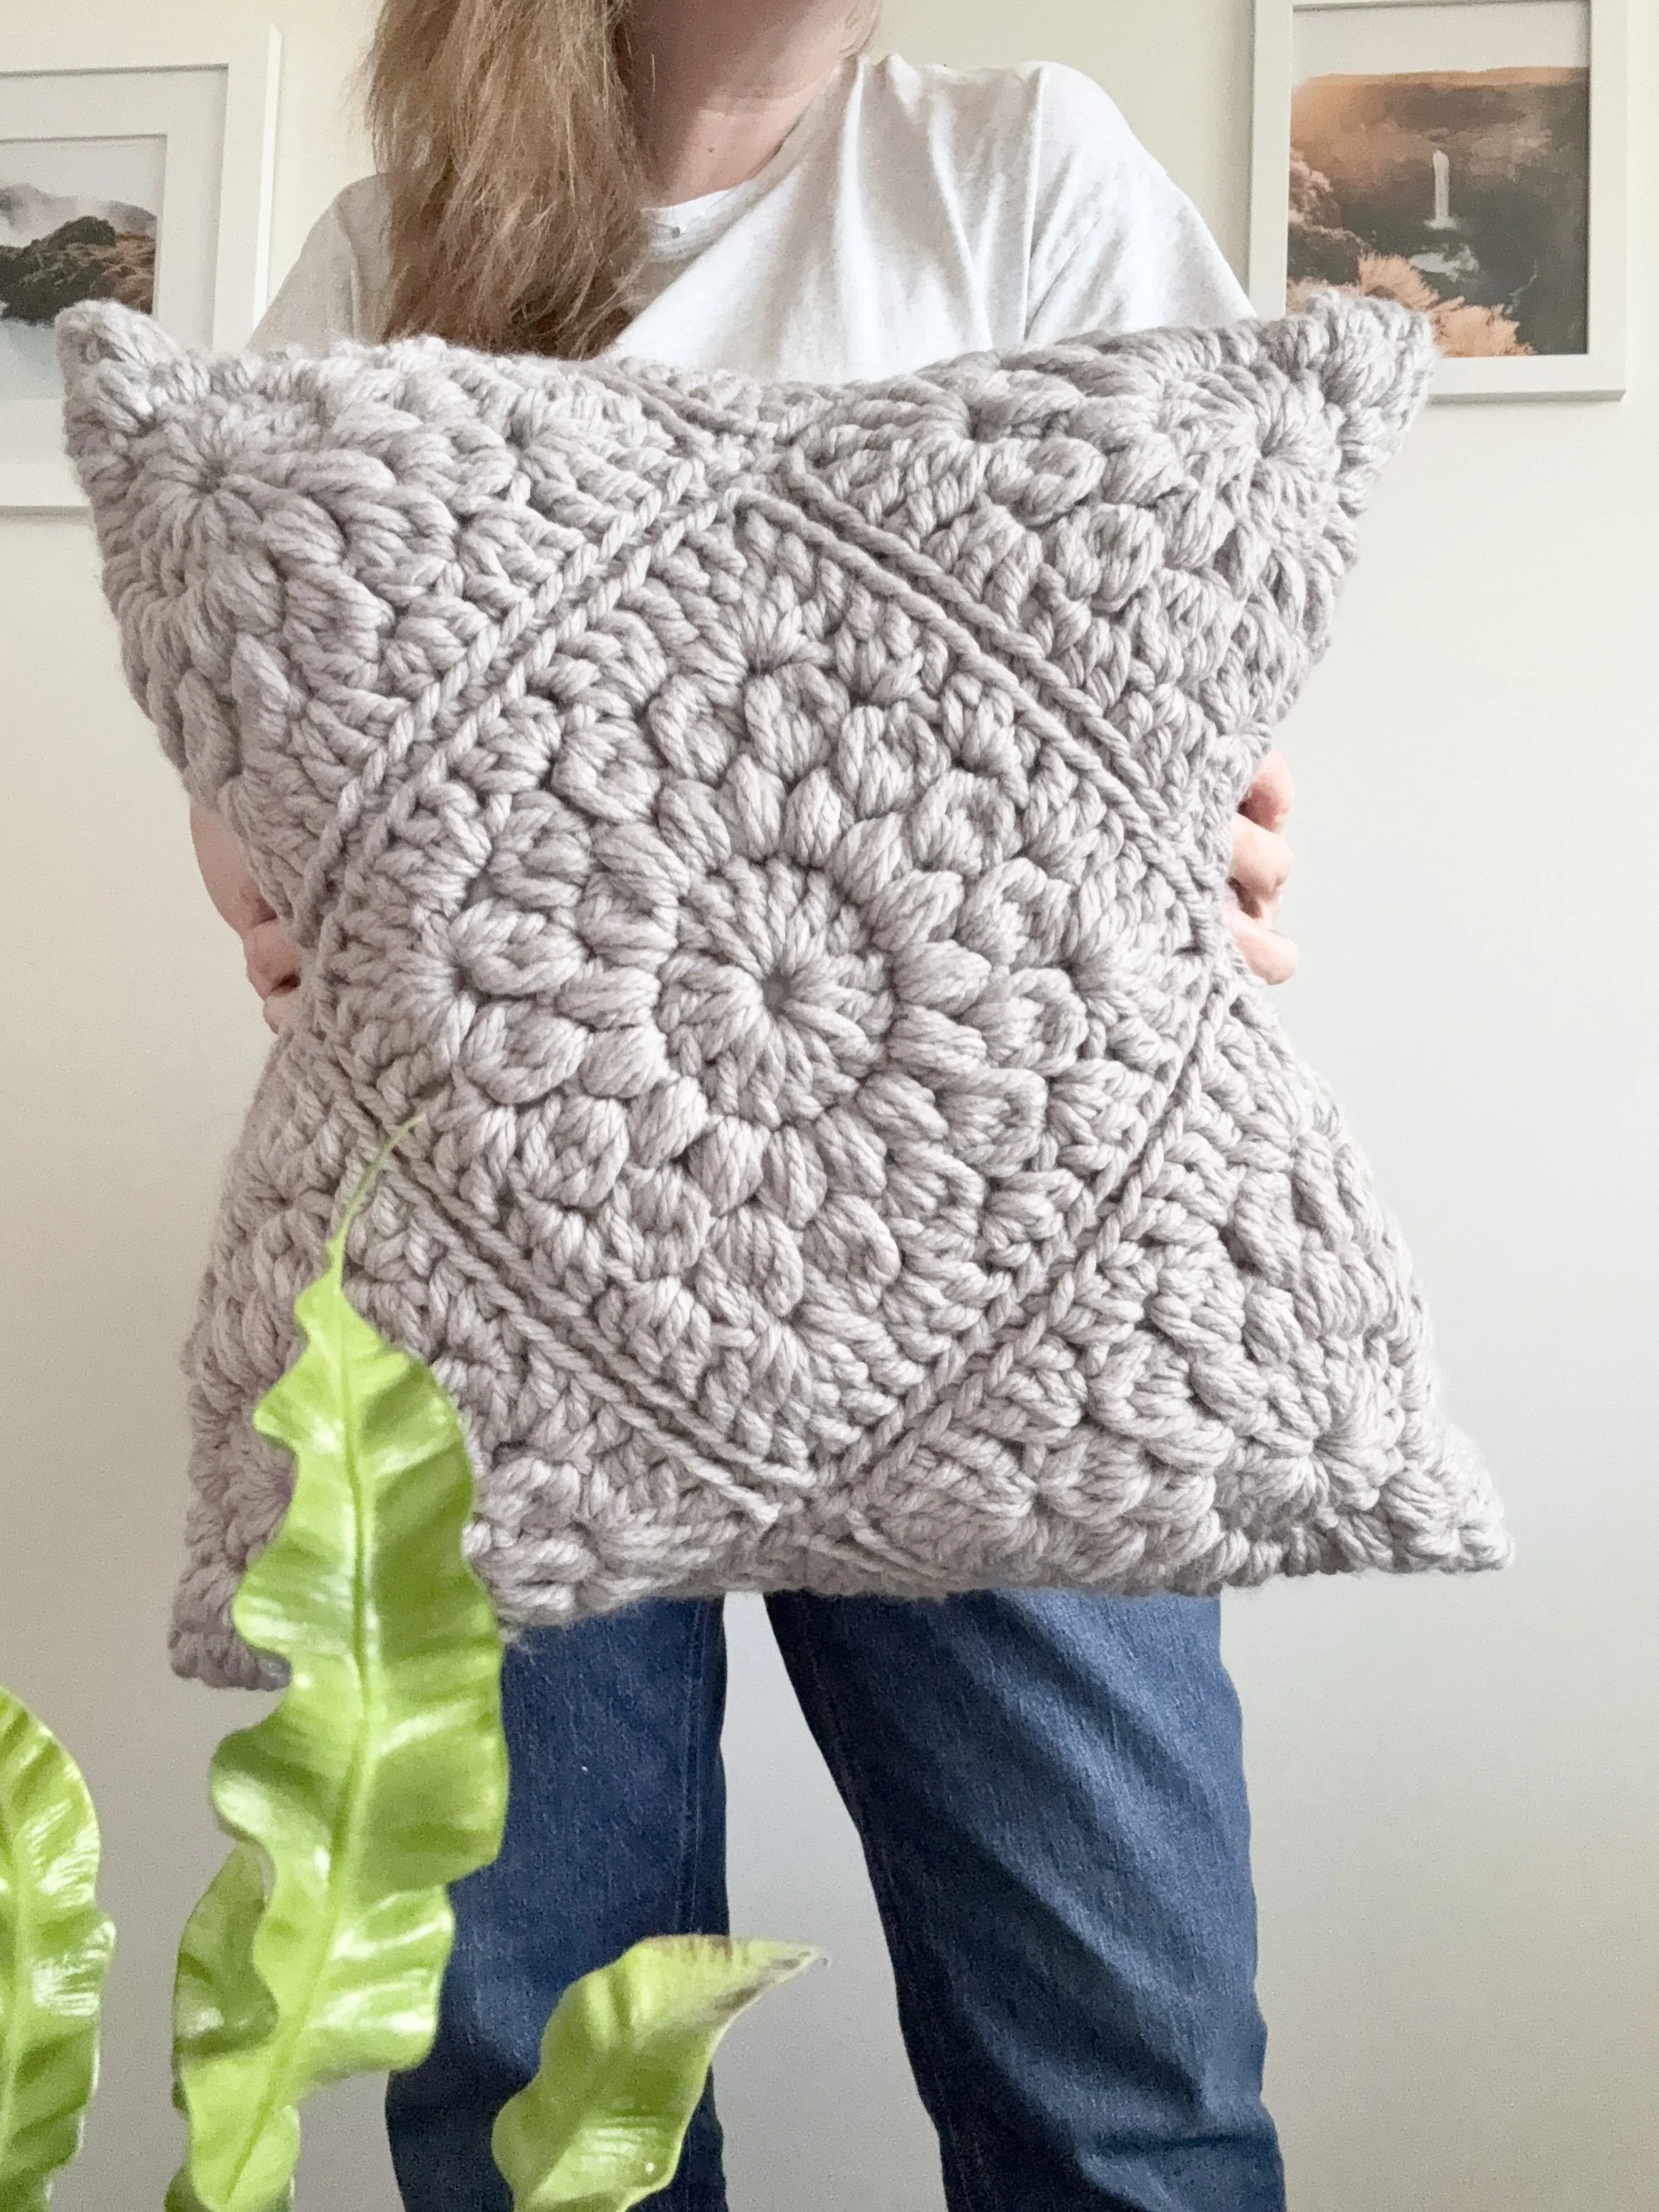
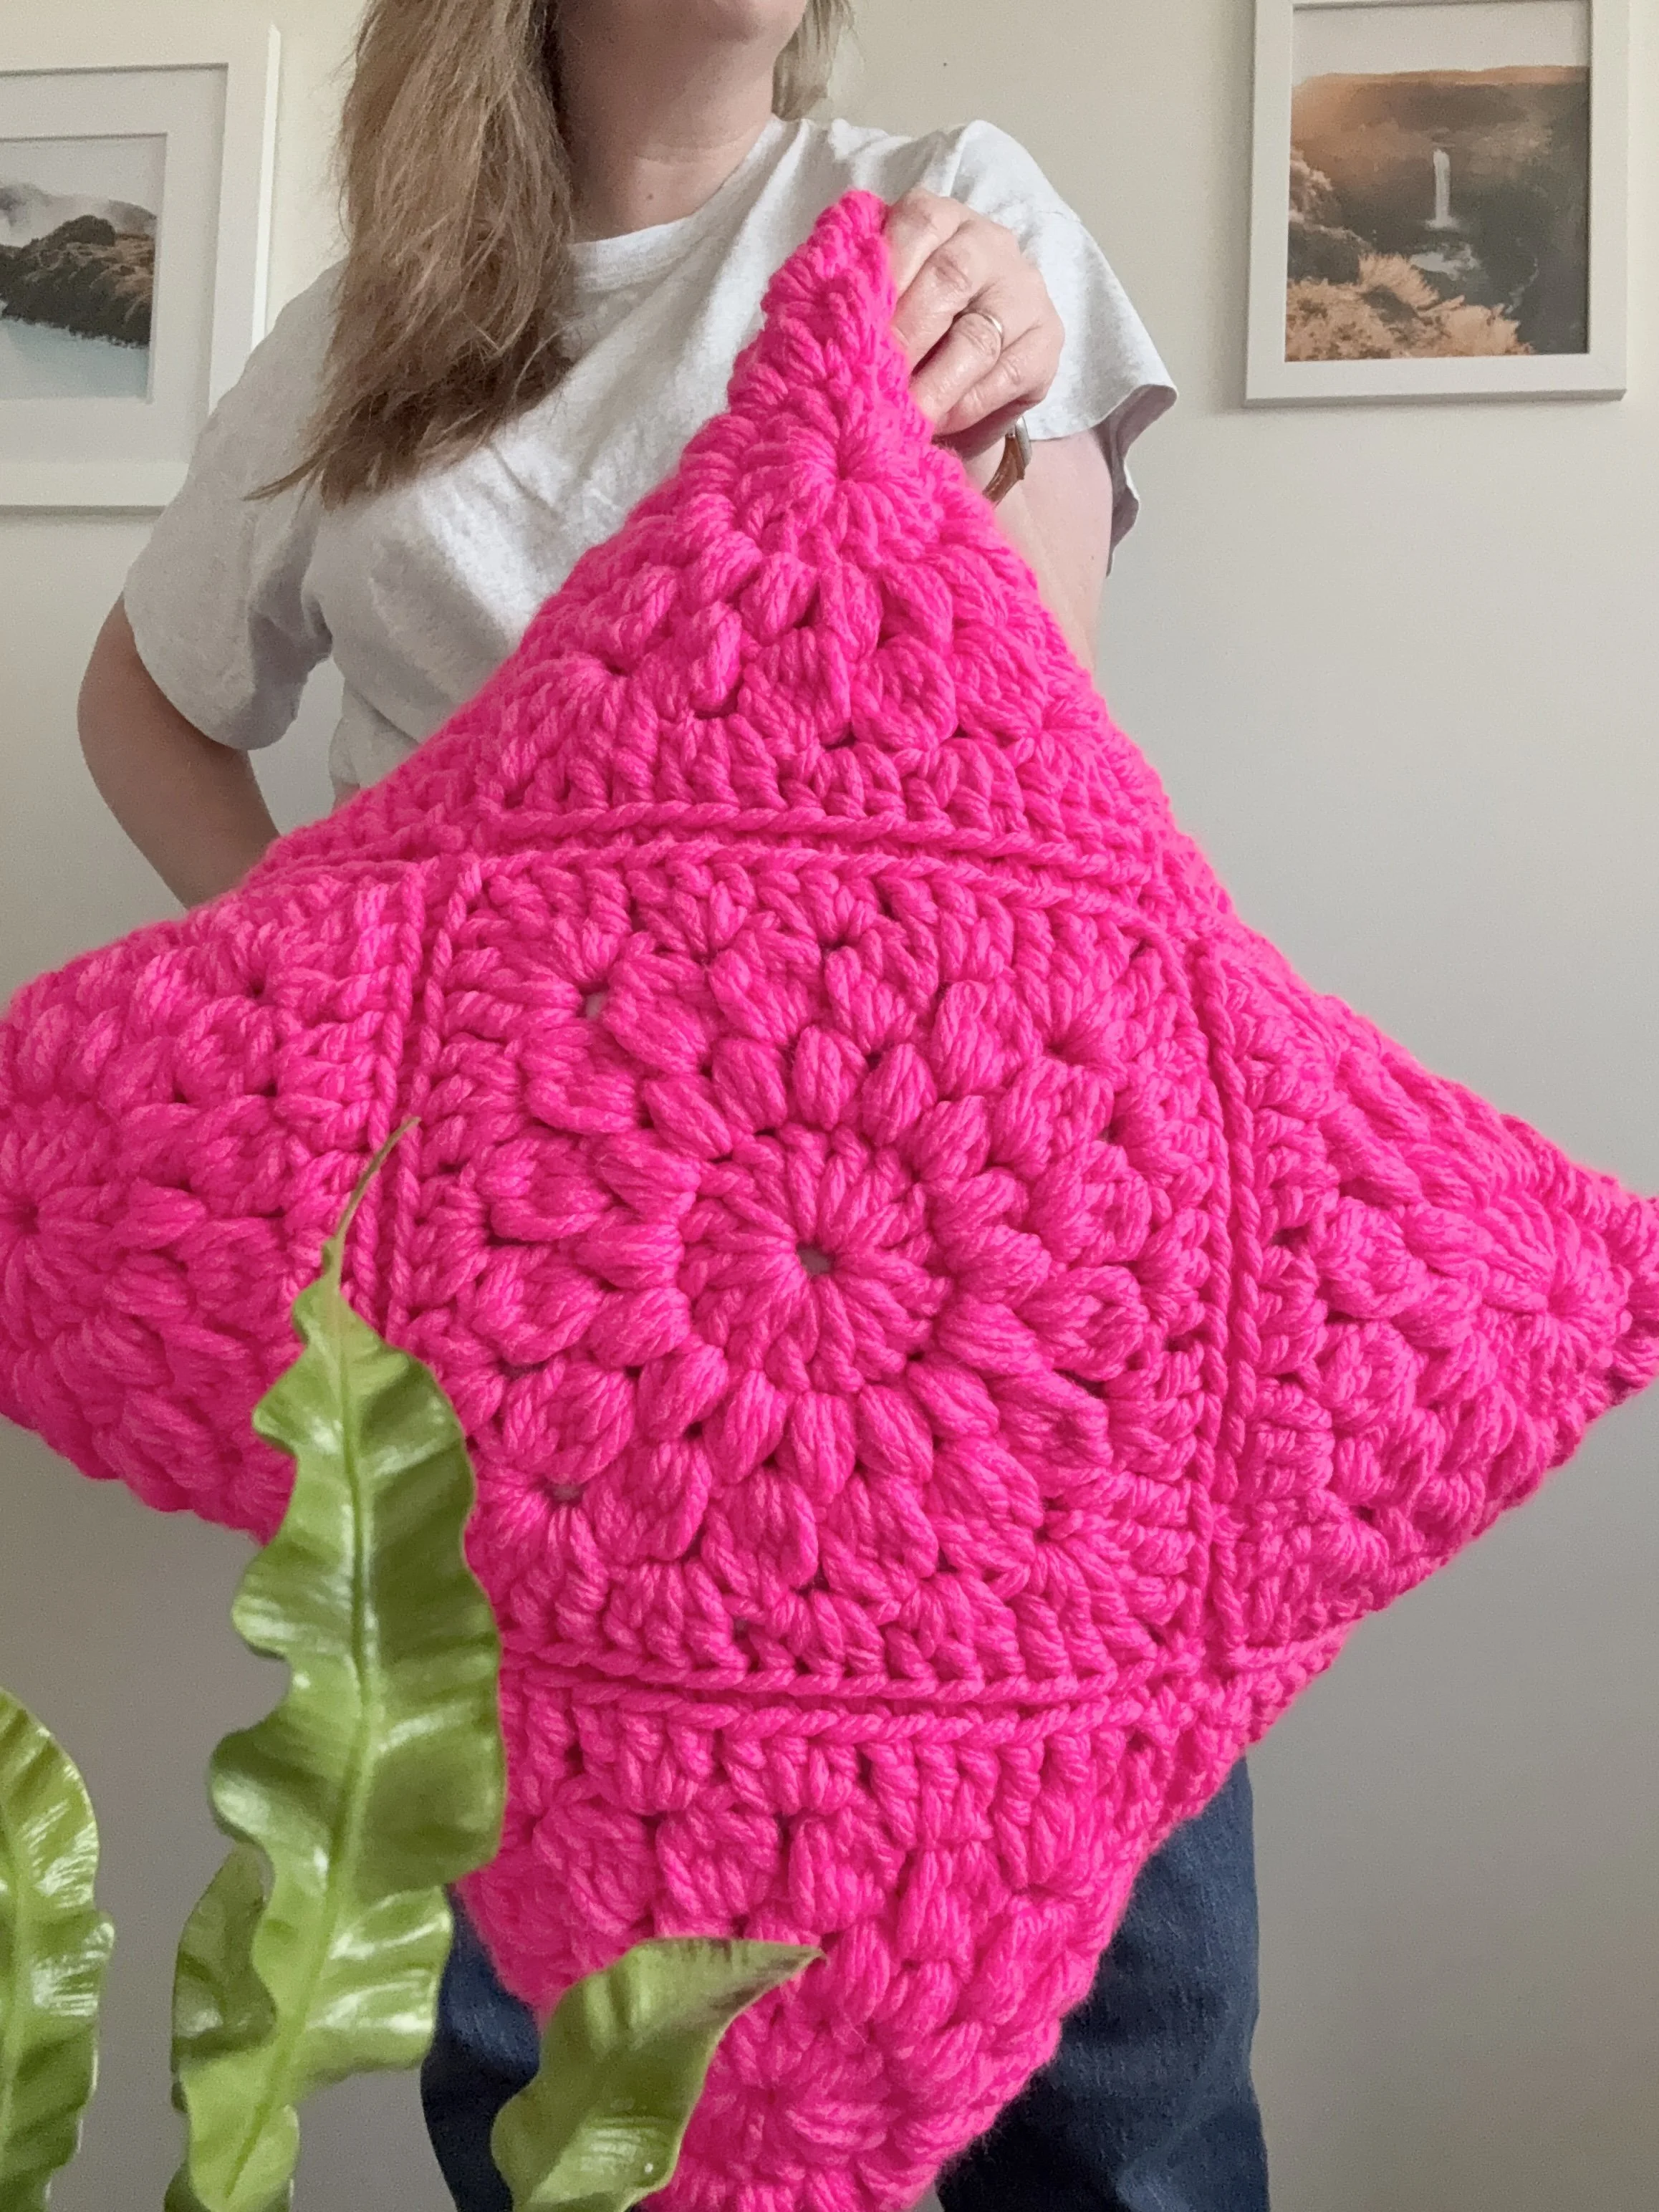
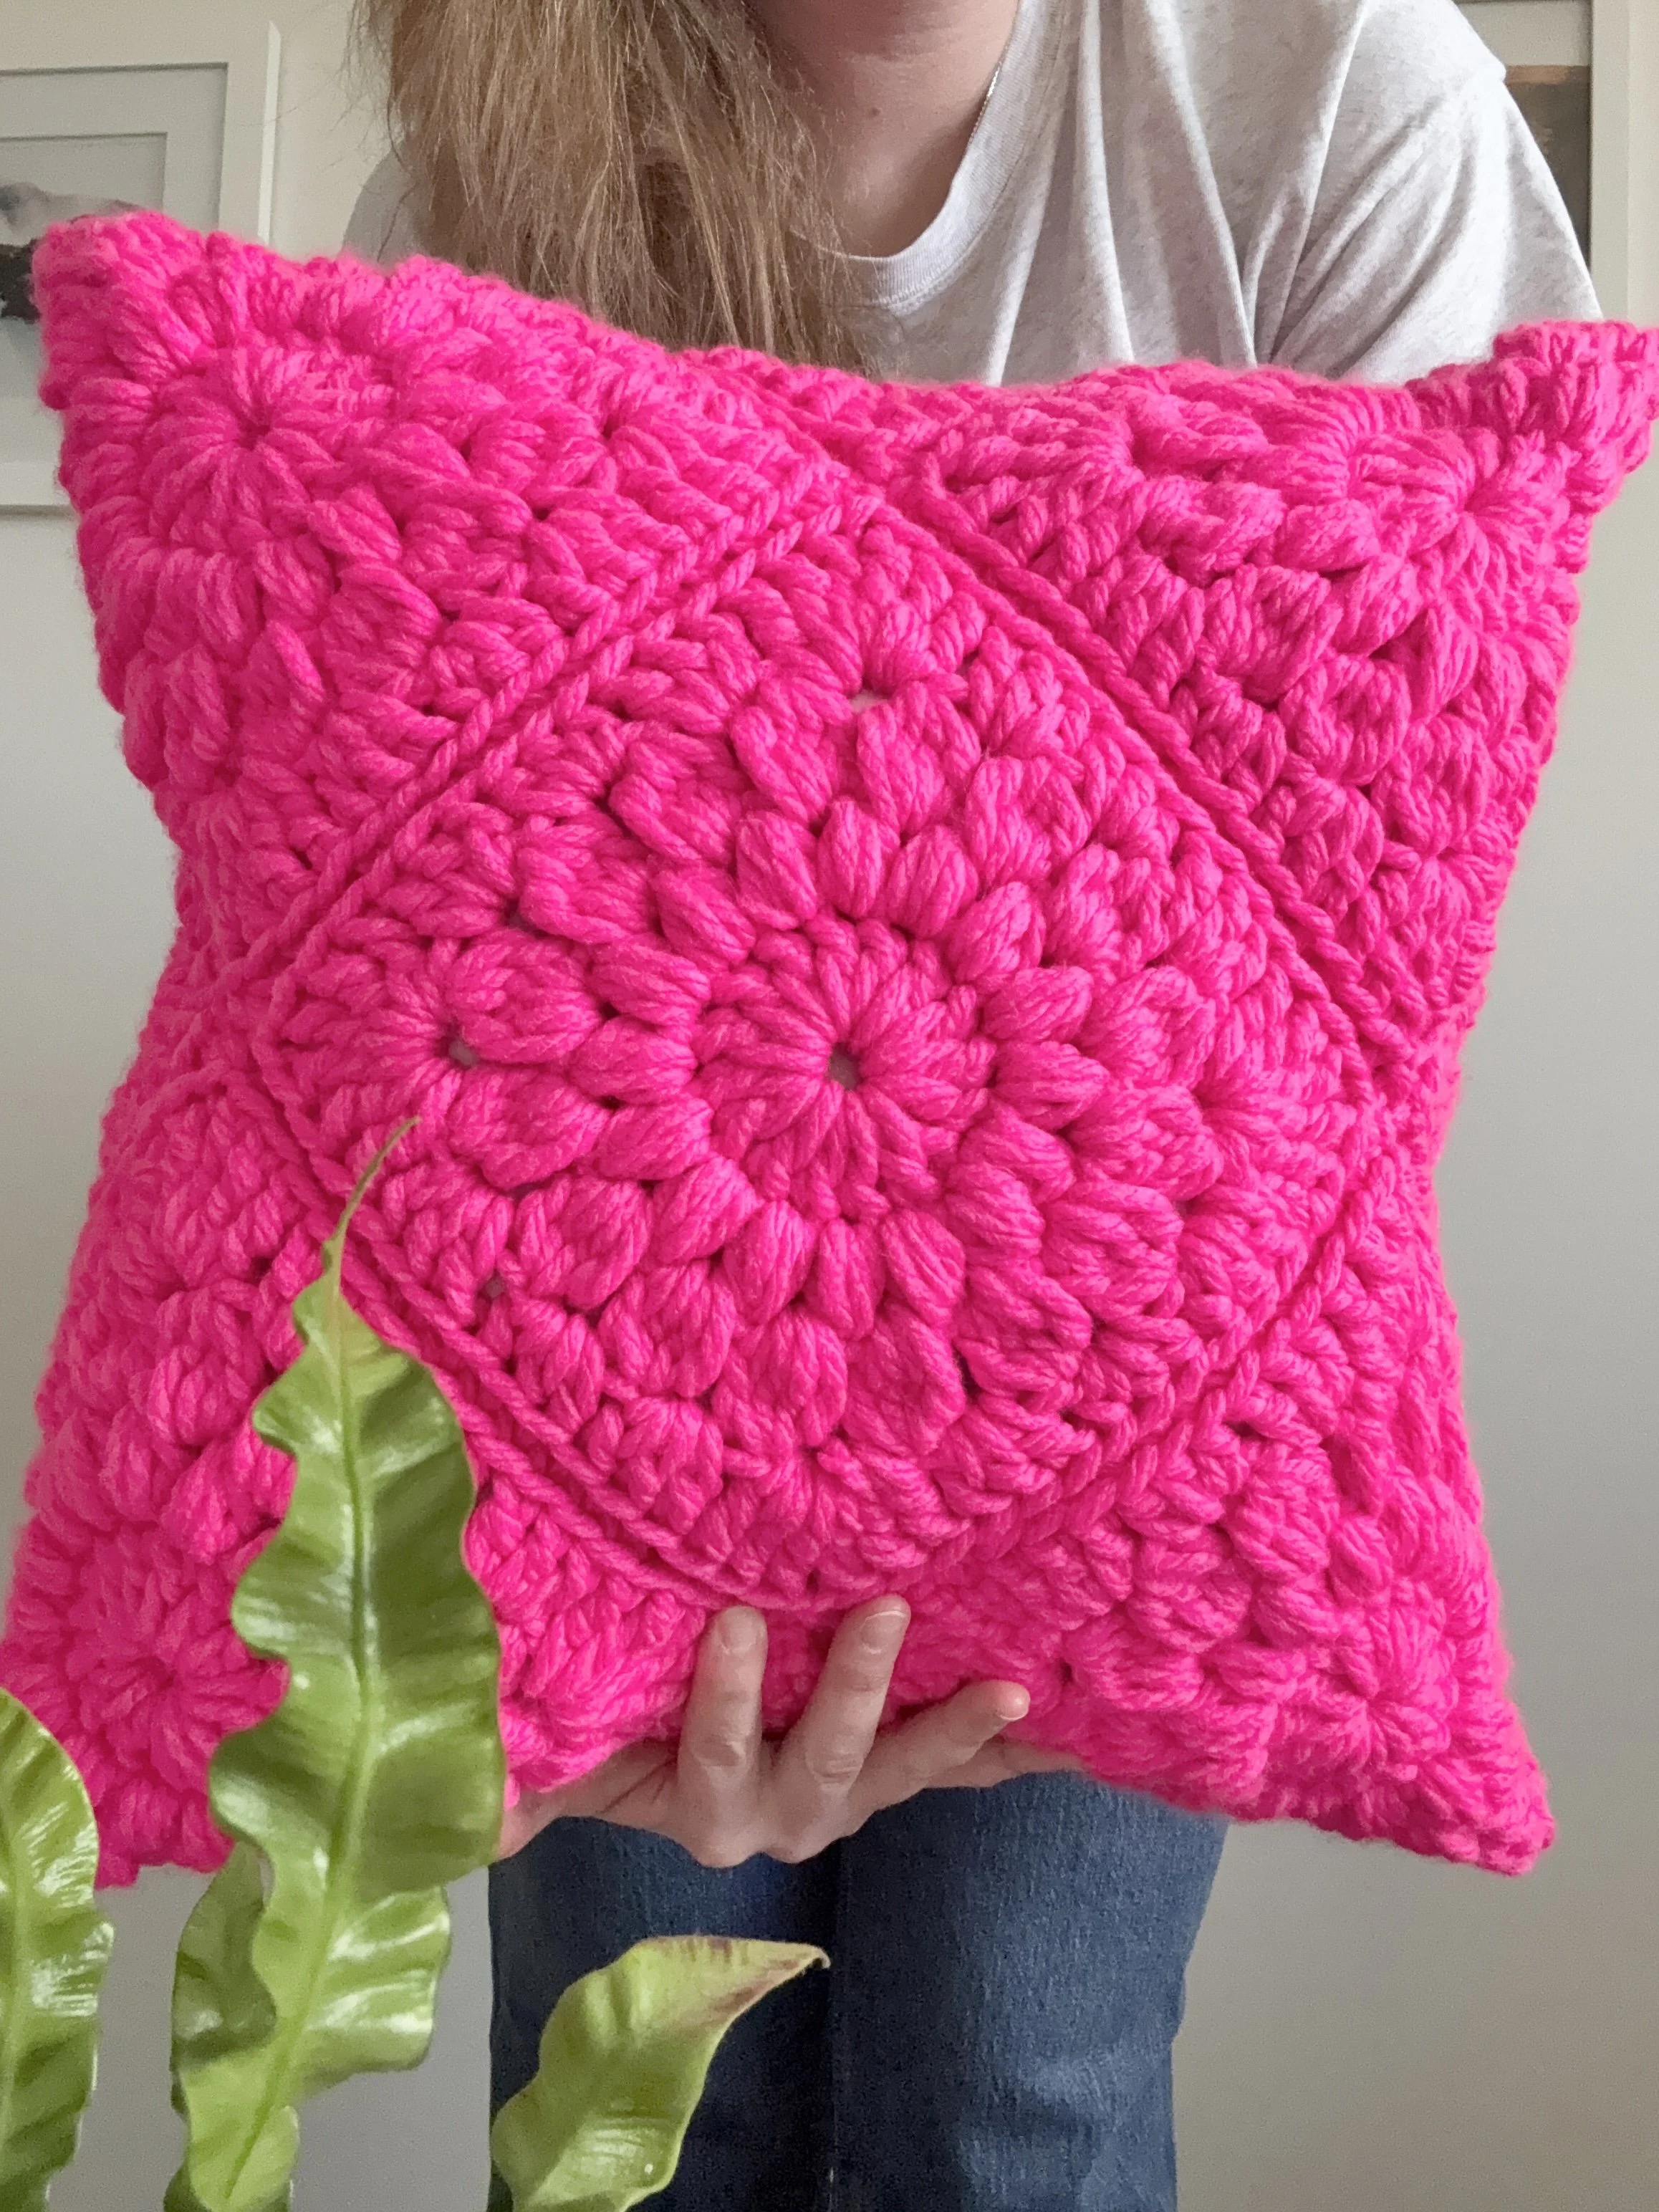
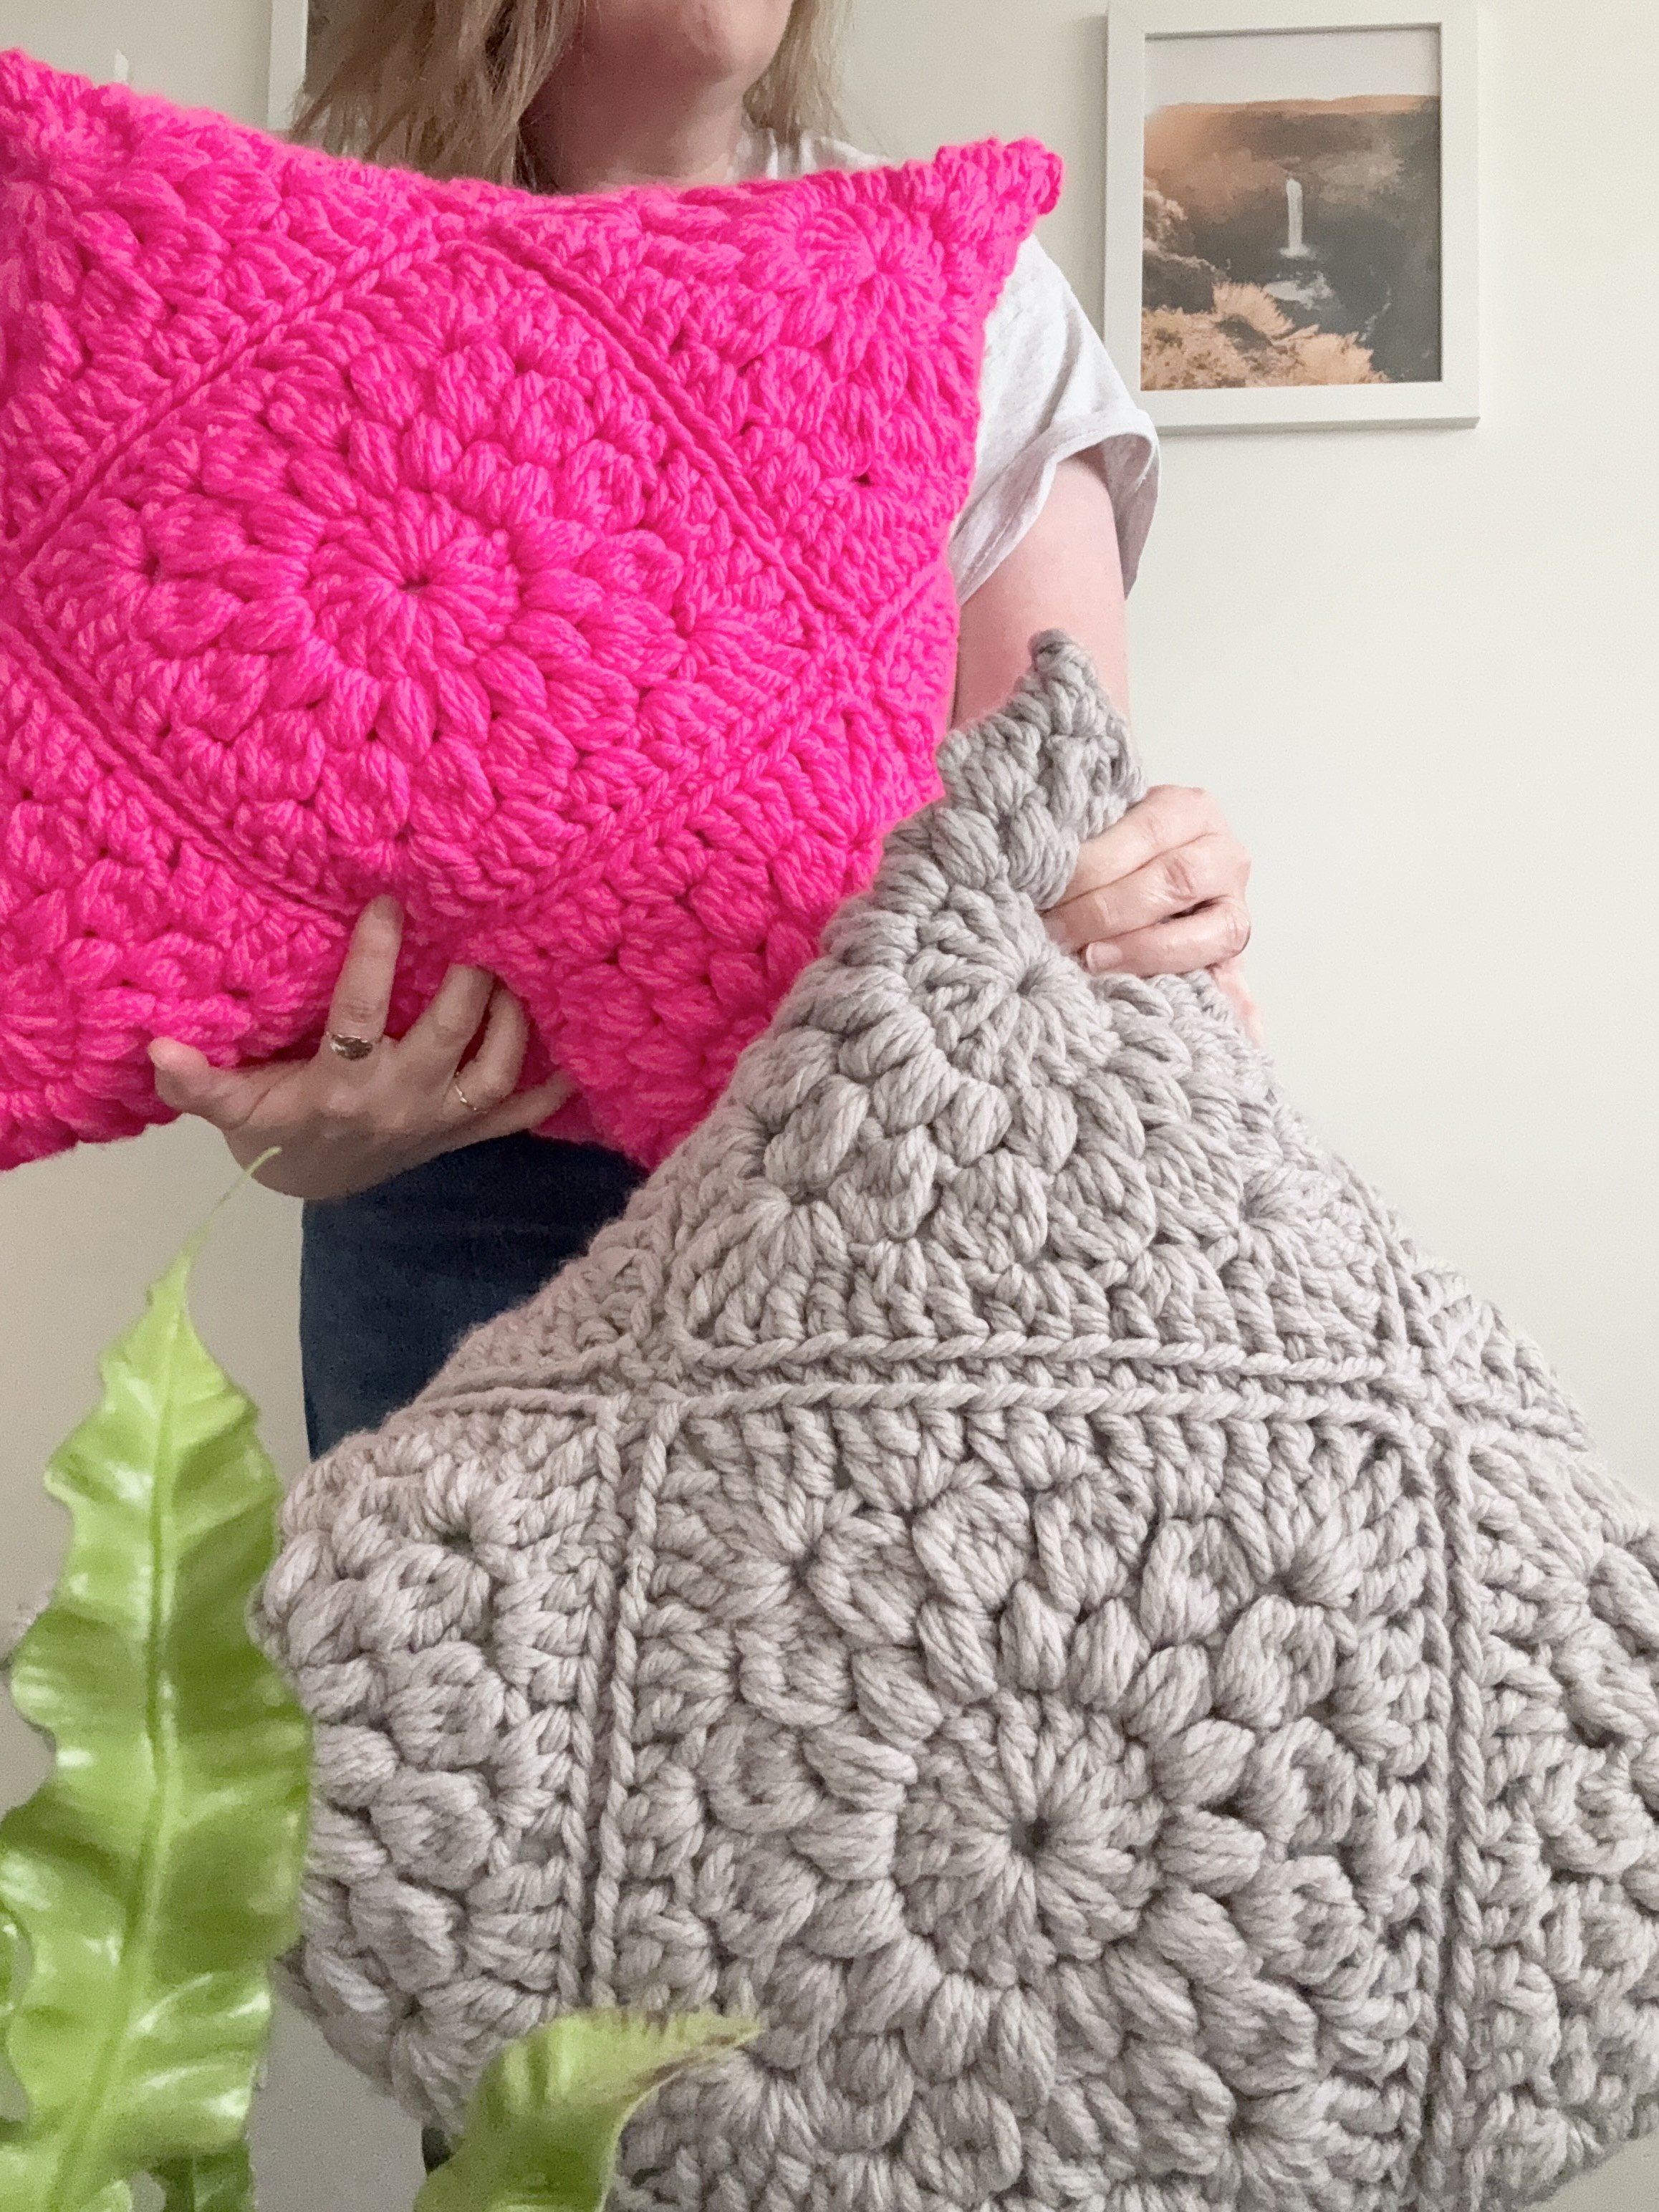
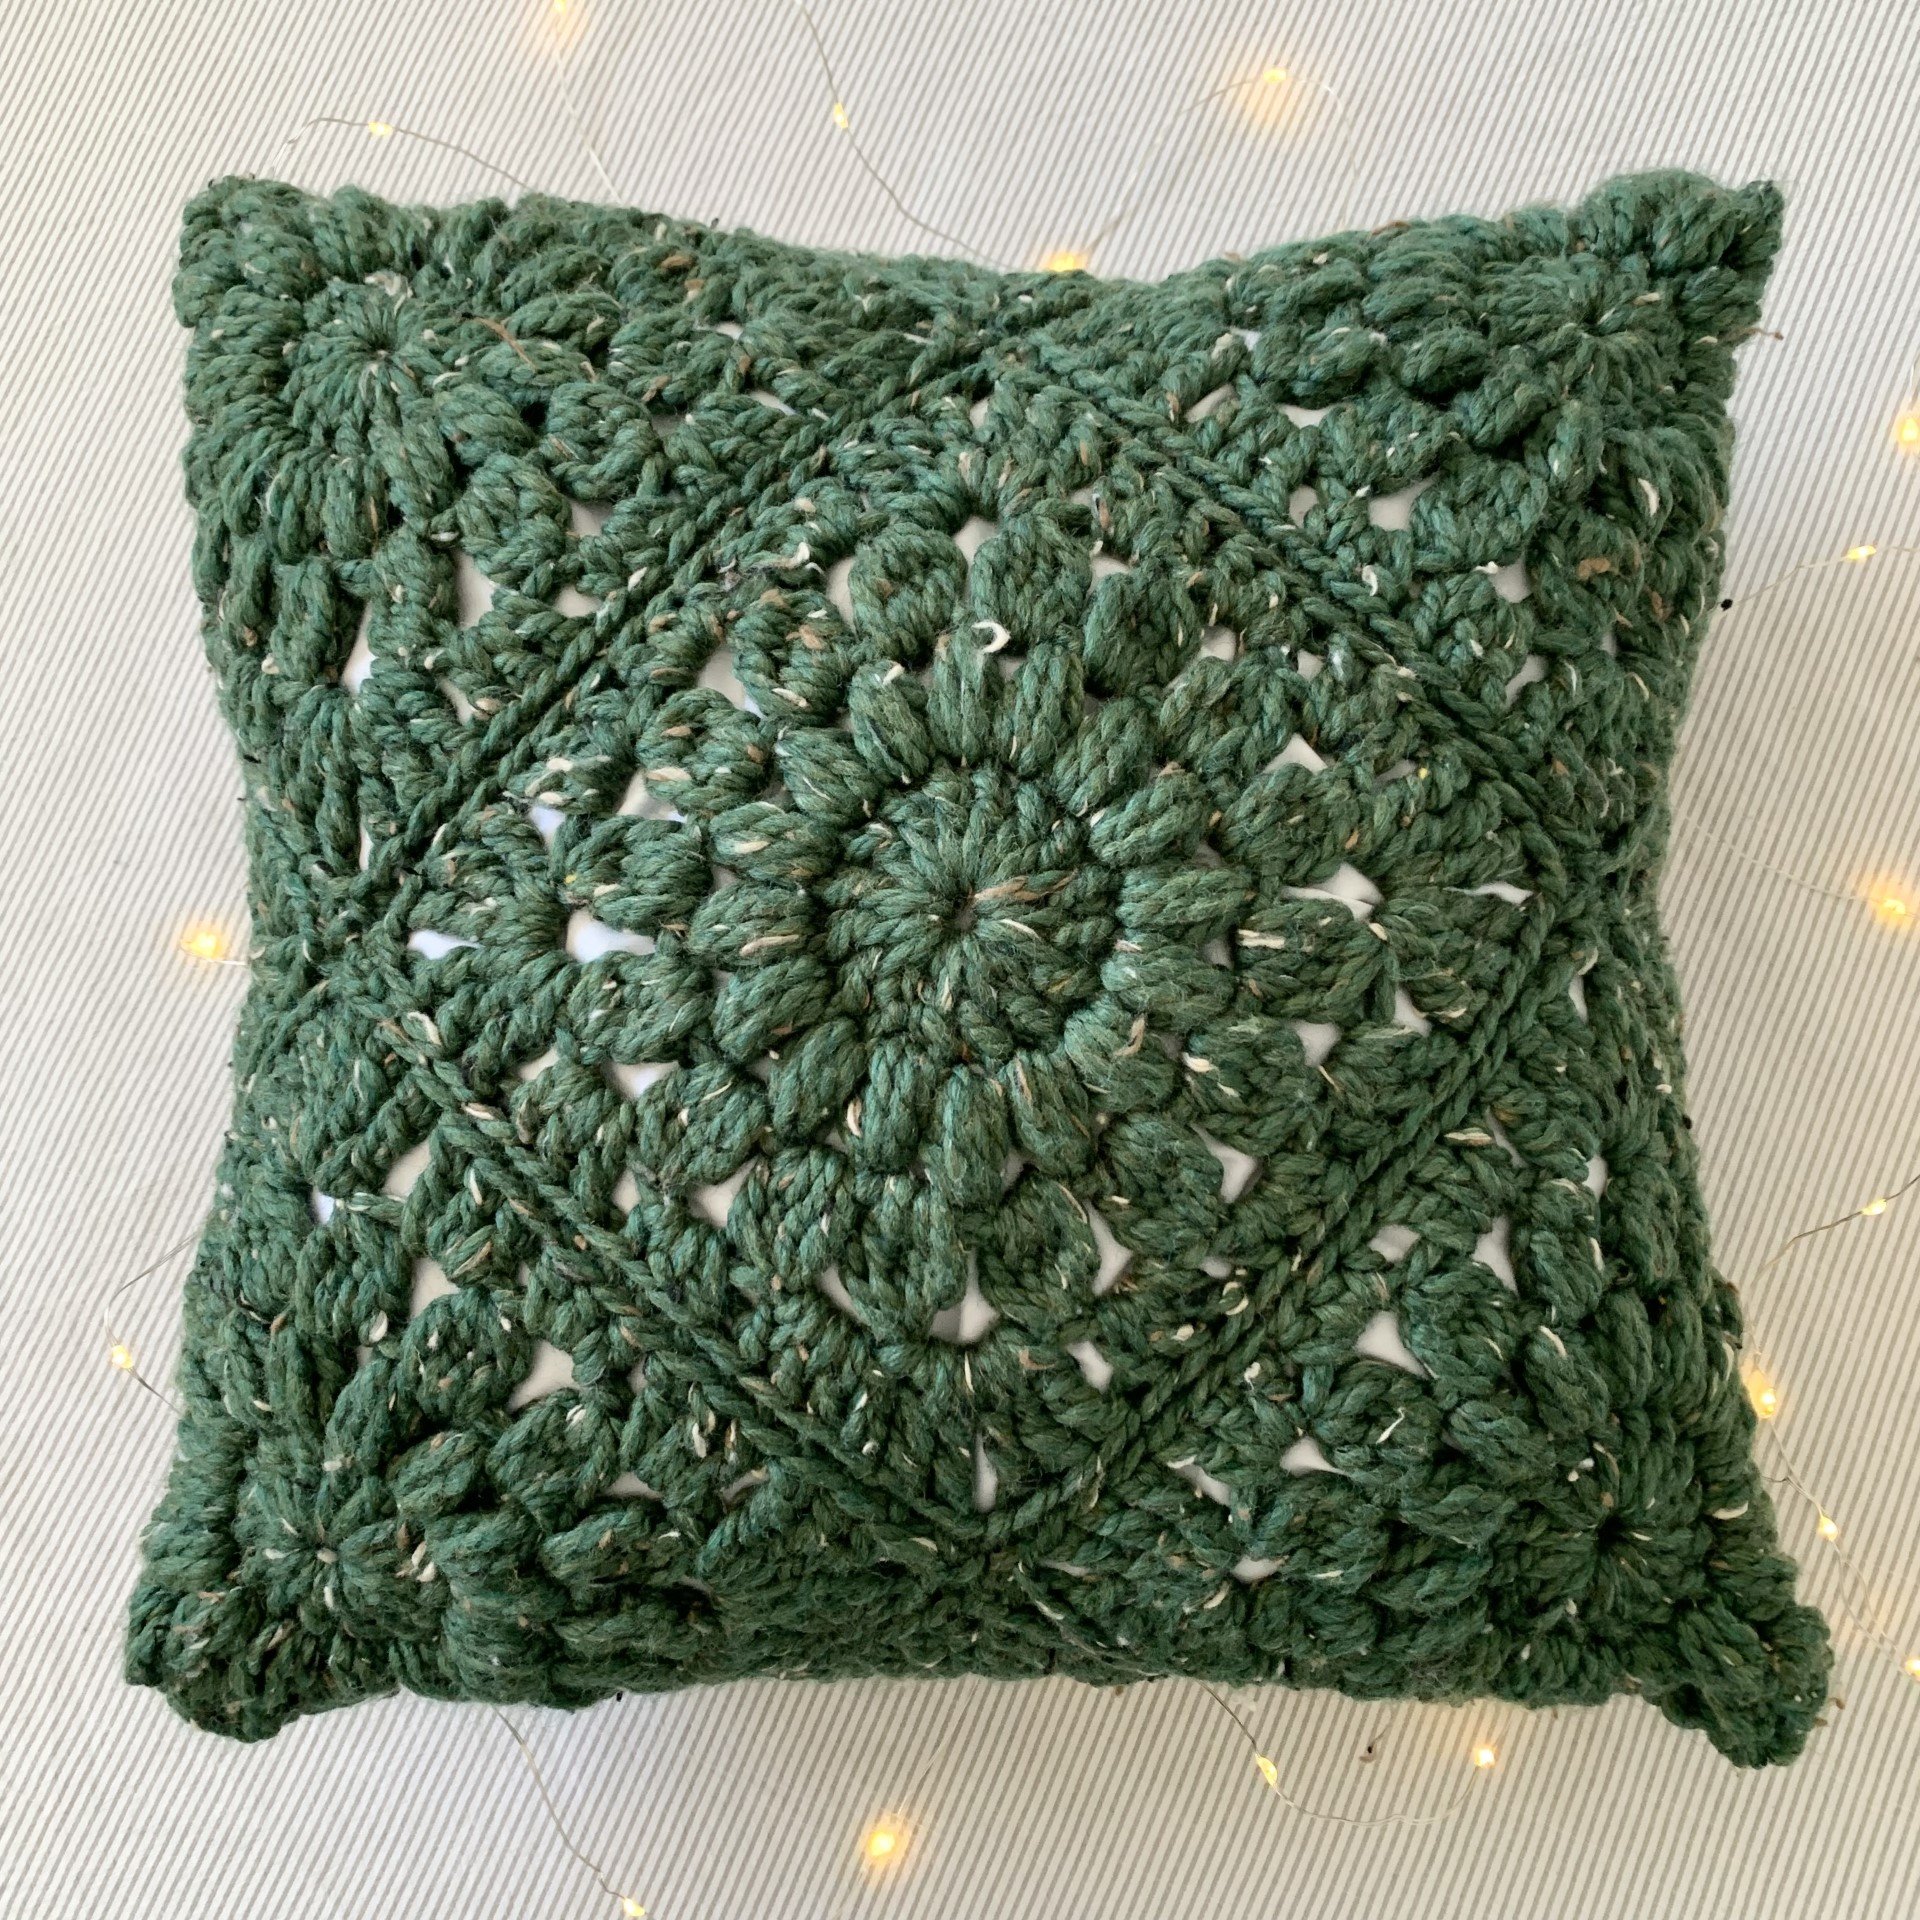
Back to school is around the corner- for us here in Canada, we don’t go back until after Labour Day. That hasn’t stopped me though… I’m already thinking of all the chunky makes and (dare I say….) autumn things? I’m not quite in full blown “pumpkin spice” mode—but I’ve definitely busted out some cozier yarns to play with. This pillow was one of them! I’ve used a super chunky yarn to make a 20” pillow here—I’m imagining so many combinations. I love the simplicity of all one colour and how it lets the textured sunbursts shine. I imagine, this would also be adorable in seasonal colours to match any décor.
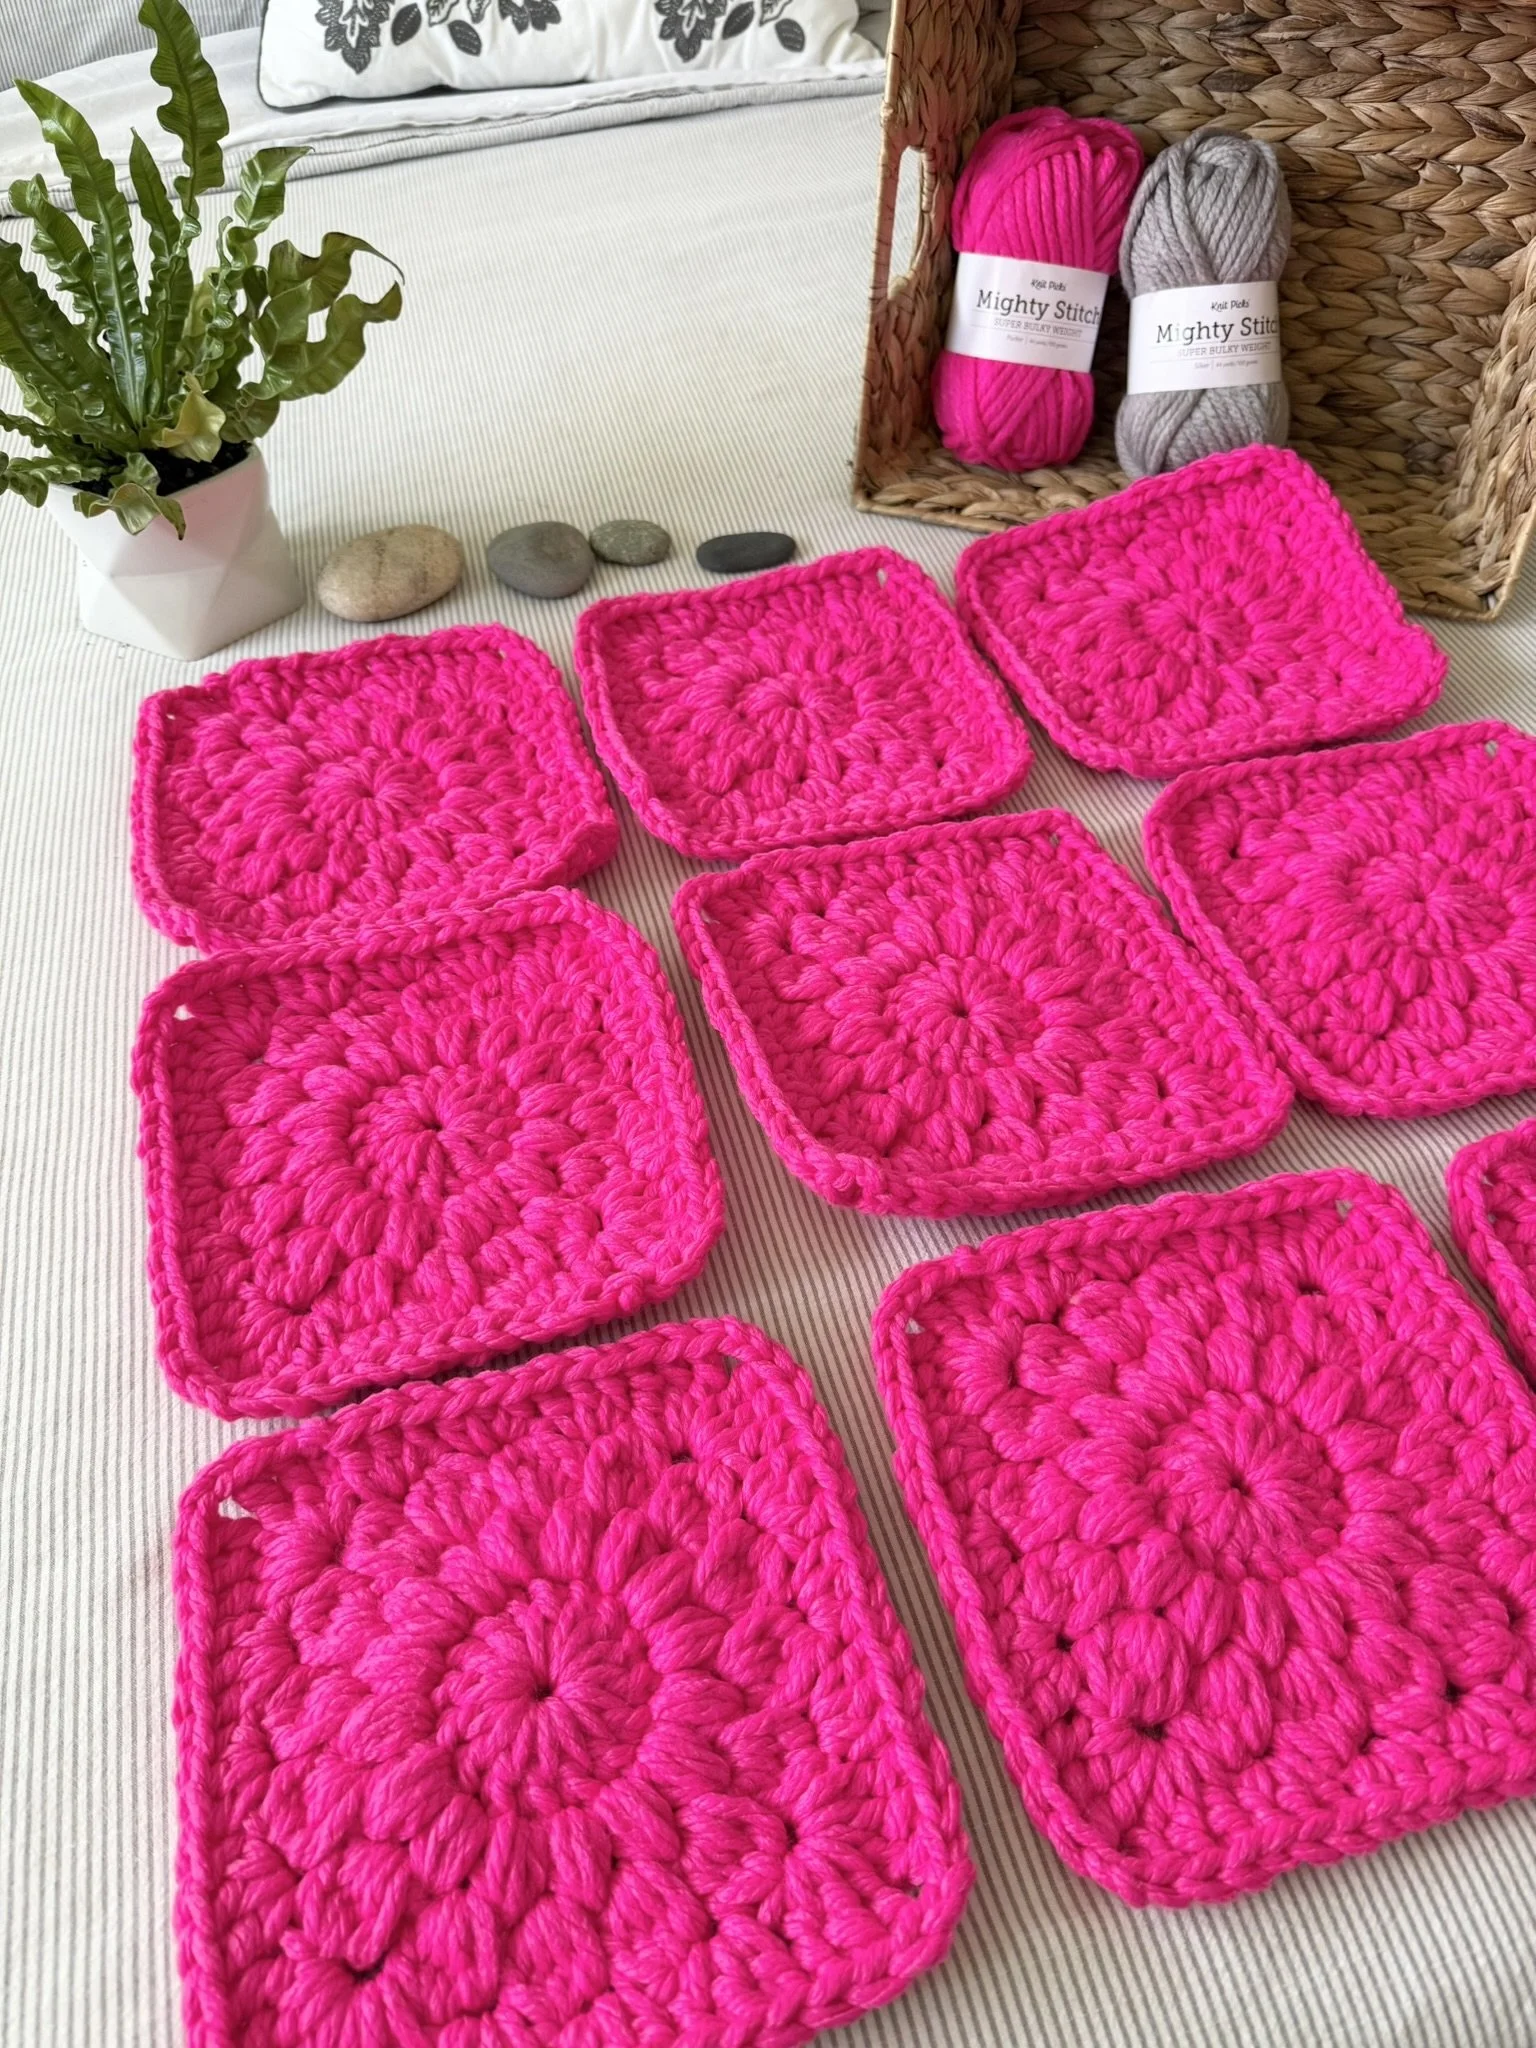
Something I get asked often is: “do I have to use JAYG (join as you go) or CJAYG (continuous join as you go) to join my squares?” The answer? -No! Of course not, there are many beautiful ways to join squares! This pillow pattern is meant to encourage those who haven’t made a pillow yet to try (because the above-mentioned methods may seem intimidating to first time crocheters). These squares are just slip stitched together and the result is a perfectly squishy pillow you can feel good about. Not only are the colour options endless-the sunburst squares always fill me with joy.
L, M
ps. If you want the ad-free, printable PDF of the pattern you can grab one in my Ravelry or Etsy Pattern Shops:
RAVELRY: Special Edition Basic Sunburst Pillow Pattern
ETSY: Special Edition Basic Sunburst Pillow Pattern
You can also find the link to the original Basic Sunburst Pillow Pattern here :)

Notions
US 9.00 mm (size M/N) crochet hook
Needle for weaving in ends
Scissors
20”x 20” washable pillow form (insert)
Yarn
Lion Brand Re-Spun Thick & Quick (223yds/340g):
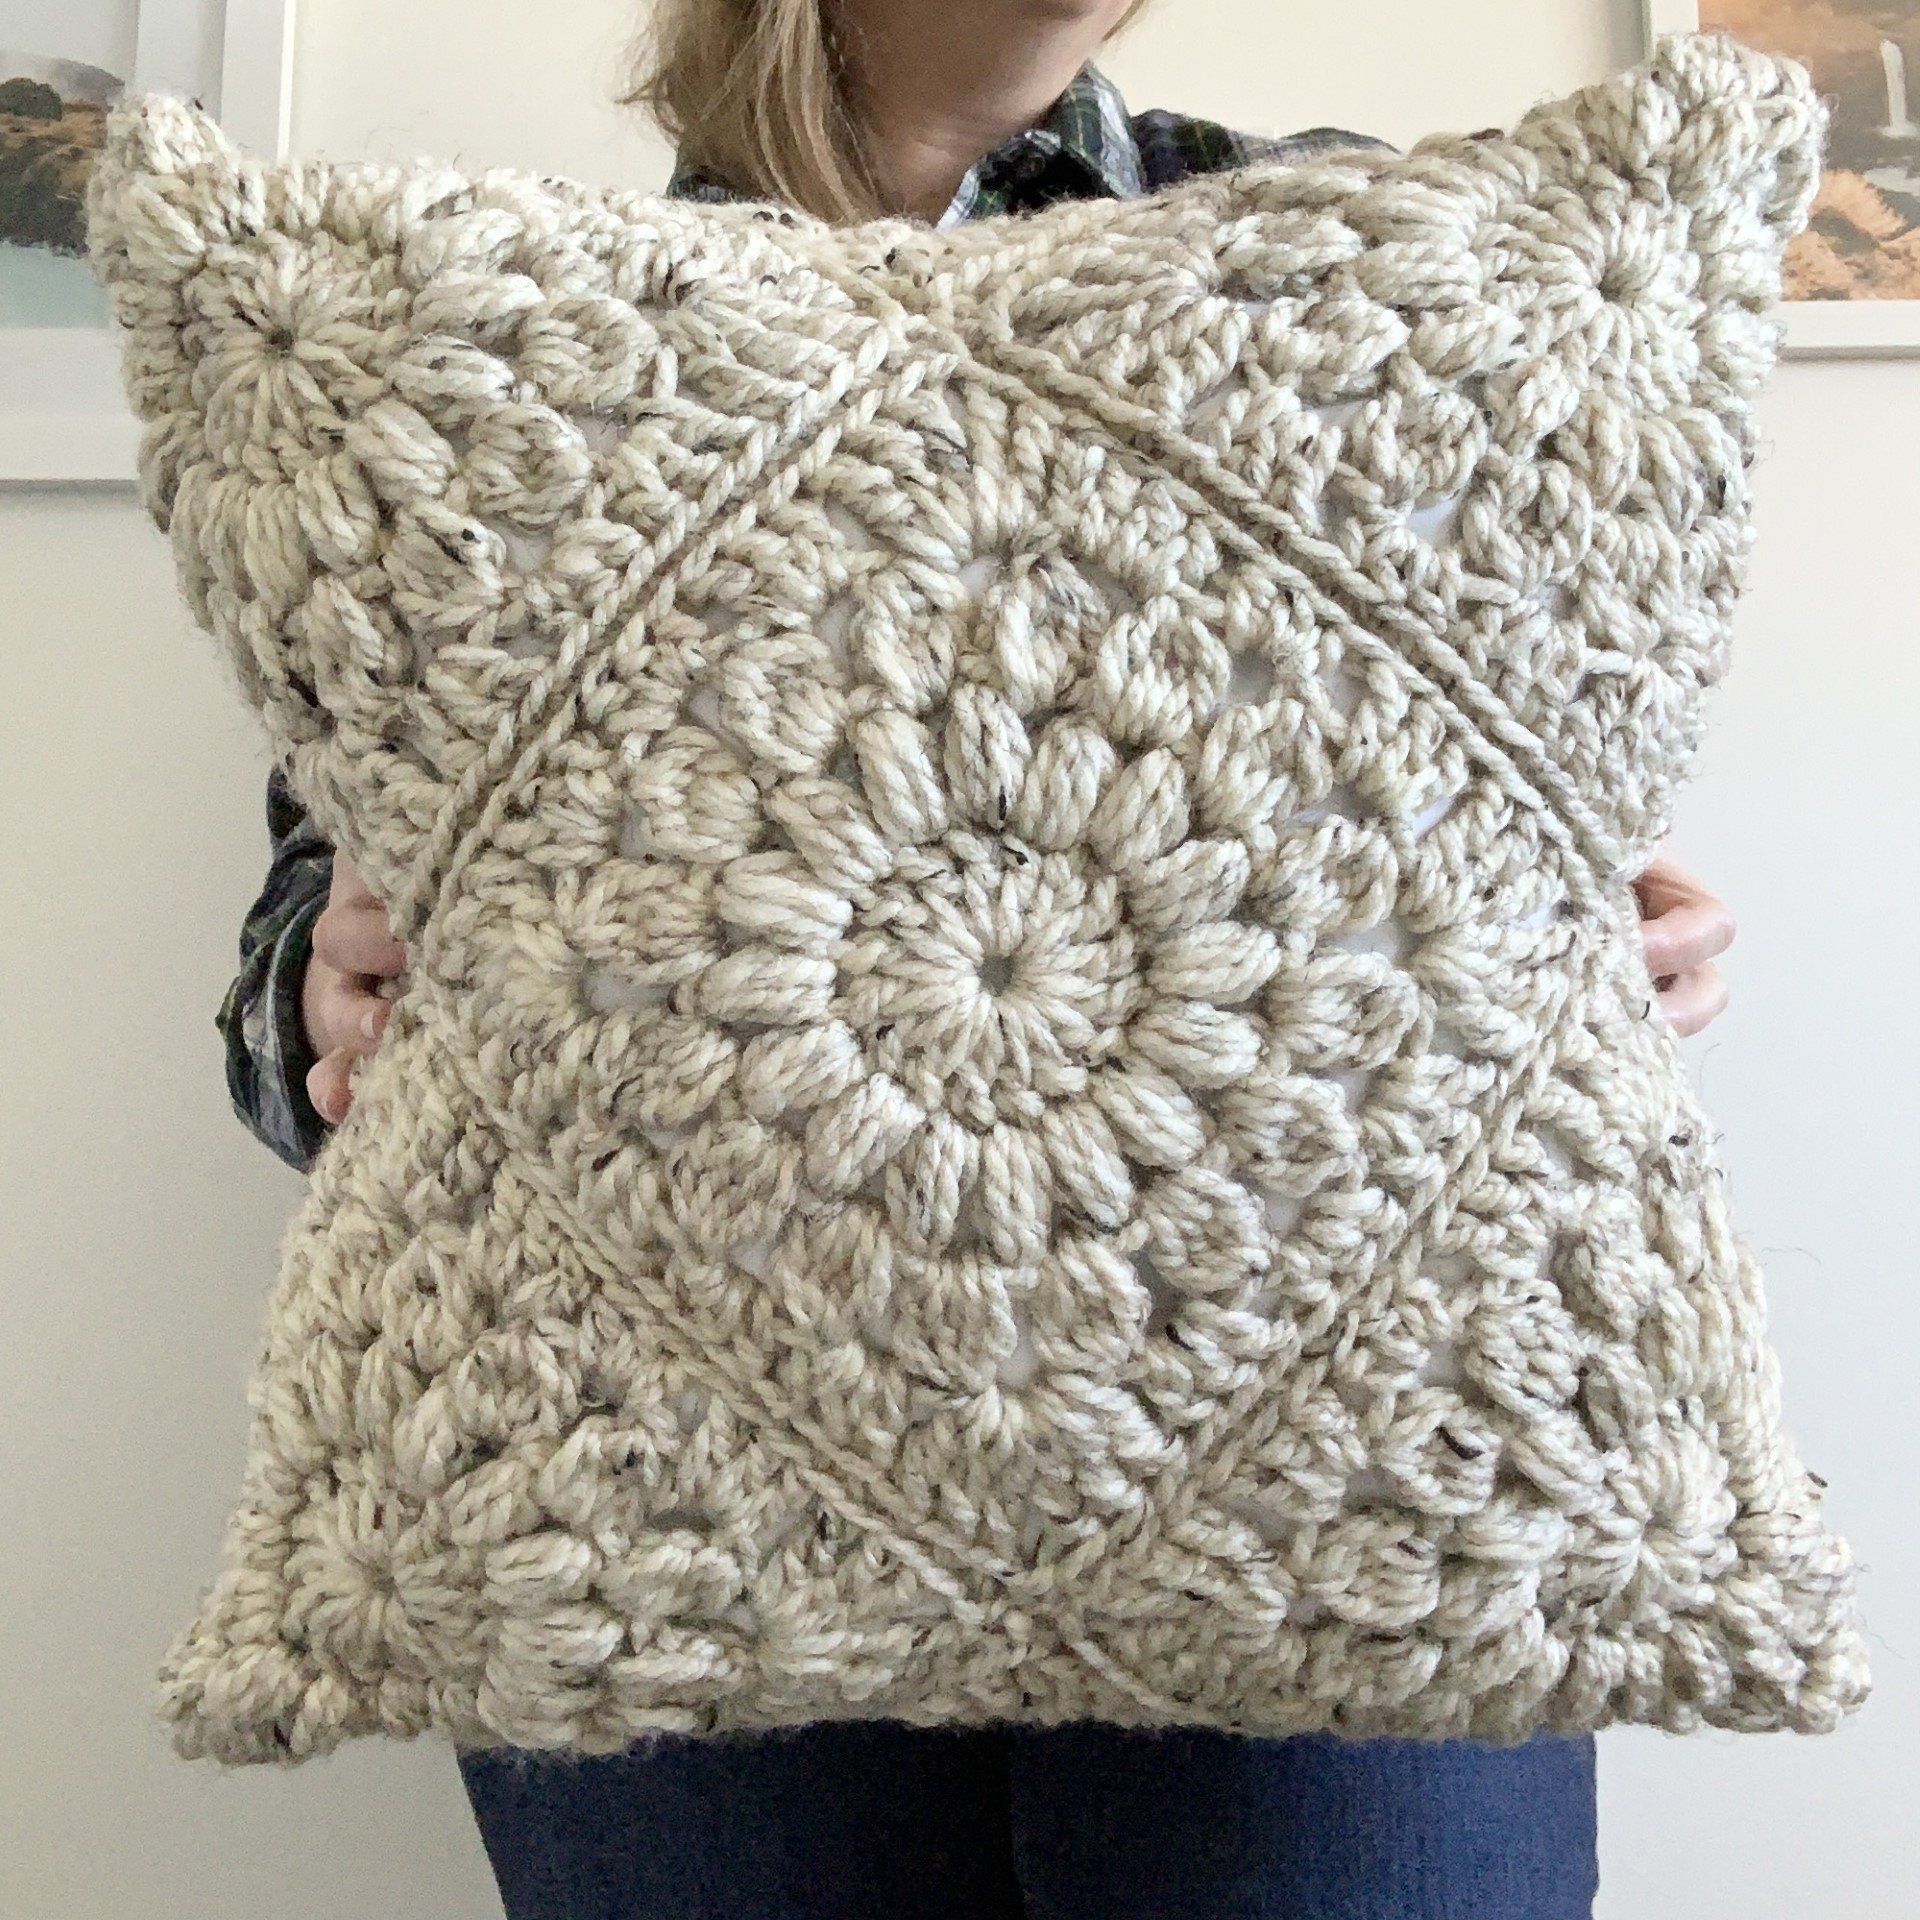
Colour: Fog (379yds/578g) 2 skeins
Yarn Recommendations/Links
Lion Brand Wool Ease Thick & Quick (80% Acrylic, 20% Wool)
WeCrochet Mighty Stitch Super Bulky (80% Acrylic, 20% Superwash Wool)
WeCrochet Fluff of the Andes (100% Highland Wool)
WeCrochet Tuff Puff (100% Wool)
Estelle Bulky (40% Wool, 50% Acrylic, 10% Nylon)
Alternative Colours/Yarn Details…
WeCrochet/Knit Picks Mighty Stitch Super Bulky, 80/20% Acrylic/SW Wool (44yds/100g):
Pucker (429yds/974g) 10 skeins or Silver (429yds/974g) 10 skeins
KITS CAN BE FOUND HERE: Crochet.com Special Edition Basic Sunburst Pillow


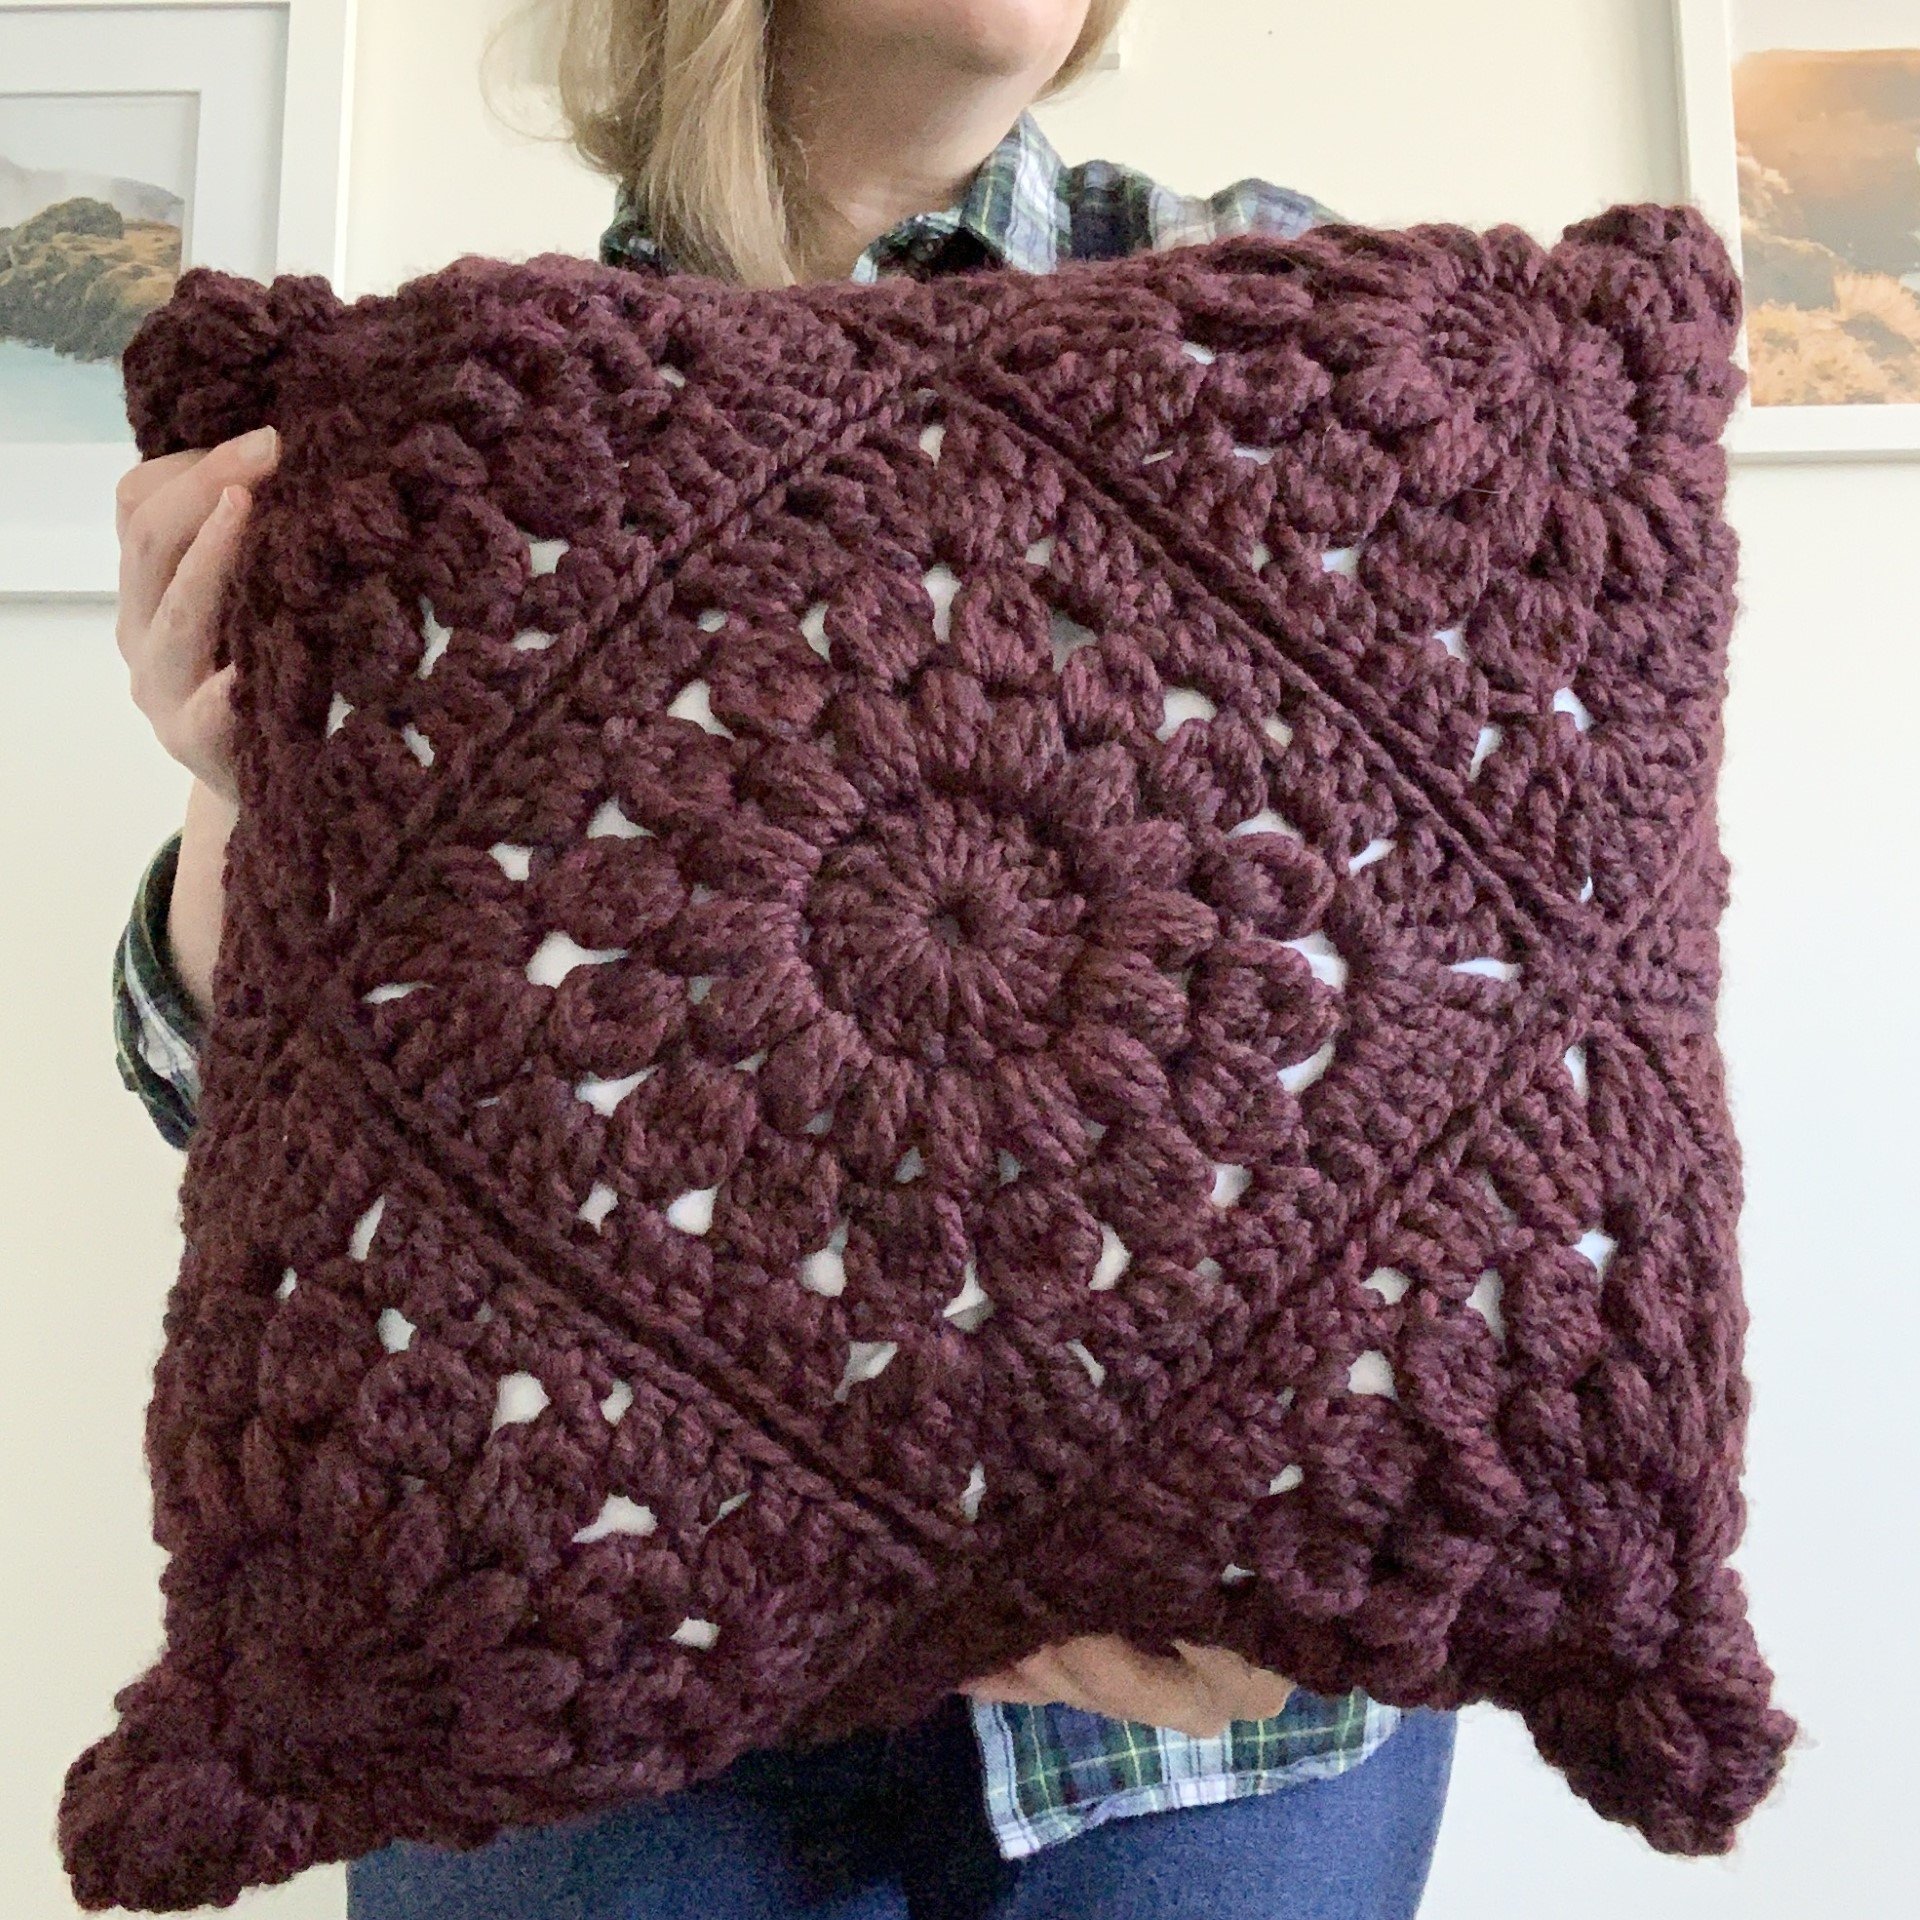
Lion Brand Wool Ease Thick & Quick (106yds/170g) CHRISTMAS COLOURS …
Claret 4 skeins (makes one pillow)
Kale 4 skeins (makes one pillow)
Oatmeal 4 skeins (makes one pillow)


Gauge
4 rnd sunburst square= 8” square
Finished Size
20” x 20” pillow
Glossary (using US Crochet Terminology)
st(s)- stitch(es)
ch- chain
ch-sp- chain space
sl st- slip stitch
rnd- round
YO- yarn over
SC- single crochet
HDC- half double crochet
DC- double crochet
tr- treble crochet
cl st(s)- cluster stitch(es)
4 DC cl– 4 double crochet cluster stitch
puff- puff stitch
BLO- back loop only

How to puff stitch: YO and insert hook into st, YO and pull up a loop (pull up to about the height of a DC). Repeat this 2 more times. There should be 7 loops on the hook. YO and pull through all 7 loops.
How to 4 DC cl: YO and insert hook into sp, YO and pull up a loop, YO and pull through 2. Repeat 3 more times. There should be 5 loops on the hook. YO and pull through all 5 loops.
Pattern Notes
Ch 2 will count as DC throughout.
Ch 3 will count as tr throughout.
Gauge will affect yarn quantities. Please adjust hook size to meet gauge.
In some cases, the video tutorials have been used for other patterns. Please follow the yarn recommendations, hook size and stitch counts in the written pattern- the videos are only meant as visual guides.
Pillow panels are 4” bigger than the intended pillow size. If you wish to make a larger or smaller pillow-- just make the pillow panel 4” bigger or smaller than the size of the pillow.
There is a wide range of super chunky weight yarns out there so yarn quantities are estimations only. Please be aware that the size of the squares is what matters most. Gauge is listed above as 8” per square. If squares aren’t measuring 8” across—adjust the hook size. Otherwise, you’ll end up with a panel that is either too big, or too small.
Don’t forget to share your makes on Instagram and Facebook! I always love seeing what you have all worked up. Tag me on Instagram @nautikrallcrochet or Facebook @nautikrall_crochet, or use the hashtag: #basicsunburstpillow

Schematic

Pillow Panel Dimensions: 3 squares x 3 squares = 9 squares total
Finished panel should measure approximately 24”x 24”

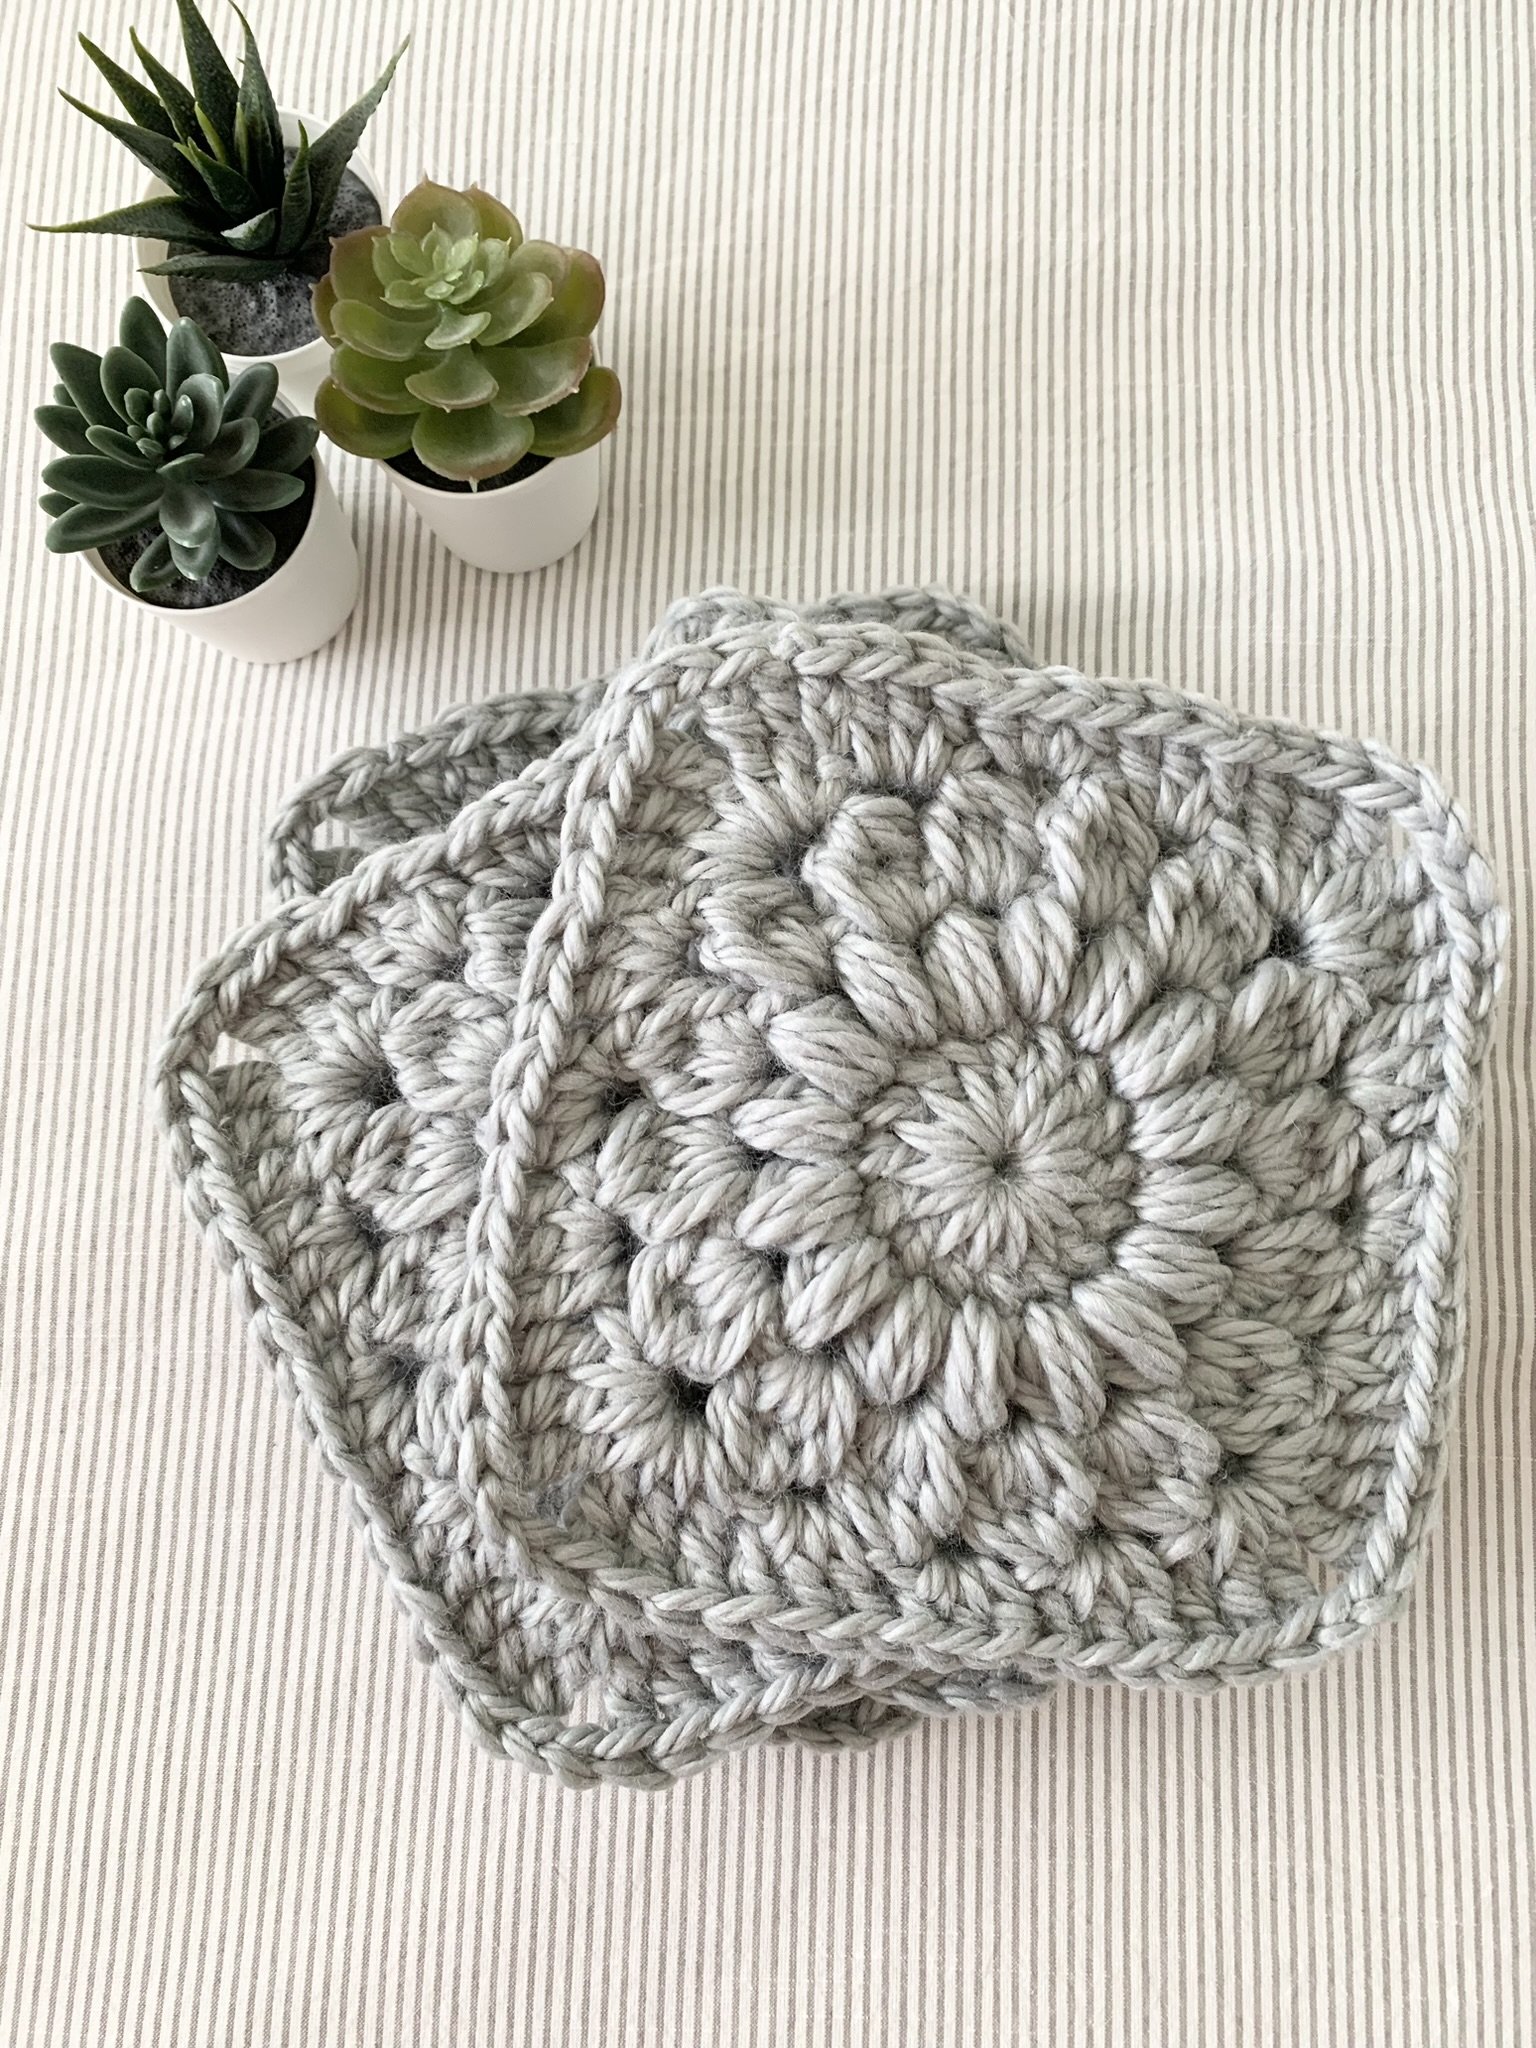
Pattern Sunburst Granny Square:
Make 9 squares.
Round 1
Ch 5, sl st into 5th chain from hook to create centre ring.
Ch 2, 15 DC into centre ring (16 total).
Join with sl st to the top of first DC (not the chain 2).
Do not fasten off.

Round 2
Ch 1, puff into same st, ch 1.
Puff and ch 1 into each st around (16 puff sts).
Sl st into the sp between the first two puff sts (NOT into top of the first puff st).
Do not fasten off.
Round 3
Ch 2, work a [4 DC cl, ch 2] into same sp.
Work a [4 DC cl, ch 2] into each ch-1 sp around (16 cl sts).
Sl st into the ch-2 sp between the first two cls (NOT into the top of the cl st).
Do not fasten off.
Round 4
Ch 3, work [2 tr, ch 2, 3 tr] into same sp (completes 1st corner of square).
*Work 3 DC into the next ch-sp.
Work 3 HDC into the next ch-sp.
Work 3 DC into the next ch-sp.
Into the next ch-sp work [3tr, ch 2, 3 tr].*
Repeat from * to * 2 more times.
Work 3 DC into the next ch-sp.
Work 3 HDC into the next ch-sp.
Work 3 DC into the next ch-sp.
Sl st to the top of first tr (not the ch 3).
Fasten off.
***Please see the YouTube video tutorial below on how to make Sunburst Granny Squares:

Assembling Pillow Panel
Arrange squares in a 3 x 3 layout matching the schematic above.
Once squares are placed in preferred arrangement; follow along with the video tutorial below to slip stitch the squares together in BLO.
Fasten off and weave in ends.
**Please see video tutorial below for how to join squares with slip stitches in BLO to create pillow panel/cover:

Assembling Finished Pillow Cover
Final pillow panel should measure approximately 24”x 24”.
Place pillow cover down with wrong side up.
Fold corners of pillow cover into the centre; seam together using SC into the BLO.
On the final seam, remember to leave enough room to stuff your pillow into the cover before seaming all the way shut.
Fasten off, weave in all ends.
**Please see the video tutorial for how to seam/assemble pillow panel: “How to SC in BLO to close pillow panel”
~The End~
The pattern, the photographs and video tutorials in this document are the property of Nautikrall Crochet. You may sell items you make from this pattern; but may not sell, reproduce, or distribute this pattern, in whole or in part, as your own.
Copyright © 2023 Nautikrall Crochet – All rights reserved.