
Special Edition Nordic Star Blanket Pattern


This post contains affiliate links. Affiliate links cost you nothing, but when purchasing through these links you help me earn a small commission. This supports me and my family and my continued efforts to bring you free patterns.
Intro:
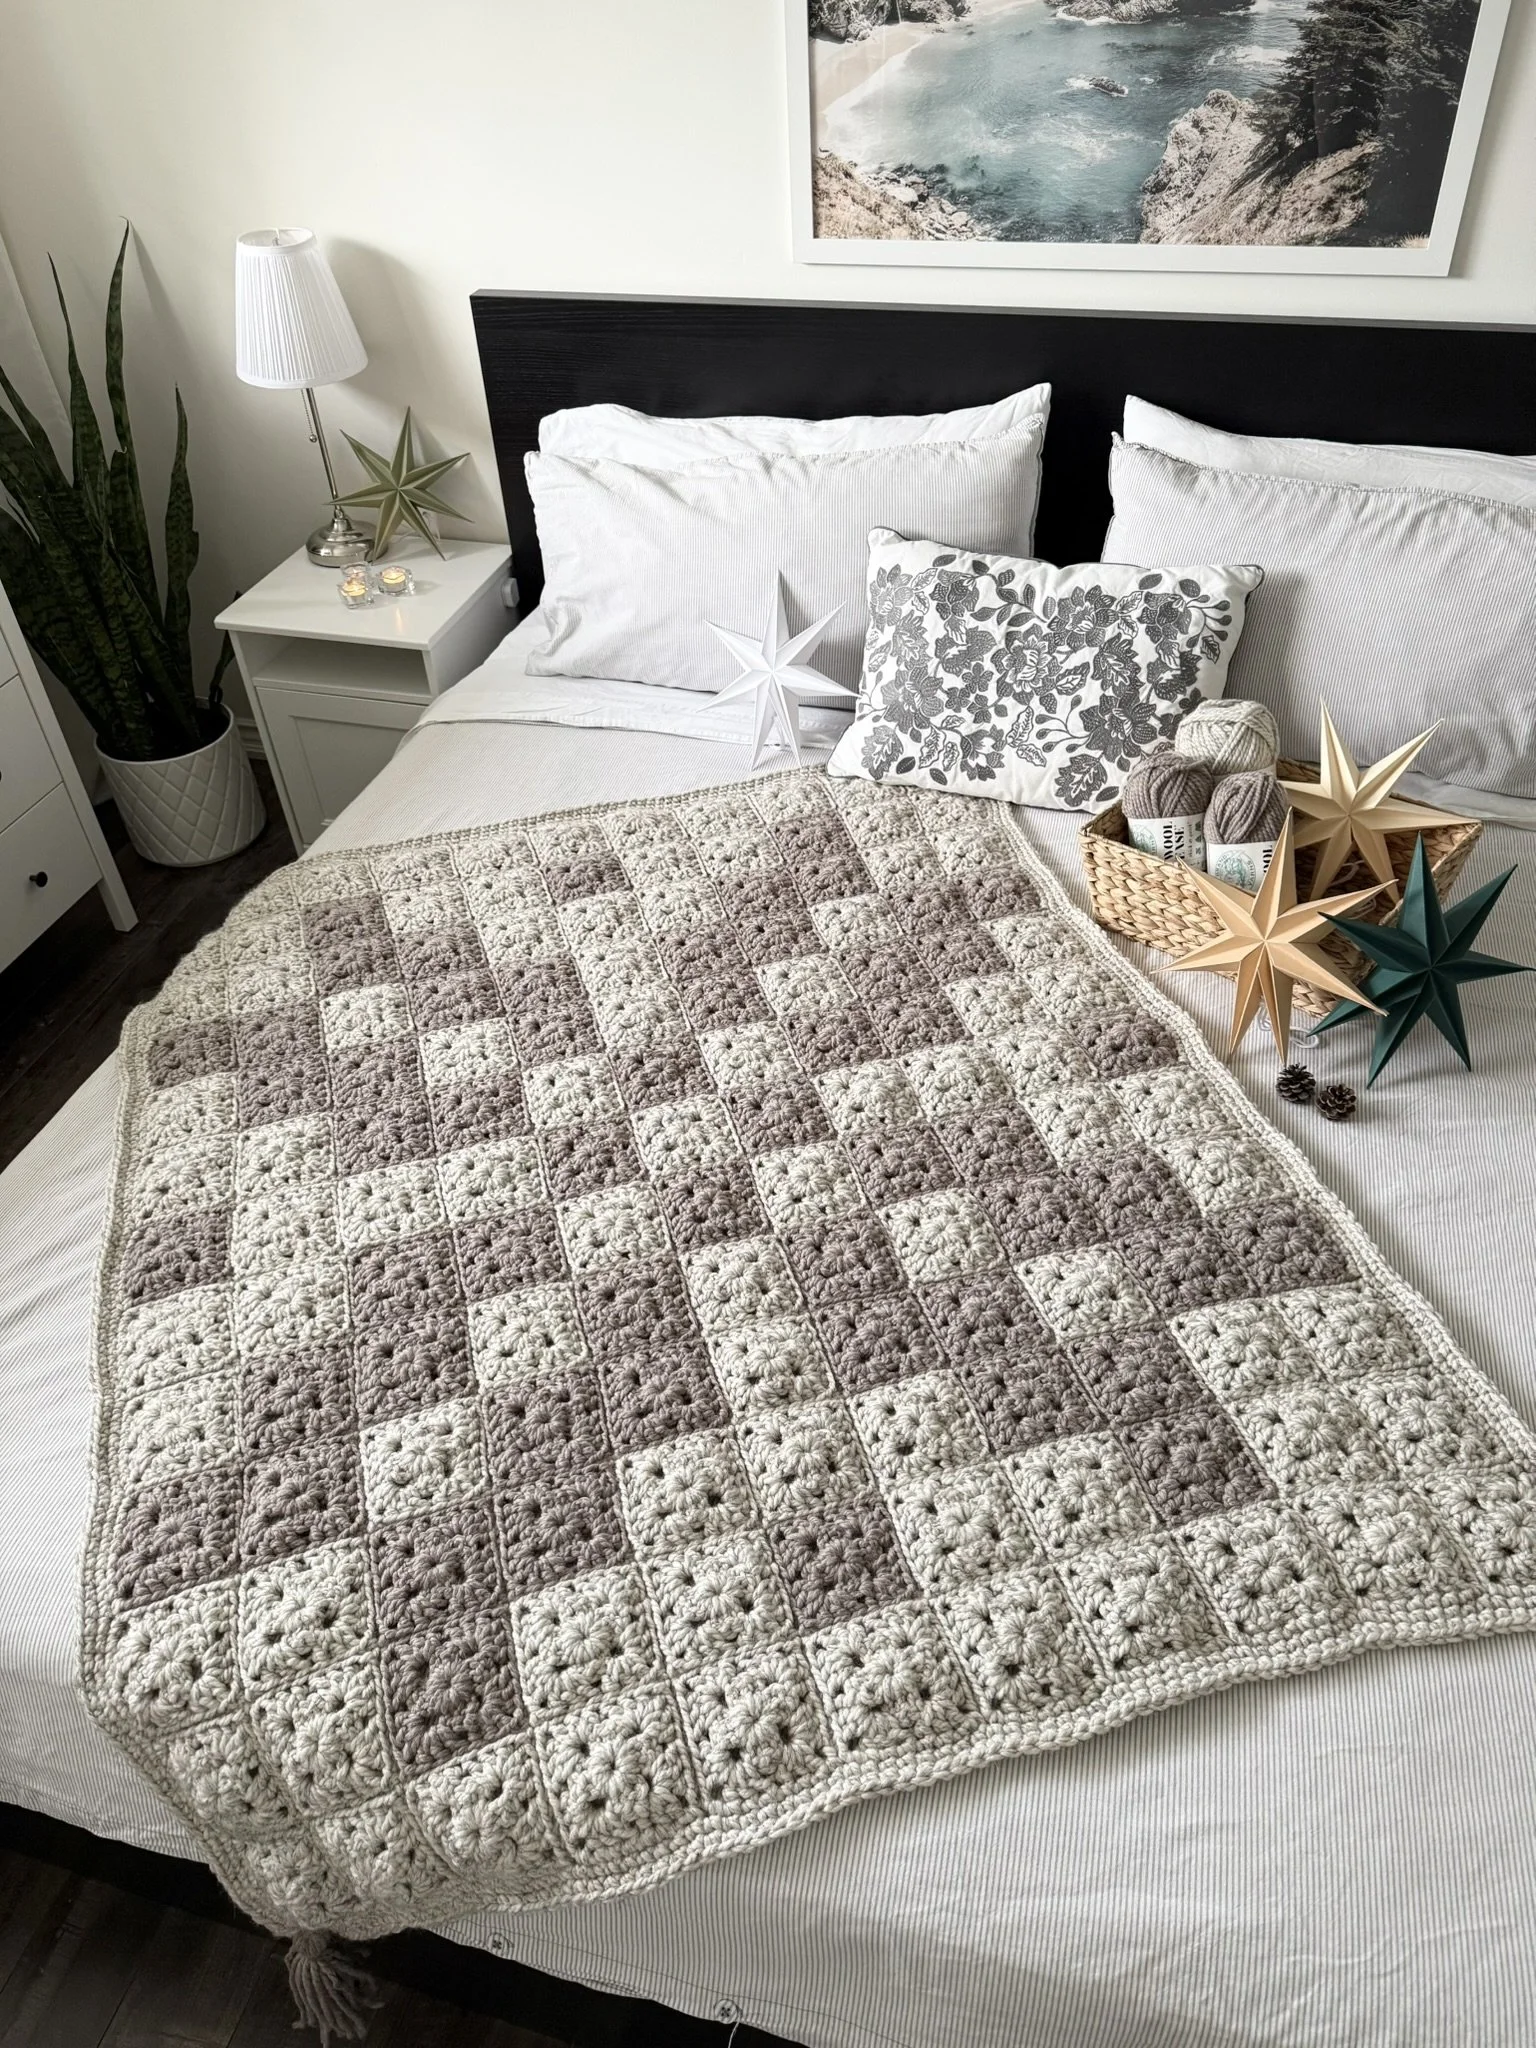
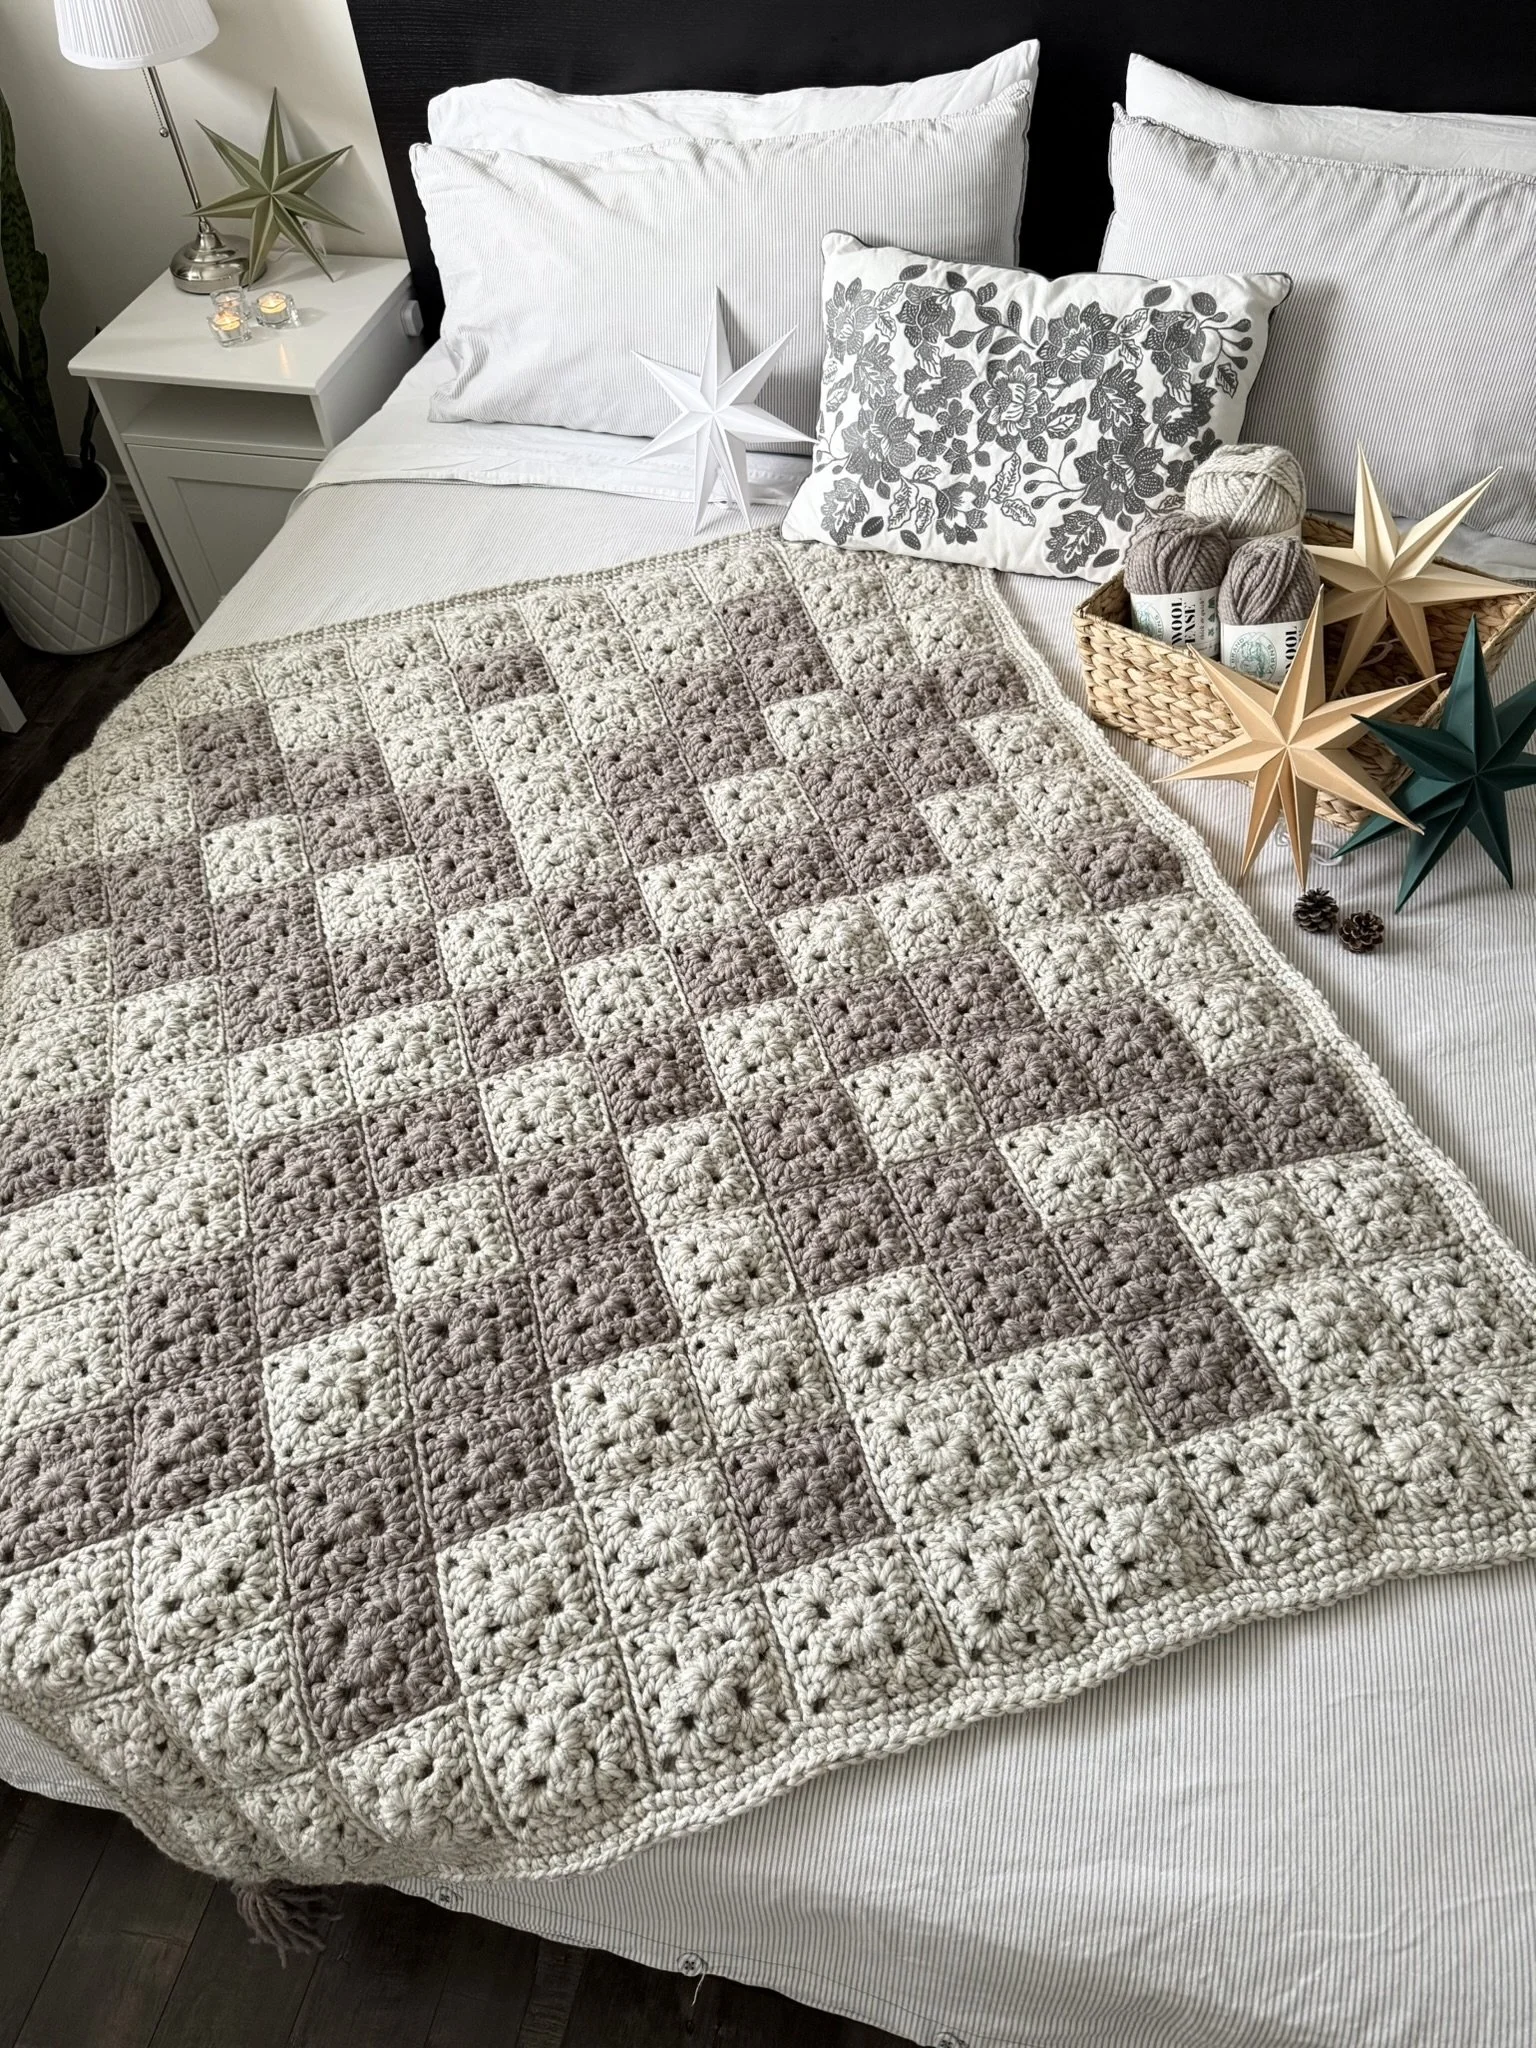
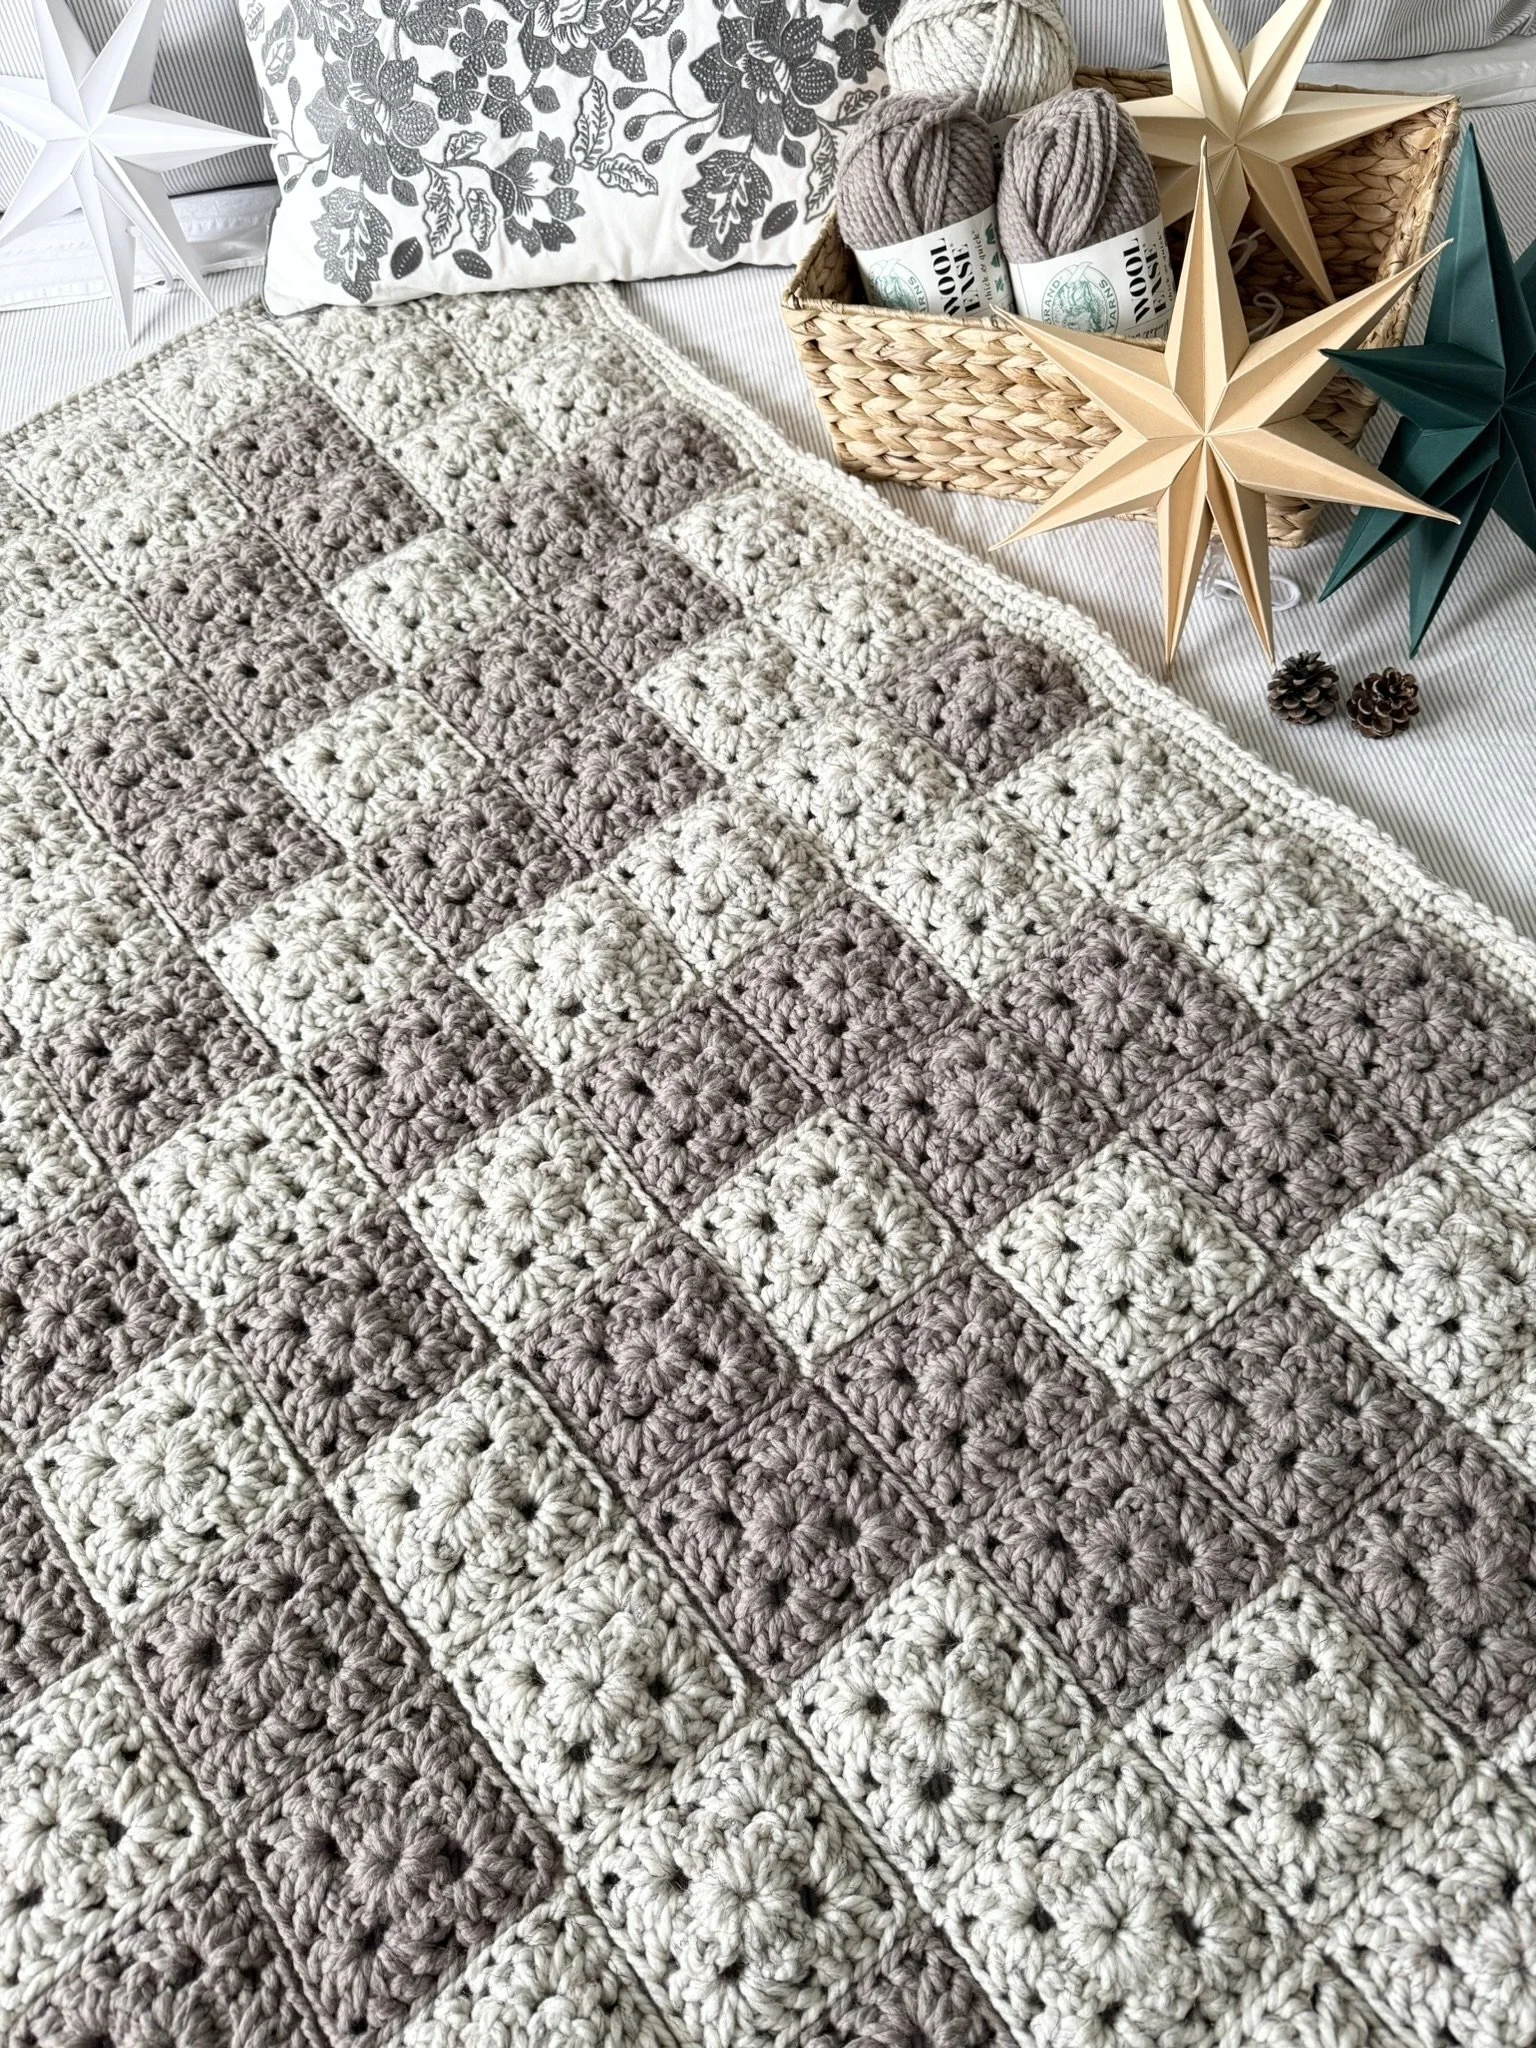
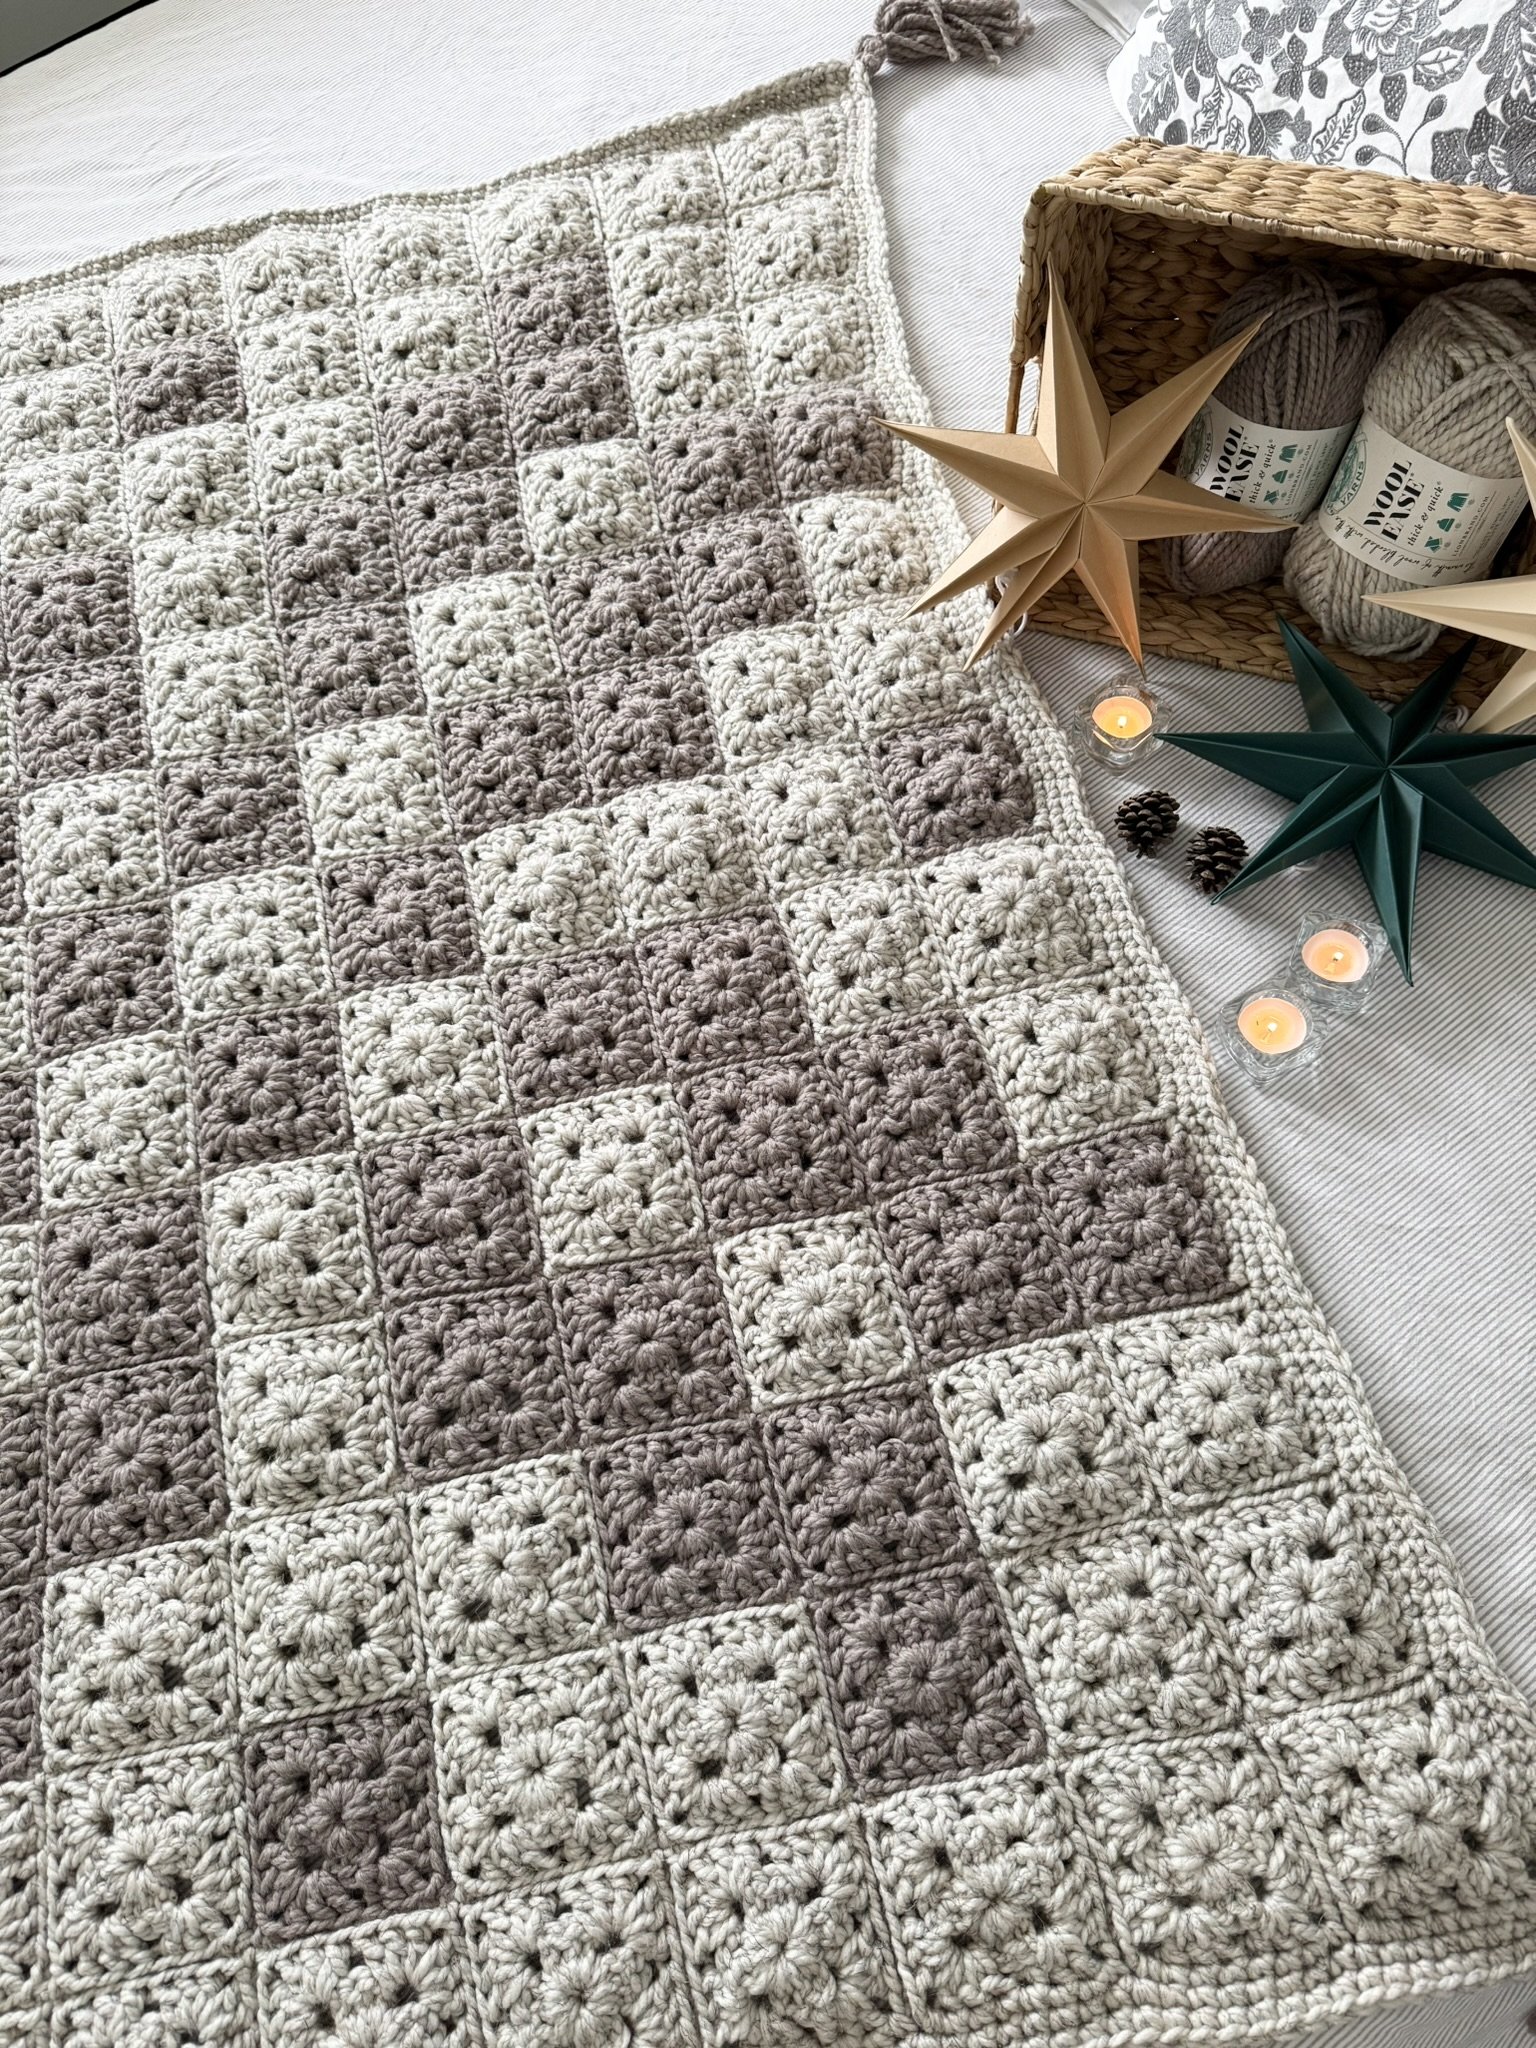
One of my favourite things to do, is take a favourite pattern of mine and put a chunky spin on it. I love creating these chunky yarn blankets because they’re very quick to work up, simple and stunning! Wool Ease Thick & Quick is my favourite super chunky yarn but you can use any yarn that you prefer! This blanket is an absolute joy to work up. Only 2 round squares that go by so fast. The result is a blanket the whole family can curl up under.
L, M
ps. If you want the ad-free, printable PDF of the pattern you can grab one in my Ravelry or Etsy Pattern Shops:
Notions
US 9.00 mm (size M/N) crochet hook
Needle for weaving in ends
Scissors
Yarn
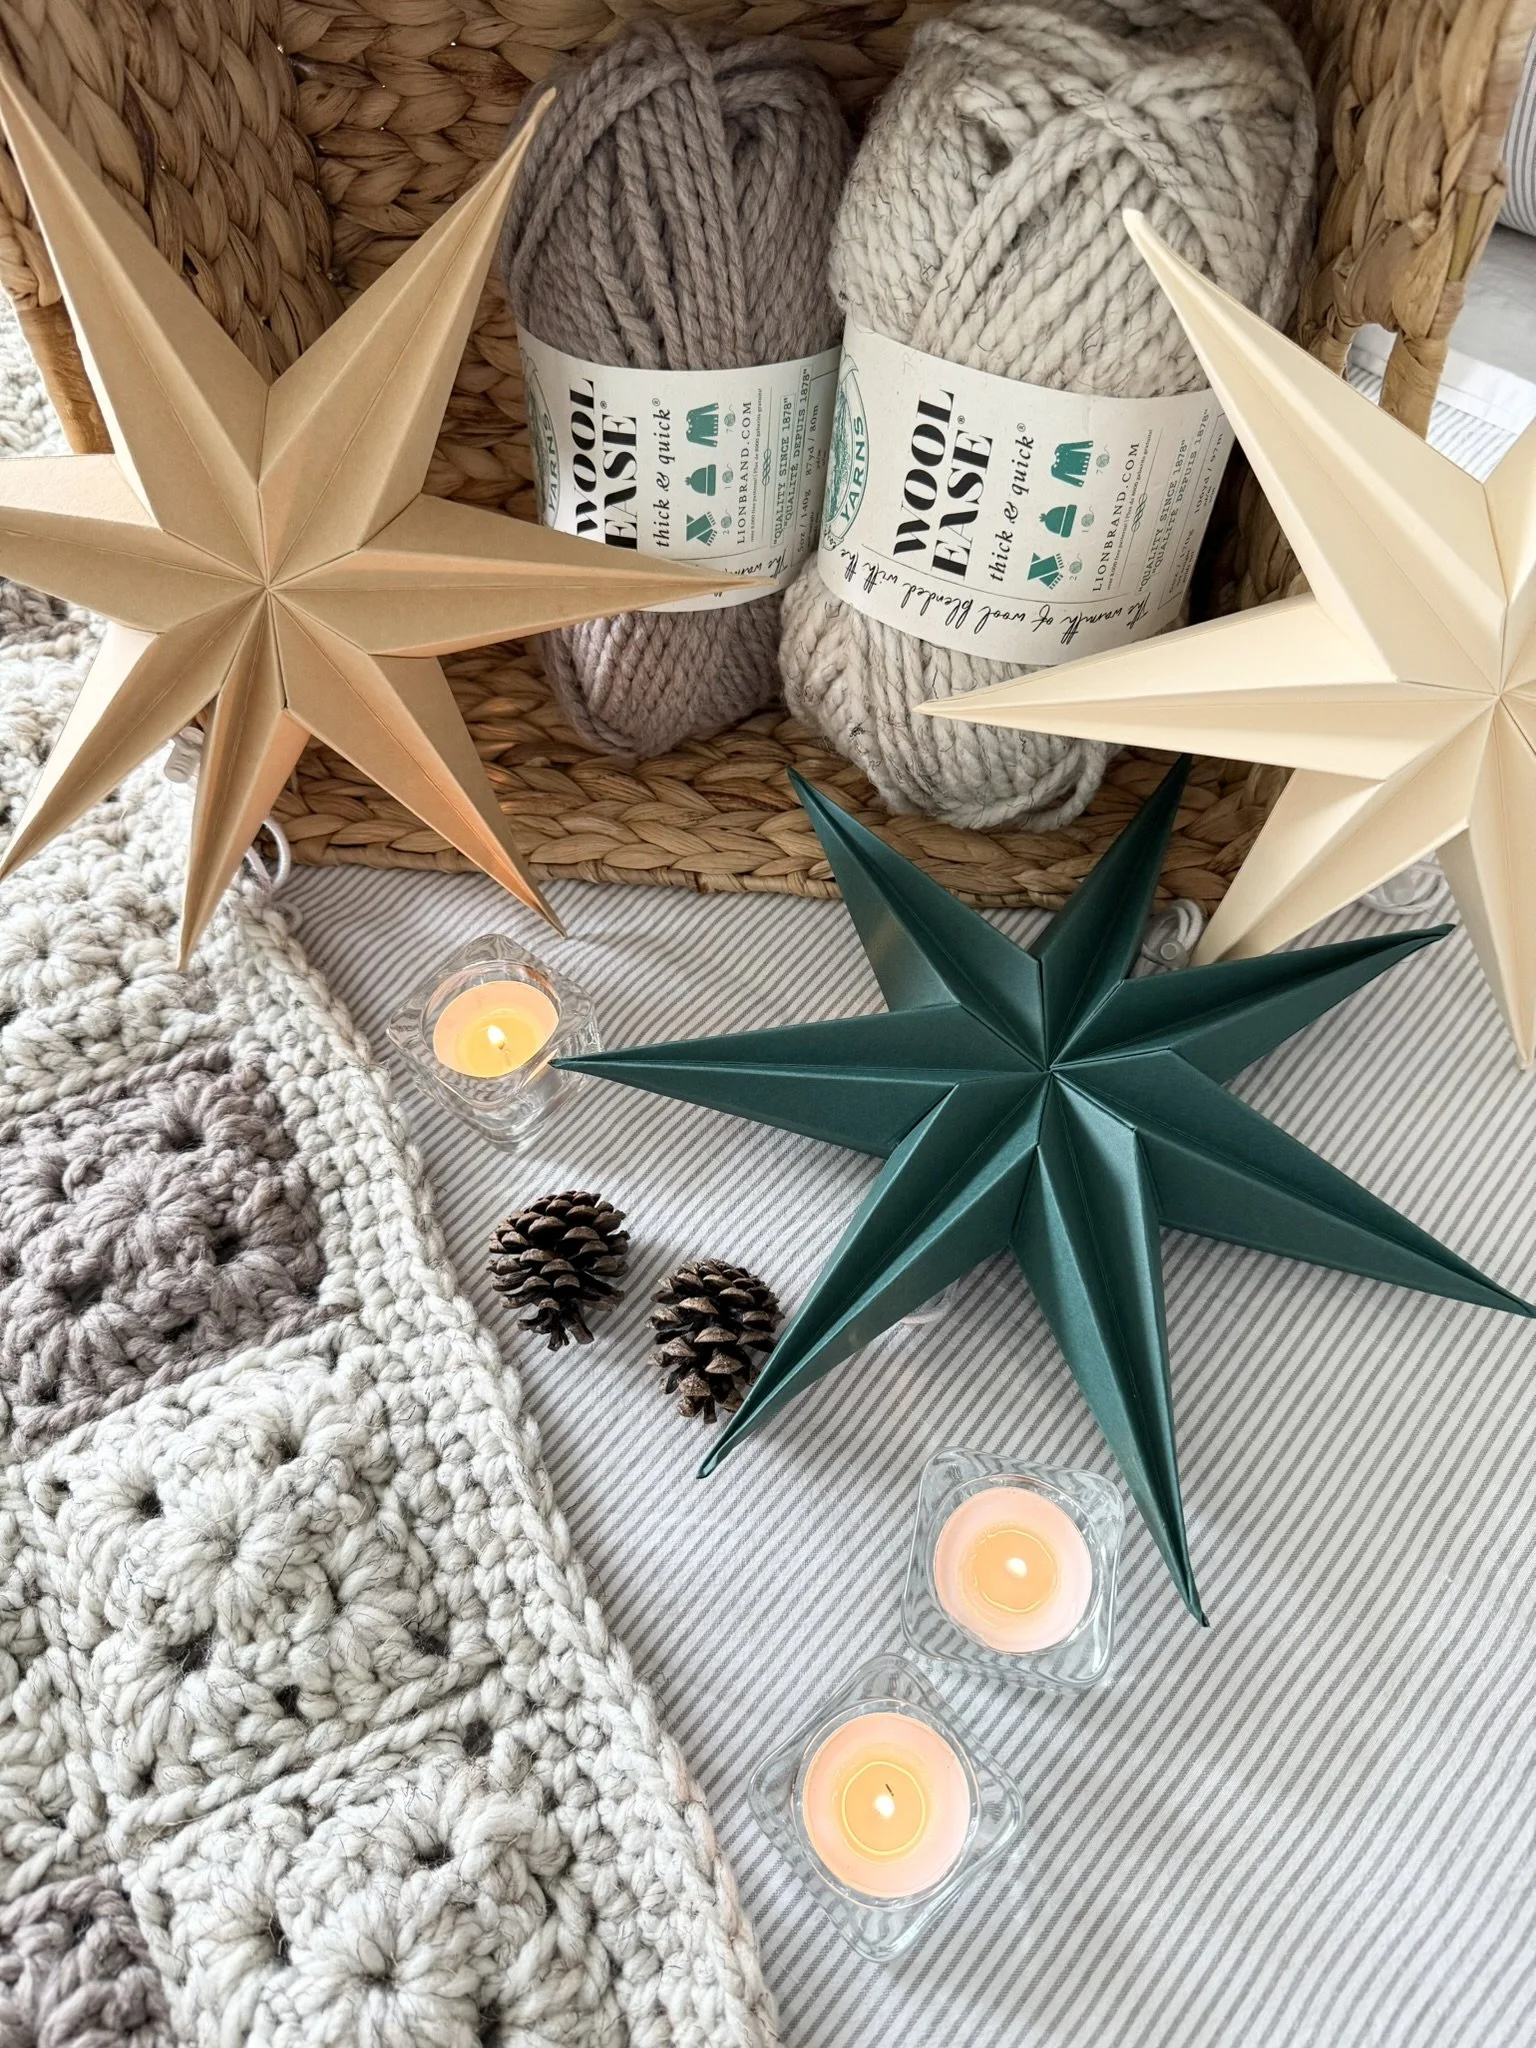
Lion Brand Wool Ease Thick & Quick (106yds/170g):
Colour A: Wheat (934yds/1497g) 9 skeins
Lion Brand Wool Ease Thick & Quick (87yds/140g):
Colour B: Driftwood (557yds/897g) 7 skeins
Yarn Recommendations/Links
Lion Brand Wool Ease Thick & Quick (80% Acrylic, 20% Wool)
WeCrochet Mighty Stitch Super Bulky (80% Acrylic, 20% Superwash Wool)
WeCrochet Fluff of the Andes (100% Highland Wool)
WeCrochet Tuff Puff (100% Wool)
Estelle Bulky (40% Wool, 50% Acrylic, 10% Nylon)
Gauge
2 rnd granny square= 4.5” (unblocked)
Finished Size
52”x 57” Blocked
Glossary (using US Crochet Terminology)
st(s)- stitch(es)
ch- chain
ch-sp- chain space
sl st- slip stitch
SC- single crochet
YO- yarn over
DC- double crochet
rnd- round
BLO- back loop only
RS- right side

Pattern Notes
Gauge will affect yarn quantities, please adjust hook size to meet gauge.
Ch 2 counts as DC throughout pattern.
In some cases, the video tutorials have been used for other patterns. Please follow the yarn recommendations, hook size and stitch counts in the written pattern- the videos are only meant as visual guides.
For this blanket I chose to seam them together using a slip stitch in the back loops. This creates a beautiful, tidy square on the front of the blanket—with visible seams/ridges on the backside of the blanket. When the squares are worked together this way the blanket is a little less reversible, but I do find that it’s a sturdier seam that worked well with the bigger and heavier blanket.
Don’t forget to share your makes on Instagram and Facebook! I always love seeing what you have all worked up. Tag me on Instagram @nautikrallcrochet or Facebook @nautikrall_crochet.
Schematic

Blanket Dimensions: 11 squares x 13 squares= 143 squares

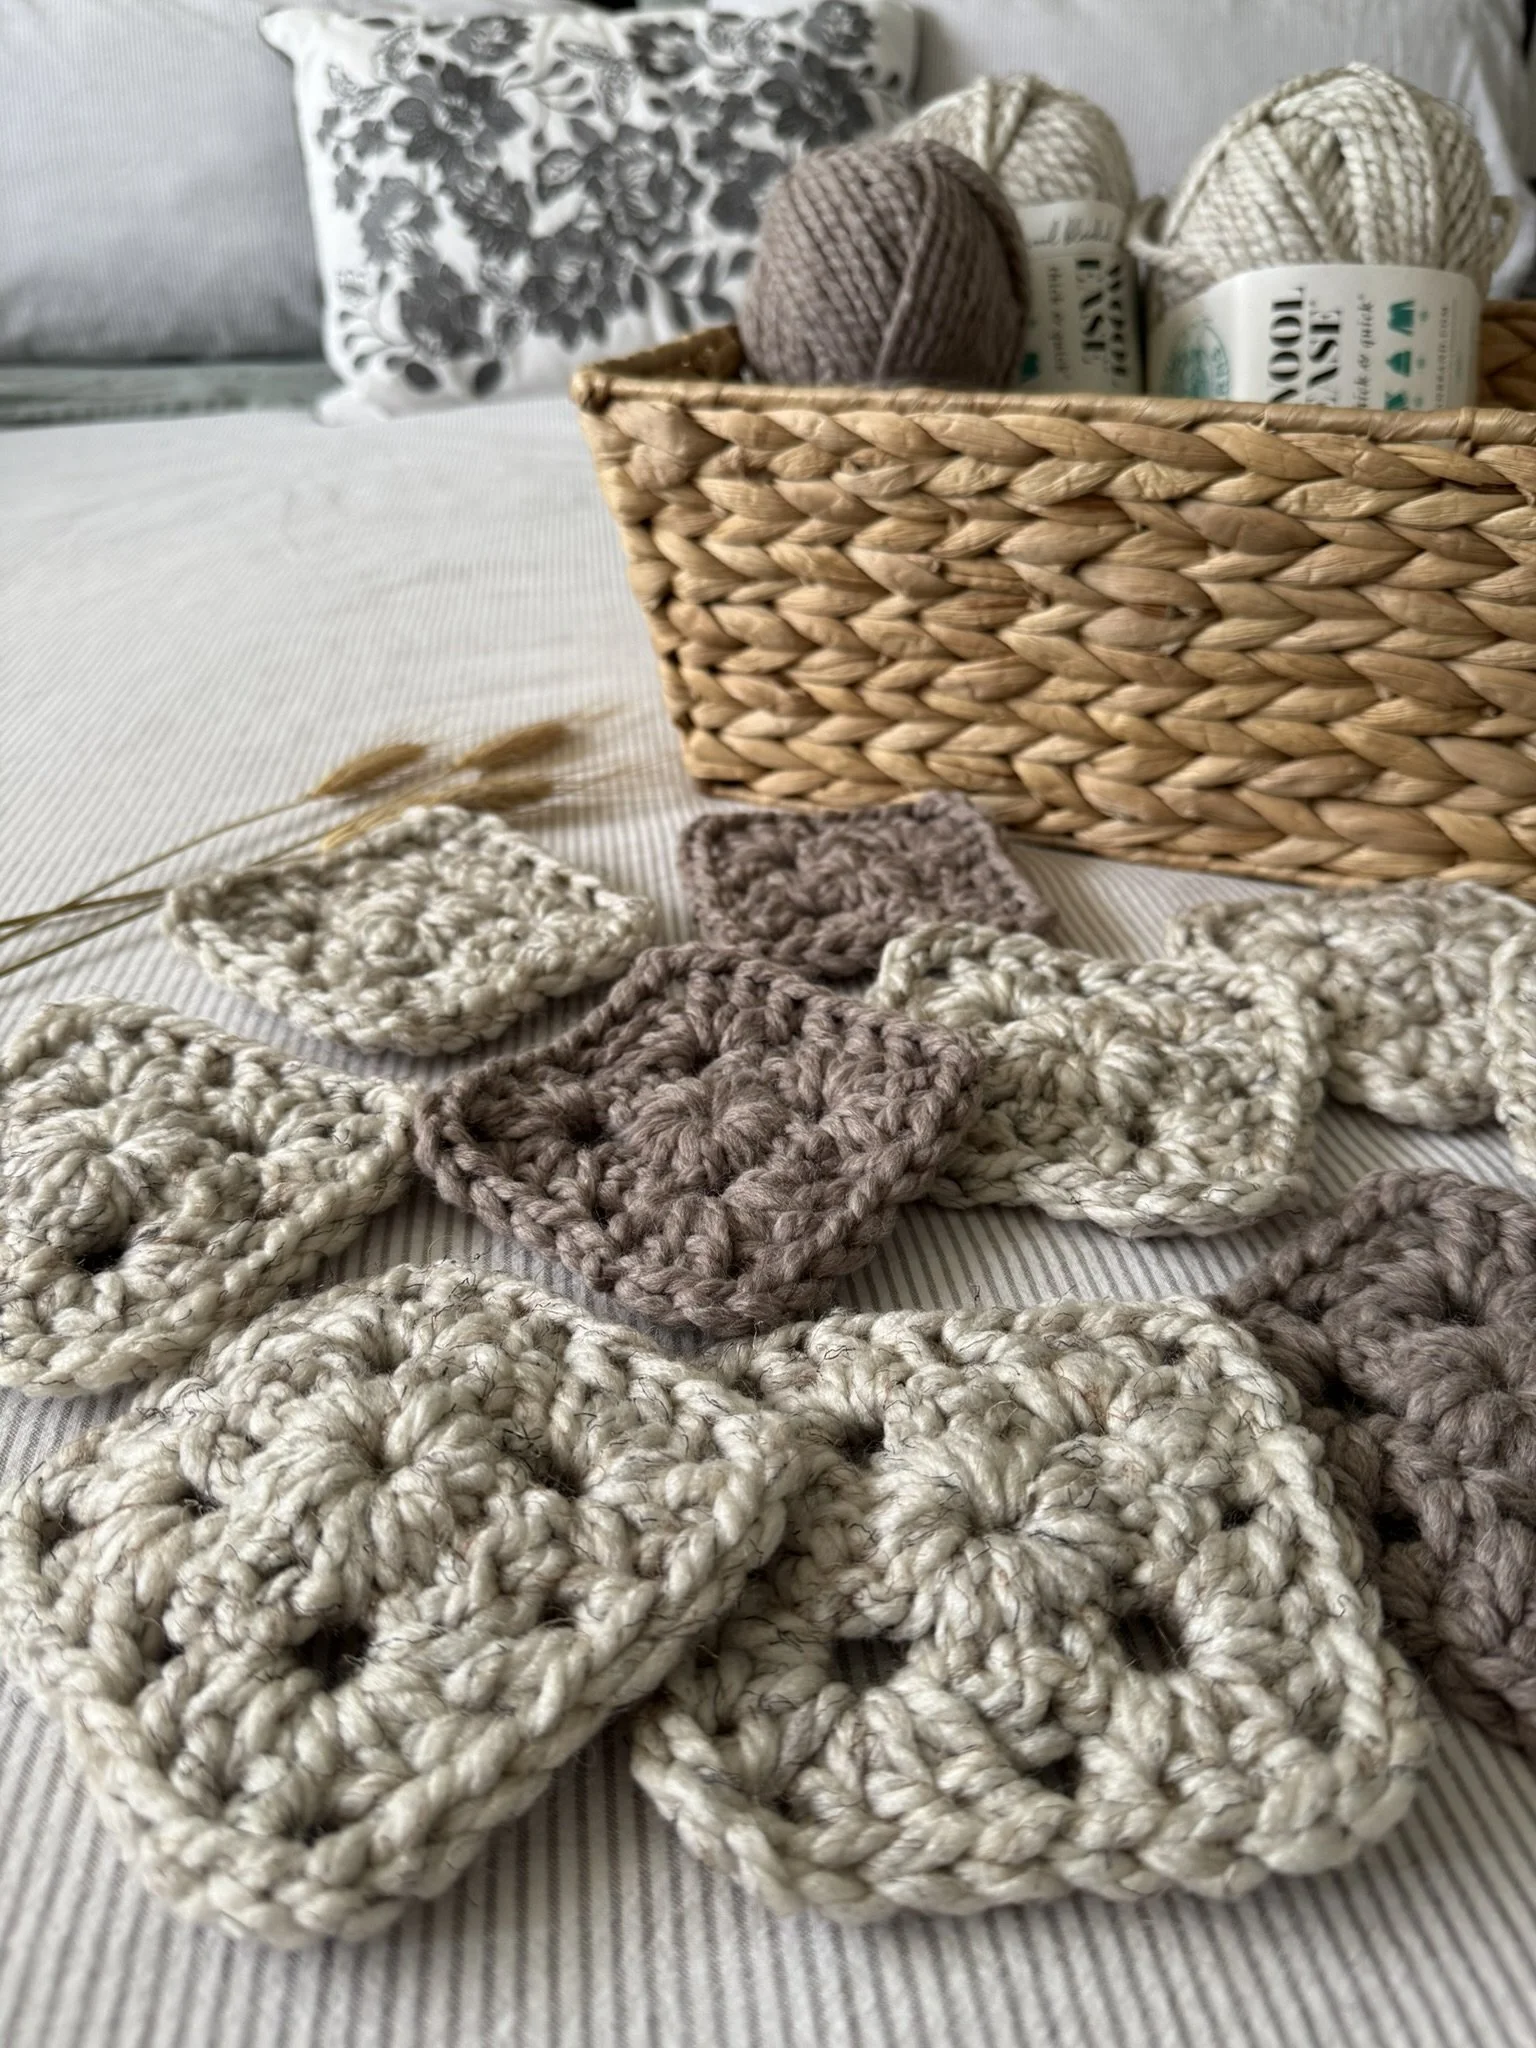
Pattern: Granny Square
Round 1
Ch 4, sl st into 4th ch from hook to create centre ring.
Ch 2, work 2 DC into centre ring, ch 2.
[3 DC, ch 2] three more times into the centre of the circle.
Join with sl st to first DC (not the ch-2).
Ch 2, turn (do not fasten off).
Round 2
2 DC into ch-2 sp, ch 2, 3 DC into same sp.
*[3 DC, ch 2, 3 DC] into next ch-2 sp.*
Repeat from * to * 2 more times.
Join with sl st to first DC (not the ch-2).
Fasten off.
Please note the following video tutorial is a 3-round granny square. The squares used in this pattern are only 2 rounds. Please stop and fasten off after completing Round 2.
***Please see the YouTube video tutorial below on how to make the Granny Square:
Assembling Blanket Squares:
Follow the colour layout in the schematic above to create your plaid granny blanket!
Arrange squares with the second rnd RS up to match the schematic above.
Once squares are placed in preferred arrangement; using Colour A, follow along with the video tutorial below to sl st the squares together in BLO.
Fasten off and weave in all ends before starting Border rnd.
**Please see video tutorial below for how to join squares with slip stitches in BLO to create blanket:

Border:
Round 1
Join Colour A in the top of any st and Ch 1.
Work a SC into every st around the blanket, put 1 SC on either side of every corner join (where 2 squares meet) and 3 SC sts into every corner (ch-2 sp) --(it may be helpful to put a stitch marker into the middle SC to help with the next rnd).
Join with a sl st to the first SC (not the ch-1).
Do not fasten off.
Round 2
Ch 1, work a SC into each st around the blanket, ensuring to put 3 SC into the middle st of each corner (the middle SC in the corner from the previous rnd).
Join with a sl st to the first SC (not the ch-1).
Fasten off.
Tassels:
Using Colour B: create 4 tassels for the corners of the blanket. I use this tutorial: https://youtu.be/6VDCJJOcYt0
Wrap 15 times or until desired thickness.
Trim ends to about 5” in length and attach to blanket.
Pro-tip: I tie my tassels onto the blanket with a little bow, this way when I need to wash the blanket, I can easily remove them!
~The End~
The pattern, the photographs and video tutorials in this document are the property of Nautikrall Crochet. You may sell items you make from this pattern; but may not sell, reproduce, or distribute this pattern, in whole or in part, as your own.
Copyright © 2025 NautiKrall Crochet – All rights reserved.